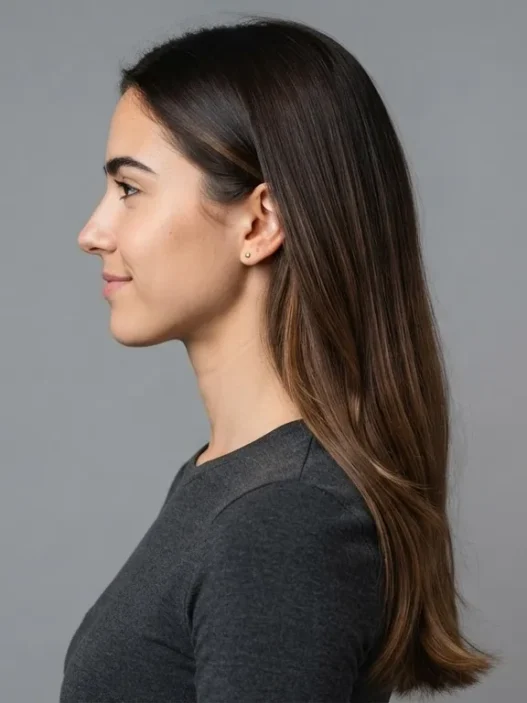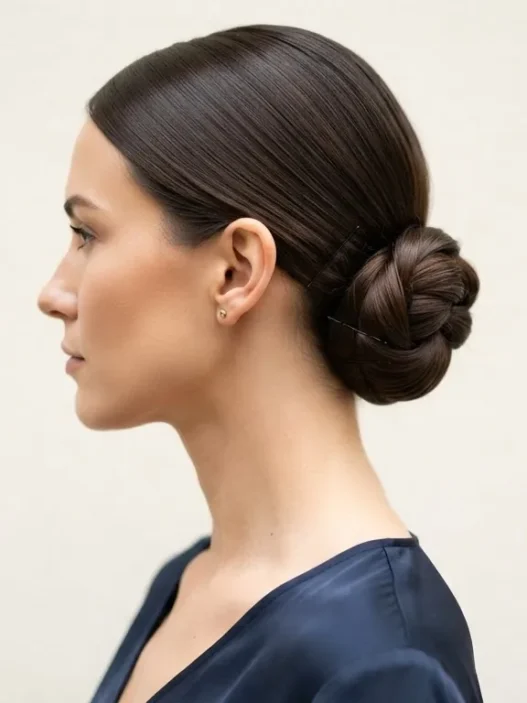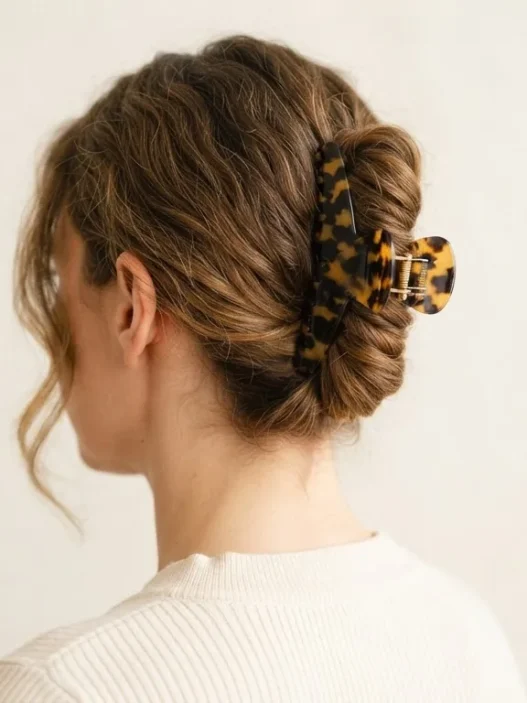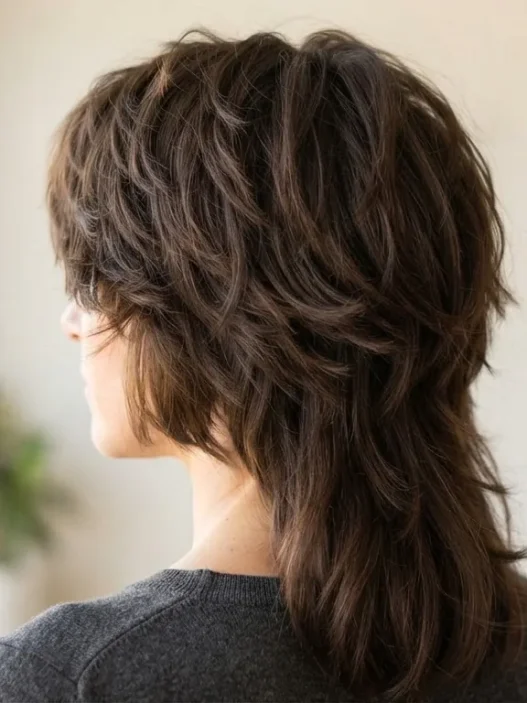








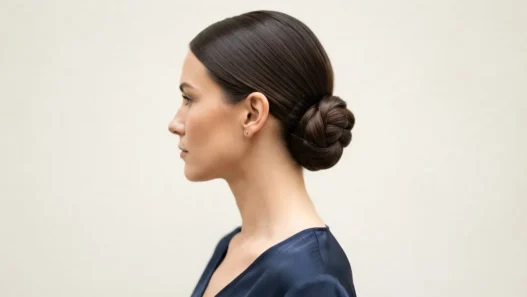

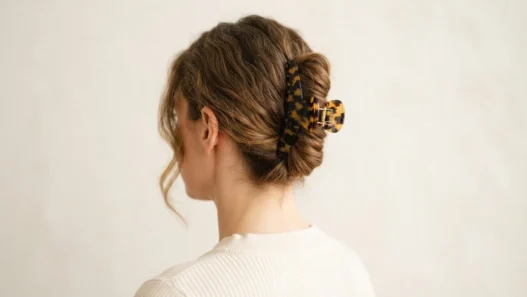


I spent years cutting my hair based on advice written for someone else’s texture. Straight-hair tutorials, one-size layering guides, generic “beachy waves” how-tos — none of it ever landed quite right on my actual curls. The problem wasn’t me. It was that curl hair inspiration almost never specifies which curl pattern is being shown, which means the same photo gets pinned by a 2B wave and a 4A coil and they both walk away disappointed. So I put this list together differently: every entry is grouped by curl pattern, names an actual cut, and tells you whether it should be done on wet or dry hair. Because that last part? Game-changing.
What’s Inside This Guide
Loose Waves
Loose waves — that’s roughly the 2A to 2C range — are honestly the trickiest to cut for because they sit right at the intersection of “almost straight” and “not quite curly.” The wrong cut either pulls them flat or turns them into a triangle. These four cuts lean into the movement instead of fighting it.
1. The Long S-Wave Shag
This is the one I wish I’d tried a decade ago. The shag — with its disconnected layers and wispy ends — does something almost magical for 2A and 2B waves: it defines the S-shape without adding bulk. Ask for curtain bangs, collarbone-length layers in the front, and longer layers through the back that stop just past the shoulder blade. The critical detail is that this must be cut dry. A wet cut on loose waves hides where the hair actually wants to fall, and you’ll lose about an inch of length you weren’t expecting to lose.

2. Collarbone Lob with Invisible Layering
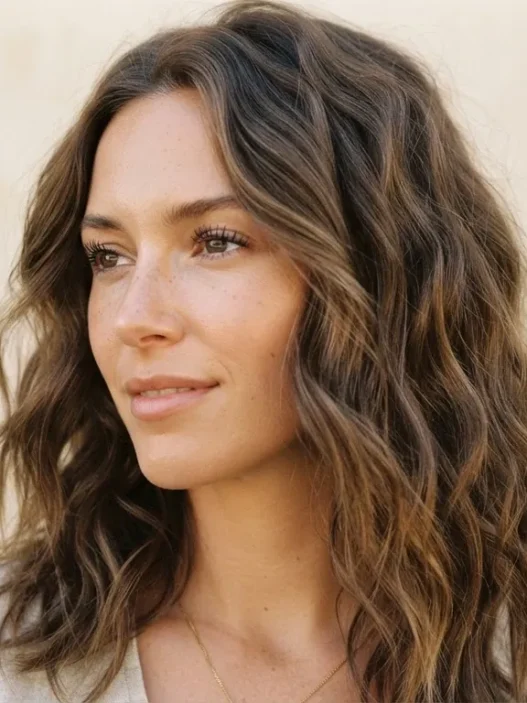
The lob is everywhere right now in 2026 and for good reason — it gives loose waves a clean perimeter that photographs beautifully. But for it to work on 2B-2C waves, invisible layering (sometimes called point cutting or slide cutting through the interior) removes weight without leaving a visible line through the mid-shaft. Cut on wet hair here, but have your stylist check the shape once it’s dry before you leave the chair. Look at the way her hair sits in the photo — see how it skims the collarbone without puffing out? That’s what properly weight-removed waves look like.

3. Wavy Wolf Cut
Yes, still relevant. The wolf cut has staying power for 2C waves specifically because the crown layers add volume where waves tend to go flat, and the longer lengths through the back let the pattern develop fully. You can find a ton of useful ideas about this on the Chicmane.Com main page — there are some beautiful wave variations worth scrolling through. Cut it dry, definitely. The whole point is that the stylist sees the wave as they cut, not a soaking-wet rope of hair. Tell them to leave the underlayer longer than they think they should — that’s where the most movement lives on waves.
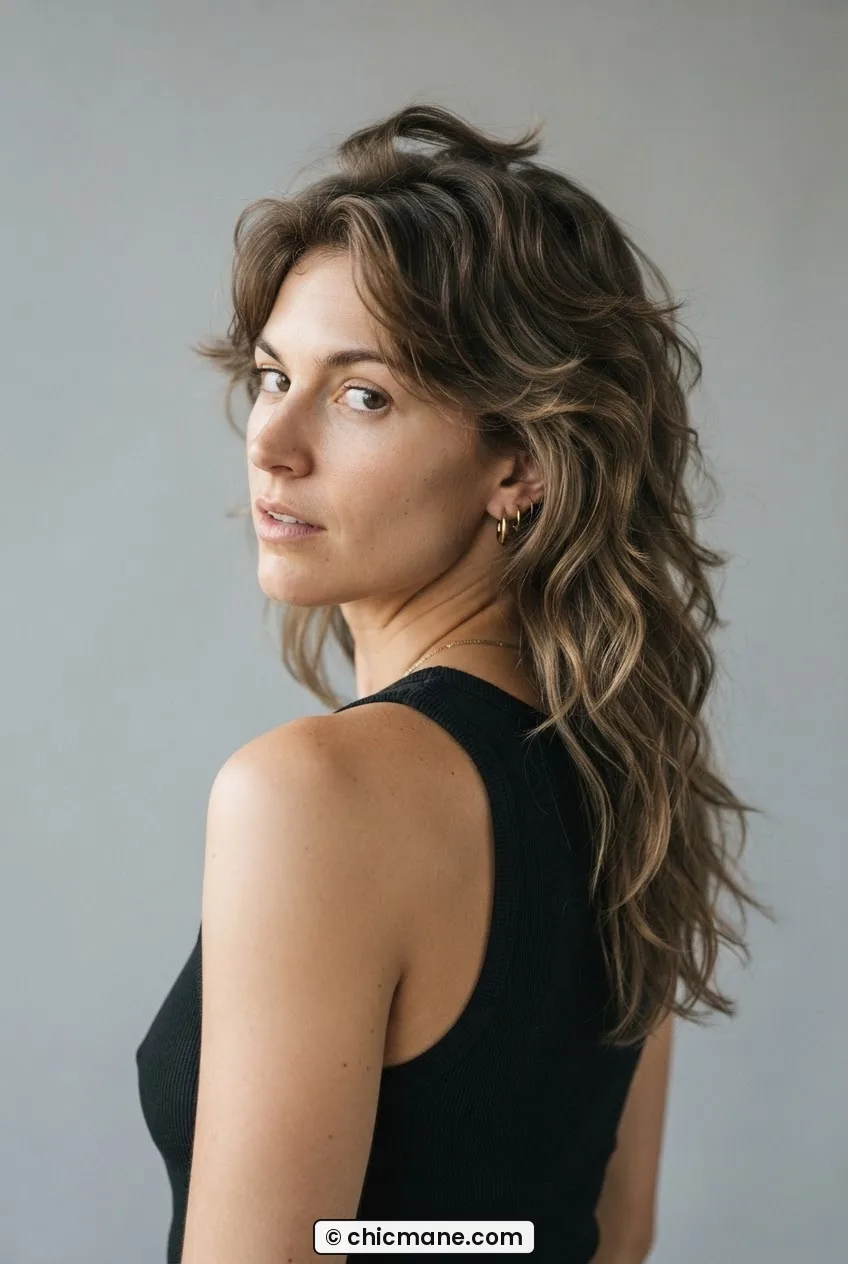
4. Face-Framing Bixie for 2A Waves
2A waves are the gentlest of the wave family — barely there, easy to lose. A bixie (that in-between bob-pixie length, roughly chin to jaw) with strong face-framing pieces is the kind of hair inspiration moment that actually translates in real life. The face-framing pieces should be cut slightly longer than they’d be on straight hair — because once the wave forms, they’ll spring up. Wet cut is fine here since the length is short enough that shrinkage is easy to predict. Ask your stylist to add face-framing layers that sit about a centimeter past where you actually want them to land.

Springy Curls
3A through 3C curls have spring. Real, noticeable spring — sometimes an inch or two of it, sometimes more. Everything about cutting these curls has to account for that shrinkage, and the cuts that look best on camera for this pattern are the ones where the stylist leaned into the spiral rather than stretched it out.
A Curl Cut Tutorial Worth Watching Twice
5. The Curly Bob with Stacked Back
For 3A curls, this is the cut. A stacked back — shorter at the nape, longer toward the front — gives the bob a rounded shape that flatters the ringlet pattern without puffing into a triangle. And I mean this genuinely: this might be the best easy hairstyle option for 3A that isn’t a half-up style. Speaking of which, if you need a break from commitment, the half-up styles category has some truly gorgeous ideas for in-between days. The stacked bob should always be cut dry — the stacking relies on seeing the actual curl spring in action, and wet hair will make the back look right but sit completely different once dry.
6. Long Layers for 3B Ringlets
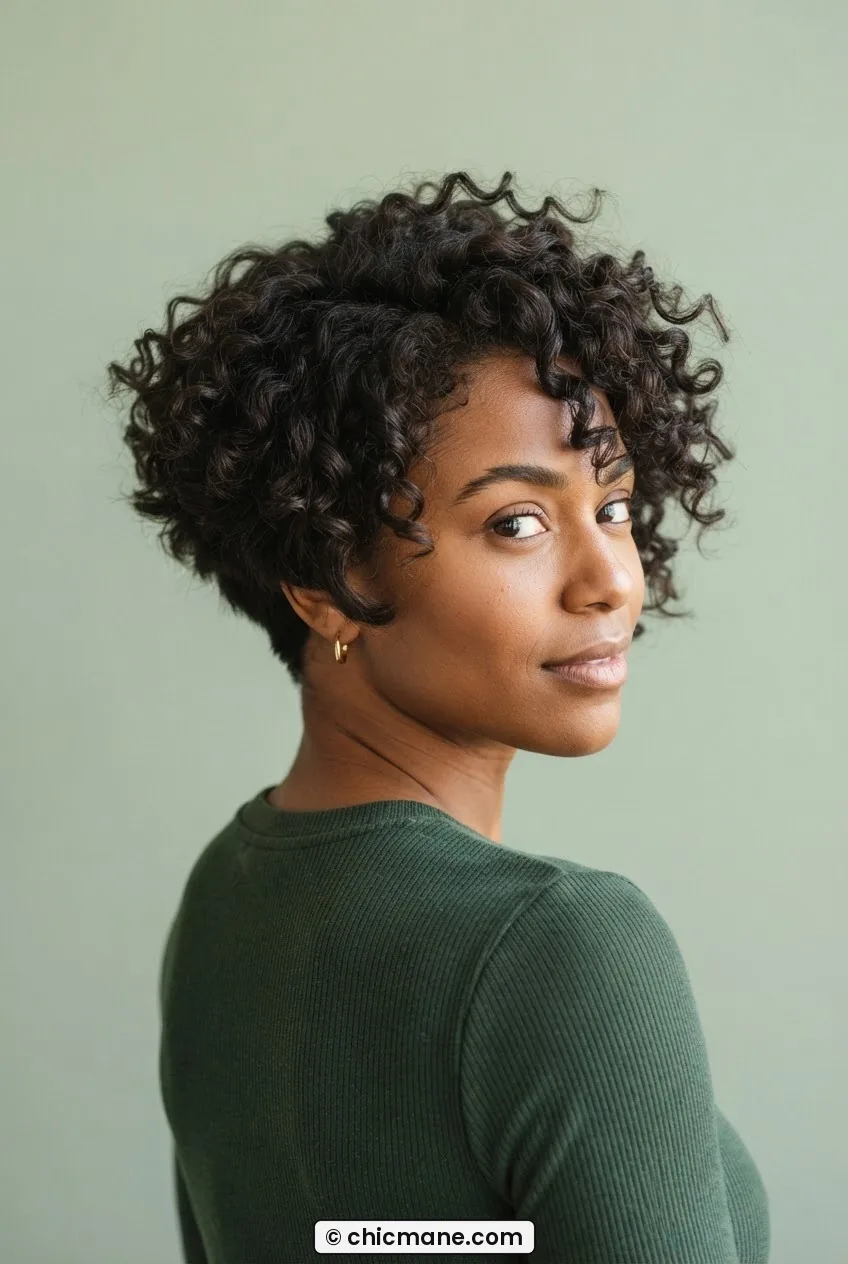
3B is that gorgeous defined-ringlet zone, and the temptation is always to cut it shorter because the volume feels like a lot. Resist that. Long layers — we’re talking collarbone to mid-back length — let 3B ringlets stretch and coil beautifully. The layers should be cut in a way that removes weight from the mid-shaft down, not chopped bluntly. Dry cutting, 100%. When I see a 3B cut done wet, the stylist is basically guessing. She’s got 3B spirals in this photo and look at how each ringlet lands — that’s what long, weight-removed layers do.

My personal pick for springy curls is the Long Layers for 3B Ringlets, every single time. I’ve recommended this to more friends than I can count and not one of them has walked away disappointed. The trick isn’t really the cut itself — it’s insisting on dry cutting and leaving the length longer than feels right. The curl does the rest.
7. Curly Pixie for 3A–3B
Short and dramatic. The curly pixie for 3A-3B works because the curl provides built-in texture that a straight pixie has to manufacture with product. Ask for longer volume through the crown, tapered but not shaved sides, and absolutely no thinning shears anywhere near those curls. Cut dry, with each curl pinched and released to check the spring as the stylist works. You can read up on how curly pixie cuts are shaped by stylists who specialize in texture — it’s genuinely enlightening.
8. Half-Down Spiral Layers for 3C
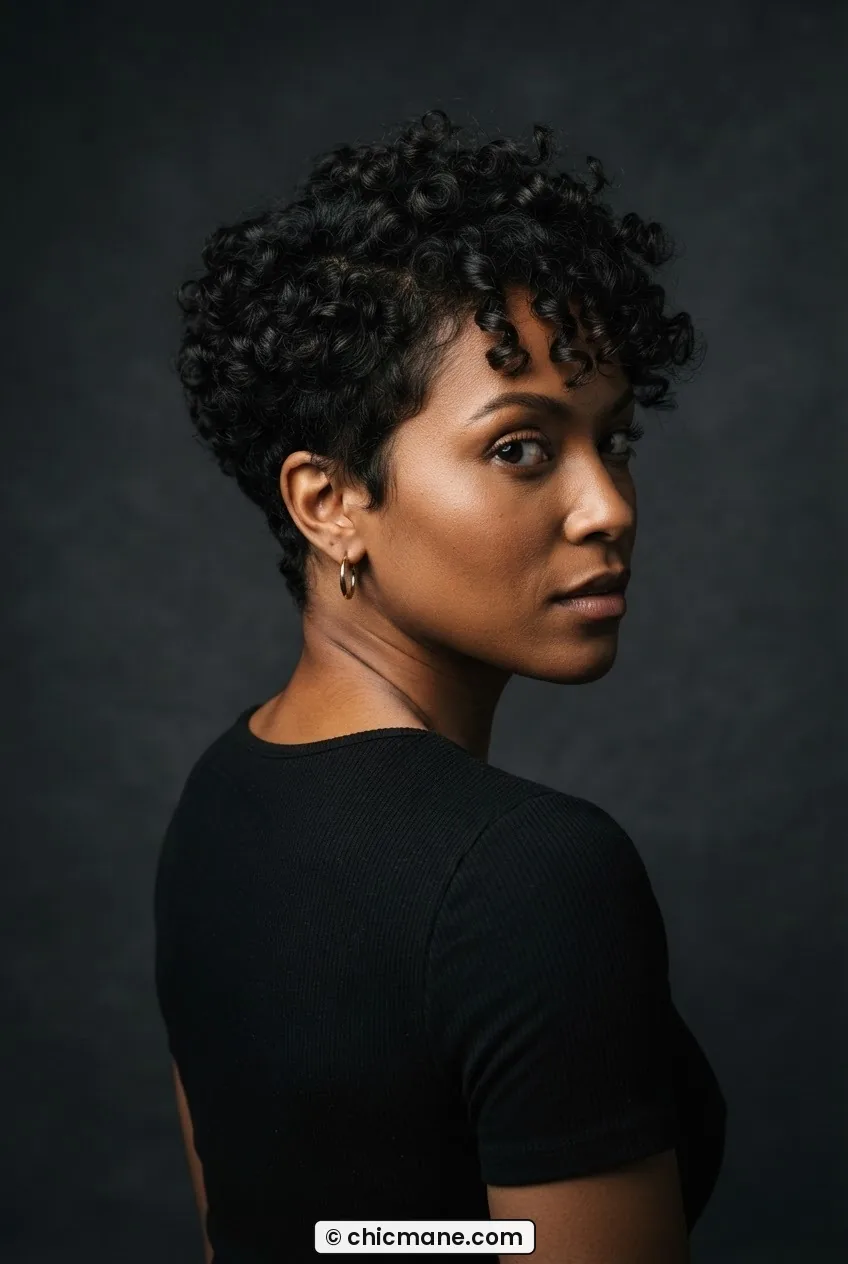
3C curls have incredible density. The risk with 3C is that too much length without enough layering creates a curtain effect — heavy, flat at the top, wide at the bottom. Spiral layering (some stylists call it the Deva cut technique) removes interior weight while keeping the outer curl pattern intact. The result is hair that bounces when you walk and separates beautifully on its own. This is the kind of texture you see and immediately save as hair inspo. Cut dry, obviously. Always dry for 3C.
Tight Coils
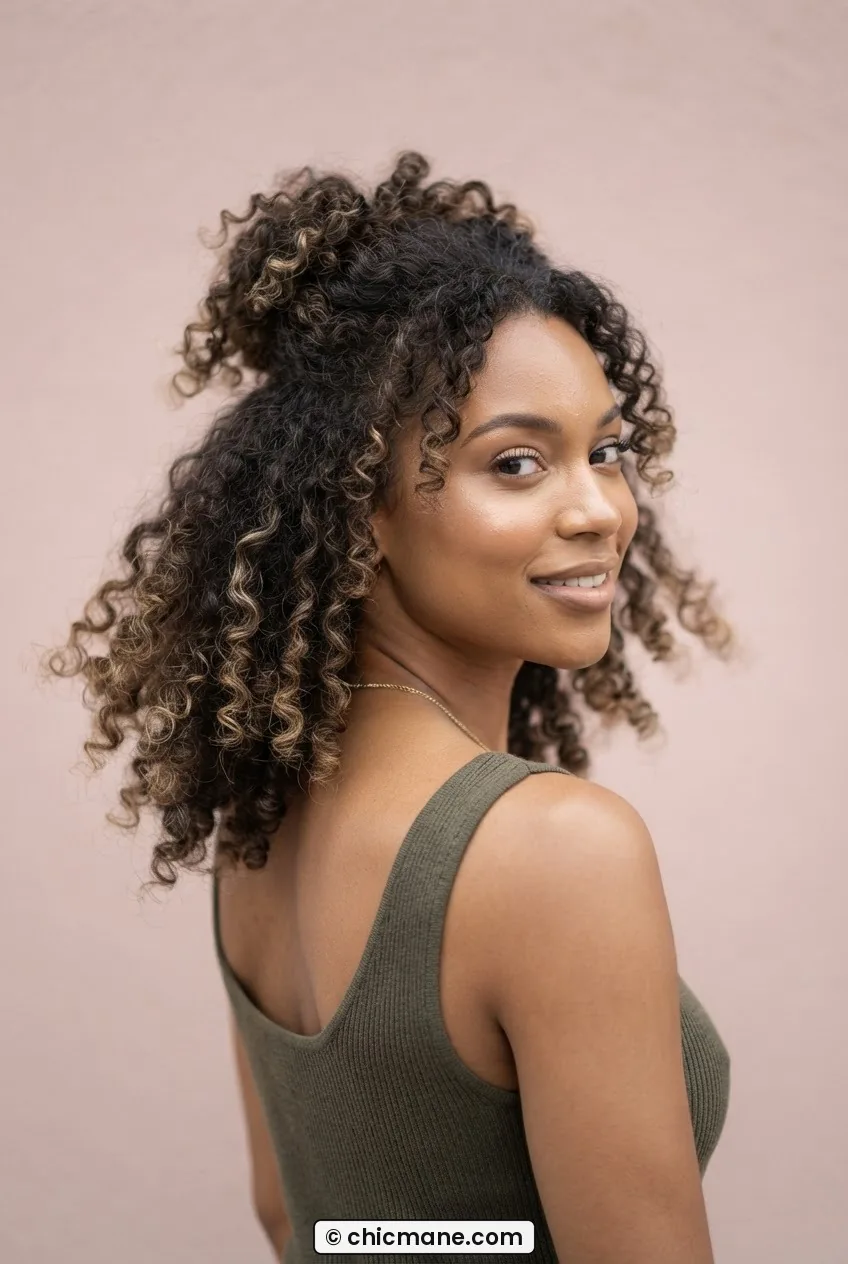
4A through 4C hair is the most underserved in mainstream hair inspiration content. Which is honestly baffling because the versatility in this range is extraordinary — and the cuts that work here are deeply specific in ways that matter. Shrinkage can be 50-70% of the actual length. Everything you cut needs to account for that math.
9. The Teeny Weeny Afro (TWA) Shaped Cut
4A hair does the TWA better than anything. But a good TWA isn’t just short — it’s shaped. The stylist should round the silhouette so it’s higher at the crown and narrower at the sides, proportional to the face. Ask for a pick-out shape check before they finish. This is absolutely a dry cut. Wet 4A hair has zero visual relationship to dry 4A hair. A stylist who insists on wetting first for a TWA is working from habit, not texture knowledge.
10. Tapered Cut for 4B Coils
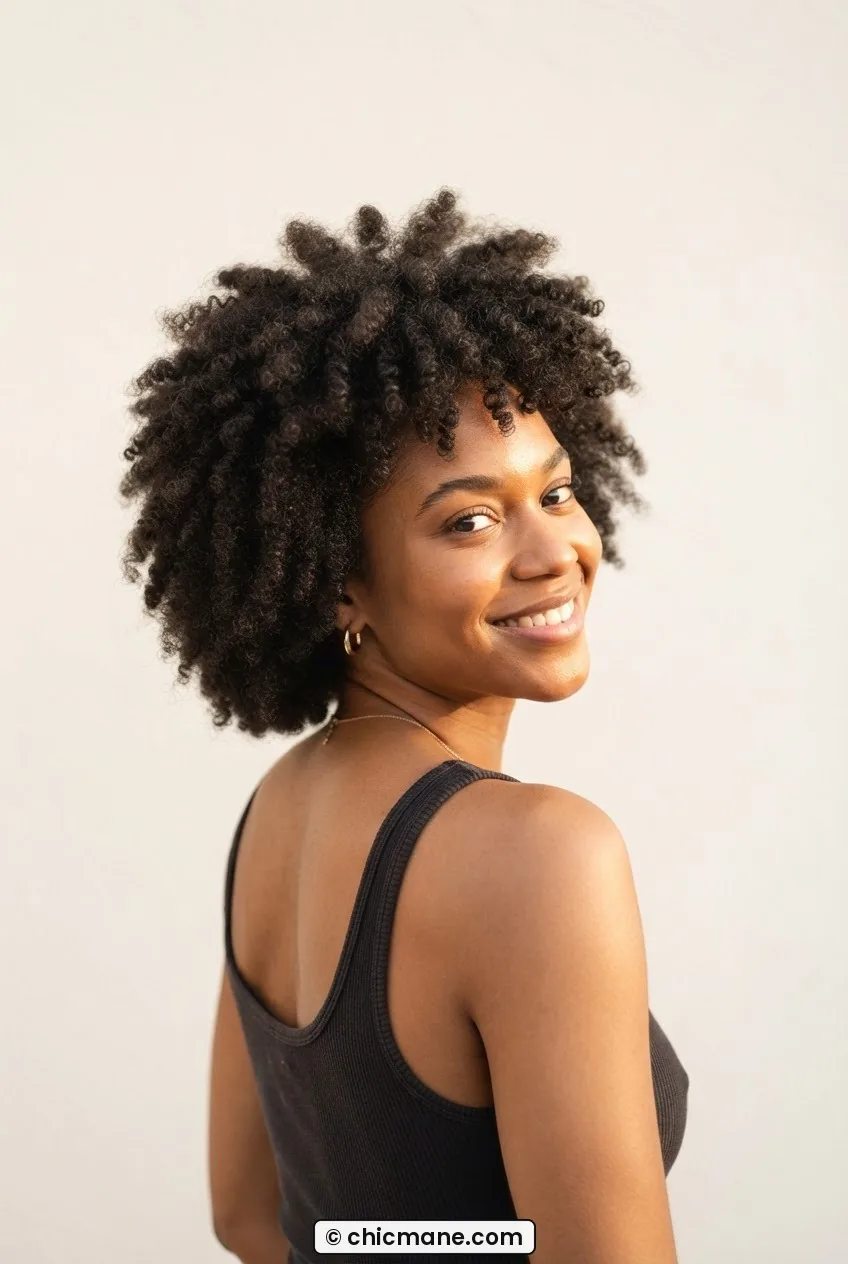
4B coils have a tighter, more angular zig-zag pattern and they respond beautifully to a tapered cut — close at the nape and sides, fuller through the crown and top. It’s sculptural in the best way. You need a stylist who actually cuts coils regularly, because the taper has to account for significant shrinkage variability across different sections of 4B hair. Some parts of a 4B head shrink more than others, and that has to be anticipated, not corrected after the fact. Cut dry, shaped in sections.
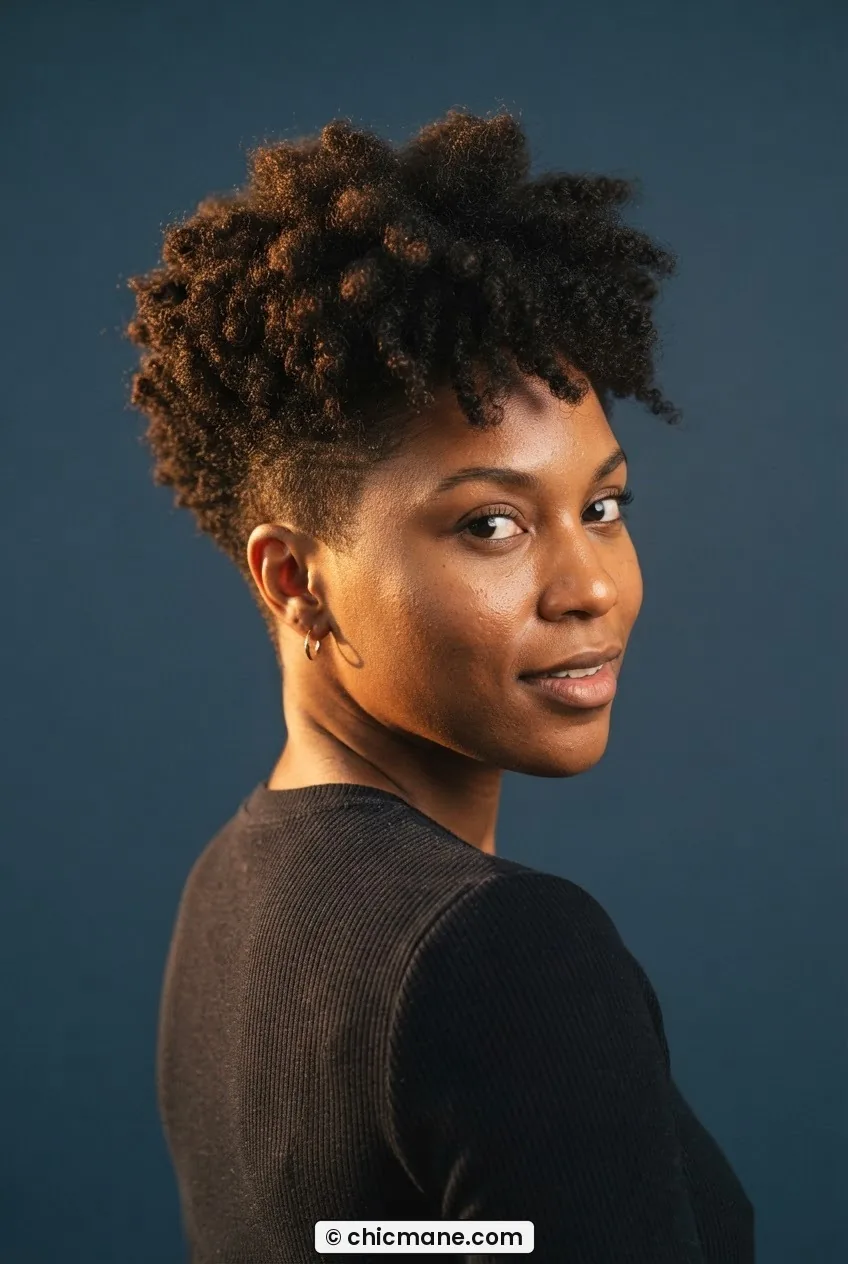
11. The Wash-and-Go Ready 4C Shape
4C hair is the most shrink-prone of all the patterns — we’re talking up to 75% in some cases. The wash-and-go ready shape is essentially a cut that works beautifully whether the hair is freshly washed and defined or fluffed out into a full cloud. It prioritizes a rounded perimeter and minimal internal layering (because 4C hair creates its own volume — you don’t need to manufacture it). This cut should always be done dry, and frankly you should be able to learn a lot about how your 4C coils behave with moisture before making a major shape decision. If you want to reach out about what cut might suit your specific coil pattern, I’m always happy to chat — head to the Contact page and drop me a message.
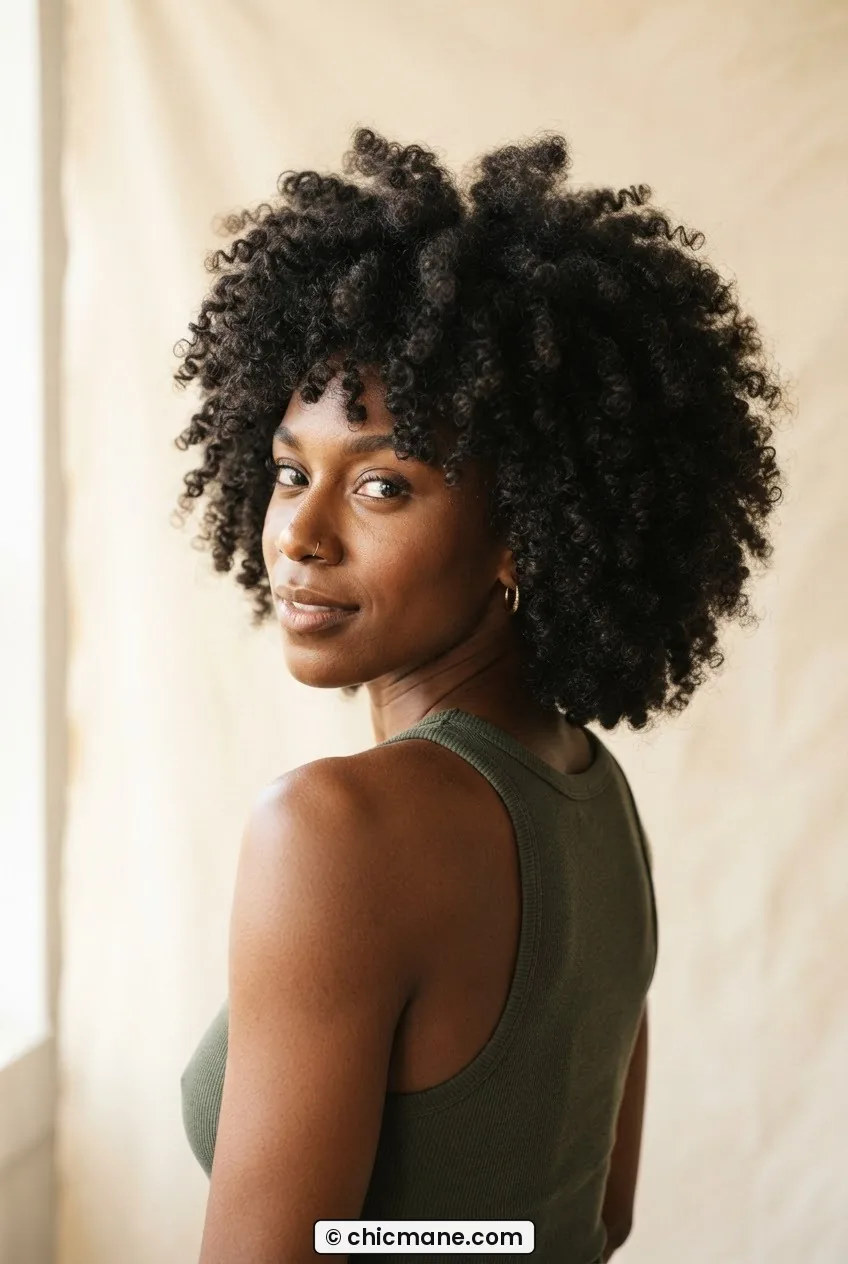
12. The Half-Up Coil Style with Length-Check Cut
This one’s a little different — it’s a maintenance trim designed specifically to be worn half-up. For 4A-4C hair, this means trimming the perimeter on fully stretched hair (blown out or stretched with braids) so that when you pull the front sections up, the remaining length looks intentional and even. It sounds simple but almost no one does it this way, and the result is that half-up styles on coily hair look properly structured rather than accidental. For some really quick and beautiful variations to try on a good-curl day, the five-minute open hairstyles options post is one I come back to constantly — it has options that translate brilliantly to 4A-4C textures.
The Most Common Cutting Mistake for Curls
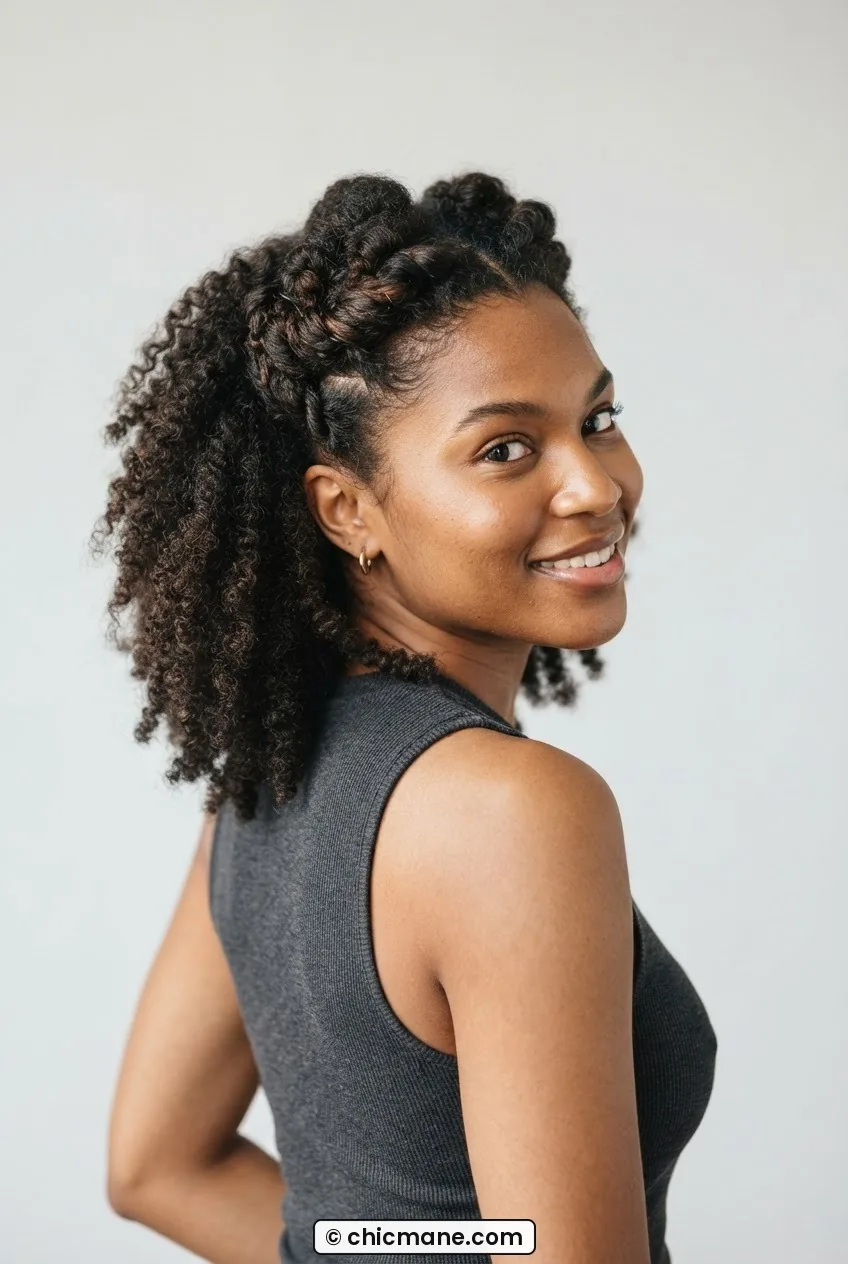
Thinning shears. I can’t say it enough. Thinning shears on curls — any curl pattern from 2A to 4C — are almost always the wrong tool. They disrupt the curl clumping pattern, create flyaways that look like frizz (because they are, functionally, frizz), and leave the hair with uneven density that no amount of product can fix. The reason stylists reach for them is habit and speed. The reason you should politely ask them not to is that your curls will thank you for the next six months. Any curl stylist worth their chair time already knows this — and if yours doesn’t, that’s useful information about whether you’re in the right hands. You can find a lot more context on curl care philosophy on the About page if you’re curious about where I’m coming from with all this.
Questions I Get About Curl Cuts
How do I know my actual curl pattern before booking a cut?
Wash your hair with a gentle cleanser, apply only a light leave-in, and let it air dry completely without touching it. What you see when it’s fully dry is your natural pattern. The key is doing this with no diffuser and no scrunching — just observing. Many people are one or two sub-types different from what they think they are.
Can I ask my regular stylist to cut my curls dry even if they normally cut wet?
Absolutely, and you should. Just be straightforward about it — say “I’d really love for you to cut this dry so we can see the shrinkage as we go.” A good stylist will adapt. If they push back hard or seem unfamiliar with why it matters, that’s worth knowing before scissors hit your hair.
What if my curls are a mix of two patterns — like 3A on top and 3C underneath?
That’s more common than you’d think. Curl patterns within one head vary based on density, porosity, and hormones. The safest approach is to choose cuts designed for the tighter of your two patterns — because a cut that handles the spring of your 3C underneath will look even better on the looser 3A sections, whereas a cut designed for 3A might look flat and stretched at the underlayer.
How often should curly hair be trimmed?
Tight coils (4A-4C) can go longer between trims — sometimes every four to six months — because the coil structure protects the ends. Looser waves (2A-2C) tend to see split ends faster because the hair moves more and gets more friction. Every two to three months is a reasonable baseline for wavy hair, but your ends will tell you the truth faster than any calendar.
That’s all twelve. My honest hope is that at least one of these made you think differently about the next cut you book — not just aesthetically, but in terms of actually talking to your stylist about your pattern, your shrinkage, and whether they’re picking up those thinning shears. Hair inspiration is only useful when it leads to hair that actually works on you. Go get a cut that was designed for your curls specifically. You deserve it.