







Nobody told me that long hair is not one length. I learned it the hard way growing out a too-short lob that kept flipping at my shoulders for months. Once I started thinking in bands instead of inches, everything got easier. This is the length guide I wish someone had handed me at the salon.
Collarbone Length: Where Long Begins
I count collarbone as the front door to long hair. It is long enough to pull back but short enough to still have that bouncy, just-cut swing. If you are growing out a bob, this is your first win. And honestly, a lot of us should stay here longer before rushing to the waist.
1. The Blunt Collarbone Lob
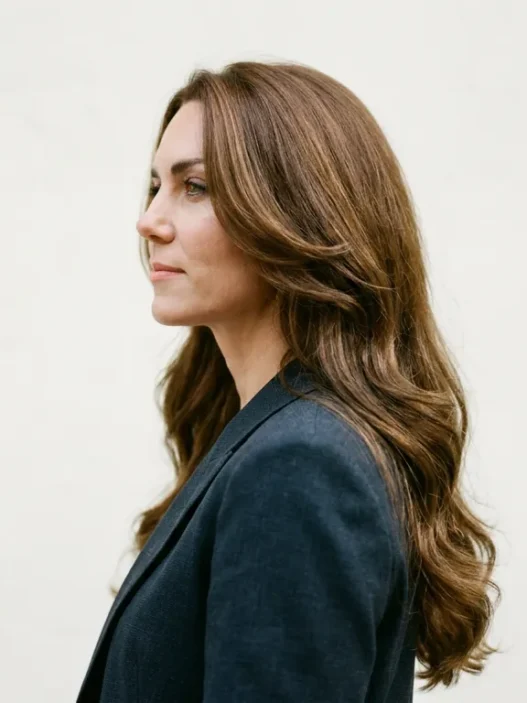
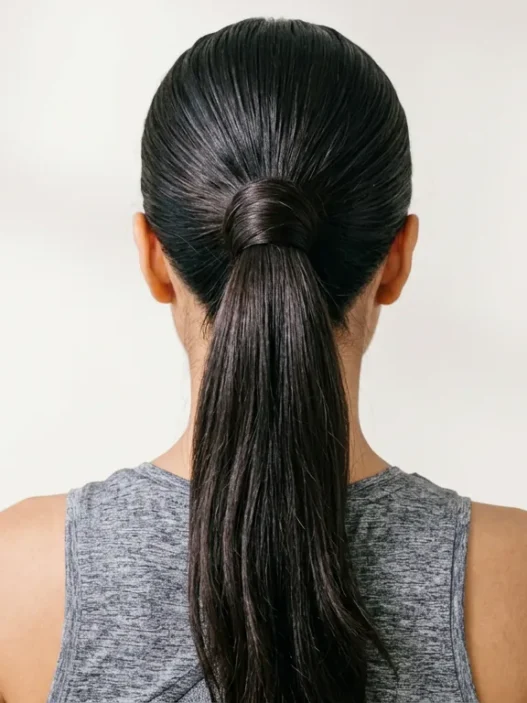
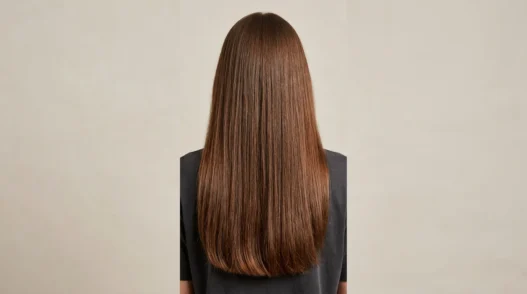
When I tried this, my fine hair suddenly looked twice as thick. The blunt edge hits right at the collarbone and creates a clean, full-looking line with no wispiness. Look at how she is wearing hers in the back view, that straight-across hem is exactly what makes collarbone hair read as long, not in-between. I wore mine with a middle part for work and it never flipped out weirdly like my shorter bob did.
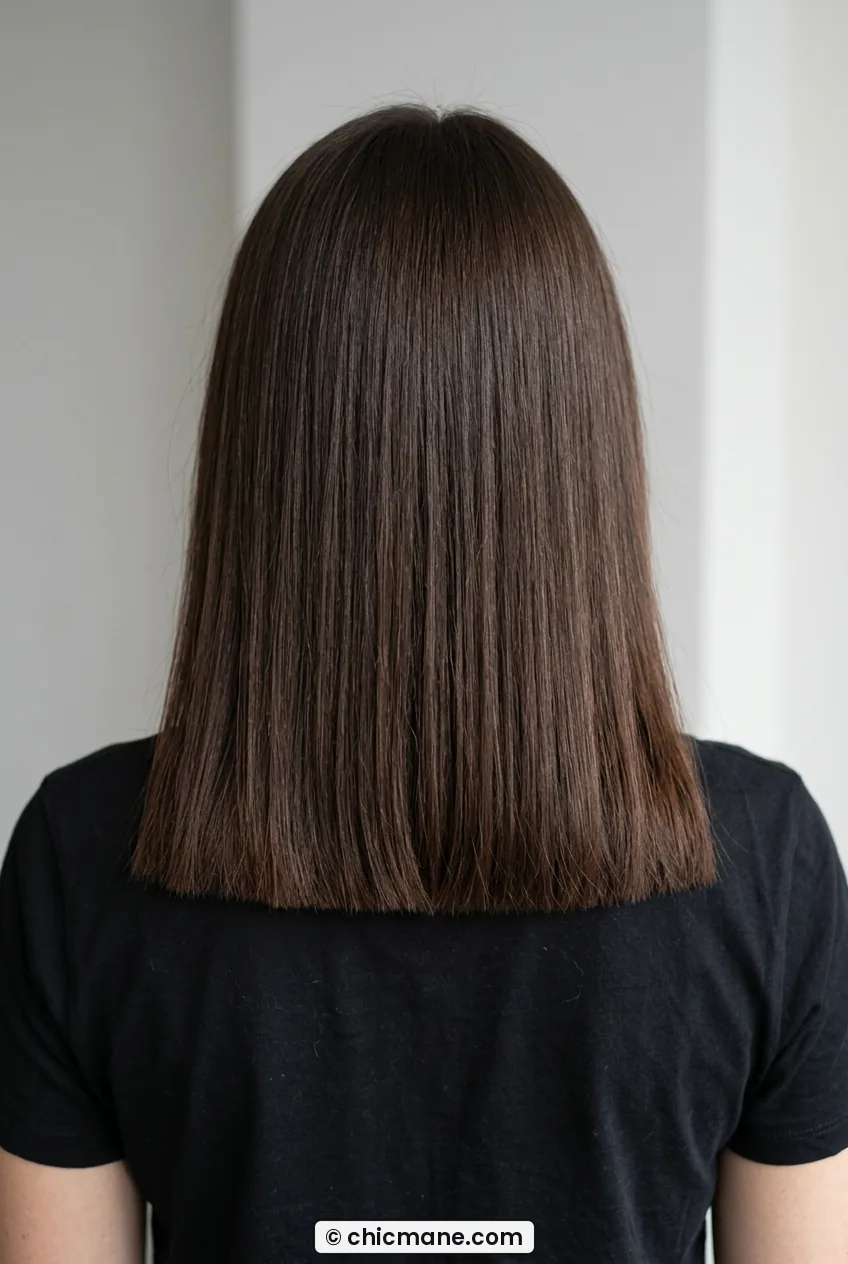
My stylist took off barely half an inch to keep it sharp, and she told me to come back every 8 to 10 weeks. It is low-maintenance but not no-maintenance. I also love how this length works with hairstyles ideas from crop to waist when you are still deciding how long to go.
2. Soft Face-Framing Collarbone Cut
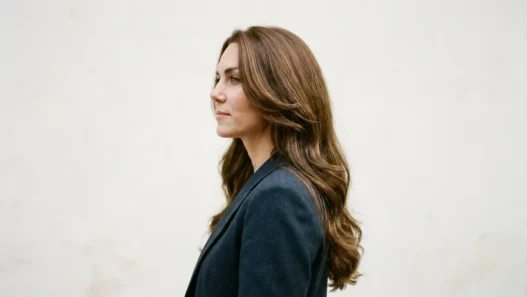
This one is my recommendation for square faces or anyone scared of blunt. It is still collarbone length in the back, but the front has those long, cheek-skimming pieces that soften everything. She has got a similar hair texture to mine, straight with a little bend, and honestly those front layers look incredible on her from behind because you can see how they angle in.
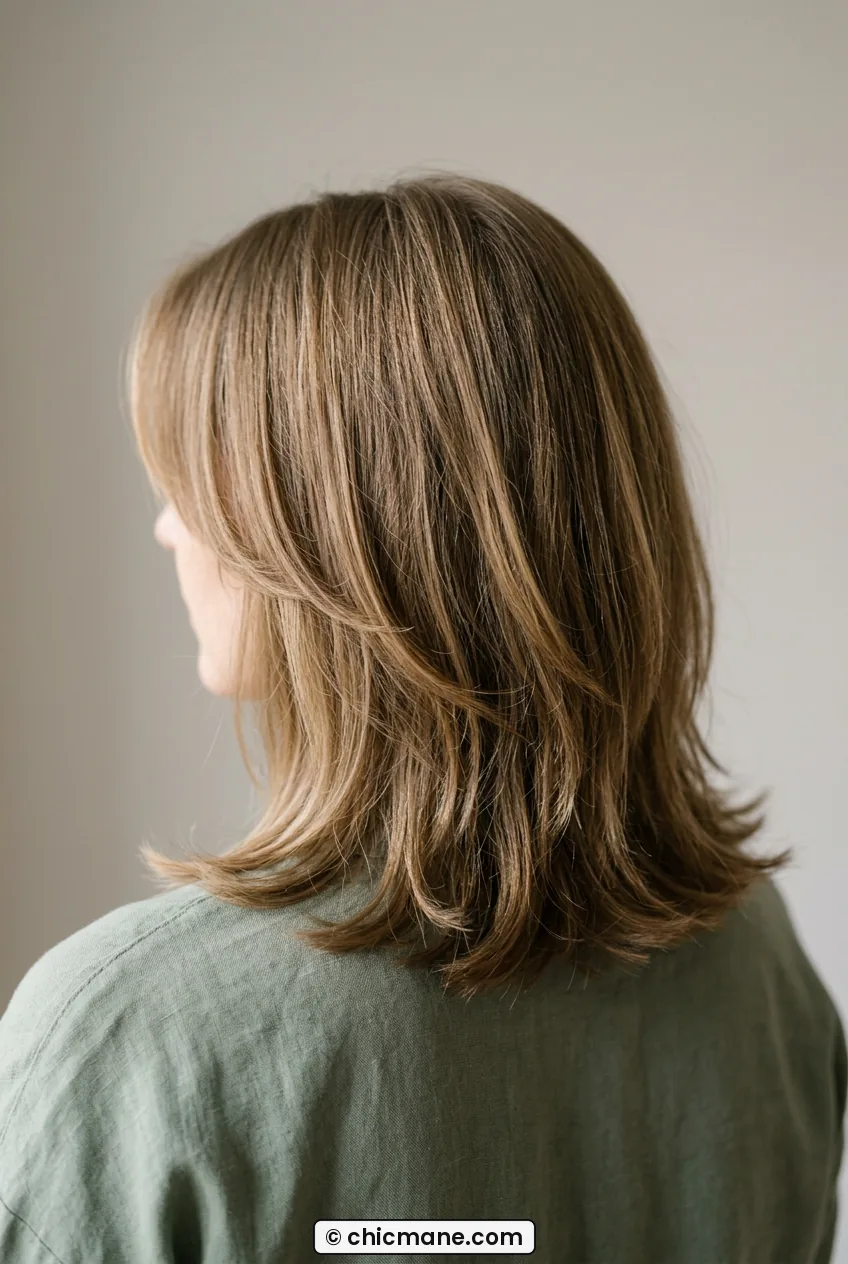
You can read up on how face-framing layers grow out with graceful grow-out techniques that keep the shape soft for months before your next trim. I let mine go an extra month and they just turned into a curtain shape, which I actually liked better.
3. Collarbone Shag With Curtain Bangs
Short, choppy, fun. This is the collarbone version for wavy hair that needs movement. Mine puffed up the first time I air-dried it, lesson learned. Second time I used a little cream, scrunched, and left it alone. So much better.
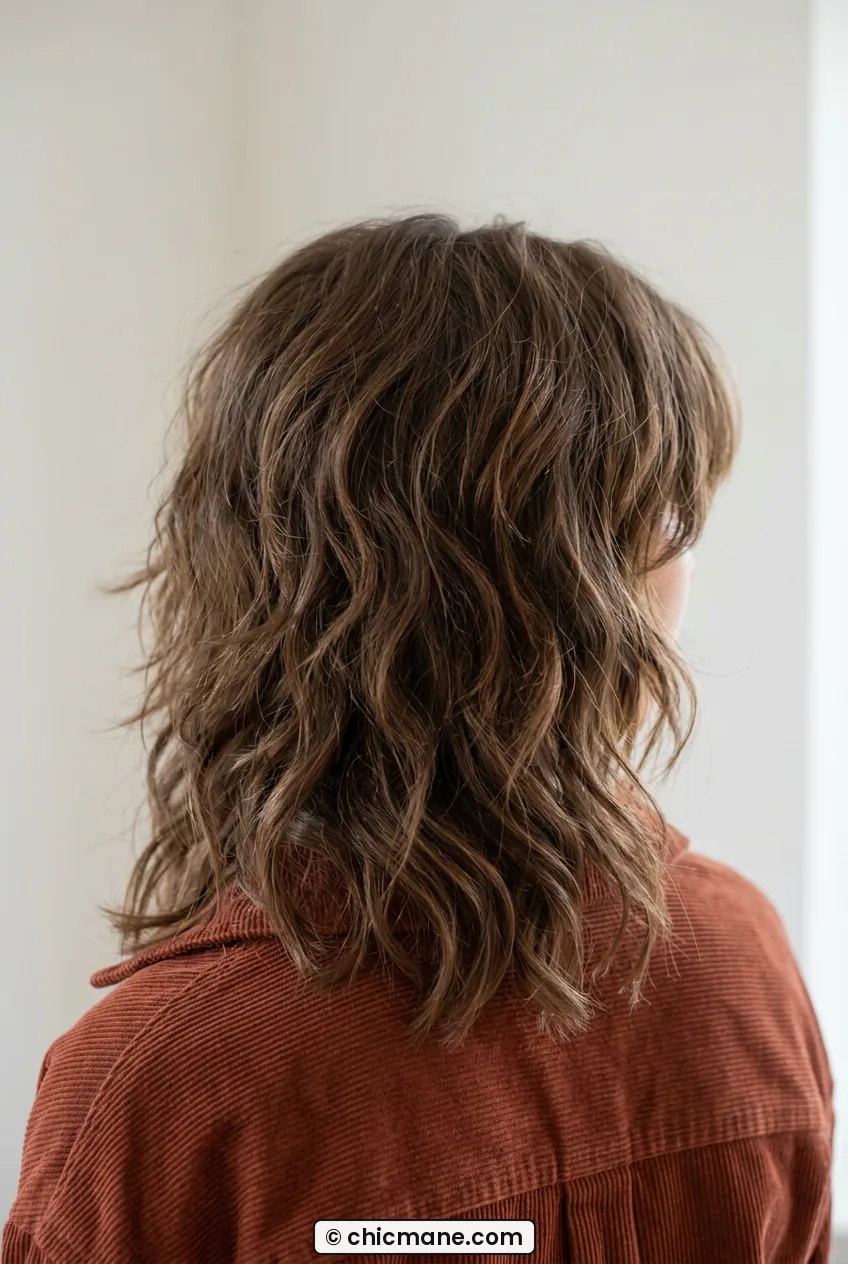
This is the length I am talking about if you want edge without losing ponytail ability. See how it hits just below her collarbone in the photo? The back still has that shaggy, piece-y texture but the ends are long enough to tie up on a hot day.
Past the Shoulder: The Sweet Spot
Can we talk about past-the-shoulder hair for a minute? This is where most of us actually live, even if our Pinterest boards say waist-length mermaid. It brushes the top of your shoulder blades, it moves when you walk, and it does not get stuck in your seatbelt every single time. I stayed here for two years and got more compliments than at any other length.
4. Long Layers That Just Kiss the Shoulders
My favorite is this barely-there layered cut. The base is one length about two inches past the shoulders, with only the top two layers cut in to give it lift. From the back, like on her, you can see the soft V shape without it looking thin or stringy. I love this because it keeps that thick, healthy hem but my hair does not lie flat on my head like a curtain.
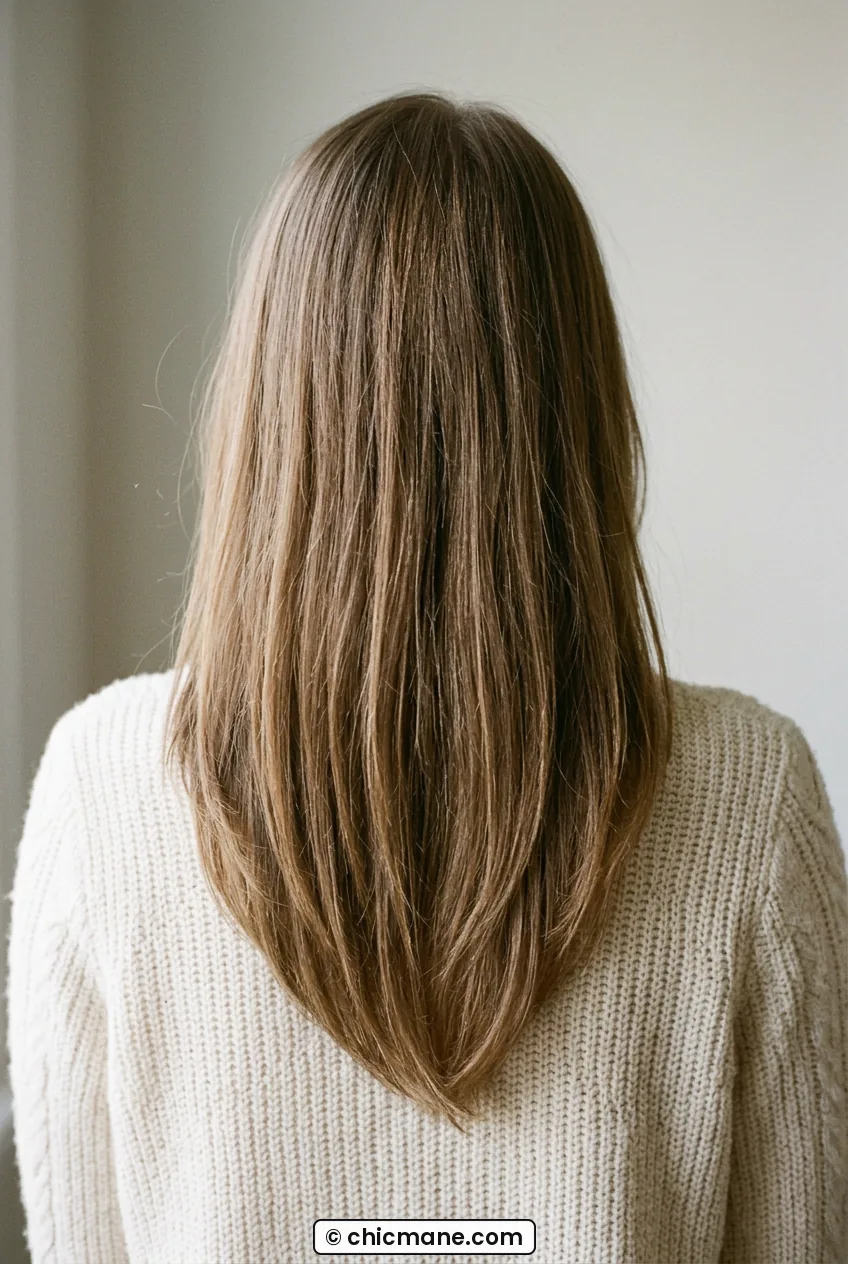
I asked my stylist for a long-layered finish with the shortest layer no higher than my chin, and that made all the difference. Any shorter and my ends looked see-through. If your hair is on the thinner side, this is also the length where easy everyday styles still hold without a ton of pins. A low pony actually stays.
5. The U-Shaped Past-Shoulder Cut
Have you ever noticed how a U shape photographs from behind? It is rounded, full, and so flattering in a plain white tee. That is this cut. The sides are a little shorter, the middle dips lower, and there is no harsh V point. When I had this, I could wear it straight or wavy and it always looked styled, even when I had done literally nothing.
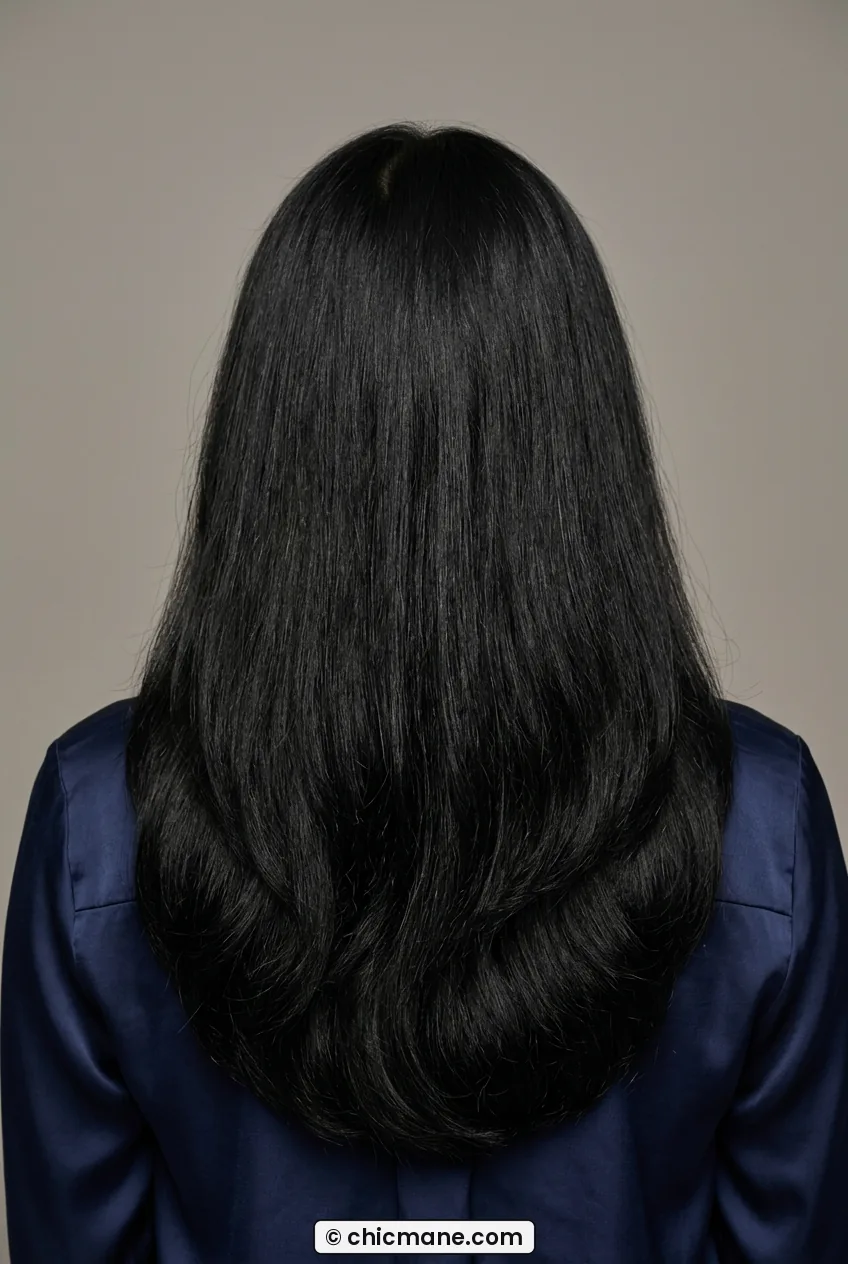
Look at how she is wearing hers, that rounded bottom edge is exactly what I mean about a soft, grown-out shape. I trimmed mine myself between appointments just by dusting the very bottom, but please do not do what I did the first time with dull kitchen scissors. Get real shears. My ends forgave me eventually, after a good conditioning mask and a proper trim. You can learn proper dusting with safe at-home trimming methods that protect the hemline between salon visits if you are trying to stretch your appointments.
6. Feathered 90s Blowout Length
This is my going-out hair at this length. Big, bouncy, feathered layers that flip away from the face, blown out with a round brush. I am not going to pretend it takes five minutes. On me it takes a solid 20-minute blow-dry plus Velcro rollers while I do makeup. But the payoff? Huge.
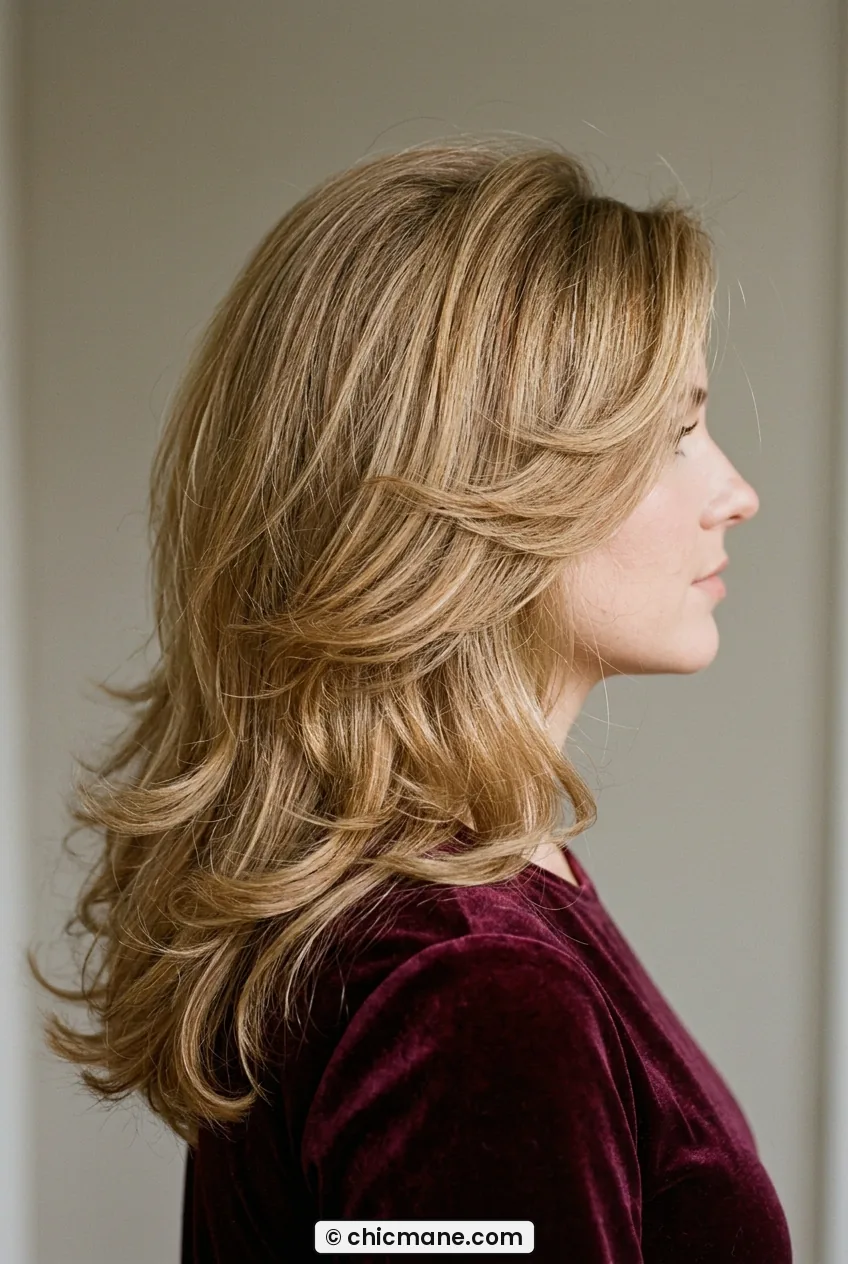
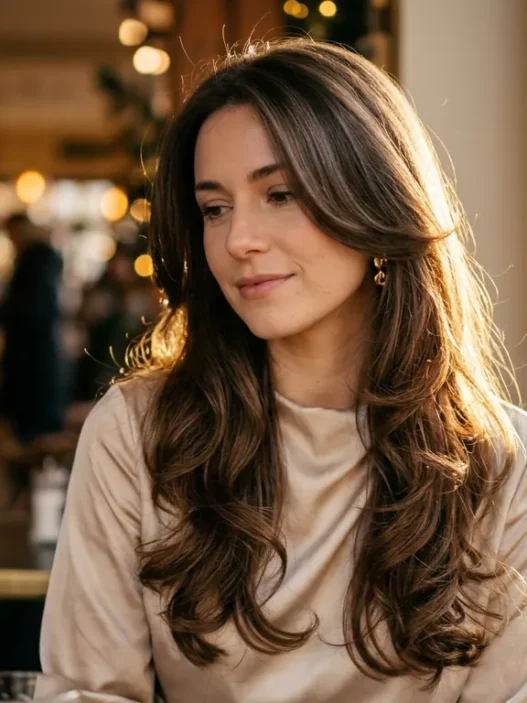
She nailed the volume in the photo, see that lift at the crown and how the ends kick out just a little? That is a well-done blowout, not just air-dried. I save this for dates or events, and it pairs perfectly with my picks for going out hairstyles worth the effort when I want that extra-polished feel.
7. Straight and Glassy Past-Shoulder Hair
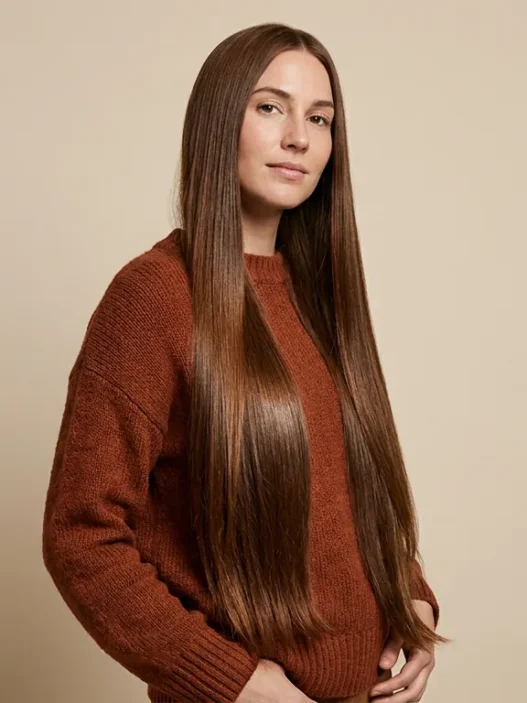
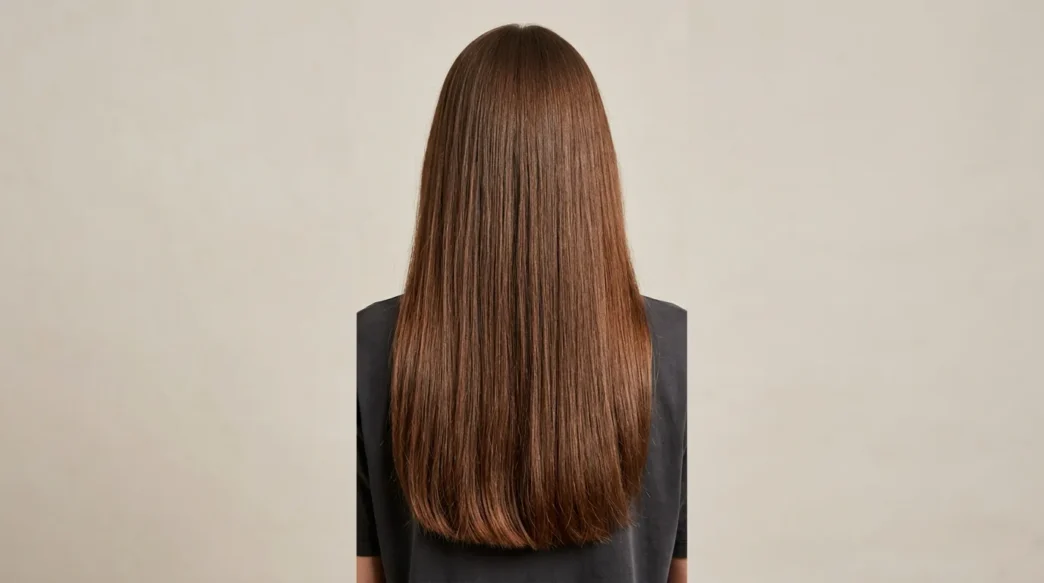
Sometimes I get tired of layers and just want that sleek, glass-like sheet of hair. This cut is all one length, past the shoulders, with maybe a tiny bit of face framing and nothing else. It shows every split end, I will be honest. But when it is freshly trimmed and flat-ironed with heat protectant, nothing looks healthier.
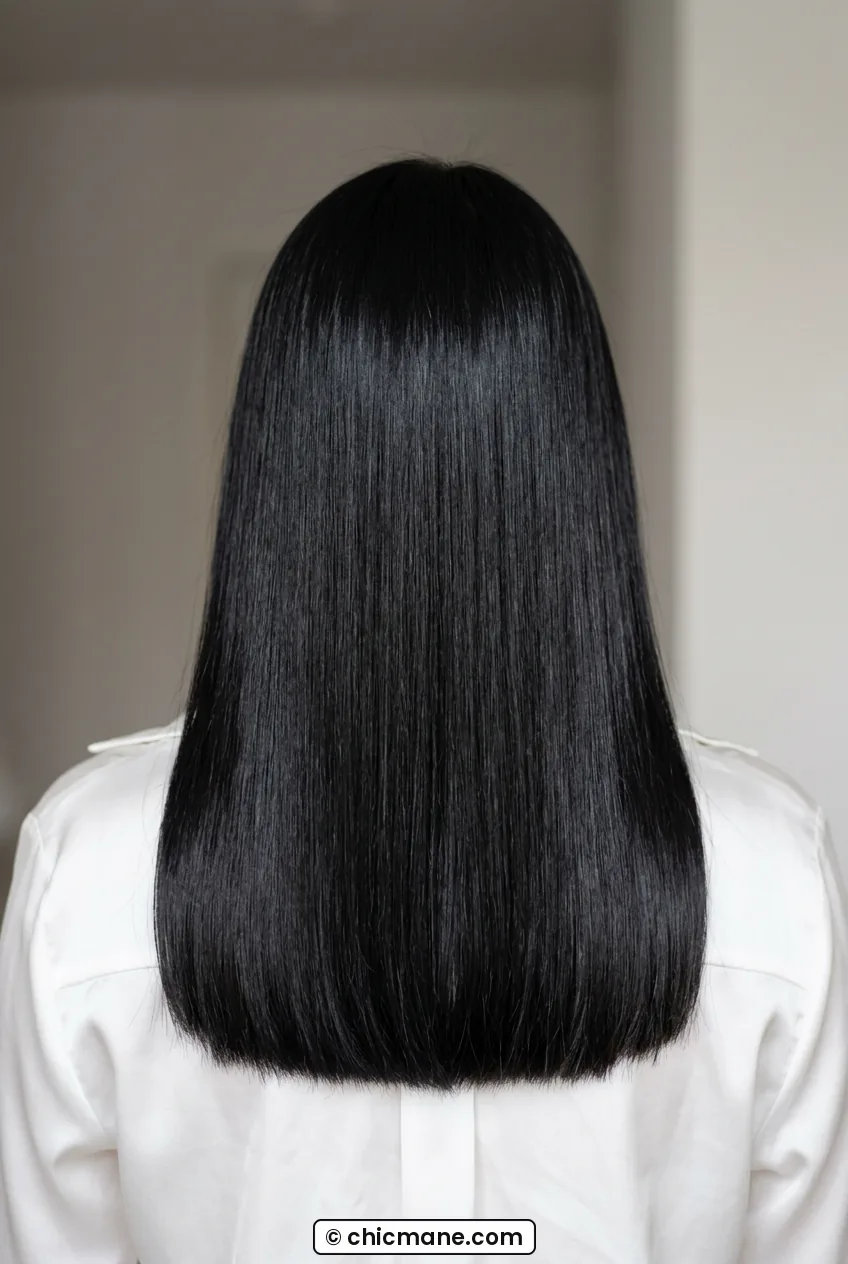
On her you can really see the shine down the whole back because there are no layers breaking up the light. My trick is a pea-size drop of oil only on the last three inches, never near the roots. And I only flat-iron on completely dry hair, or I get that sizzle sound we all dread.
My personal pick is No. 4, those barely-there long layers. I have had them three times now and I always come back when I am bored but scared to commit.
Blowout Layers in Real Time
Mid-Back Length: The Commitment Phase
Mid-back is where long hair gets serious. It hits around your bra strap or a little lower, it takes longer to wash, and ponytails suddenly feel heavy. I love it, but I will not lie to you. This is the length where I had to actually learn how to take care of my hair instead of just shampooing and hoping.
8. Classic Long Layers for Mid-Back Hair
This is the classic long-hair cut for a reason. Long, blended layers from mid-shaft down remove weight without making the bottom look thin. From behind, on her, you can see how the layers cascade instead of stacking in a shelf. When I had this length, I could do a high pony without that triangle-head thing happening.
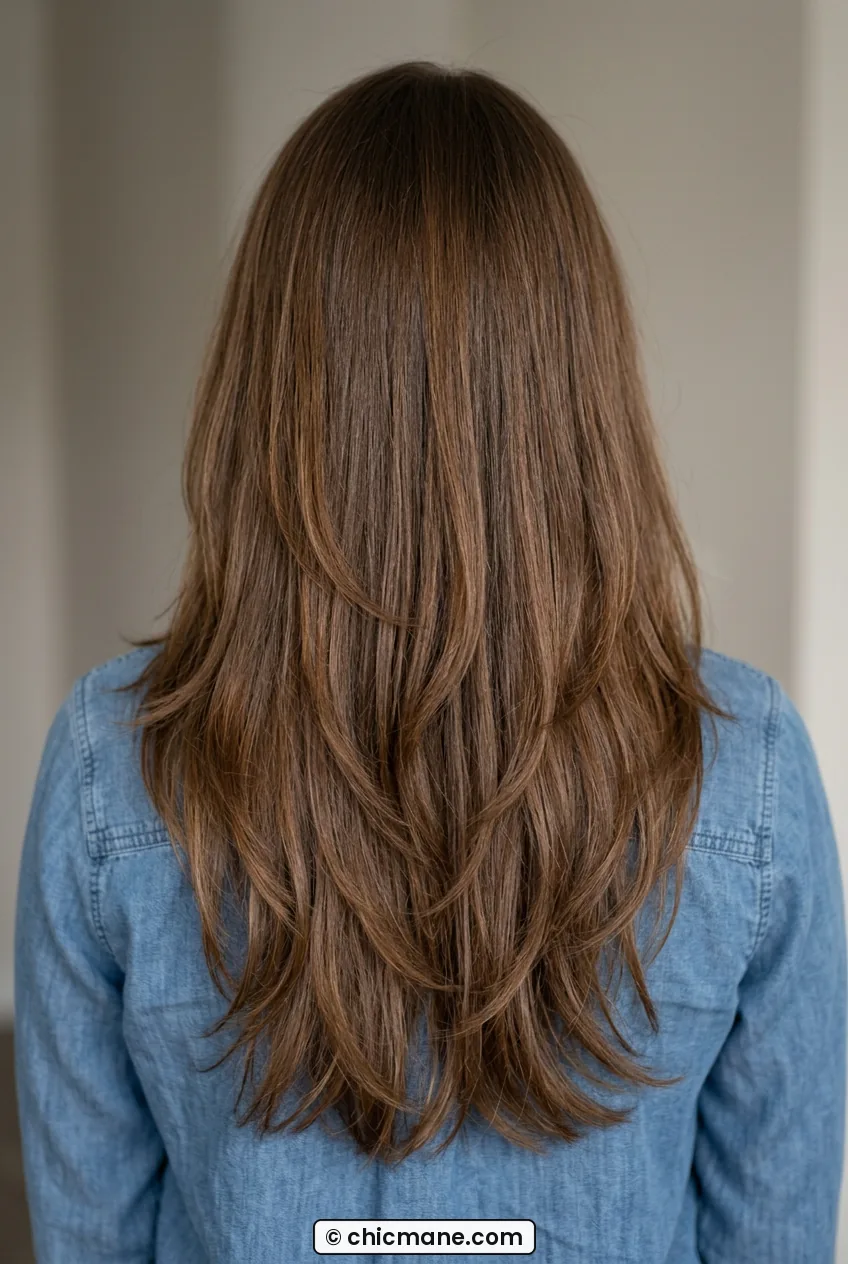
I kept mine healthy with a weekly mask and sleeping in a loose braid, which also gave me nice no-heat waves the next day. If you like that second-day texture, quick open hairstyles options are perfect at this length because you have enough hair to show the movement.
9. The Butterfly Cut at Mid-Back
Okay, I was skeptical about the butterfly hype. Short layers on top, long layers underneath? Sounded like a mullet risk. But at mid-back length it actually works so well. The top gives you volume and face framing like a short cut, the back keeps all your length. She wears it beautifully, look at that bouncy crown that melts into long ends. That contrast is the whole point.
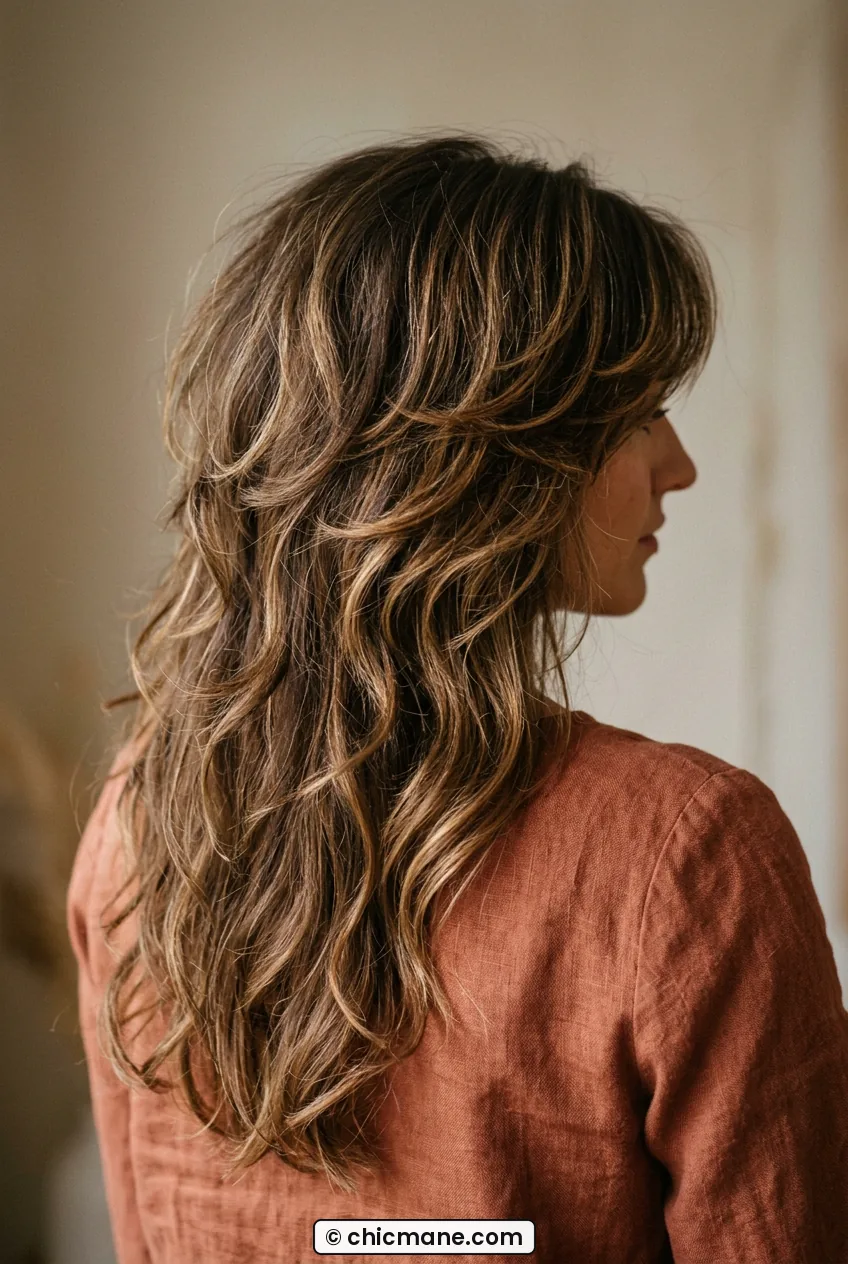
I styled mine by blow-drying the top layers with a round brush and leaving the bottom mostly natural, which saved me a ton of time. Fair warning, this cut needs styling or the top can look flat while the bottom looks huge. A little dry shampoo at the roots fixes it fast. I watched a tutorial on round-brush styling tips that finally made the top layers click for me after two frizzy attempts.
10. Mid-Back V-Cut With Thick Ends
If you love drama from the back, the V is it. The sides angle down to a soft point in the middle, which makes mid-back hair look even longer than it is. I had this in college and lived for how it looked in photos. The trick is keeping the point thick, not wispy. My stylist only point-cut the last inch to keep it full.
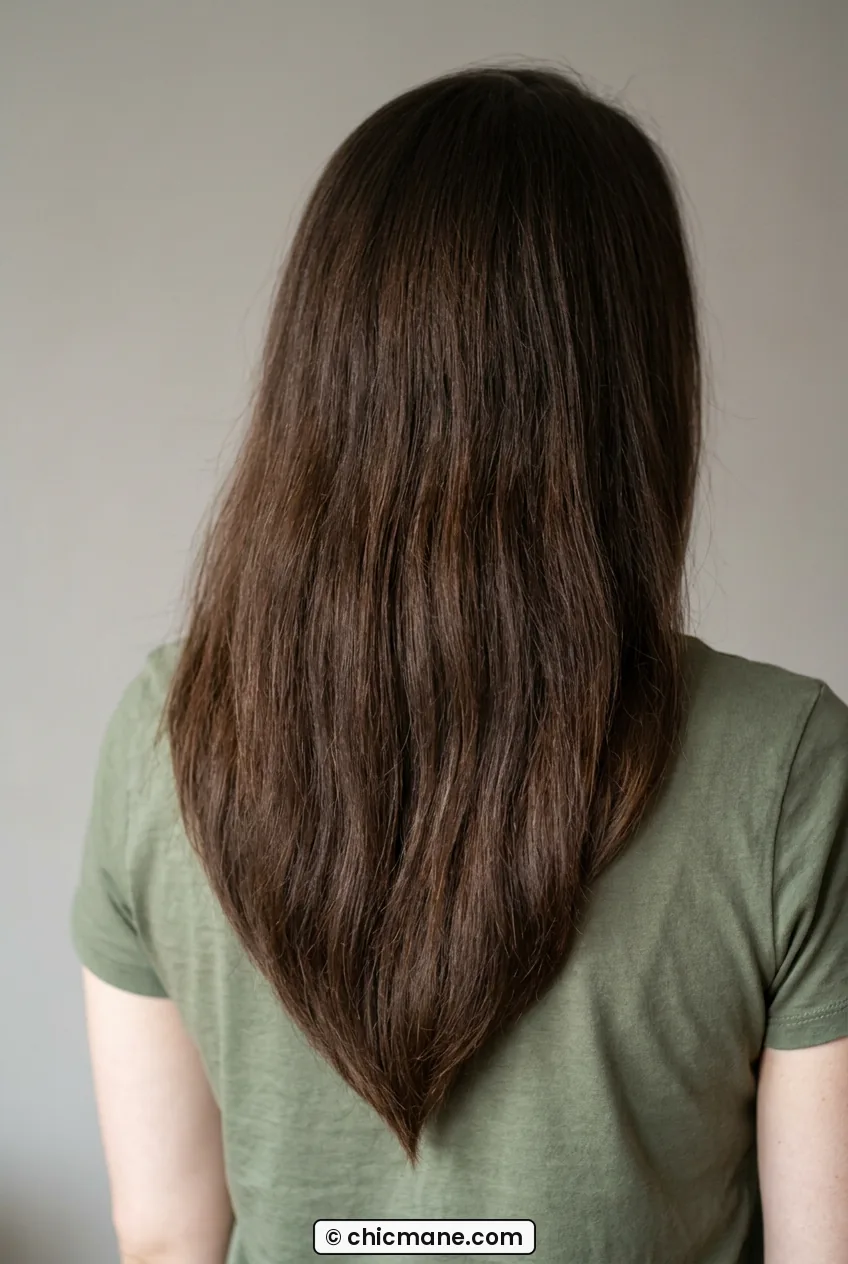
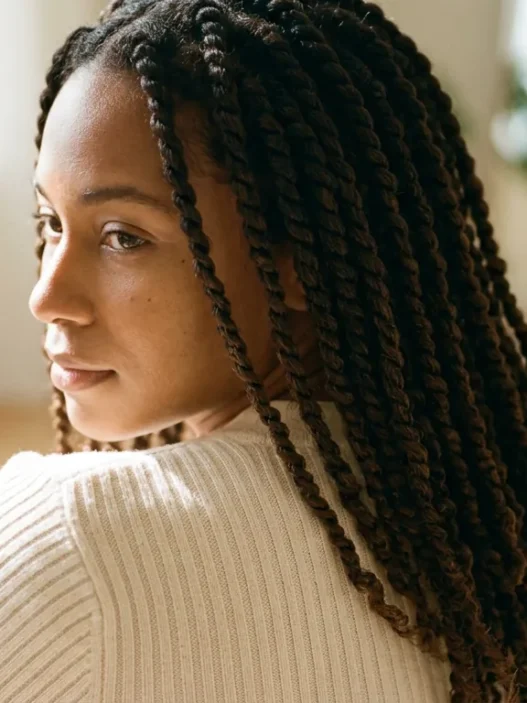
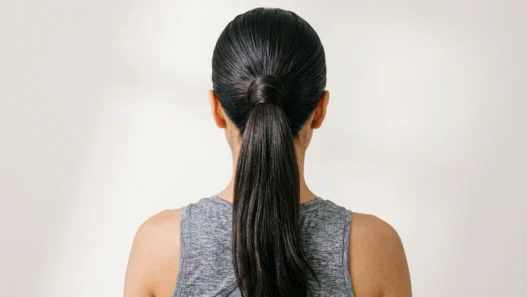
See how her ends come to that gentle V right between her shoulder blades? That is the sweet spot. Too sharp and it looks dated, too blunt and you lose the effect. I found braids looked amazing with this shape because the tail tapered naturally instead of sticking out blunt.
11. Long Curtain Layers With a Middle Part
This is the low-key cool-girl version of mid-back hair. One length in the back, long curtain pieces in the front that start at the cheek and melt into the length. No obvious layers from behind, just thick, even hair with beautiful movement around the face. I wore this when I was growing out bangs and it saved me.
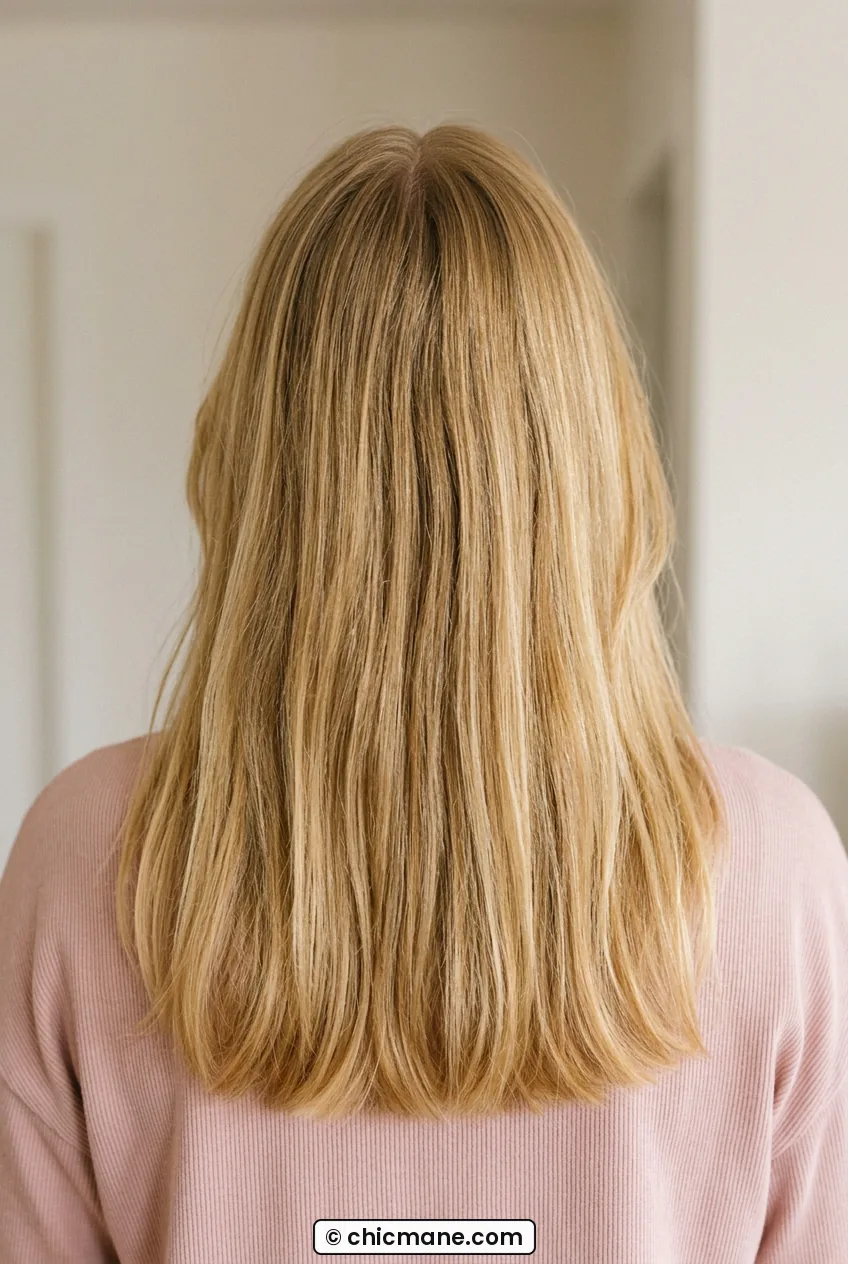
From the back view you can tell how even and healthy her hem looks, but from the front those curtains do all the work. I curled just the front pieces away from my face with a flat iron for a five-minute style that looked like I tried hard. Honestly, this might be the easiest long cut to grow out, period.
Waist Length and Beyond: Maximum Drama
Waist length is a lifestyle, not just a haircut. I have only been here once, after three years of no major cuts, and I felt like a different person. Brushing takes longer. Buns are huge. Strangers ask if it is all yours. If you want it, I get it. Just go in with eyes open and a good hair-tie stash.
12. One-Length Waist Hair With a Polished Hem
This is the mermaid hair we all picture. One length, hitting the waist, with a thick, blunt hem that looks expensive. Hers is a perfect example, that even line across the lower back with shine all the way down. No layers to thin it out, just pure length. I will say, mine tangled like crazy at this length, especially under scarves in winter.
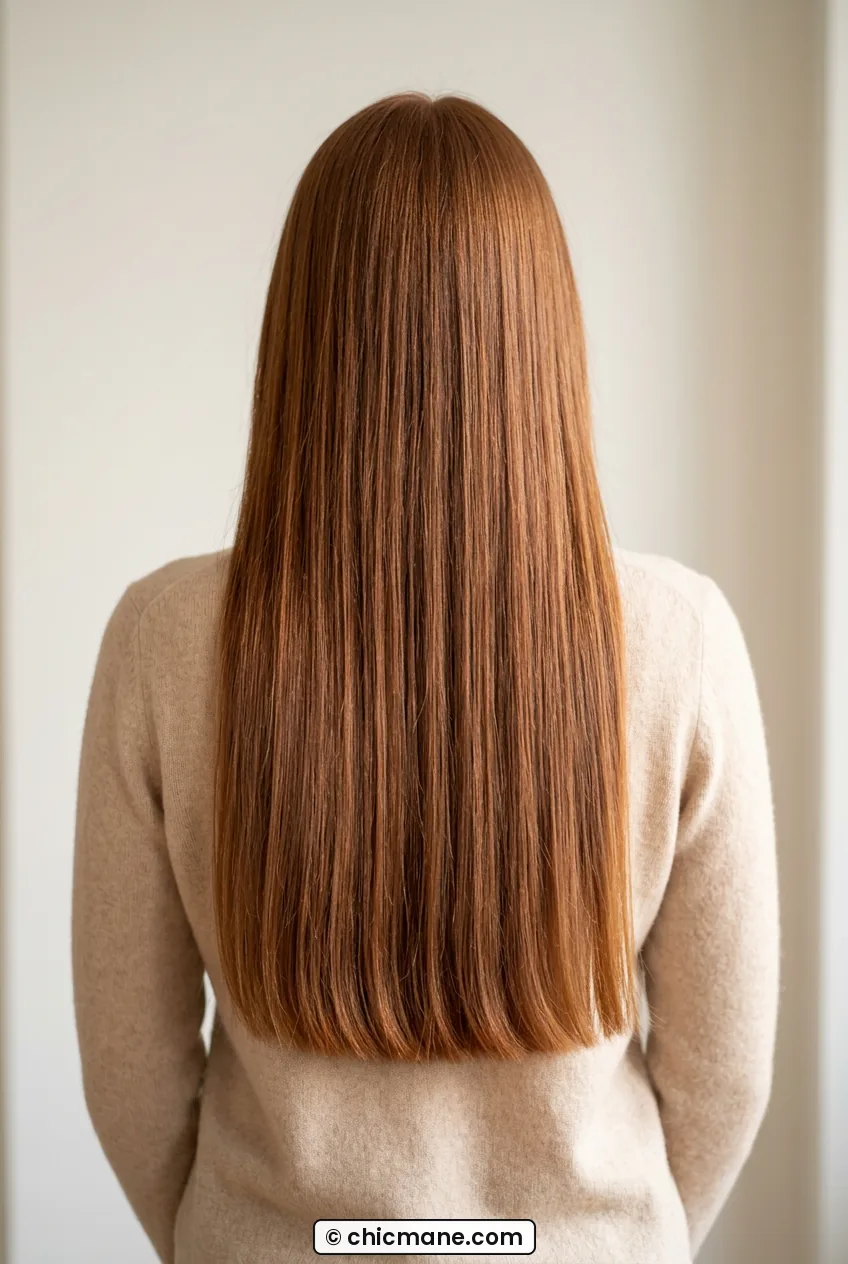
What helped me most was a silk pillowcase and a good leave-in, plus brushing from the bottom up like we were all taught but never do. This length also taught me about gentle protective styles for sleeping and workouts, because leaving it loose 24/7 just broke my ends off.
13. Waist-Length Layers to Remove Weight
Thick-haired girls, this one is for us. At waist length, one-length hair can feel like a blanket on your back. Long, subtle layers starting at chest level take out bulk and let it actually move. You can see it on her, the back is not a solid curtain, it has soft separation and swing. Mine felt five pounds lighter after this cut, I swear.
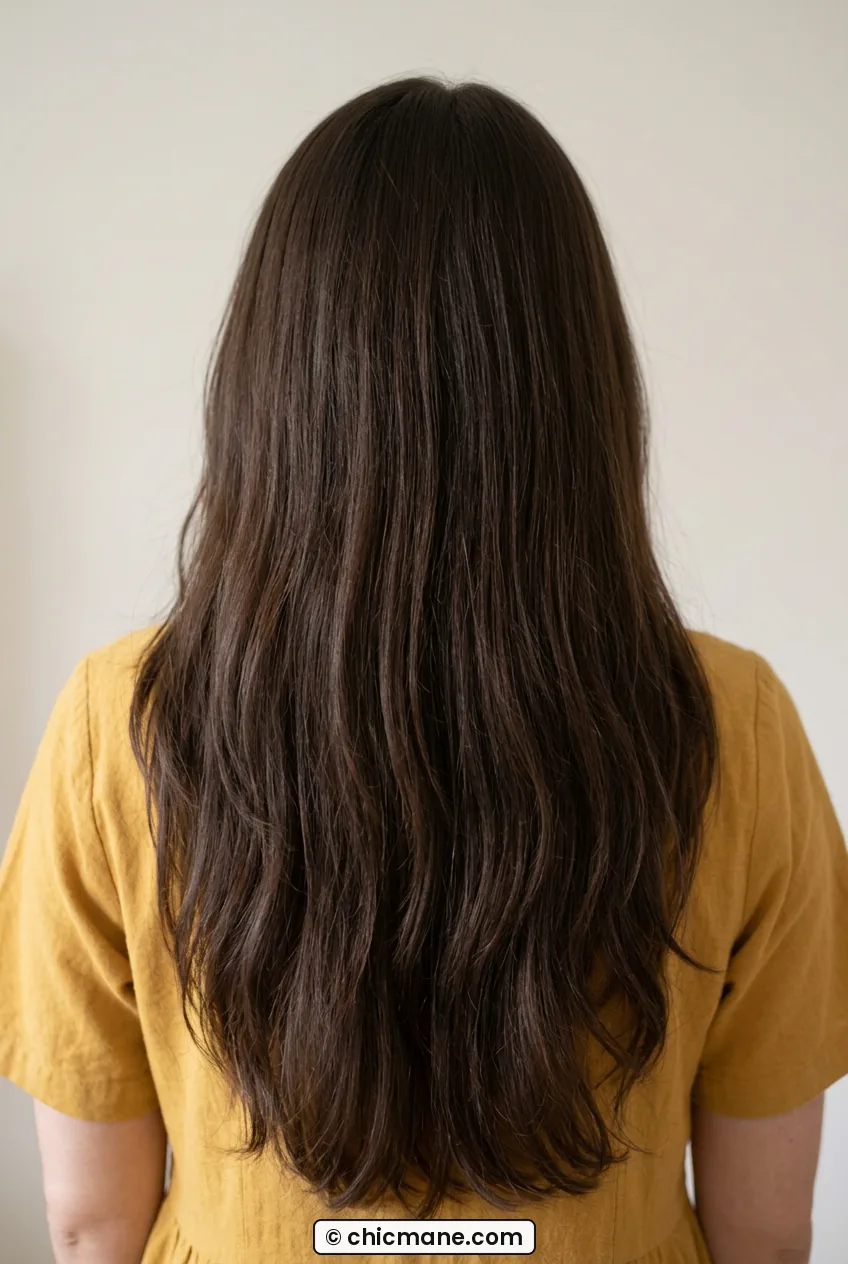
I asked for three long layers max, nothing high or choppy, to keep the hem full. My stylist used thinning shears very sparingly just through the midsection, not the ends. That kept the bottom thick while the top stopped poufing out in humidity.
14. Extra-Long Boho Waves
This is less a cut and more a way of wearing extra-long hair. Soft, loose waves all the way down, center part, nothing too perfect. I did this with overnight braids, two loose French braids on damp hair, and woke up with the prettiest texture. No heat, no fuss.
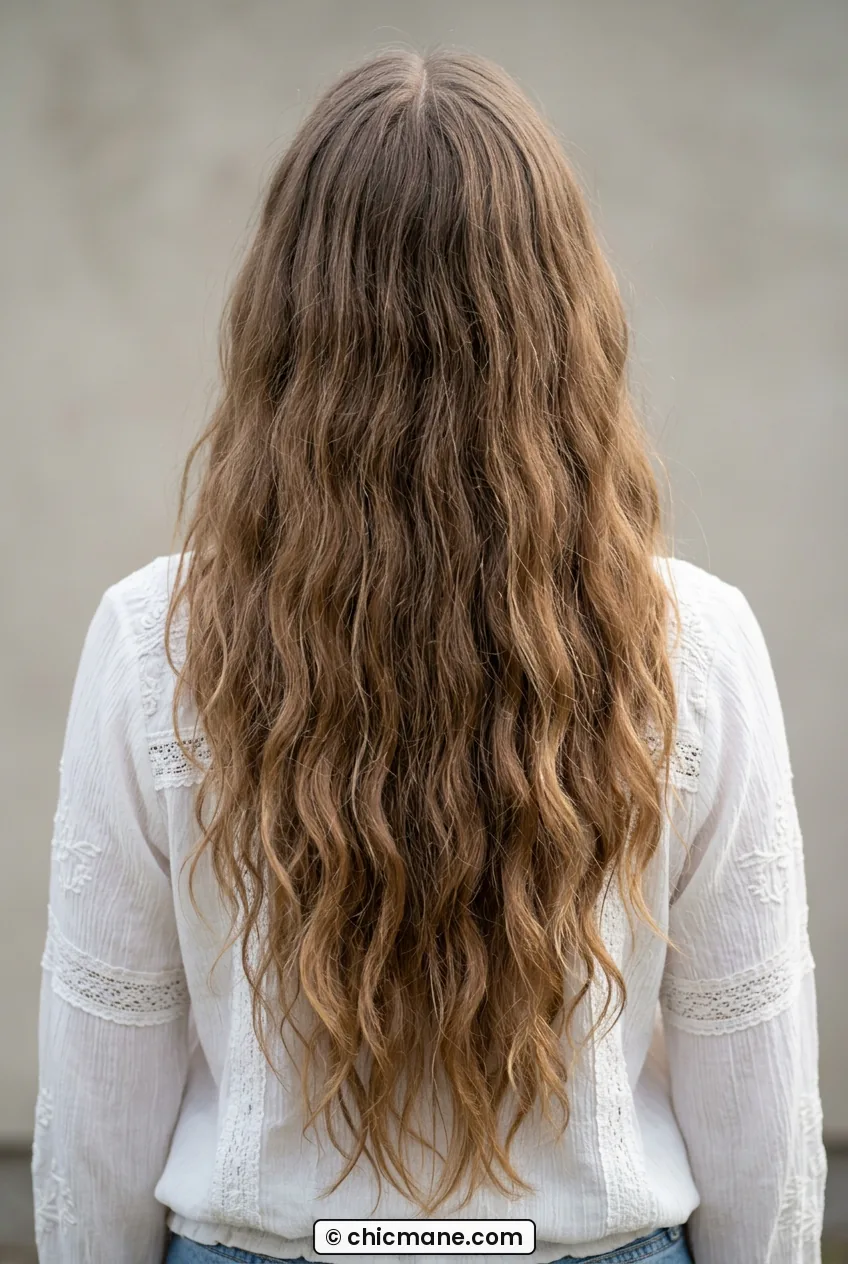
Look at her waves from behind, they are uneven in the best way, tighter at the ends and looser at the top. That is exactly what overnight braids give you. I love this for vacations because salt air and a little mess just make it better, not worse.
15. Waist-Length Braid-Ready Cut With Even Ends
Last one, and my practical favorite for super-long hair. This cut is shaped specifically to braid beautifully, with even, slightly rounded ends that tuck cleanly and no short layers poking out. If you live in braids, ponytails, or buns like I did at this length, this matters more than any trendy layer pattern.
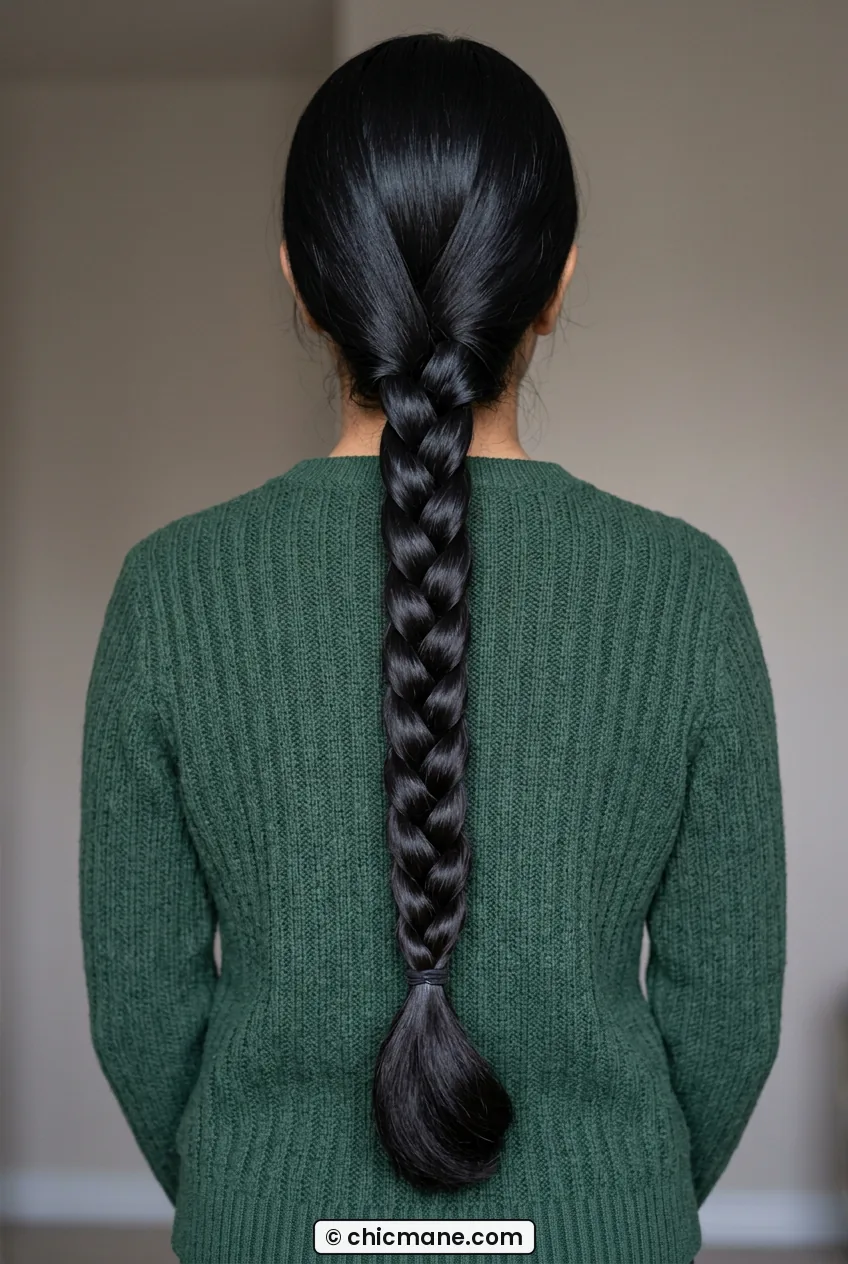
She shows it perfectly, that thick, even braid base with no flyaway layers escaping halfway down. I wore a simple three-strand braid to the gym every day for a month when my hair was this long, and it never gave me those annoying little breakage bits around my elastic. Trim every 12 weeks, just a dusting, and the braid stays neat.
How to Move Between Lengths Without Regret
So how do you actually move through these bands without crying in your car after a salon visit? My rule now is one band at a time. Do not jump from collarbone to waist in your head, just aim for the next band and live there for a while. Get the cut that makes that band look intentional, not like an awkward grow-out stage.
Take photos from the back every three months, because that is how you really see length progress. And be honest about your lifestyle. If you hate styling, stay in that past-the-shoulder sweet spot where air-drying still looks good. If you love hair as a hobby, go for mid-back or waist and enjoy the ritual. Either way, long hair should feel fun, not like a punishment. Tell me which band you are in right now, I am nosy and I want to know.