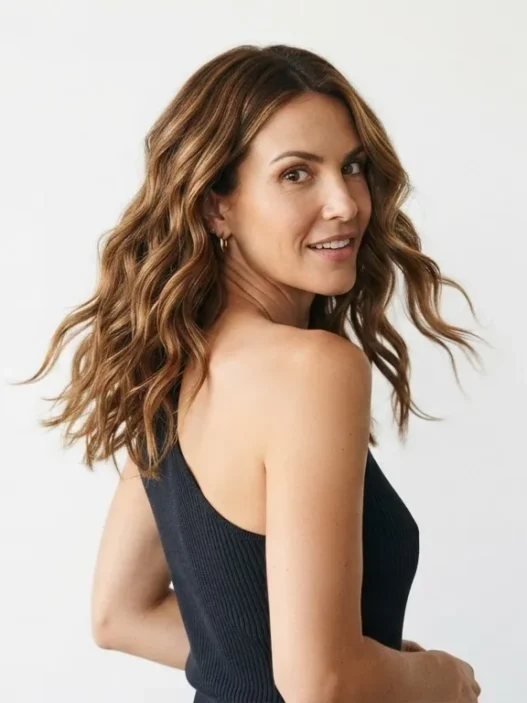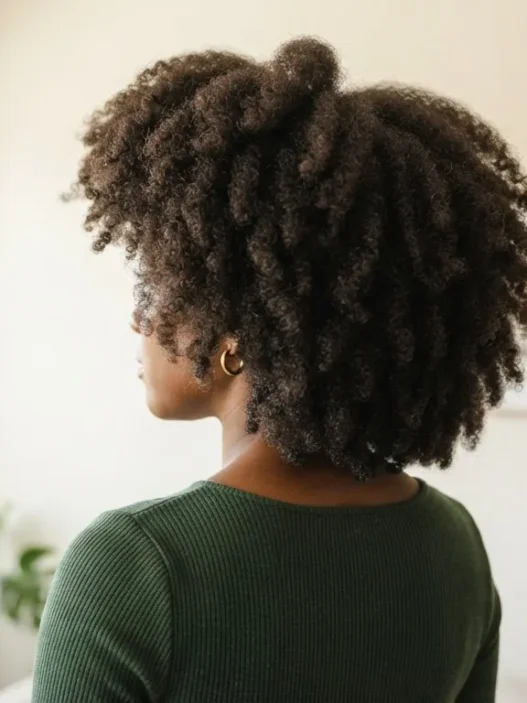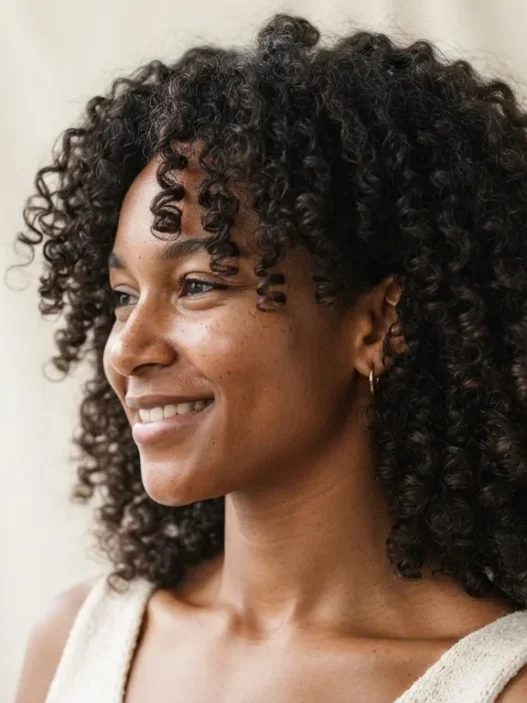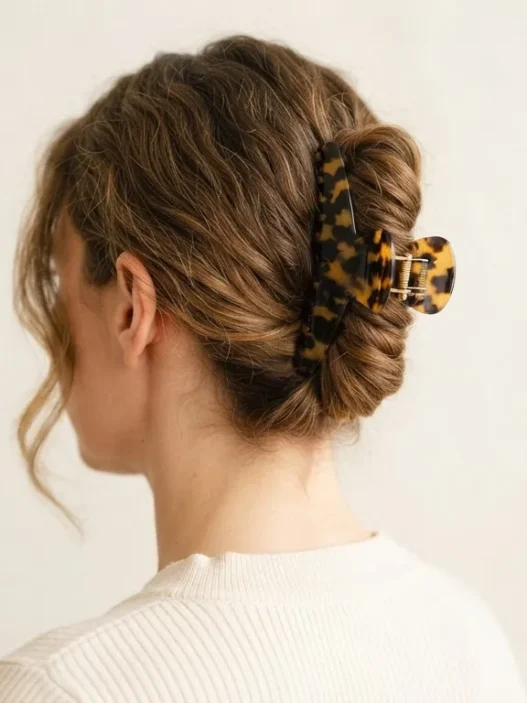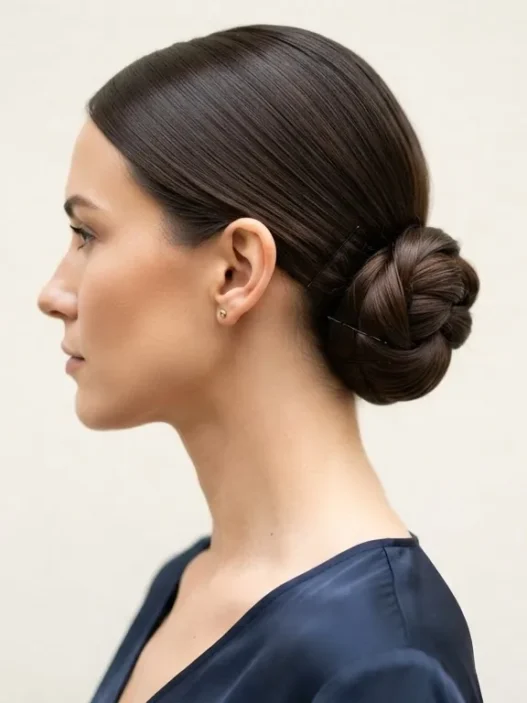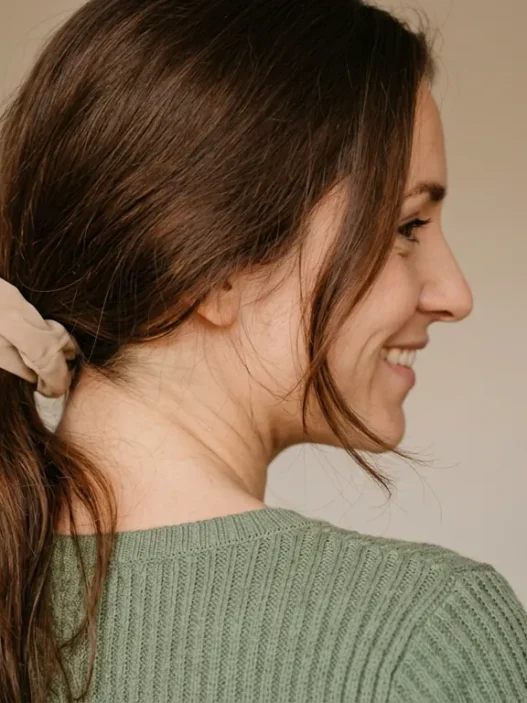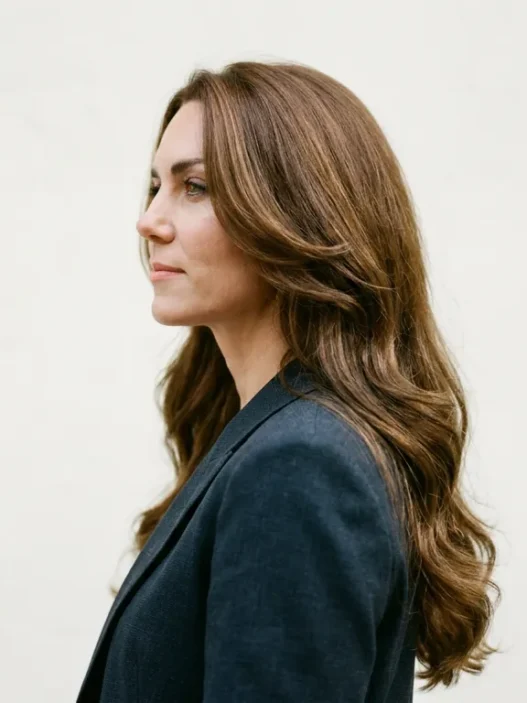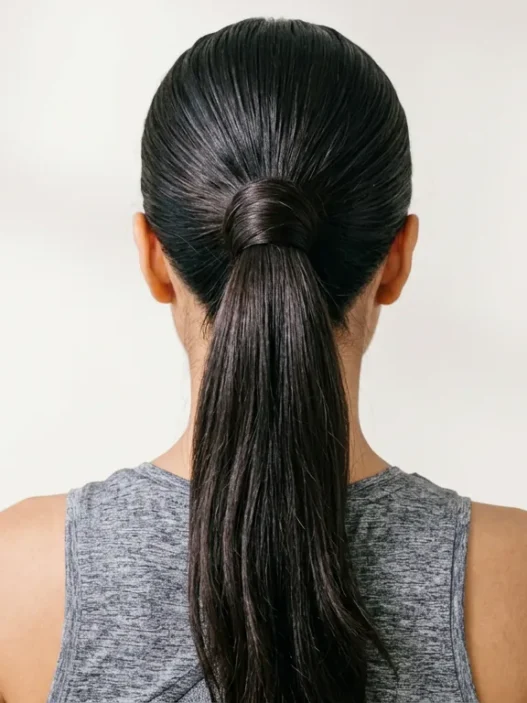




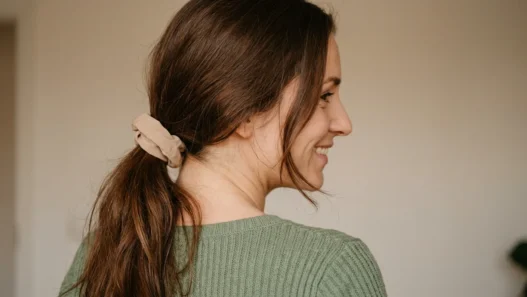

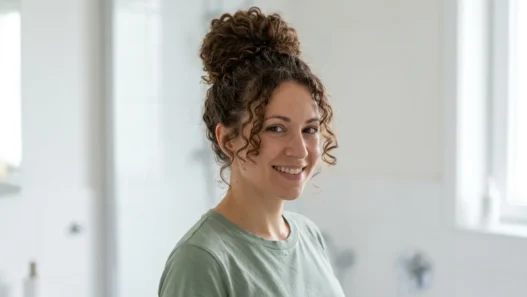


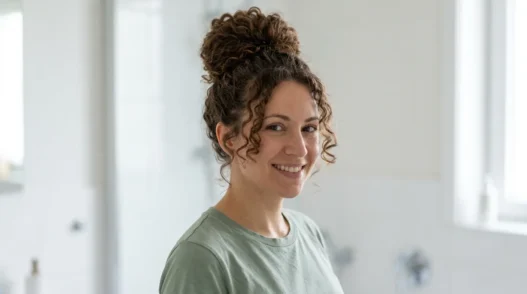
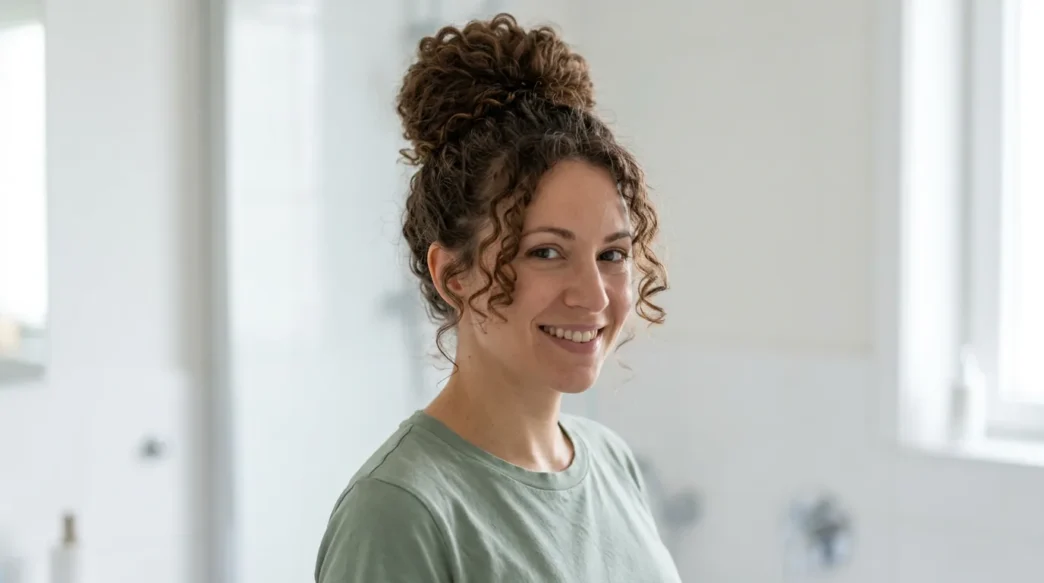
I love a sleek donut bun on straight hair. On my curls? It was a disaster every single time. Brushing it smooth killed my pattern for days, and by noon I had frizz, dents, and a headache. I wanted one curly hair updo style that actually worked with texture instead of fighting it, so I rebuilt the whole method curl by curl.
What you see in these photos is that rebuild. Look at how she is rolling hers down in the bathroom shot, hands full of springy curls over the foam. That full, soft, still-curly bun is the goal here, not a scraped-back ballerina knot.
In This Curly Bun Rebuild
- What You’ll Need
- Step 1: Wet or Dry Starting Point
- Step 2: Protecting the Pattern While You Gather
- Step 3: Rolling the Donut Without Stretching Curls Flat
- Step 4: Pinning a Curly Hairstyle Bun So It Holds
- Step 5: Fluffing for Fullness That Lasts
- What to Skip Entirely
- Curly Donut Bun Questions That Keep Coming Up
What You’ll Need
I keep this stupidly simple because textured hair does not need a 12-product production for an updo. Everything here lives in my bathroom drawer already, and I grabbed most of it after years of trying curly hair tutorials that asked for half a salon. You do not need a new curl type or a fresh cut, just the right helpers.
- A large foam donut in brown or black to match your roots, not blonde beige
- One thick no-snag elastic plus one extra for backup
- 6-8 U-shaped hair pins, not regular bobby pins
- A light-hold gel or curl cream you already like
- A spray bottle with water mixed with a pea-size of leave-in
- A soft satin scrunchie for gathering, my favorite is the loose kind
- A pick or your fingers for fluffing, nothing with fine teeth
And can we talk about the donut size for a second? I used to buy the small one because my hair shrinks and I thought small hair equals small donut. Wrong. Curls need space. The large one gives those coils somewhere to sit instead of getting crushed flat, and it makes the final bun look twice as full without backcombing.
Step 1: Wet or Dry Starting Point
Straight-hair donut tutorials always start the same way. Start with clean, dry, brushed hair. For curls, that first line ruins everything. Dry-brushed curls puff out, lose definition, and then you have to wet them all over again to fix it. I start at about 70% dry instead, that second-day or refreshed sweet spot where my curls are set but still pliable.
When I tried this on soaking-wet hair, the bun took six hours to dry inside and smelled a little damp by dinner. Gross. When I tried it on bone-dry, week-old hair, I got breakage around my hairline from pulling. That 70% zone is where the magic sits. My curls still clump, they still spring, but they will hold a shape without dripping down my neck.
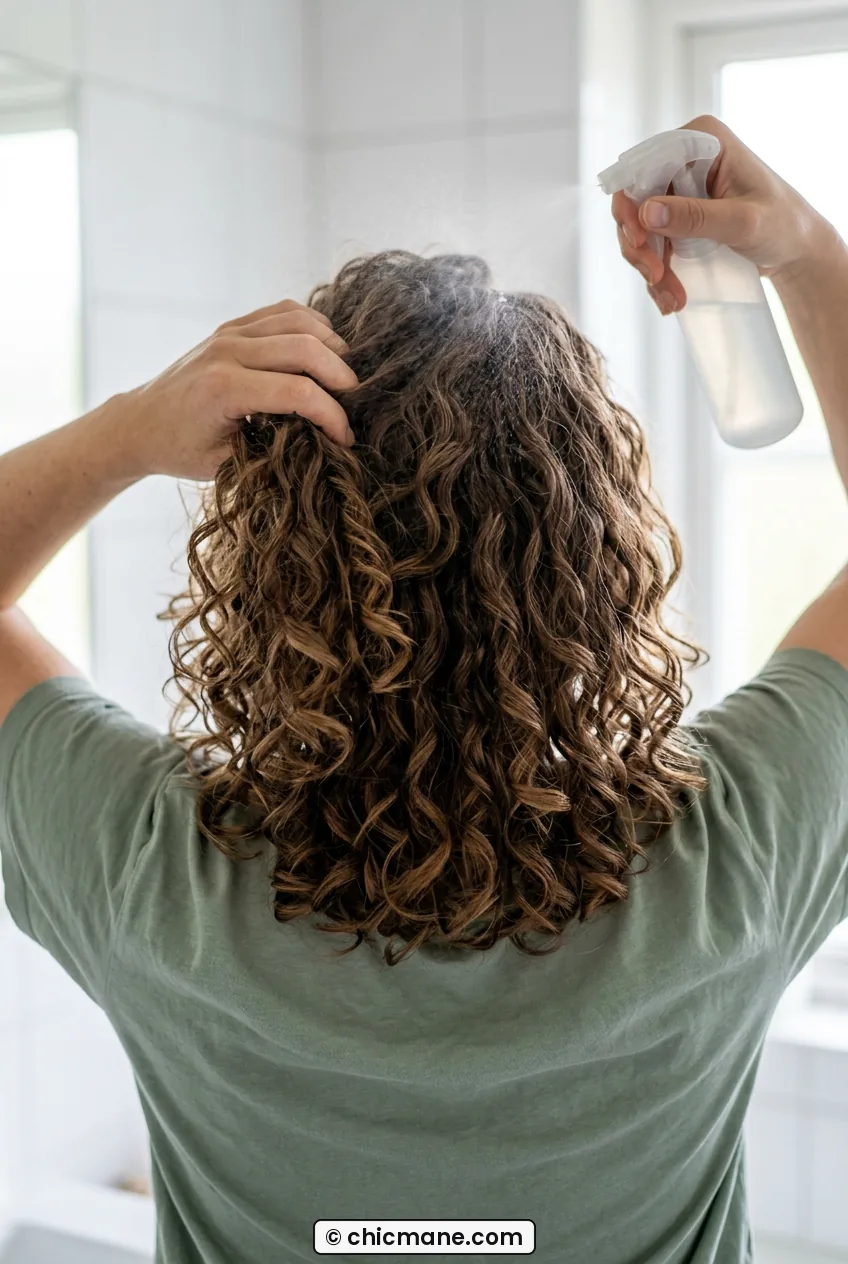
Here is my exact refresh. I mist lightly with my water and leave-in mix, just enough to wake up the outer layer, not soak to the scalp. Then I scrunch a dime-size of gel only over the canopy and ends. No raking through from roots to ends. You can also read up on how to refresh second-day curls > before you start gathering, because that soft-cast feeling is what you want. If your roots feel oily, a tiny puff of dry shampoo at the crown is fine, but keep powder off your lengths or they go matte and gritty.
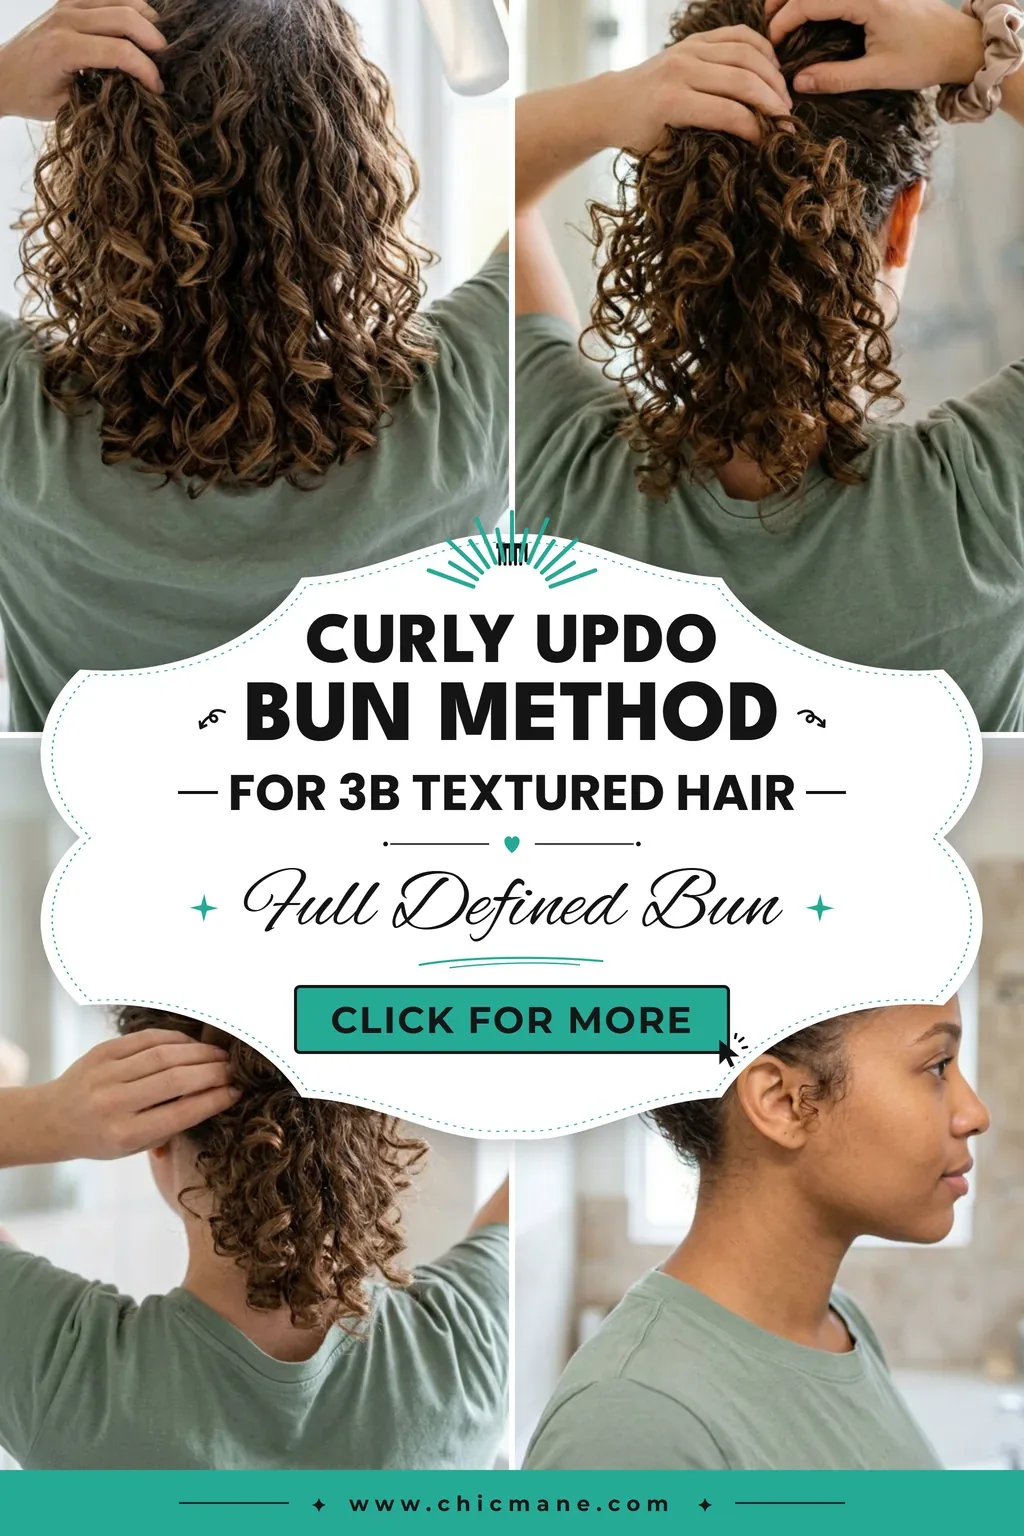
She has got it right in this first photo. See how her curls still look like curls, not damp strings? That slightly expanded, touchable texture is exactly what I mean. You should be able to shake your head and have everything move as clumps.
Step 2: Protecting the Pattern While You Gather
This is where I had to unlearn everything. Old method: flip head over, brush everything into a super-tight high pony, smooth with gel until my edges screamed. New method: keep the curl families together and gather with tension, not pulling. I tilt my head just slightly back, not fully upside down, so my nape curls do not get stretched into weird directions.
I gather with my hands first, then slide on that satin scrunchie. I never drag a bristle brush from front to back anymore. If I have a bump, I smooth only that spot with the flat of my palm and a drop of water. My favorite trick is gathering at the crown with my fingers spread wide like a rake, so I am lifting sections, not scraping them. It takes maybe a minute longer, but my curl pattern stays intact.
Placement matters more than tightness. For this full donut look, I go mid-high, about two fingers above the occipital bone. Too high and my shorter nape curls pop out. Too low and the donut drags and gives me neck sweat. I check in the mirror for that little shelf where the ponytail naturally wants to stand out a bit. That is your spot. Secure with the thick elastic, just two wraps. It should feel snug but not throbbing. If you get an instant headache, it is too tight and the bun will slide anyway.
I learned a lot from browsing cute curly hairstyles ideas for curls that never behave because my crown always has three different curl patterns going on at once. Letting them stay a little uneven at this stage is actually good. The donut covers a multitude of sins. And if you love leaving pieces out, now is the time to decide. I pull out two small face-framing curls now, coil them around my finger, and leave them alone.
In this second photo, look at how she is holding the base. Her pony is thick and clumped, not thinned out from brushing. That chunky texture is what fills the donut later without filler powder or teasing.
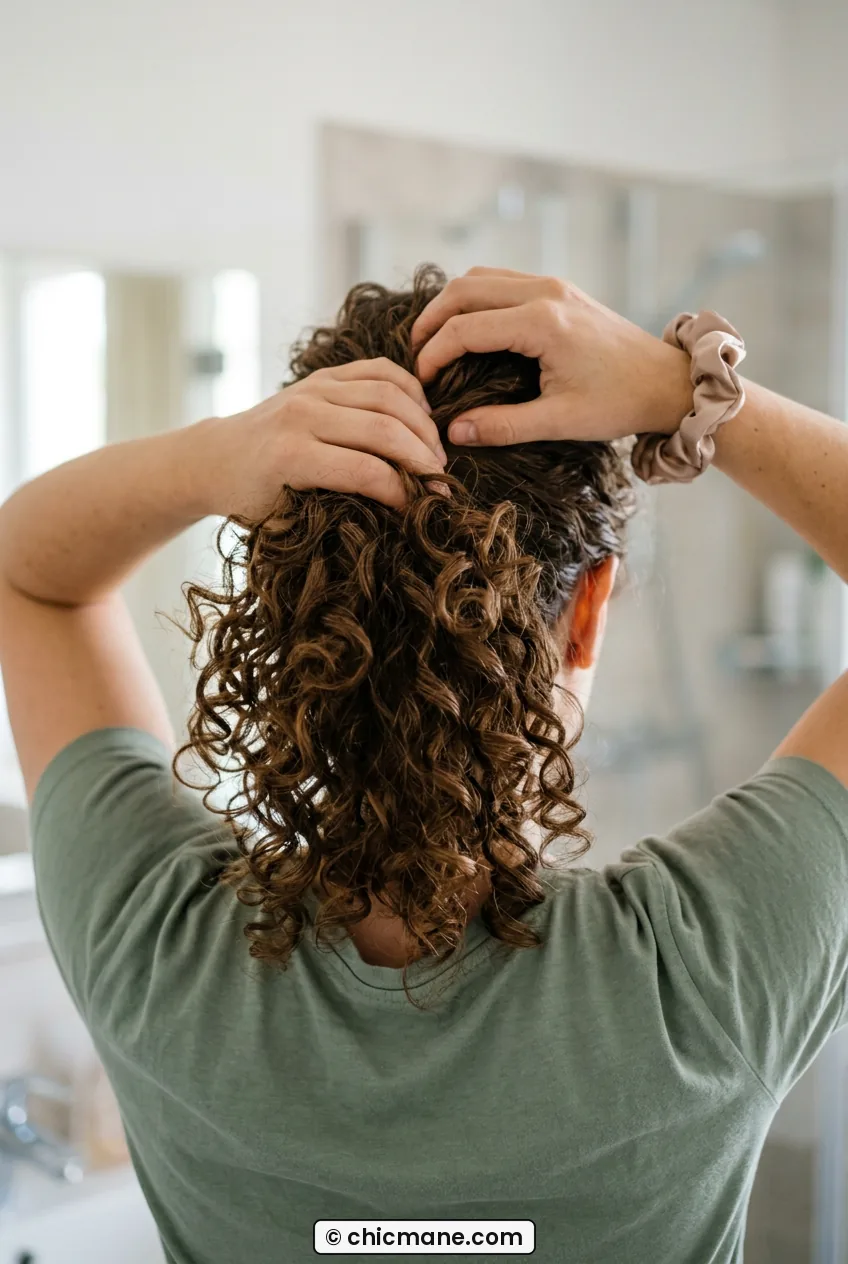
Mistake I made: I brushed my ponytail smooth with a boar brush to get that clean donut look. My 3B curls went straight-ish for two days, then frizzed into a triangle. Never again. Hands only now, and my pattern bounces right back after I take it down.
Step 3: Rolling the Donut Without Stretching Curls Flat
Okay, this is the step everyone messes up, me included. A straight-hair tutorial tells you to pull the pony through the donut, spread the hair evenly, and roll down tucking ends under. On curls, if you spread and pull, you separate every clump and create instant frizz halo. My adapted version is more like cuffing a sleeve than rolling hair.
I slide the donut to the base of the pony and let my curls flop over it naturally. I do not fan them out like spokes. I just let three or four big clumps fall north, south, east, west. Then I start rolling down, turning the donut away from my head while tucking with my fingertips, not pulling the ends straight. Think gentle tuck and roll, tuck and roll. Your ends should stay curled under inside the foam, not stretched long over it.
Shorter layers? They will poke out. Let them. I used to chase every little end with gel until the bun looked wet. Now I let those shorter curls sit on top of the donut and pin them later. It gives that soft, lived-in fullness that makes a curly bun look expensive. If a section feels dry while you roll, mist that section only. Do not re-wet the whole pony or you lose grip.
This back-view shot shows it perfectly. She is mid-roll with the ponytail folding down over the foam, and you can still see distinct spirals, not stretched sheets of hair. That rolling motion clear in the center is what you are copying. Slow, even pressure with both hands.
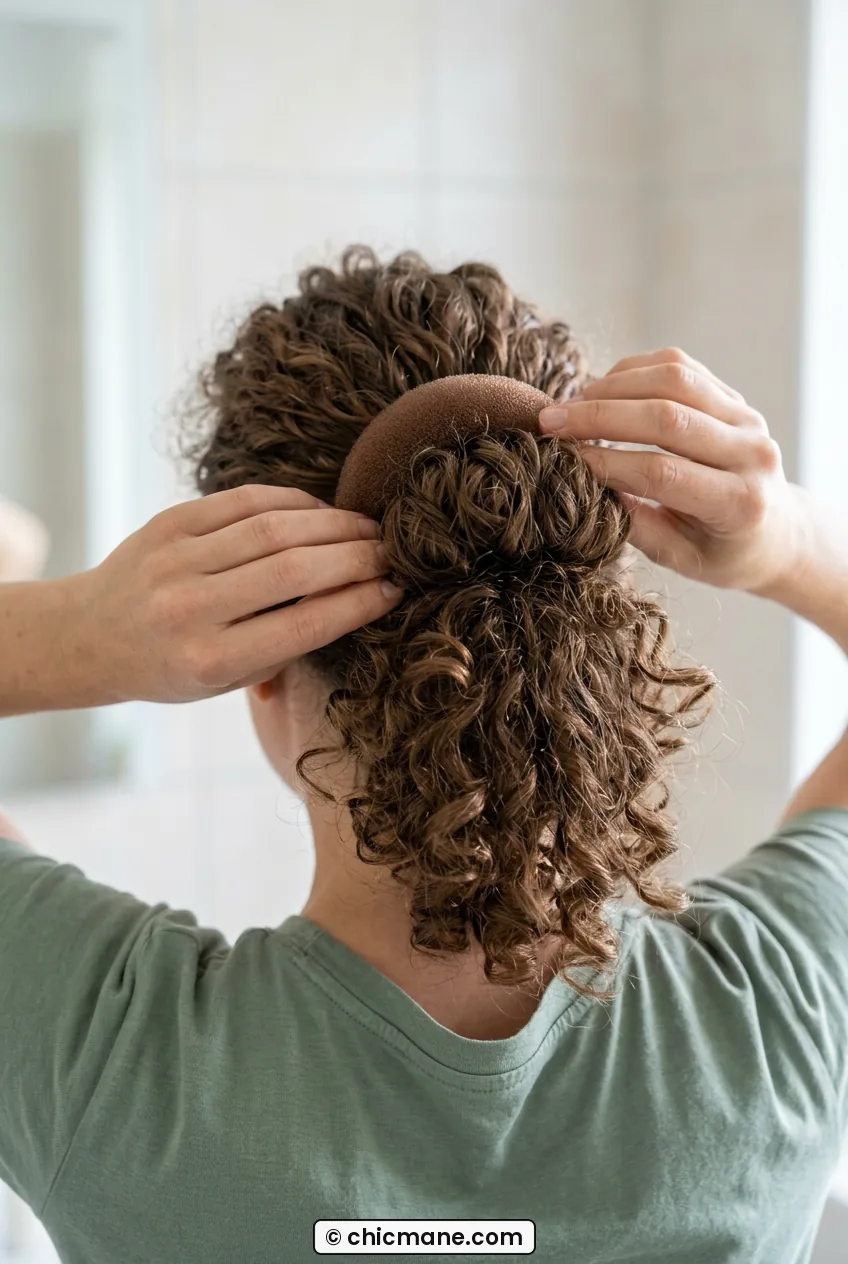
I also switched to a textured donut with a slightly rougher knit after my silky one kept slipping. Curls grip better on a little texture, and I need fewer pins. If your donut is super slick, wrap it once with a mesh hair net in your color. Sounds old-school, but it works like Velcro for curls in the best way.
See the Rolling Tuck in Action
Step 4: Pinning a Curly Hairstyle Bun So It Holds
Bobby pins slide right out of my hair. Always have. U-pins changed everything for this style. I use them like staples, catching a bit of donut foam, then a bite of scalp hair, then back out. Four pins at 12, 3, 6, and 9 o’clock will hold most medium-density curls for a full workday. My thicker-haired friends need six or seven. Fine curls? Four is plenty.
Do not aim for hidden and perfect yet. Aim for secure and comfortable. I pin with my head upright, not tilted, so the weight sits where it will actually live. After each pin, I give my head a little shake. If something wobbles, that is where the next pin goes. I also angle pins in opposite directions so they lock each other. Both pointing the same way just slides out together by lunch.
My edges get special treatment. I used to gel them into submission and then wonder why I had breakage. Now I smooth a tiny bit of cream along the hairline with a soft toothbrush and leave the baby curls alone. Learning the curly-hair version of natural hair finger coiling helped me here, because I just re-coil those front pieces around my finger instead of brushing them flat. They last longer and do not get that white gel cast.
You can read more about securing updos with U-pins > if regular pins always fall out on you like they did on me. The technique is catching hair, not just poking the pin in. Look at this close side view, see how her bun sits proud from her head with no flat pulled spots at the temples? That even tension is the tell that the pins are doing the work, not the elastic.
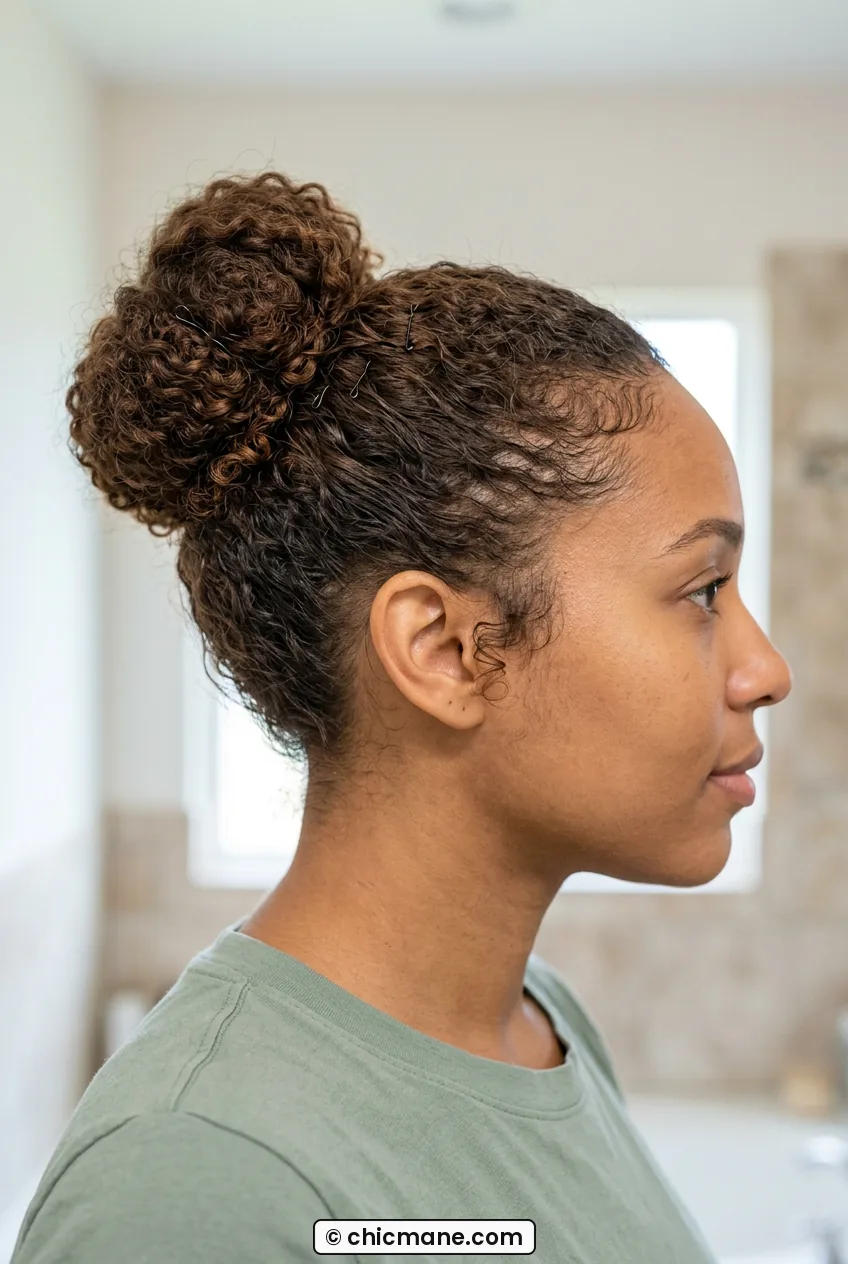
And please check the nape in a hand mirror before you move on. My nape curls are shorter and love to escape. One U-pin tucked horizontally along the bottom edge usually catches them without making a ledge. If one stubborn curl keeps popping, leave it. A loose nape curl looks intentional and pretty, a scraped-tight nape just gives me a headache.
Step 5: Fluffing for Fullness That Lasts
Straight-hair buns get smoothed at the end. Curly buns get fluffed. This feels backwards the first time, I know. But if you leave the donut exactly as rolled, it looks a little helmet-like and too perfect. I gently tug the outer curls outward with my fingertips, about a quarter inch at a time, working around the bun. Not pulling the pins loose, just expanding the shape.
I focus on the top and sides, not the bottom. Lifting the top gives height without making the bun heavy. I also use my pick at the crown, just lifting at the roots for a little volume, never dragging through the bun itself. One light mist of flexible hairspray from 10 inches away, that is it. Anything closer makes curls crunchy and white.
This wider chest-up photo is my favorite reference. She has that soft halo of volume at the crown, the bun looks twice the size of the donut underneath, and her ends are still curly on top. That airy finish is what keeps this from reading stuffy or bridal unless you want it to. I wore mine to work with a blazer and then straight to dinner without redoing anything except re-coiling those two front pieces.
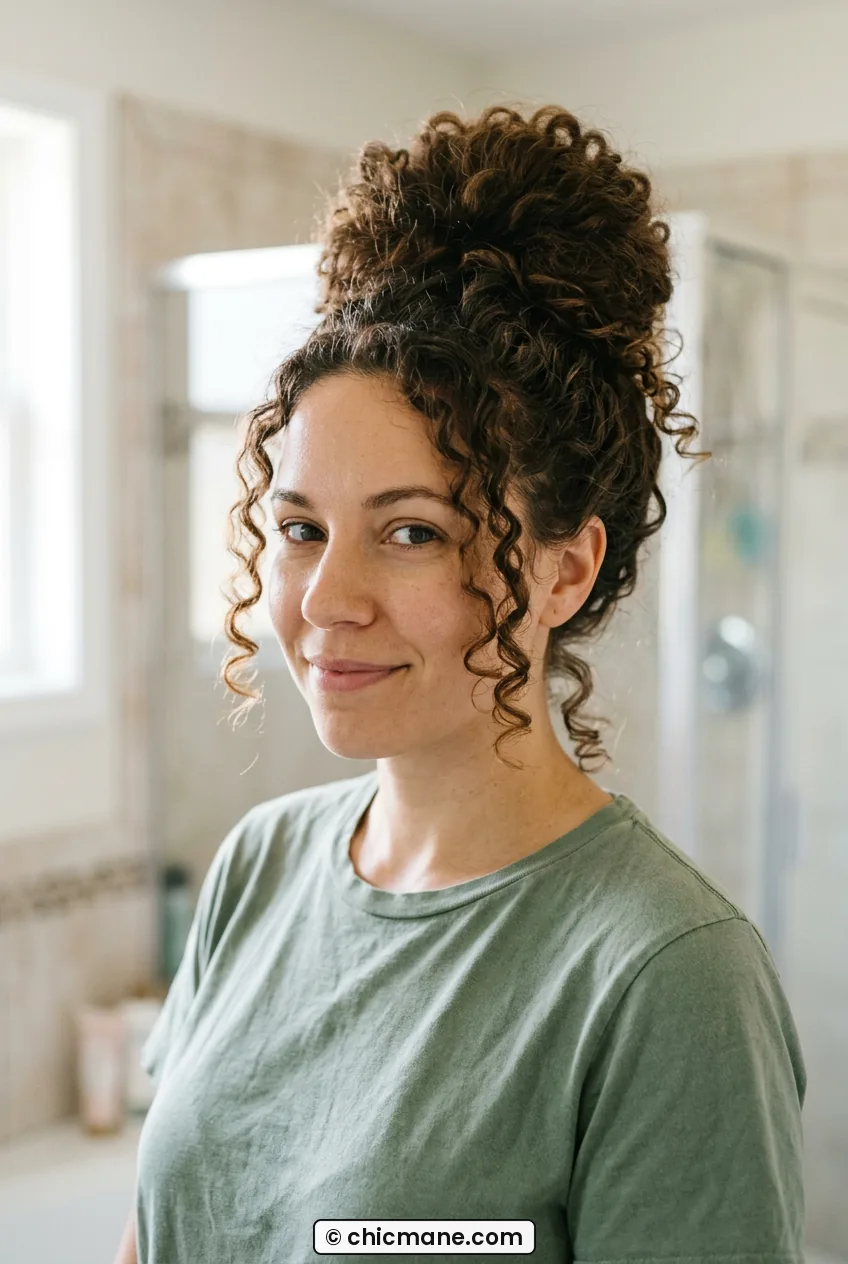
For evenings, I sometimes slide in a small claw clip or a gold cuff at the base. But honestly? Most days I leave it bare. The texture is the accessory. Friends keep asking if I got a haircut because my hair looks so much thicker in this buns and updos shape. Nope, just curls sitting on top of foam instead of being flattened under elastic.
What to Skip Entirely
Some steps do not need adapting. They need deleting. I say this with love after ruining many wash days trying to make straight-hair rules work. If a tutorial tells you to do any of these for a curly donut bun, just skip it. Your curls will thank you.
First, skip brushing dry. I mean it. Even that gentle smoothing brush creates micro-frizz that turns into a halo by hour three. Second, skip flat-ironing ends to tuck them neatly. You do not need straight ends for a clean roll, you need tucked ends, and curls tuck just fine. Third, skip heavy smoothing serums with silicones right before styling. They make the donut slippery and the bun slides down. Save serums for takedown night when you want shine and separation.
Also skip backcombing the pony for volume. I did this once and spent 40 minutes detangling afterward. Curls are already voluminous. Teasing just mats them. And skip super-strong freeze spray all over. It locks curls into whatever weird dent the donut made, and you cannot fluff after. A flexible mist is plenty. You can learn more about why that matters by reading about silicone buildup on curls > and how it changes grip and volume, because that slippery slide was my biggest frustration for months.
Last one, and this is personal. Skip the slicked-to-the-scalp middle part for this particular bun unless that is your thing. On me, it pulls my curl pattern flat at the roots and gives me a headache behind my ears. A soft off-center or no part with lifted roots looks fuller and holds better. If you want a sleeker vibe for a wedding, try a half-up styles base instead where the top is smoother but the bun stays curly. Best of both.
This final detail shot is what skipping all that gets you. No brushed-out frizz, no crunchy shell, just defined clumps sitting softly over the shape. See how the light catches individual spirals instead of one solid mass? That is protected texture, not flattened hair.
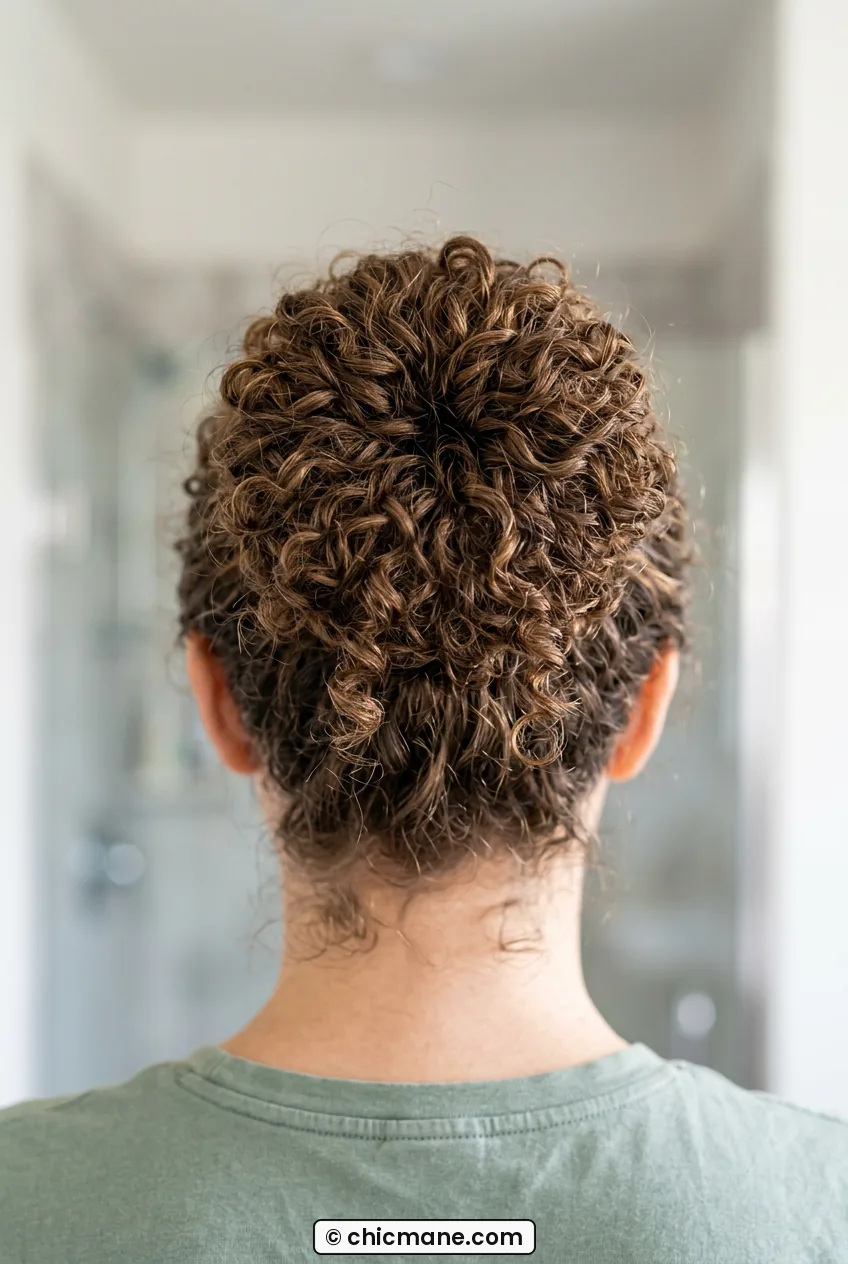
I wore this curly hair updo style for 9 hours last Saturday, grocery run, park with my nephew, dinner out. No redo, just one extra U-pin after the park. Took it down at night, scrunched with a little oil, and my wash-day curls were still there on Sunday. That never happened with my old brush-it-flat method. My pattern survived, my edges did not ache, and I actually liked my photos for once. That is a win I will take every week.
Curly Donut Bun Questions That Keep Coming Up
Can I do this curly bun on freshly washed hair?
You can, but I would let it get to at least 70% dry first. Sopping curls stretch under the donut weight and take forever to dry inside. I diffuse my roots for five minutes, then style.
How do I keep shorter layers from sticking straight out?
Do not stretch them to tuck. Let them curl on top of the bun and pin the middle of the strand, not the end. The free end curls up and blends in instead of poking out stiffly.
Will a foam donut damage my curl pattern?
Not if you skip brushing and heavy tension. I wear mine weekly and my pattern springs right back with a light refresh. If ends feel dented, steam in the shower or a quick mist fixes it.
What if my hair is fine and curly and the donut shows through?
Go down one donut size and match it closely to your root color. Roll a little looser so curls stay expanded over the foam, then fluff outward. Two extra U-pins stop peeking better than more hairspray.
Tried it? Tell me if your curls felt happier too. Mine absolutely did, and this is now my go-to when I want to look polished without ironing out everything I love about my texture.