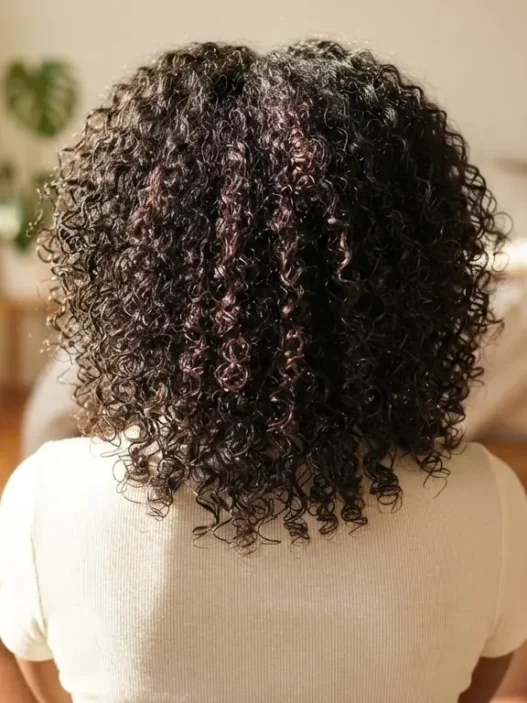










Every single natural hair tutorial I found in my early coily-hair days was written by someone with looser curl patterns — or worse, adapted from straight-hair routines that treated shrinkage like a problem instead of a superpower. I spent months wondering why my coils never looked defined, why they dried into a puff instead of spirals, and why the techniques I was copying off the internet left me more confused than when I started. So I went back to basics and built a method that actually works with a 4C curl pattern, respects what coily hair needs, and produces consistently beautiful, bouncy definition. This guide is what I wish someone had handed me on day one.
Your Roadmap to Defined Coils
- Why Straight-Hair Tutorials Break Curls
- What You’ll Need
- Wet or Dry
- Step 1: The Pre-Cleanse
- Step 2: Deep Condition Without Stripping Pattern
- Step 3: The Sectioning That Changes Everything
- Step 4: Layering Products the Right Way
- Step 5: Finger-Coiling Each Section
- Step 6: Protecting the Pattern While Drying
- Step 7: The Fluff and Final Reveal
- What to Skip Entirely
- Questions I Get About This
Why Straight-Hair Tutorials Break Curls
Here’s the thing nobody says out loud: most mainstream natural hair content is still built around techniques designed for hair that doesn’t coil. Diffusing instructions that say “use low heat and keep moving” were written for wavy hair — applying constant movement to tight coils just separates them and creates frizz. Product-layering advice that says “apply to damp hair” works beautifully on 3A curls, but on 4C coils, “damp” is already too dry and the product sits on top instead of penetrating the strand. Even the sectioning methods are off — six big sections work for loose curls; coily hair needs smaller, more intentional ones.
The coil pattern itself is the key difference. Tight coils have more points of contact along the strand, which means they tangle faster, absorb product differently, and need deliberate manipulation to form definition. Straight-hair tutorials skip that manipulation step entirely because the hair doesn’t need it. Understanding that one distinction unlocked everything for me. You can read more background on the curly hair styles words that confuse everyone if some of the terminology in this guide feels unfamiliar — that post is a genuinely useful reference.
What You’ll Need
Nothing exotic here — but specifics matter. The wrong products in the right technique still won’t give you definition.
- A sulfate-free clarifying shampoo — not your everyday co-wash, an actual cleanser for buildup removal
- A moisture-rich deep conditioner (look for shea butter or avocado oil as a top-five ingredient)
- A leave-in conditioner in liquid or cream form — thinner consistency works better for layering
- A curl cream or custard specifically formulated for coily textures
- A gel with a firm hold — this is non-negotiable for lasting definition
- A wide-tooth comb and your fingers (your fingers are the actual tool here)
- Butterfly clips or duck-bill clips to section and hold
- A spray bottle filled with water
- A microfiber towel or old cotton t-shirt — never terrycloth
- Optional: a hooded dryer or diffuser for faster dry time
Wet or Dry
This question trips up almost everyone who’s new to working with natural coils, and the answer matters more than most guides admit. For this specific finger-coiling method, you want to work on soaking-wet hair — not damp, not towel-dried, genuinely saturated. I cannot stress this enough. The moment I switched from styling on “slightly damp” hair to styling on hair I had literally just squeezed out under the shower, my definition improved dramatically.
Why? Because water is the primary slip agent for tight coil patterns. It’s what allows the strand to wind around your finger smoothly and hold that wound shape. The more moisture present when you finger-coil, the more the hair “remembers” the spiral as it dries. Products applied to dry or lightly damp coily hair tend to coat the outside of the strand and lock it in whatever shape it already was — which, after towel-drying, is usually a frizzy undefined mess. So the rule is: do your product application and coiling while the hair is still dripping. Every step in this guide happens wet unless I specifically say otherwise.
The only exception to the wet rule comes later in the process, during the drying stage — and I’ll cover exactly what to do (and not do) then. For now, commit to wet. It feels counterintuitive if you’ve been doing it the other way, but trust the process.
Step 1: The Pre-Cleanse
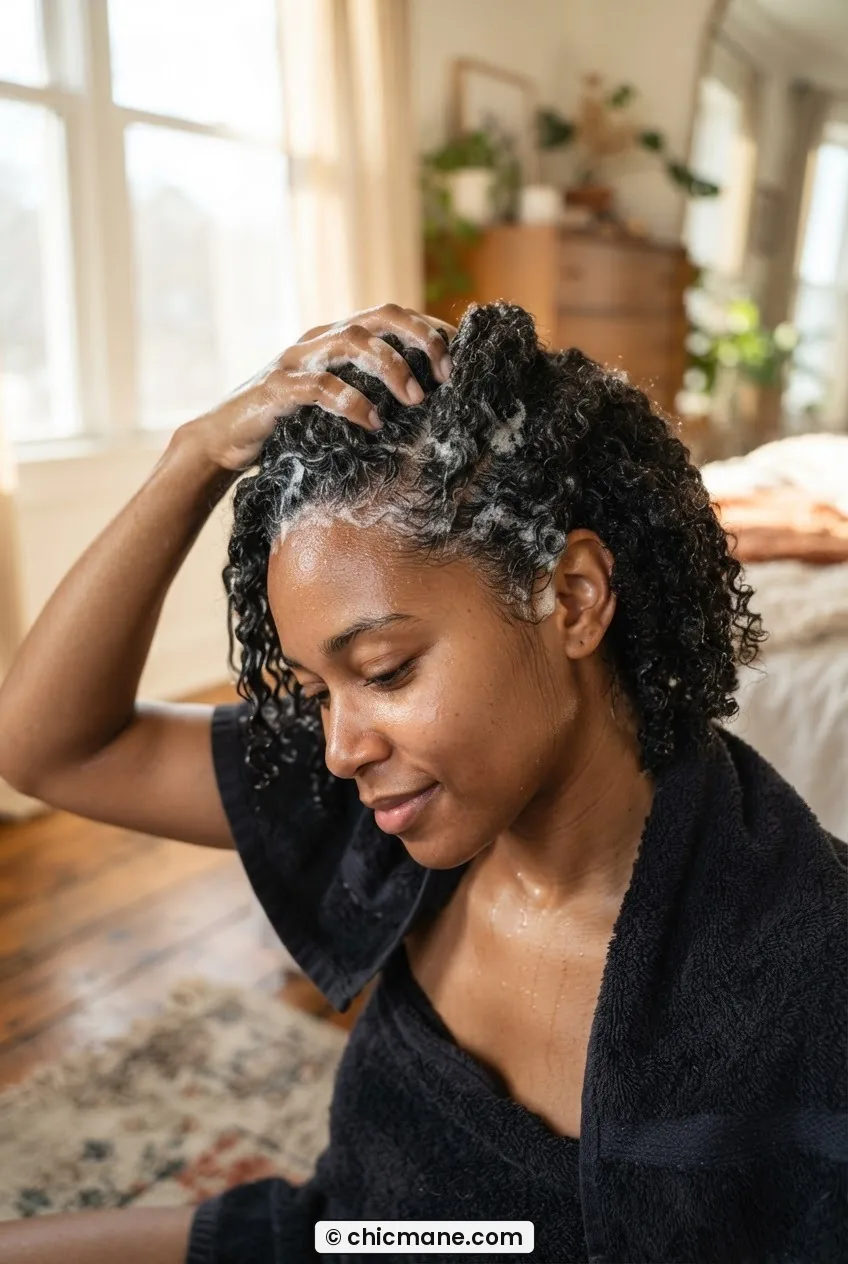
Start with clean hair. I know that sounds obvious, but “clean” for natural hair means something specific: you need to remove buildup from previous styling products, hard water minerals, and any scalp buildup that blocks moisture absorption. A co-wash or conditioner rinse is not going to do this. Once a week (or once every wash cycle), reach for an actual sulfate-free clarifying shampoo and work it through your scalp in sections.
Apply the shampoo to your scalp — not the length of your hair — and massage with your fingertips in small circular motions. The lather will travel down the shaft as you rinse. I used to scrub the entire length like I was washing a sweater, and it caused massive tangles and breakage every single time. Scalp-only application changed my wash day completely. Rinse thoroughly with warm water, not hot — hot water opens the cuticle too aggressively and makes the frizz situation worse later on.
Step 2: Deep Condition Without Stripping Pattern
Right after rinsing out the shampoo — while your hair is still completely saturated — apply your deep conditioner. Work in sections and use your fingers to smooth it from root to tip. The goal here is coating every strand, not just hitting the surface. On coily hair, the tight spiral shape means the inner coils can stay dry while the outer ones feel conditioned; you have to really work the product in.
Cover with a shower cap and apply gentle heat if you have access to it — even sitting under a warm towel for 20 minutes makes a real difference in how deeply the conditioner penetrates. Then rinse with cool water, not cold. Cool water closes the cuticle and locks in the moisture you just added; cold water can tighten the cuticle so fast it causes breakage. I learned that distinction from how to deep condition coily hair and it genuinely changed my rinse routine.
Mistake I made: I used to rinse out deep conditioner completely — squeeze, rinse, done. But on tight coils, leaving a very thin film of conditioner on the hair before applying leave-in creates a better slip base for the next product layer. Now I rinse until the water runs mostly clear, not crystal clear, and my coils are noticeably softer before I even apply leave-in.
Step 3: The Sectioning That Changes Everything
This is the step that most tutorials rush or skip, and it’s probably the single biggest reason people end up with inconsistent results. After rinsing, gently squeeze (don’t rub) excess water out with your microfiber towel or t-shirt. Then section your hair while it’s still very wet.
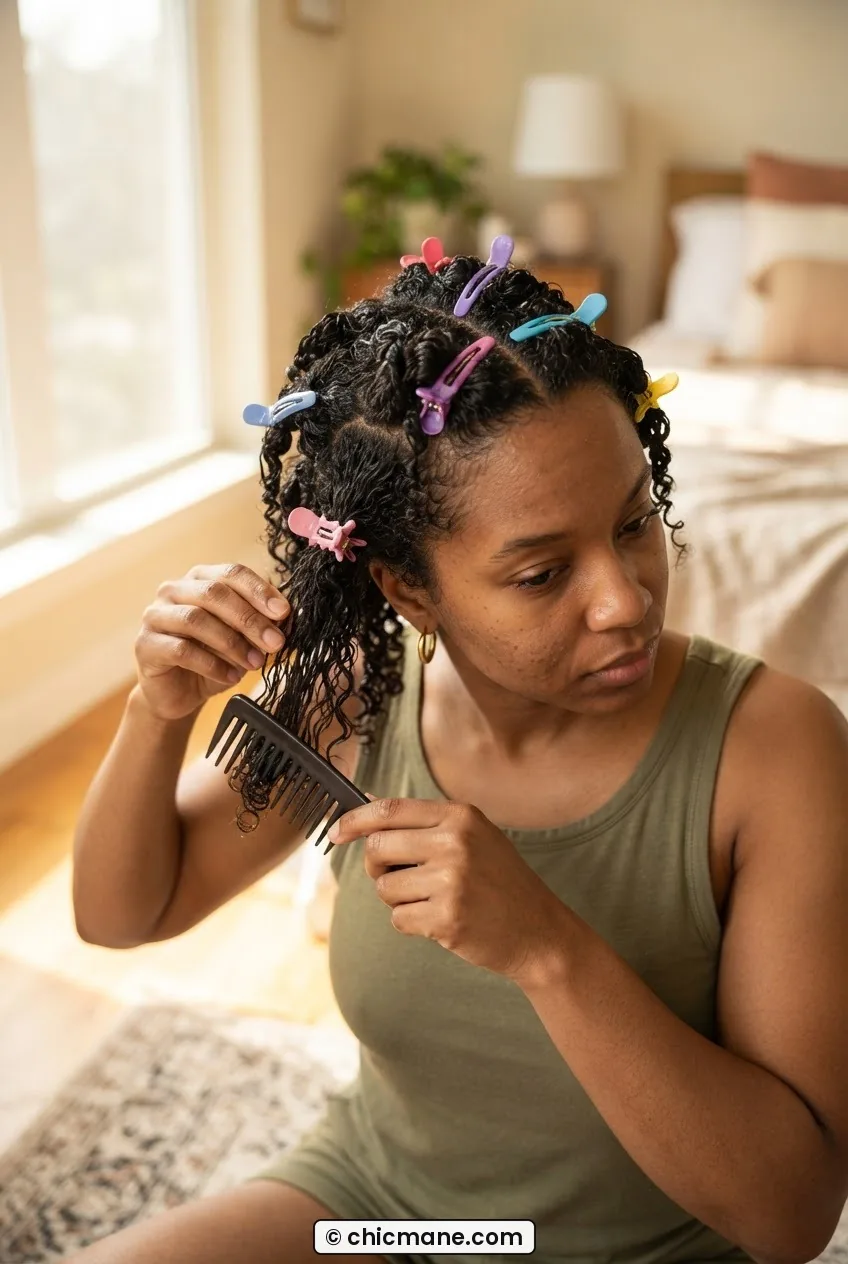
For coily natural hair, I work in at least eight to twelve sections — two in the front on each side, two at the crown, and four in the back. Smaller sections mean more defined coils and less opportunity for tangles to form while you’re working. Clip each section up and out of the way. I use butterfly clips because they don’t leave a crease the way elastic bands do, and creases are the enemy of a smooth spiral.
Work through each section with a wide-tooth comb while it’s still wet and slippery from the conditioner. Start at the ends and move toward the roots. Never drag a comb from root to tip on coily hair — the tangling is instant and the breakage is significant. Once each section is detangled, clip it back up and move to the next. If you find yourself interested in how this same principle applies to protective styling for kids’ hair, the guide on kids braided hairstyles has a great section on working through coily texture without causing damage.
Step 4: Layering Products the Right Way
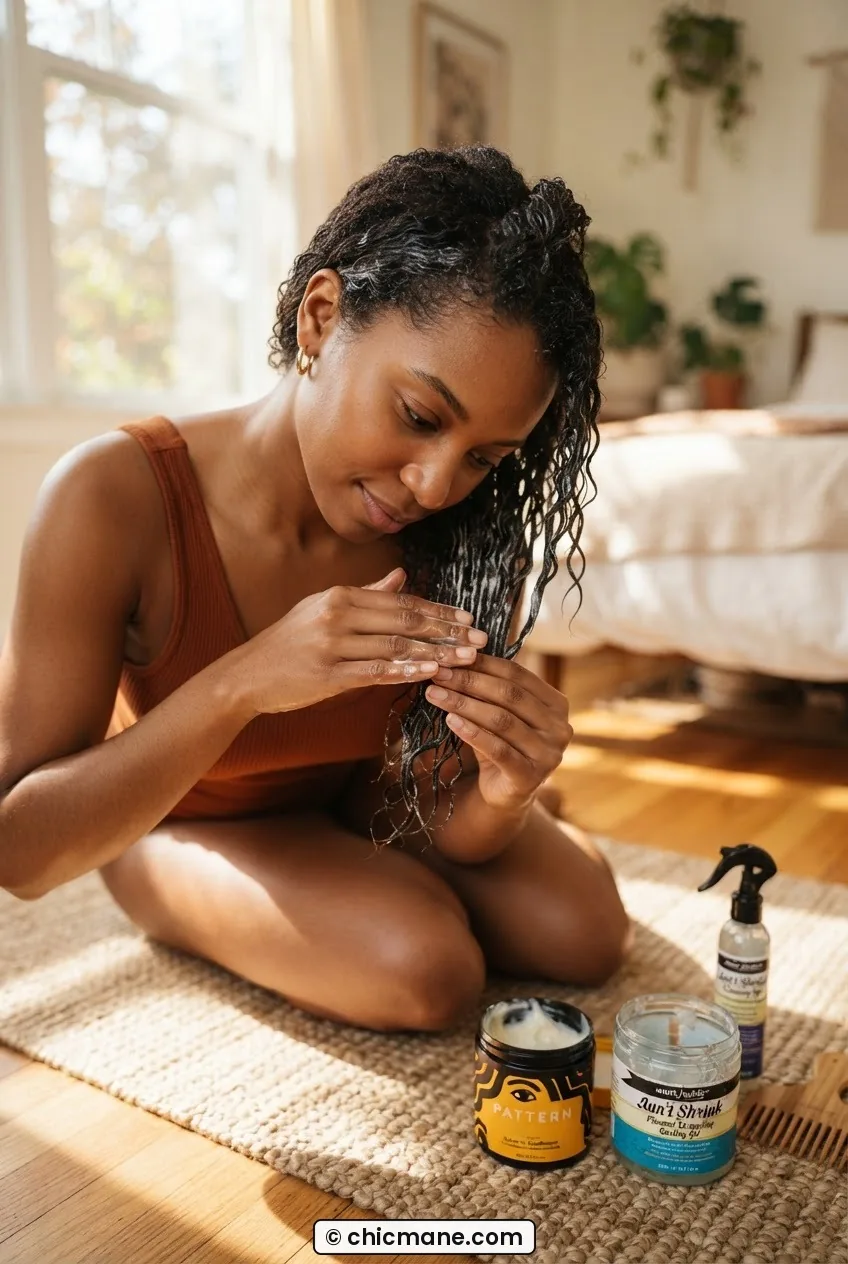
Product layering on coily natural hair follows one non-negotiable rule: lightest to heaviest. And every layer goes on while the hair is still wet. Take down one section at a time, spray it with water if it has started to dry out at all, and work through these three layers before you pick up the next section.
First, the leave-in conditioner. A small amount, smoothed from roots to ends. This is your moisture seal — it keeps the water you’ve built up in the hair from evaporating before you’re done. Second, your curl cream or custard. This is what creates the actual definition framework. Rake it through the section with your fingers, then smooth it with your palm in a downward motion. Third — and this is where most people hesitate — the gel. Yes, gel. A proper hold gel used over a moisturized section doesn’t make hair crunchy in a bad way; it makes it crunchy in the right way, and you’ll break that cast later for the soft finish. Scrunch the gel in from the bottom of the section upward, coaxing the coils to start forming before you even get to the actual finger-coiling step.
Step 5: Finger-Coiling Each Section
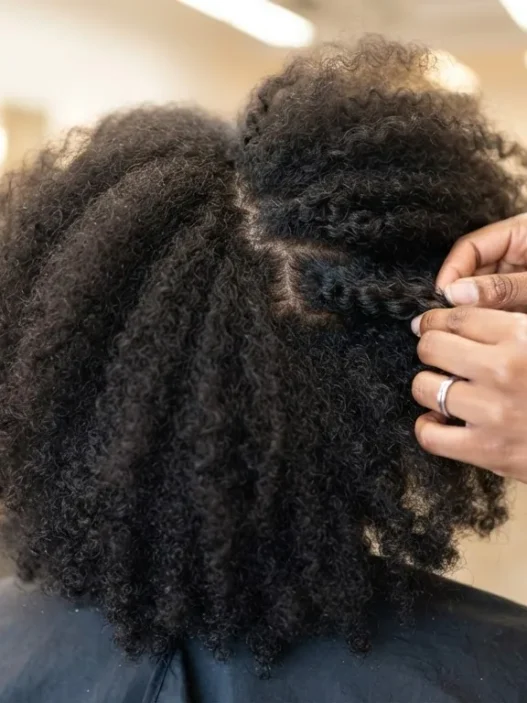
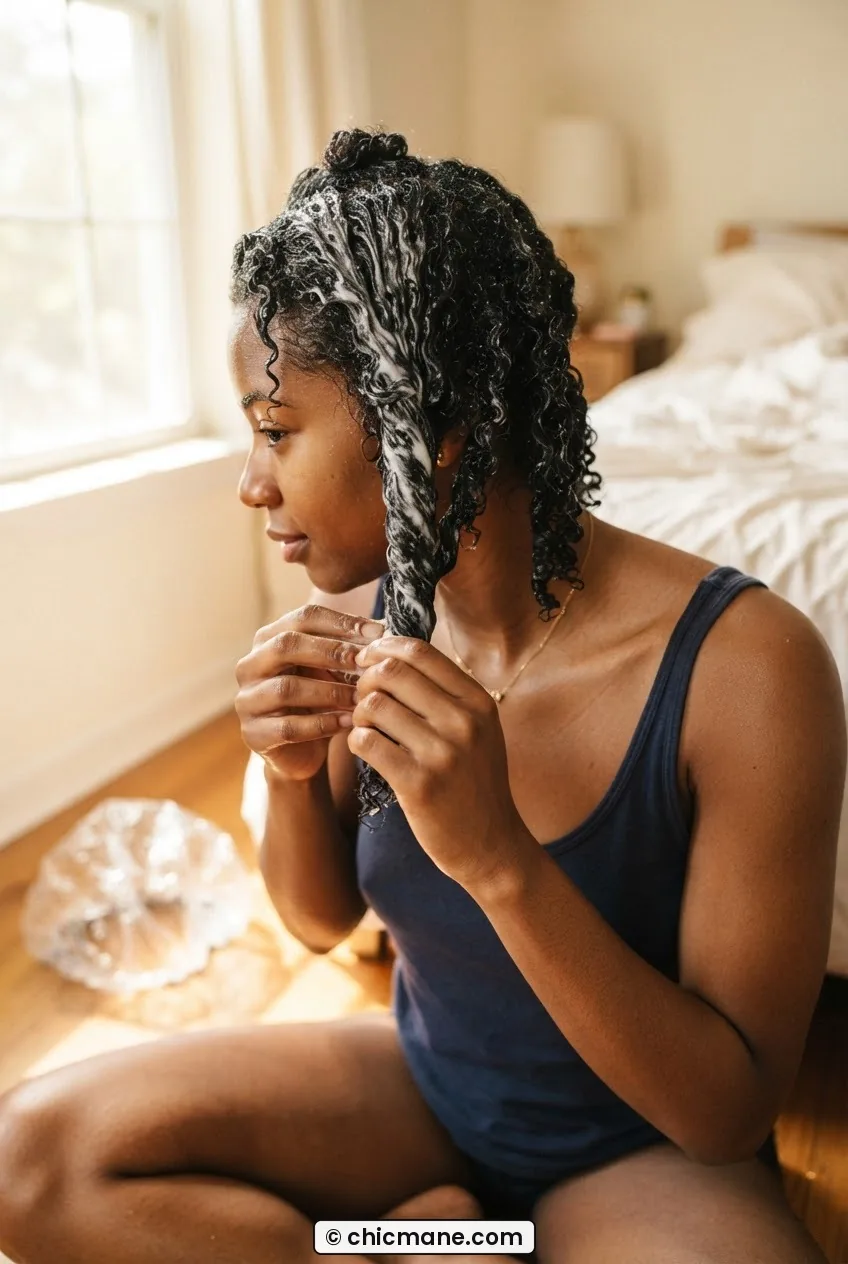
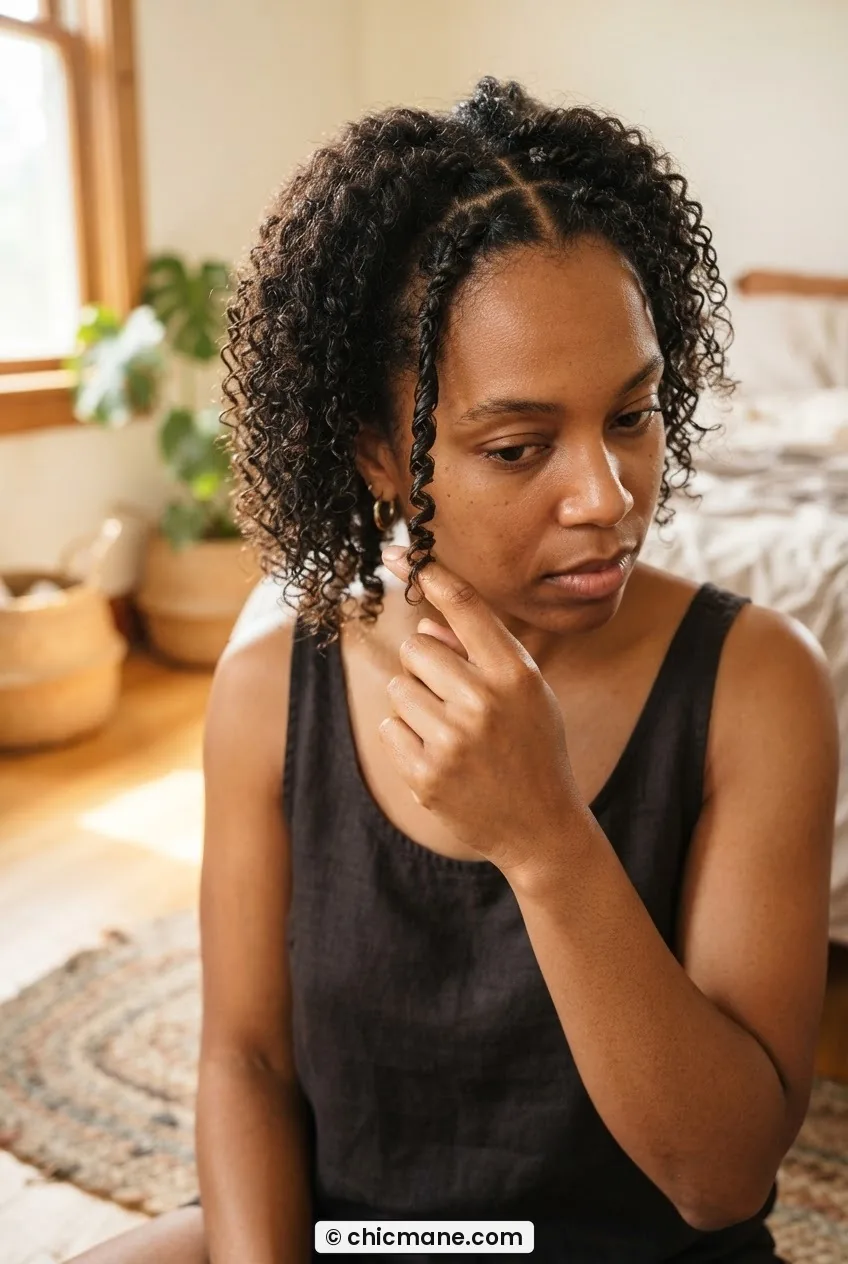
This is the heart of the whole method. Take a small subsection — think pencil-width — from your working section, and wrap it around your index finger starting from the tip of the strand and winding upward toward the root. The key is consistent tension: not so tight that you’re stretching the curl, not so loose that it falls straight off your finger. You’re looking for the strand to grip itself.
Once the strand is wound, slide your finger out slowly and let the coil spring back onto itself. Then just leave it. Don’t touch it, don’t fluff it, don’t bounce it. Place it gently in the direction you want it to fall and move to the next subsection. See how she’s working through each subsection in the photo — that methodical rhythm, each coil placed and released before moving to the next one, is exactly what makes the finished result look intentional rather than random.
If a coil drops or unfurls before you’re done with the section, spray a little water on it, add a tiny bit more gel, and redo it. This happens more in low humidity and less in high humidity — so if you’re working in a dry climate or a heavily air-conditioned room, work faster and keep that spray bottle close. I usually finger-coil the back sections first since they take the longest to dry, then move to the sides, then the front pieces near my face.
Step 6: Protecting the Pattern While Drying
How the hair dries is just as important as how you styled it. This is where so many people lose their definition — they either touch the hair constantly while it dries, or they let it air dry in a flat position that crushes the coil formation underneath.
The best position for drying is sitting upright with the hair hanging freely — not lying down, not covered with a bonnet while still wet. If you want to speed up the process, use a hooded dryer on low heat, or a diffuser on the lowest airflow setting. With a diffuser, cup sections gently and let the airflow travel up through the coils — do not move the diffuser around or you will disrupt every coil you just placed. Set it on one spot, count to fifteen, lift and move to the next spot. That’s it.
If you’re air drying, expect four to six hours depending on density. I usually do my wash-and-coil in the morning and let it dry through the day. You’ll know it’s fully dry when the outer coils feel firm and the root area is completely dry to the touch — not just the surface, but actually dry. Touching wet or even damp coils causes frizz and breaks the gel cast prematurely, which means your definition won’t set properly. Patience here is the whole game.

Step 7: The Fluff and Final Reveal
Once the hair is completely dry, add a very small amount of oil to your palms — I use a light oil like grapeseed or argan so it doesn’t weigh anything down — and then start breaking the gel cast. Press your palms together, then gently scrunch sections of your hair upward. You’ll hear a slight crunching sound as the cast breaks; that’s normal and good. The coils underneath are fully formed and the cast was just protecting them while they set.
After scrunching, you can gently separate individual coils at the root with just your fingertips to add volume. The key word is gently — aggressive root-picking at this stage pulls coils apart and creates the poofy undefined look you were trying to avoid. Separate with two fingers, not a pick. Lift at the root, not the length.
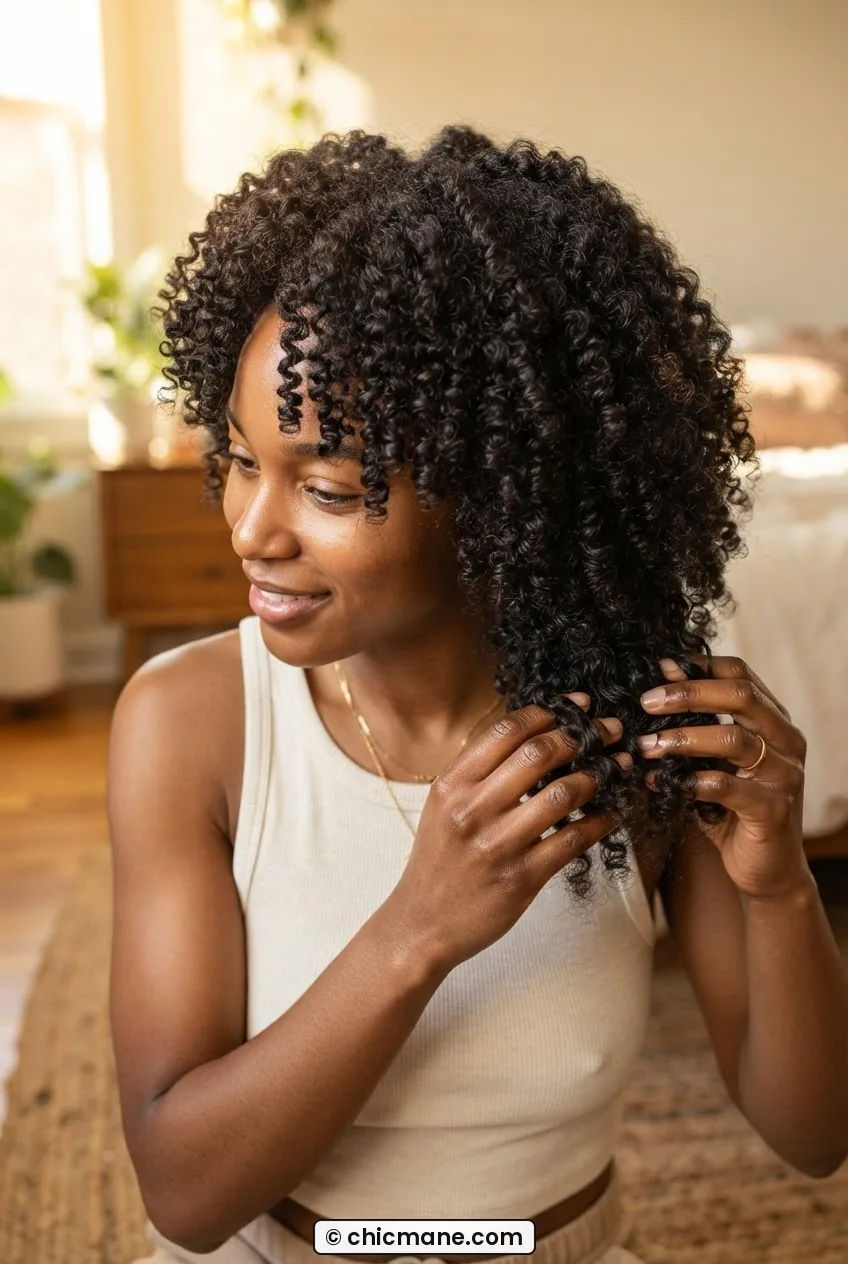
And that’s your finished result. Defined, bouncy, individual coils with real volume and no frizz halo. If you’re looking for even more inspiration on what different curl patterns can look like styled intentionally, the roundup of hair inspiration styles matched to curl pattern is worth bookmarking — it’s one of my favorite references for seeing how versatile coily hair can actually be.
What to Skip Entirely
Some steps that are standard in straight-hair or even loose-curl tutorials actively work against coily natural hair. These aren’t adaptations — they’re things to just remove from your routine.
Skip the terrycloth towel completely. The loopy fibers catch on every single coil and create frizz before you’ve even started styling. Swap it for a microfiber towel or a cotton t-shirt and never go back.
Skip raking product through dry or barely-damp hair. On coily texture, this coats the outside of a strand that’s already started to close its cuticle. The product sits on top, gives the illusion of moisture, and then flakes off by midday.
Skip the clarifying step that uses heat. Some tutorials suggest using clarifying shampoo with hot water to open the cuticle. On tight coils, that level of cuticle lifting increases tangling dramatically during the shampooing process itself. Warm water opens the cuticle enough for a thorough cleanse without creating a detangling nightmare.
Skip plopping. Plopping — wrapping hair in a t-shirt while wet — works well for wavy and loose curly hair because it encourages wave formation while removing excess water. For tight coils, it compresses and flattens the coil structure before it has a chance to spring. It can work for some 3C patterns, but for 4A and beyond, it typically creates more chaos than definition. The squeeze-and-release with a microfiber towel is a better approach every time.
If you’re in the exploratory phase of figuring out what your specific texture loves, I recommend checking out the resource on cute curly hairstyles for curls that never behave — it does a great job of showing how different techniques produce wildly different results on similar curl patterns. It helped me figure out which parts of the standard advice were actually wrong for my hair. You can also explore identifying your curl pattern as a starting point if you’re still figuring out your exact texture type, since that knowledge shapes which steps to lean into most.
Questions I Get About This
How long does the finger-coiling process actually take?
Honestly, the first few times it took me close to two hours. Now that I have a rhythm, I can do a full head in about 60 to 75 minutes. The sectioning and product application are the longest parts — the actual finger-coiling goes faster once you’ve done it a few wash days in a row.
Can this method work on fine 4C hair without the coils going limp?
Yes, with one adjustment: use less gel and more curl cream, and work in slightly smaller subsections when finger-coiling. Fine 4C strands can get weighed down by heavy hold products. The key is using a gel that’s firm but not thick — something with a more fluid consistency that doesn’t add weight. I find that the coils on finer strands actually spring up beautifully when the product layering is light.
Does this work on relaxed hair that’s transitioning to natural?
The technique works, but the two textures behave differently and you have to be more gentle at the line of demarcation where the two meet. The relaxed portion won’t coil the same way — it might just form soft waves or a slight bend. That’s fine. Work with it rather than fighting it, and over time as the natural growth comes in, the coiling step will produce more consistent results throughout. It’s a really worthwhile technique to learn during a transition because it’s so low-manipulation. You can also look into the broader category of hairstyles from crop to waist length to see what styles are accessible at different lengths of your transition journey — some of those looks translate beautifully to natural texture.
Why are my coils still frizzy even after following all the steps?
Nine times out of ten, it’s one of three things: the hair wasn’t wet enough when you applied products, you touched the coils before they were fully dry, or there’s still product buildup from previous wash days preventing moisture from getting in. Go back to Step 1 and make sure you’re actually clarifying, not just co-washing. Buildup is the invisible enemy of defined coils. Also check out preventing frizz on natural hair for a few extra strategies that complement this method.
How many days does the style last between wash days?
For me, three to four days — sometimes five if I pineapple at night (loosely gathering hair at the top of my head) and sleep on a satin pillowcase. To refresh on day two or three, I lightly mist with water and scrunch with a tiny bit of gel on the frizzy areas. I don’t re-coil unless a section has completely fallen. Overnight protection honestly extends the style life more than any product does.
The first time I did this full method and let my hair dry completely before touching it — the result actually shocked me. I had coils. Real, bouncy, defined, individual spirals sitting exactly where I had placed them. I cried a little, genuinely. Not because it was perfect (there were a few sections I’d need to practice more) but because for the first time my hair looked like mine — not a failed attempt at someone else’s technique. Natural hair doesn’t need a straight-hair tutorial with some workarounds bolted on. It needs a process built for it from the start. This one is that process.