







I cut my own bangs for the first time out of sheer impatience — my stylist had a three-week wait and I had a wedding in four days. Armed with kitchen scissors and a YouTube spiral, I ended up with something that looked like a five-year-old had attacked my forehead. What I didn’t understand then was that almost every mistake I made came down to one thing: I was using the wrong scissors, yes, but more than that, I had no idea what my single tool was actually supposed to do at each stage. Once I switched to proper haircutting shears and learned to use only them — no razor, no thinning shears, no comb as a guide — the whole process clicked. This is that process.
Your Bangs Roadmap — One Tool, Seven Stages
- What You Actually Need
- Step 1: Setting the Base — Dry, Straight, No Product
- Step 2: Mapping the Section — Where Bangs Actually Start
- Step 3: Drawing the Triangle — The Shape That Controls Everything
- Step 4: Making the First Cut — Length Safety Zone
- Step 5: Building the Shape — Point-Cutting Along the Edge
- Step 6: Checking the Fall — The Side-Parting Test
- Step 7: Refining the Finish — Texturizing the Weight Line
- Where One Pair of Scissors Hits Its Limit
- Quick Answers Before You Grab Those Scissors
What You Actually Need
Genuinely, just one thing matters here. Everything else is support.
- Sharp haircutting shears — 5.5 to 6 inch, Japanese steel if you can swing it. Price range: $20–$45 for a solid entry-level pair, $60–$120 for something that’ll last years. This is your whole toolkit. Do not use fabric scissors, nail scissors, or anything that lives in a kitchen drawer.
- A fine-tooth rat-tail comb (for sectioning — the comb doesn’t cut anything, it just parts)
- Two or three sectioning clips
- A handheld mirror and a bathroom mirror you can stand in front of
- A spray bottle with plain water
That’s it. No texturizing razor. No thinning shears. No eyebrow scissors. The whole point of this method is that you learn exactly what sharp, straight haircutting shears can do across every stage — and it turns out, that’s a lot.
Step 1: Setting the Base — Dry, Straight, No Product
Start with completely dry hair. Washed, dried, and straight — no mousse, no oil, no dry shampoo sitting on the roots. Product changes the weight of individual strands and makes hair behave unpredictably under the scissors. What looks like a straight cut wet can spring up half an inch when it dries if there’s any natural texture in your hair.
If your hair has natural wave or curl, blow-dry the front section as smooth as you can get it using a round brush. The goal is to see the hair in its most honest, gravity-obeying state before you take a single snip. You need to understand what this hair wants to do before you tell it what to do.
Mistake I made: I once cut my bangs immediately after washing, while they were still slightly damp, telling myself “it’s basically dry.” It wasn’t. They dried two centimeters shorter than I’d cut them and I looked vaguely surprised for three weeks. Fully dry. No exceptions.
Once your hair is prepped, stand in front of your mirror in good lighting — ideally natural light, or a bright overhead. You need to see every strand clearly. Understanding how a proper hair sectioning map works before you start will save you a lot of second-guessing once the clips go in.
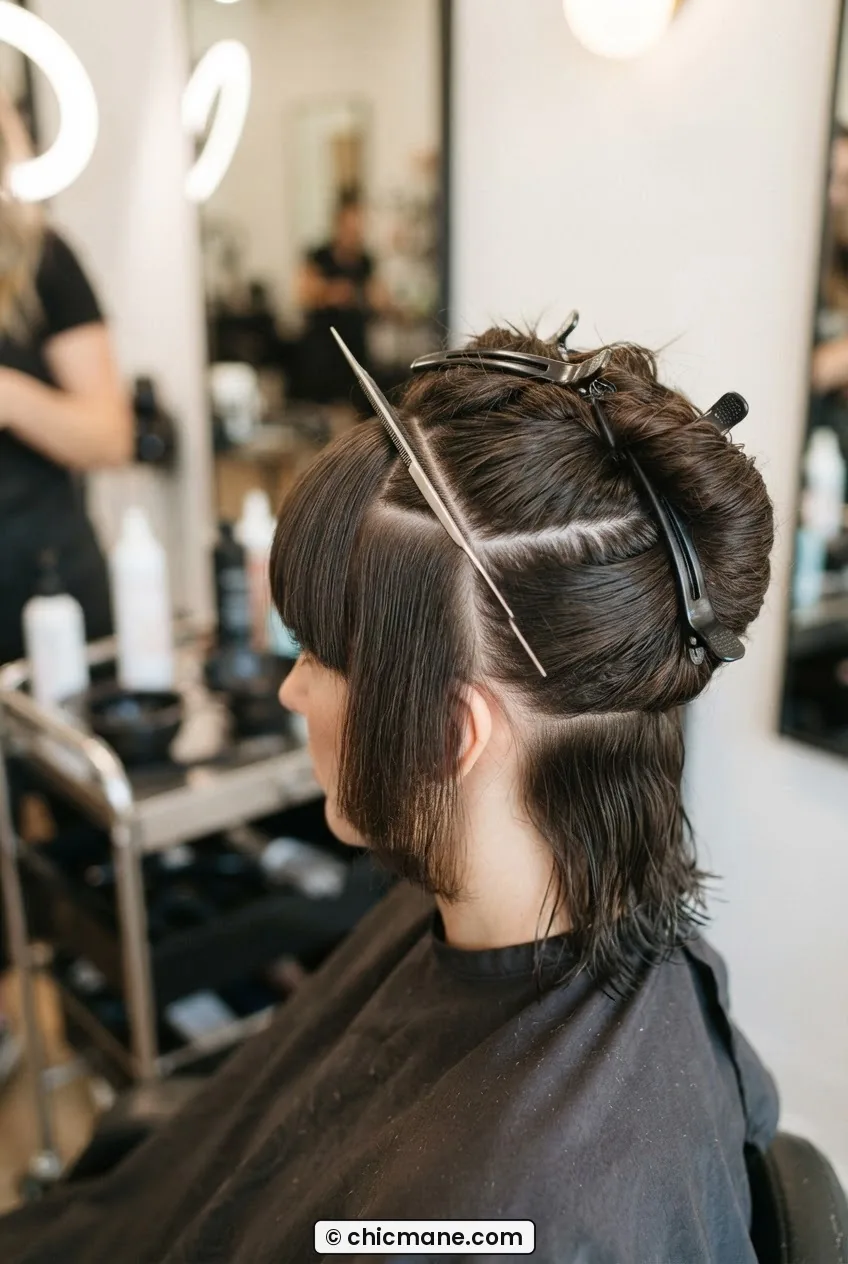
Step 2: Mapping the Section — Where Bangs Actually Start
This step is the one most tutorials skip over, and it’s probably the most important. Bangs don’t just start at the hairline. They start further back — usually at the apex of the head, which is the highest point of your skull when viewed from the side. If you start your section at the hairline, you’ll end up with thin, stringy bangs that have no body. Go too far back and you’re pulling in hair that’s meant to be part of your crown.
Use the tail of your rat-tail comb to find your apex. It’s roughly where your head starts to curve downward toward the front. From that point, draw a section forward toward your hairline. This forward section — everything between the apex and your hairline, confined to a specific width — is your bang panel. Clip everything else away. What remains loose in the front is your raw material.
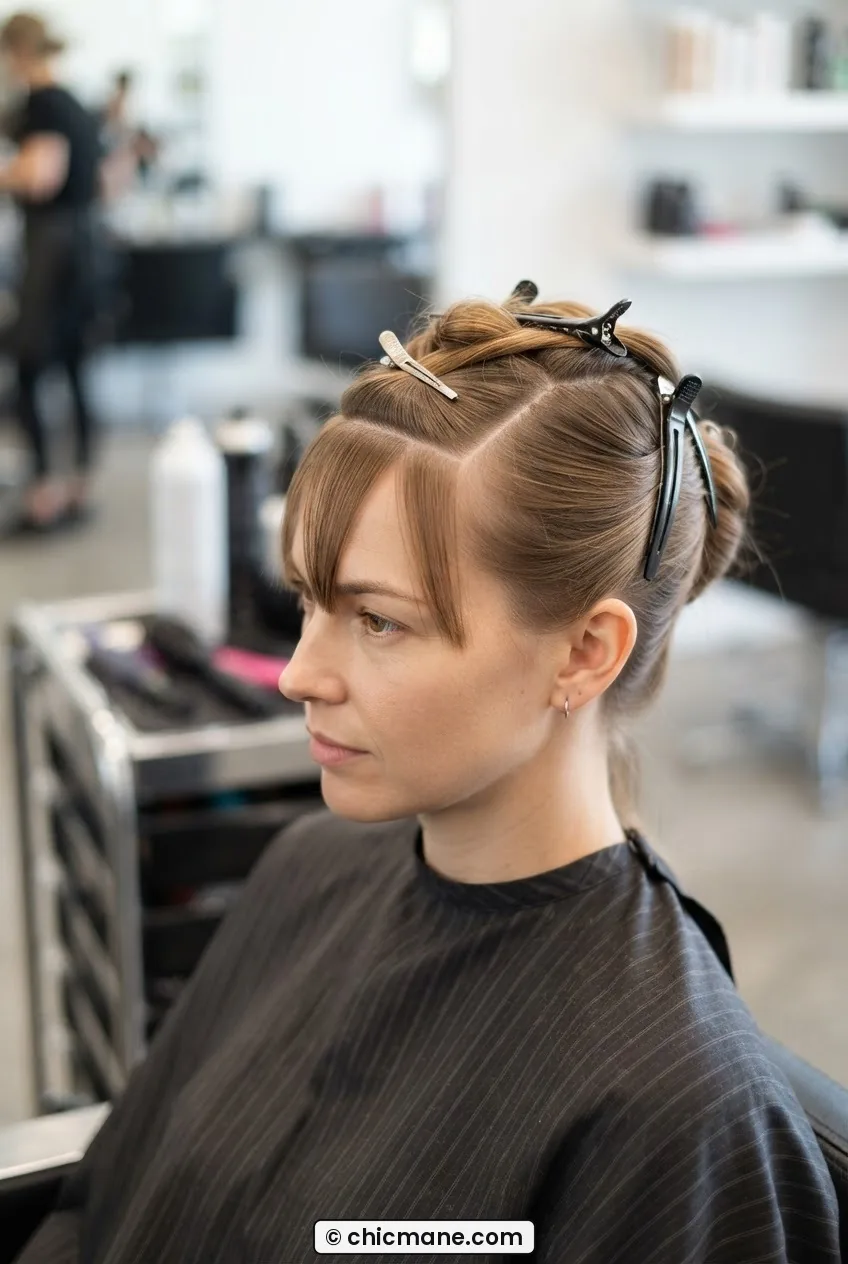
Step 3: Drawing the Triangle — The Shape That Controls Everything
Within the bang panel you’ve isolated, you’re now going to define a triangle. The point of the triangle sits at the apex, and the base of the triangle is a line across your hairline — but not edge to edge. The width of the base determines how full or how wispy your bangs will be.
For full, blunt bangs: make the base about the width of your eye-to-eye span. For softer, face-framing bangs that can sweep to one side: make the base slightly narrower, and angle the sides of the triangle so the corner hairs are a little longer than the center. Everything outside that triangle gets clipped back up. This is the architectural decision — the scissors haven’t touched hair yet, but this triangle is already deciding the finished shape.
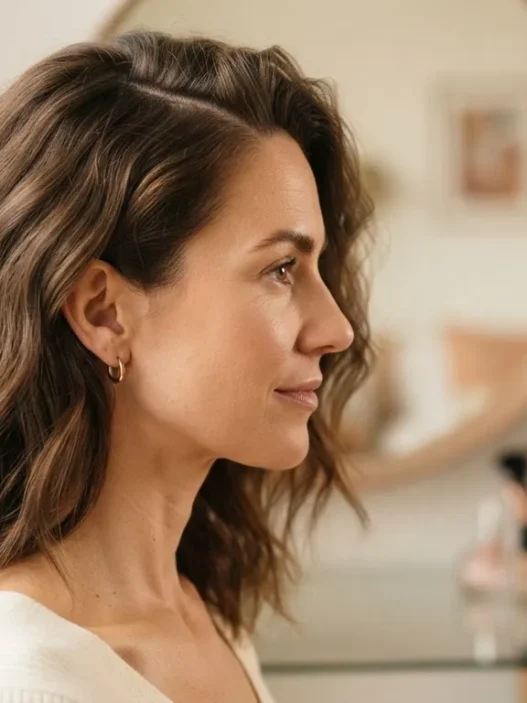
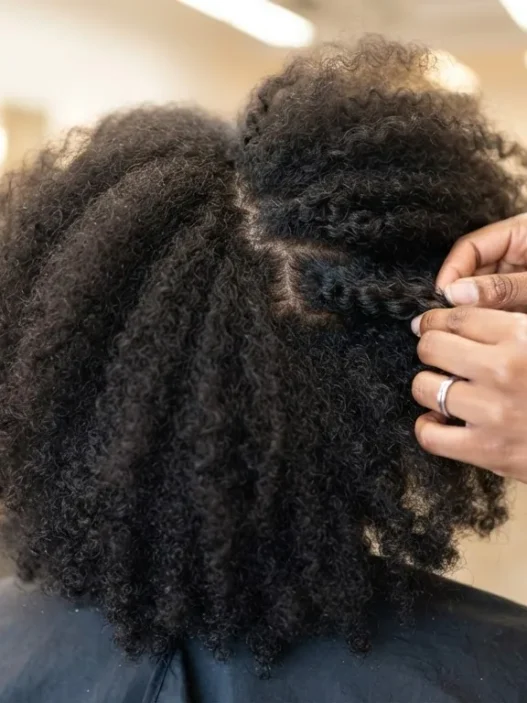
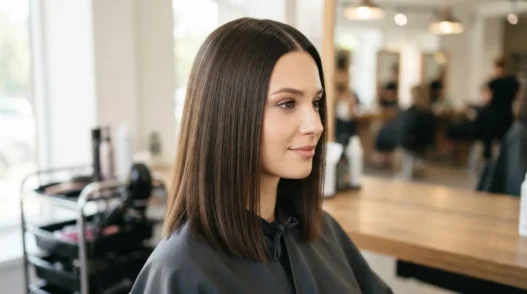
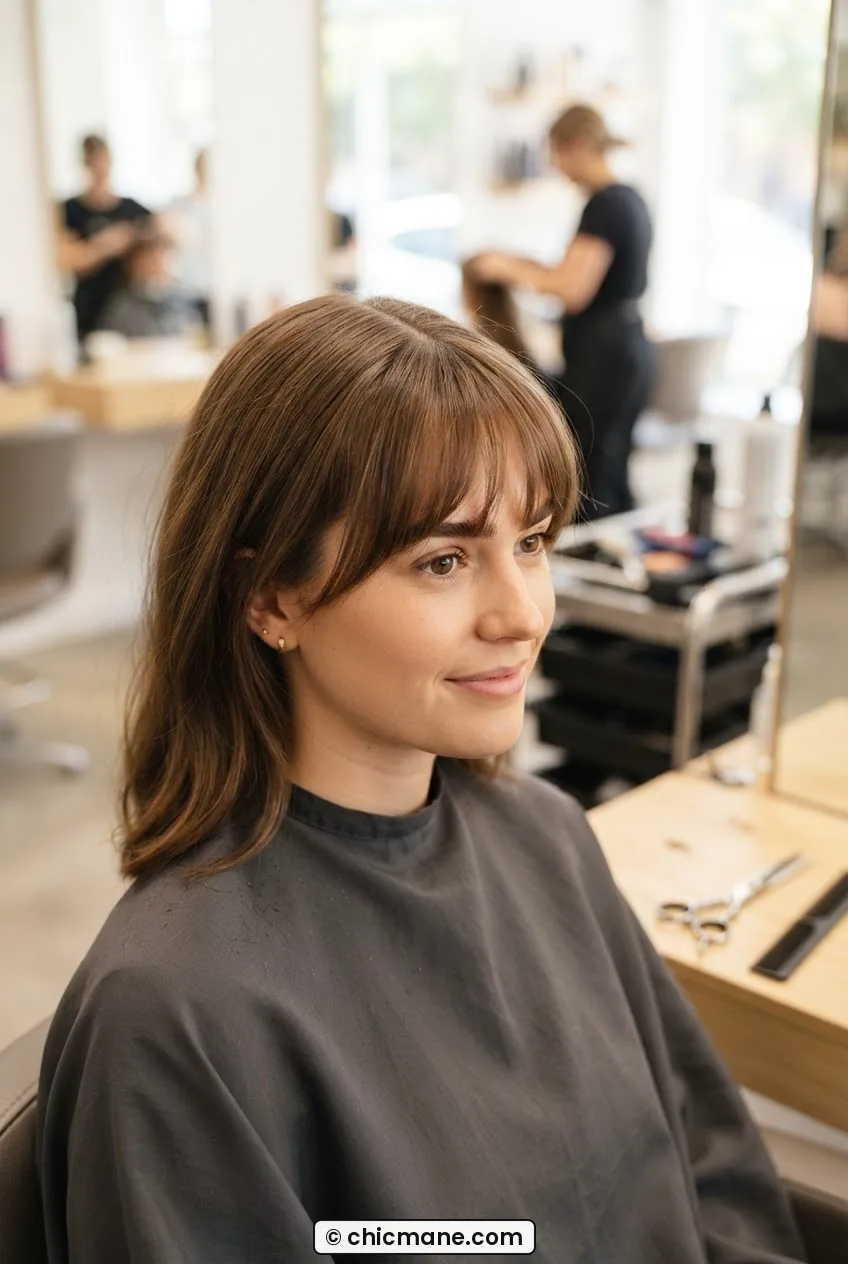
Look at how her section is mapped in this photo — see how the parting lines form a clear triangle and nothing outside it has been disturbed? That clean separation is exactly what you’re going for before the first cut even happens.
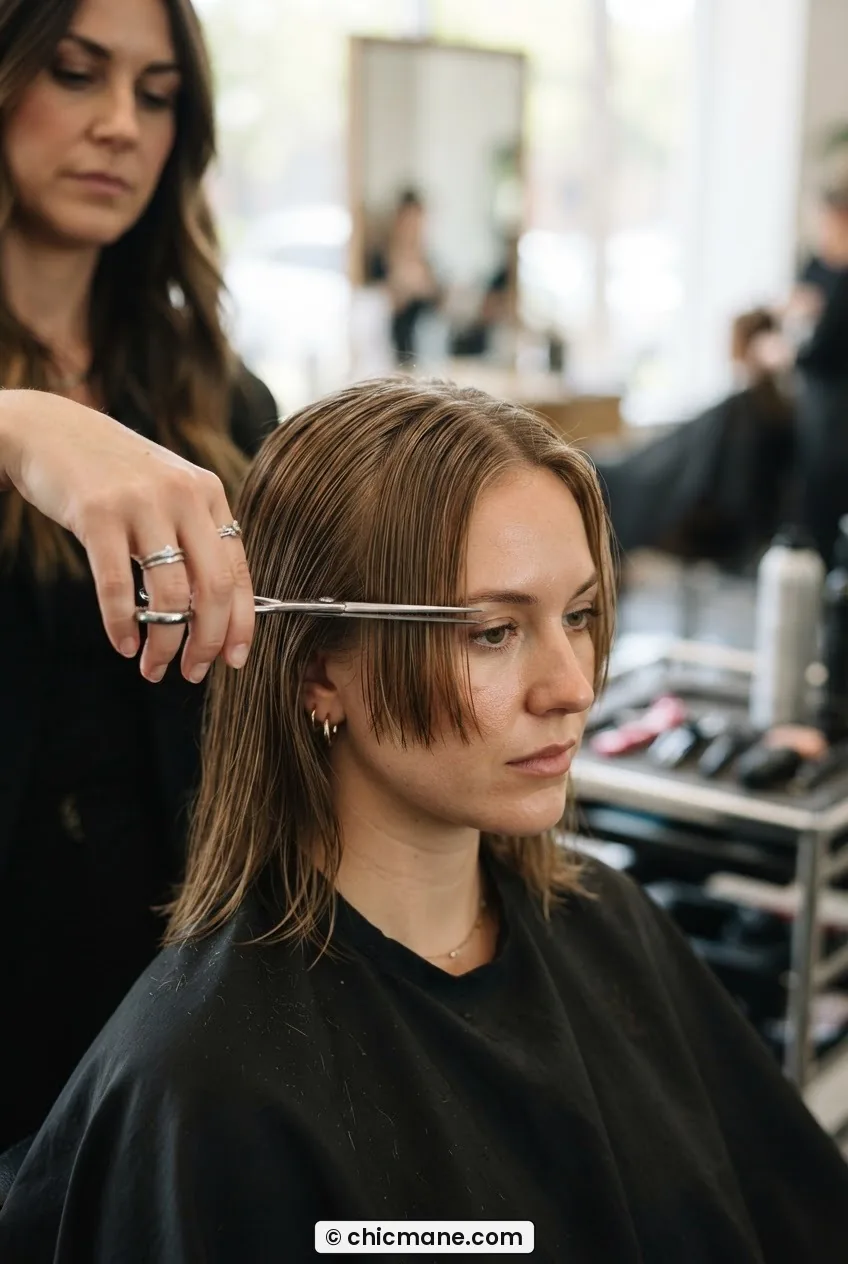
Step 4: Making the First Cut — Length Safety Zone
Here’s where people ruin their bangs in under five seconds. The golden rule: cut longer than you think you need to, then refine. I always start my first cut at nose level — yes, nose level. Even if I want eyebrow-length bangs, I start at my nose. You can always take more off. You cannot glue hair back on.
Hold your triangle section between your index and middle fingers, keeping your fingers completely horizontal. Slide them down to nose level. Make one straight, clean cut across — one motion, don’t saw. Your shears should be sharp enough that this is one fluid snip. If you feel resistance or the scissors chewing, stop. Blunt shears are the enemy; they crush the hair shaft instead of slicing it cleanly, and that’s what creates that telltale blunt-edged, home-cut look. This is when you learn to choose the right scissor grade before you ever start cutting.
After this first cut, release the hair and let it fall naturally. Just look. Don’t touch yet. You’re orienting yourself to where you are before moving forward.
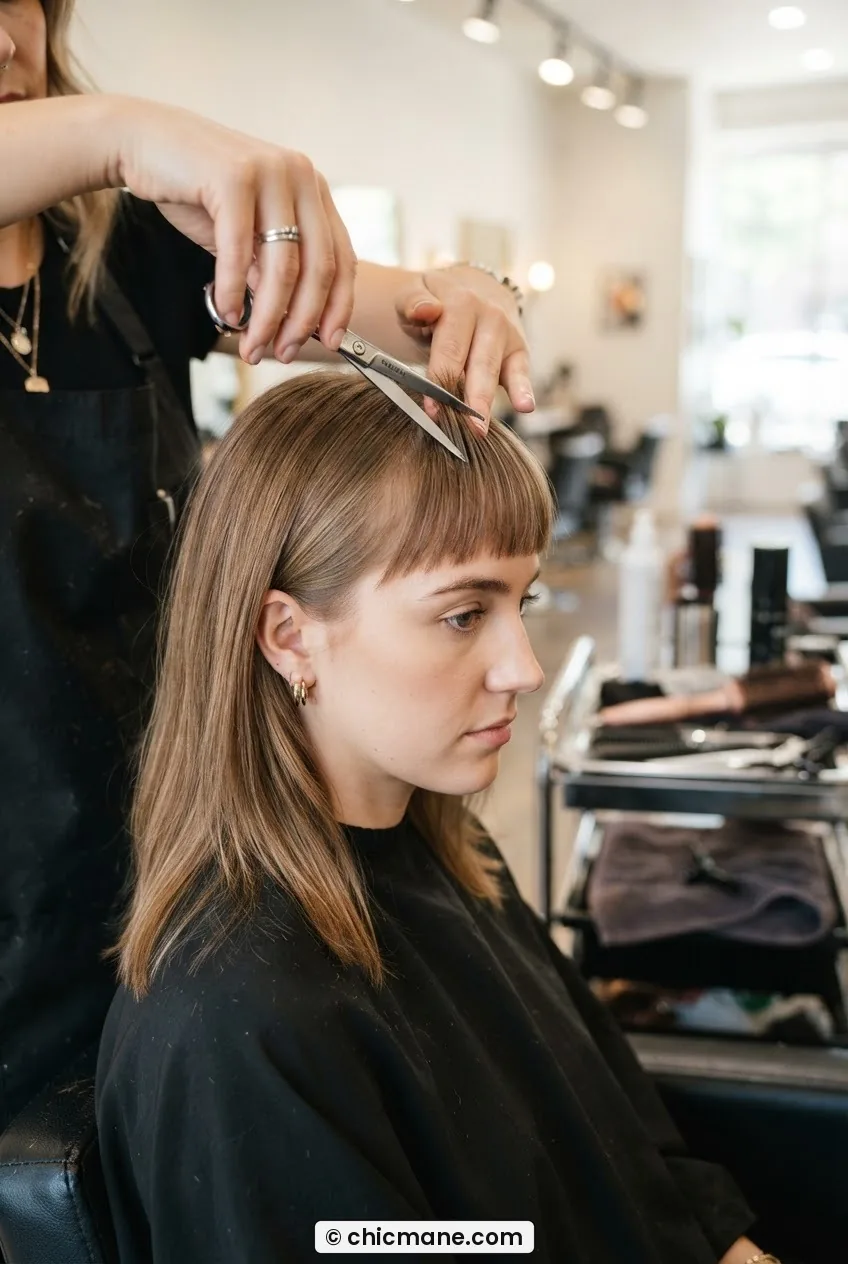
Step 5: Building the Shape — Point-Cutting Along the Edge
Now the scissors do something different. Instead of cutting straight across, you’re going to turn them 90 degrees so the tip points up toward your face, and you’re going to make tiny snips into the edge of the bang — point-cutting. This breaks up the solid line your straight cut left and gives the bang its movement.
Work across the entire width of the bang, taking small vertical snips about a quarter inch deep. Don’t rush this part. The depth of each snip controls how soft or how defined the edge looks. Shallow snips (an eighth of an inch) give you barely-there softness — good for blunt bangs that still look polished. Deeper snips (half an inch) give you a choppier, more textured fringe. You can read up on point-cutting techniques if you want to understand the mechanics behind why this works before you start.
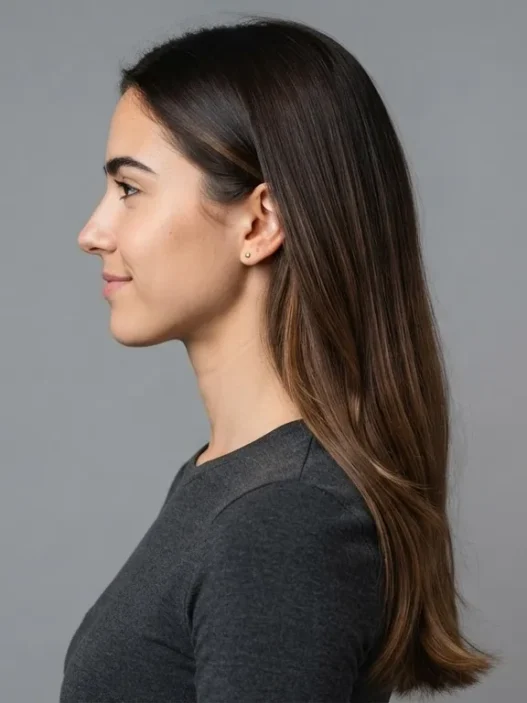
Notice in the photo how the parting lines stay crisp even as the edge is being worked — that’s the sign that the section was properly mapped in Step 3. Messy sections make this stage a guessing game.

Seeing Point-Cutting in Real Time
Step 6: Checking the Fall — The Side-Parting Test
This is the step that saved my sangs from disaster the second time I attempted them. Once you’ve done your point-cutting pass, release all the clips and let your hair fall naturally with whatever part you actually wear every day. Not centered artificially. Your real part.
If you wear a side part, your bangs are going to sit asymmetrically, with more weight on one side. Check both sides in the mirror. Does one corner look dramatically longer or heavier than the other? That’s usually because the triangle wasn’t perfectly centered on your part — totally normal. This is where you make micro-adjustments: tiny point cuts on the heavier corner to even things out visually.
This side-parting check is also when you decide if you’re going for something that sits across the forehead or something that sweeps. Bangs that are going to be worn swept to one side need the outer corner on the sweep side to be very slightly shorter — counterintuitively — because hair worn at an angle appears longer than hair hanging straight. If you’re thinking about a whole new cut to go with your new bangs, knowing exactly what to ask your stylist for at your next appointment will make the conversation so much easier.
Step 7: Refining the Finish — Texturizing the Weight Line
The last thing the scissors do is address the weight line — the invisible horizontal stripe where all your bang hair is the same length. Even after point-cutting, there’s often a slight heaviness across the middle of the bang that makes it look flat. To break this up, go back in with the tips of your shears and take two or three additional snips slightly above your finished edge, right in the center third of the bang.
These snips go just into the surface of the bang, not all the way through, creating micro-layers that catch light differently and give the whole fringe dimension. It’s a small thing that makes an enormous difference — the kind of thing that separates “I cut my own bangs” from “did you just get a trim?”
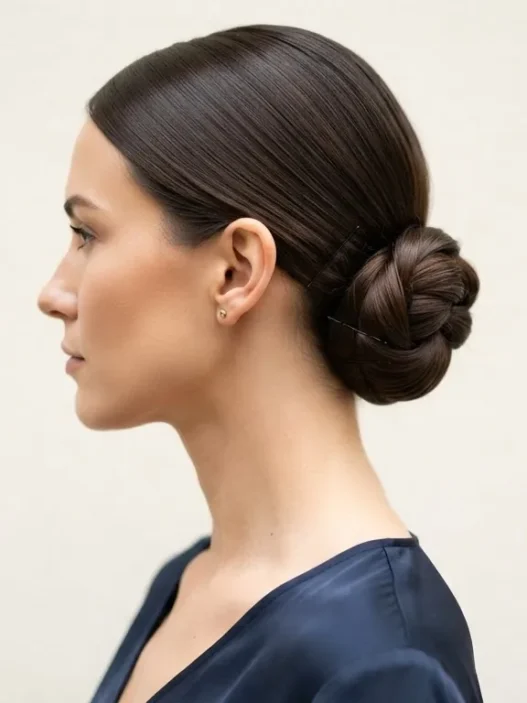
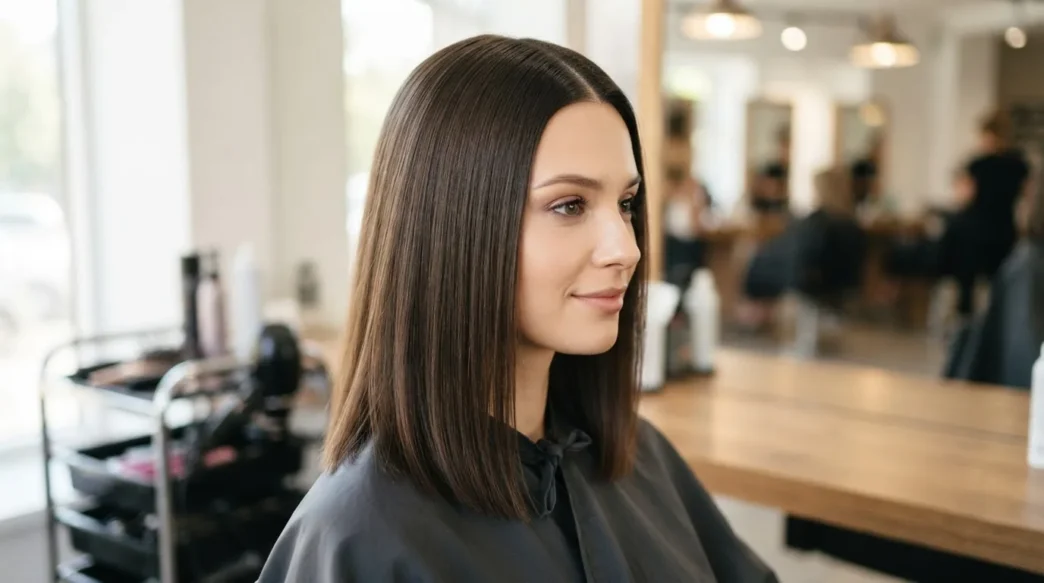
She’s got a similar texture to what I’m working with — look at how the weight distributes evenly from corner to corner once you address that center line. That’s the finished look right there, no product yet.
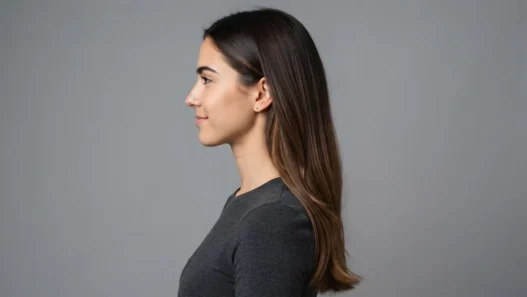
If your overall length is a medium-length cut, bangs at this stage tend to integrate really naturally into the rest of the shape — you don’t need to do anything extra to blend them in. With a shorter cut, like if you’re working with a short bob, the bang will be more of a defined feature and may need a tiny bit more length left at the corners to avoid looking too geometric.
Where One Pair of Scissors Hits Its Limit
I want to be honest about this because the “one tool” angle has real limits. Sharp haircutting shears cover every single stage of a standard fringe cut — sectioning, initial length, point-cutting, texturizing. Absolutely. But there are a few situations where you’ll genuinely want a second tool or a professional set of hands.
Very thick hair is the biggest one. If you have dense, coarse hair, the weight of a single-tool bang can become heavy and blunt no matter how much you point-cut. Thinning shears would actually help you here. And if you have very short hair already, the margin for error on bang length is tiny — a millimeter matters — and I’d honestly say book a trim for your first time and watch what the stylist does before you DIY.
Curtain bangs — the kind that part in the middle and sweep out — are also harder to do solo with scissors alone because they require a curved cut, not a horizontal one, and that’s difficult to see and execute on yourself in a mirror. Similarly, extremely fine hair needs very shallow point-cutting or the fringe looks sparse and stringy, which scissors can do, but the precision required is high. For most hair types and most fringe styles, though? Seven steps, one tool, and you’re there.
Quick Answers Before You Grab Those Scissors
How often do bangs need to be trimmed?
Every three to five weeks if you want them looking intentional. Hair grows roughly half an inch per month, and bangs are short enough that even a quarter inch of growth changes how they sit. Once you’ve done this process once and know your triangle measurements, maintenance trims take about five minutes.
Can I cut bangs on curly or wavy hair this way?
Yes — but cut them longer than you think, and then cut them longer than that. Curly hair shrinks dramatically when it dries, sometimes by an inch or more depending on your curl pattern. Always cut curly bangs while the hair is dry and in its natural state, not stretched. The sectioning triangle method still applies exactly the same way. And you can learn how to approach curly fringe before you commit.
What’s the biggest sign my scissors aren’t sharp enough?
The hair folds or bends slightly before it cuts, rather than snipping cleanly on the first press. You might also see the ends look slightly frayed or “white-tipped” right after cutting. Dull shears crush the hair shaft rather than slicing it, and that’s what makes DIY cuts look visibly homemade. If your scissors are more than a couple of years old and have never been sharpened, that’s almost certainly your problem — not your technique.
My bangs look uneven — did I do something wrong?
Probably not. Most bangs that look uneven in the first few hours after cutting are actually reacting to the way they were held under tension during the cut. Let them settle overnight, sleep on them (yes, seriously), and reassess in the morning after a light blow-dry. If they’re genuinely uneven, go back in with point-cuts only — never a straight horizontal cut to “even things up,” because that removes length from the whole bang and usually makes things worse.
My result, for what it’s worth: I have medium-thick hair with a slight wave, and after doing this seven-step process I got clean, eyebrow-length bangs that my actual stylist complimented on my next visit. She asked who had trimmed them. I said I had. She looked mildly annoyed and also impressed, which felt like a win. The scissors cost me $38. They’ve been worth every cent — I’ve touched up my bangs eight times with them and they still cut clean as the first day. That’s the whole case for one good tool over a drawer full of bad ones.