






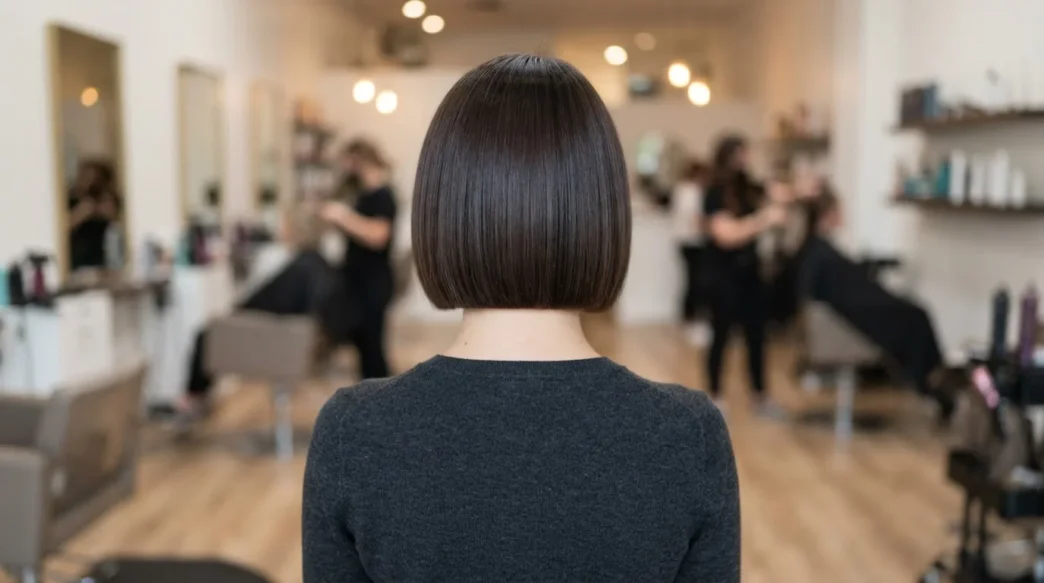
I cut my hair into a chin-length blunt cut last spring and immediately panicked. Not because I hated it — I loved it. But every tutorial I found for a polished, structured short bob assumed I had at least enough length to tuck behind my ears or pin into place. My hair barely grazed my jawbone. Half the styling tricks I tried slid right off within the hour, and I spent two weeks convincing myself the look just wasn’t for me.
Spoiler: it absolutely was for me. I just had to rethink the whole process from scratch. The standard approach doesn’t translate to truly short lengths — the sectioning is wrong, the product amounts are wrong, and the anchoring logic completely falls apart. Once I figured out the adaptations, the style locked in and stayed put all day.
This guide walks through the exact modified technique I landed on. I’m writing it specifically for hair that sits at or above the chin — the territory where most short bob tutorials quietly stop helping you.
Everything You Need to Know Before You Start
- What You’ll Need
- What Changes When Your Hair Is Short
- The Grip Problem
- Step 1: Wash and Rough-Dry to Your Natural Fall
- Step 2: Section Into Smaller Panels Than You Think
- Step 3: Apply a Light Hold Product to Each Section
- Step 4: Securing It With Less Hair
- Step 5: Smooth the Perimeter
- Step 6: Lock the Shape With Cool Air
- Step 7: The Finished Look Check
- Questions I Get About This
What You’ll Need
Nothing on this list is exotic. You probably own most of it already — the key is using each thing differently than the instructions suggest.
- A small round brush — 1-inch barrel, not the giant volumizing one
- A flat iron with adjustable heat (I keep mine at 365°F for this)
- A lightweight styling cream or smoothing lotion — NOT a heavy pomade
- Fine-tooth tail comb for precise sectioning
- Duckbill clips — at least 8, ideally 12
- Mini bobby pins in your hair color (the shorter, thinner ones)
- A medium-hold hairspray
- Cool shot button on your blow dryer — actually going to use it this time
What Changes When Your Hair Is Short
The classic bob styling method is built around weight. Longer hair has enough mass that gravity does half the work for you — the ends fall clean, the shape holds because there’s simply more of it pulling downward. When you’re working with a short bob that sits at or above the jaw, you’ve lost that weight advantage almost entirely.
What that means in practice: sections need to be smaller (I’m talking half the width you’d usually take), product needs to be lighter so it doesn’t drag fine or short hair down, and the perimeter — that crisp, straight edge across the back and sides that defines the whole shape — needs active help staying put. It won’t just happen on its own.
The other thing that changes is timing. Short hair loses heat faster. You have maybe 15 seconds of “moldable” time after the iron or brush passes through before the hair sets. That sounds fine until you realize you were used to having 40. You have to work in real sprints.
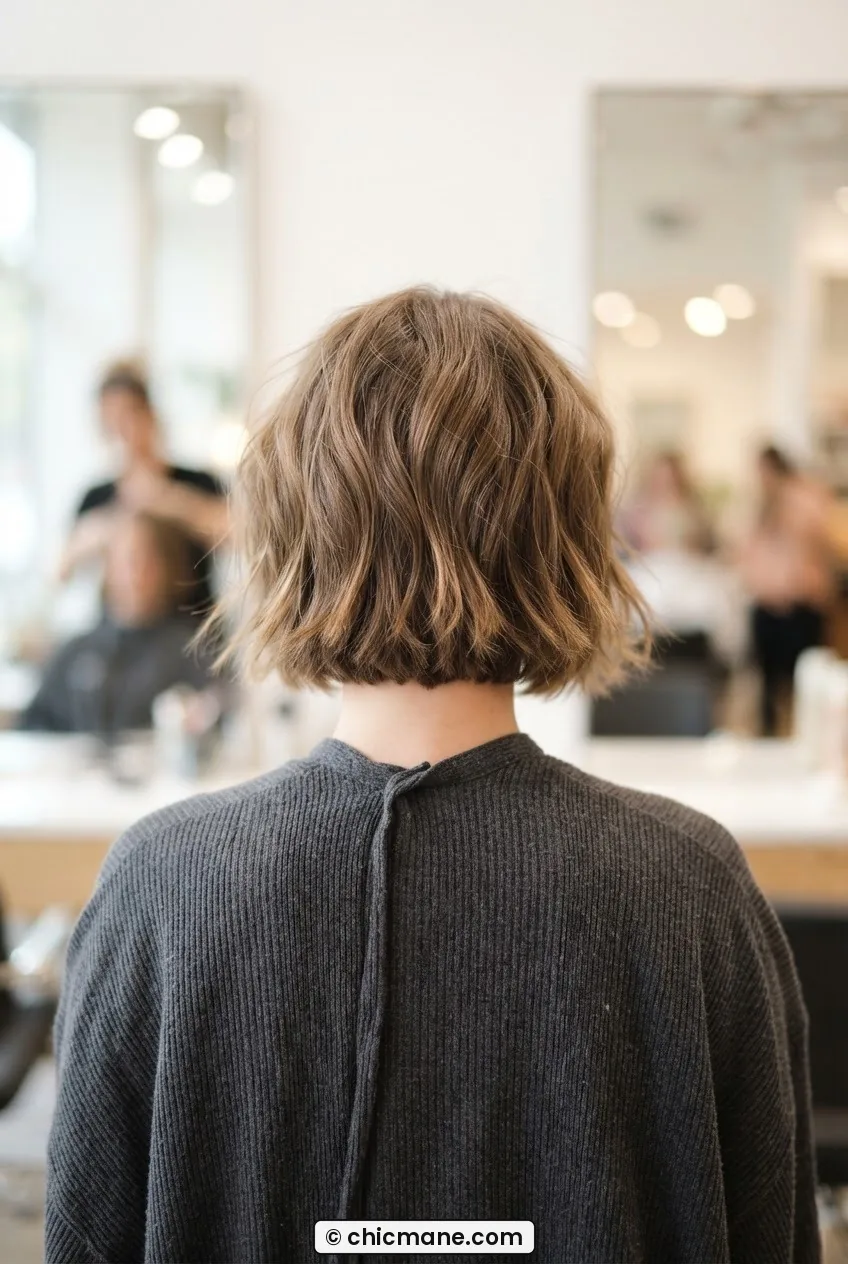
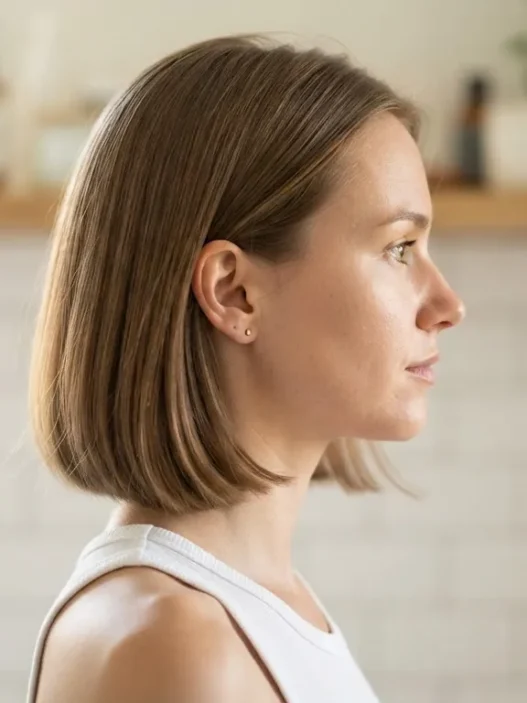
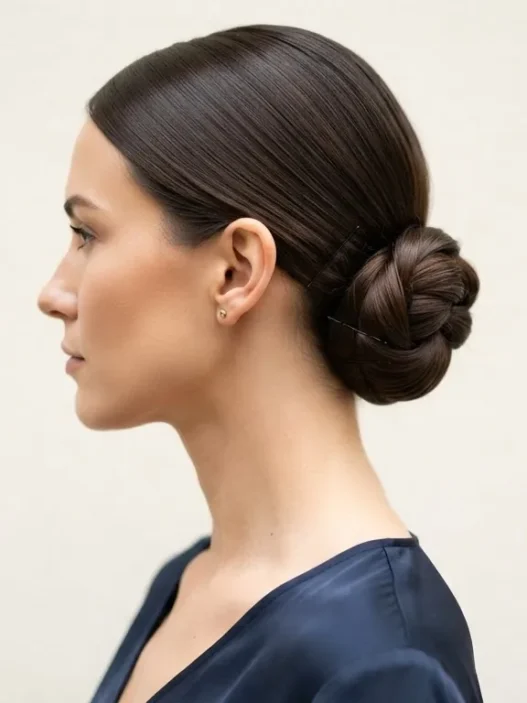
Look at her neckline in that photo — that clean, defined edge across the back is exactly what we’re working toward. On shorter lengths, the nape area is actually the hardest part to keep sharp, which is why I tackle it differently than the crown.
The Grip Problem
Here’s the honest conversation nobody has: a short bob on truly short hair has a grip problem. Every securing technique — clips, pins, elastic, even your hands pressing sections flat — relies on having enough hair to anchor into. Below a certain length, you’re essentially asking the same three centimeters of hair to both hold a style AND be styled. It gets confused.
The minimum length this method works at is roughly two inches all over, measured when the hair is dry and in its natural state. At that length you can just get enough grip with the technique in Step 4. Below that — we’re talking a true pixie or a bob that’s been grown out from a pixie and isn’t quite there yet — this particular method won’t hold reliably. I’ll be straight with you: some lengths genuinely cannot do this style without extensions or a different approach entirely.
But from two inches upward? Completely doable. I promise. I know because my own hair was right at that threshold when I figured this out. You can also browse ideas for five-minute open hairstyles if you’re in that in-between zone and need something that works right now while you’re growing it in.
Step 1: Wash and Rough-Dry to Your Natural Fall
Start with freshly washed hair. I know that sounds obvious, but I used to try and style second-day hair into a short bob and wonder why the shape looked muddy. Product buildup and natural oils make short hair go limp faster than anything. Clean hair gives you a real baseline to work from.
Rough-dry with your fingers and the dryer on medium heat until the hair is about 80% dry. Not fully dry — that’s important. You’re letting it find its own natural fall pattern, which tells you where your hair wants to sit. Short bobs often have a dominant direction the hair grows in (especially at the crown and nape), and fighting that direction is the reason so many styles collapse by noon. Working with it from the very start saves you a lot of effort later.
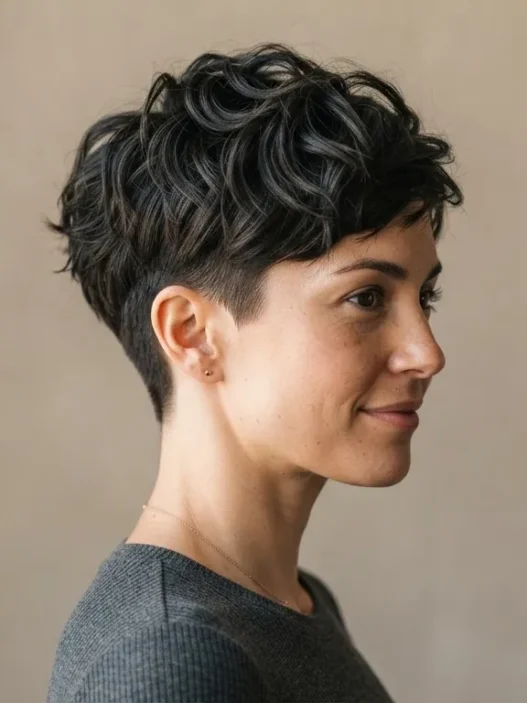
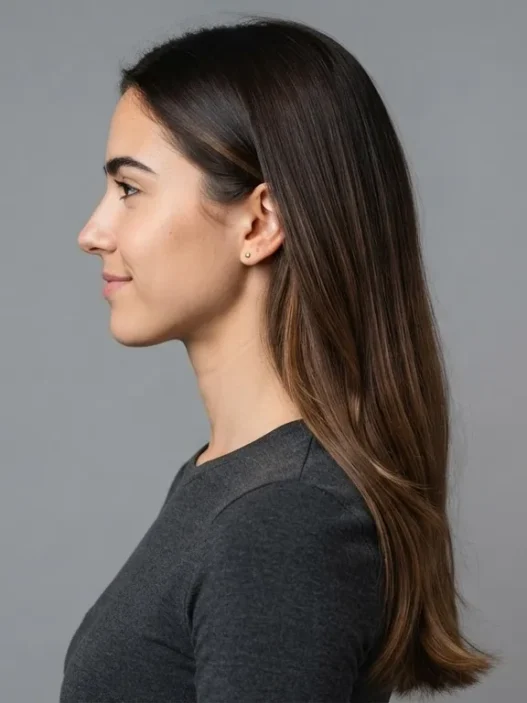
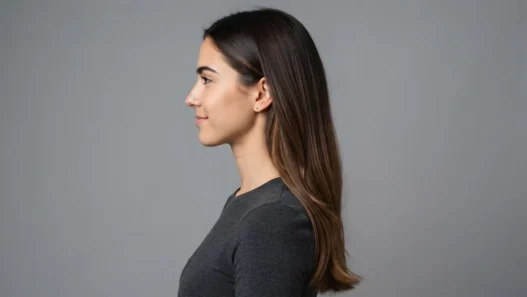
See how her hair is falling naturally away from the crown in that photo? That’s the rough-dry stage — you can already see the shape forming before any tools have touched it. That’s what you’re aiming for.
Step 2: Section Into Smaller Panels Than You Think
This is where most short-hair styling falls apart — people keep using the same wide sections they’d use on a longer style. On a short bob, that means you’re running a brush or iron through too much hair at once, the tension is inconsistent across the section, and you end up with some hair that’s perfectly smooth and some that has a weird kink hiding underneath.
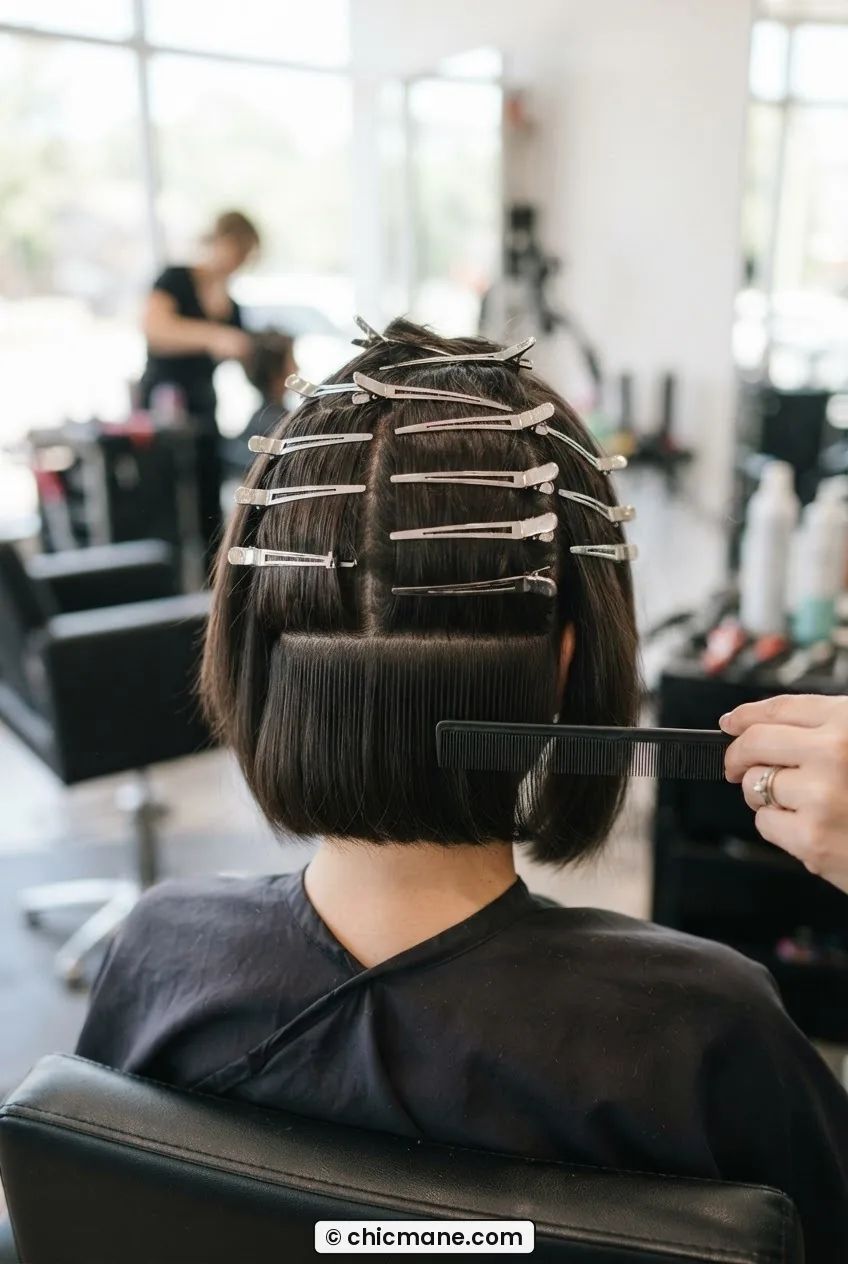
Divide the hair into horizontal layers starting from the nape. Each section should be no wider than half an inch. I use my tail comb to draw clean horizontal partings — start at the very bottom, clip everything above out of the way, and work upward. For a bob sitting at the jaw, I typically end up with about six to eight sections total. Yes, that’s more sections than you’re used to. Yes, it’s worth it.
The nape sections are the most important ones to get right. The back of the head is what defines the whole bob silhouette, and if you’re interested in how the shape from behind makes or breaks the whole look, the approach to styling a blunt bob is worth a read before you get to this step.
Step 3: Apply a Light Hold Product to Each Section
I cannot stress the word “light” enough here. When I first tried this, I used the same smoothing cream I’d been using on longer hair and basically glued my bob to my scalp. It looked flat, heavy, and somehow both stiff and limp at the same time. Not the vibe.
For a short bob on short hair, use a pea-sized amount of styling cream emulsified between your palms, then rake it through each section before you touch it with any heat tool. The product should feel like almost nothing in your hands — you want it to coat the strand, not sit on top of it. This gives the flat iron or brush something to grip without weighing the hair down.
Mistake I made: I applied the same amount of product to every section, including the very fine pieces around my hairline. Those sections are already more fragile and prone to going limp — they need barely anything. Now I use even less on the perimeter pieces and reserve the slightly heavier product for the mid-sections where I need the most control.
Step 4: Securing It With Less Hair
This is the step where the adaptation really matters. On a longer bob, you’d clip or pin pieces out of the way using simple butterfly clips — the hair is long enough to fold and tuck. On a short bob, you can’t fold anything. The pieces are too short to loop, and standard clips often don’t grip cleanly, especially on silky or fine hair.
The solution I landed on: duckbill clips applied horizontally along the root, pointing toward the face. Instead of trying to clip the whole section up and out of the way, you’re clamping it at the base to hold it in position while you work. Think of it less like “getting it out of the way” and more like “holding the direction I want this hair to eventually sit in.”
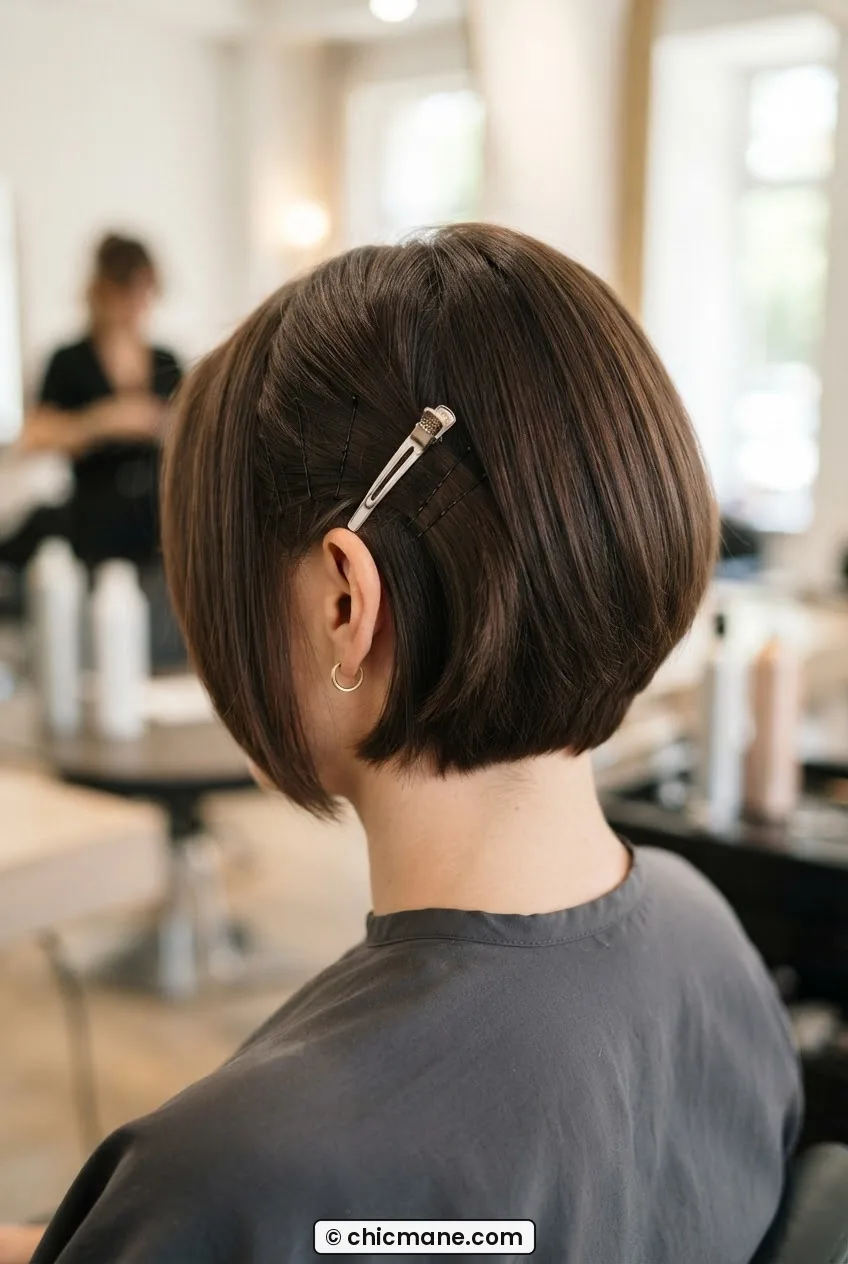
Mini bobby pins become your best friends in the sections around the ear. A single pin placed just above the ear with the wavy side down gives the hair a direction to fall without slipping. You’re essentially creating temporary anchoring points at strategic spots. This is a technique borrowed from pin-curl setting, and it works beautifully on short lengths because you’re working with the geometry of the head rather than against it.
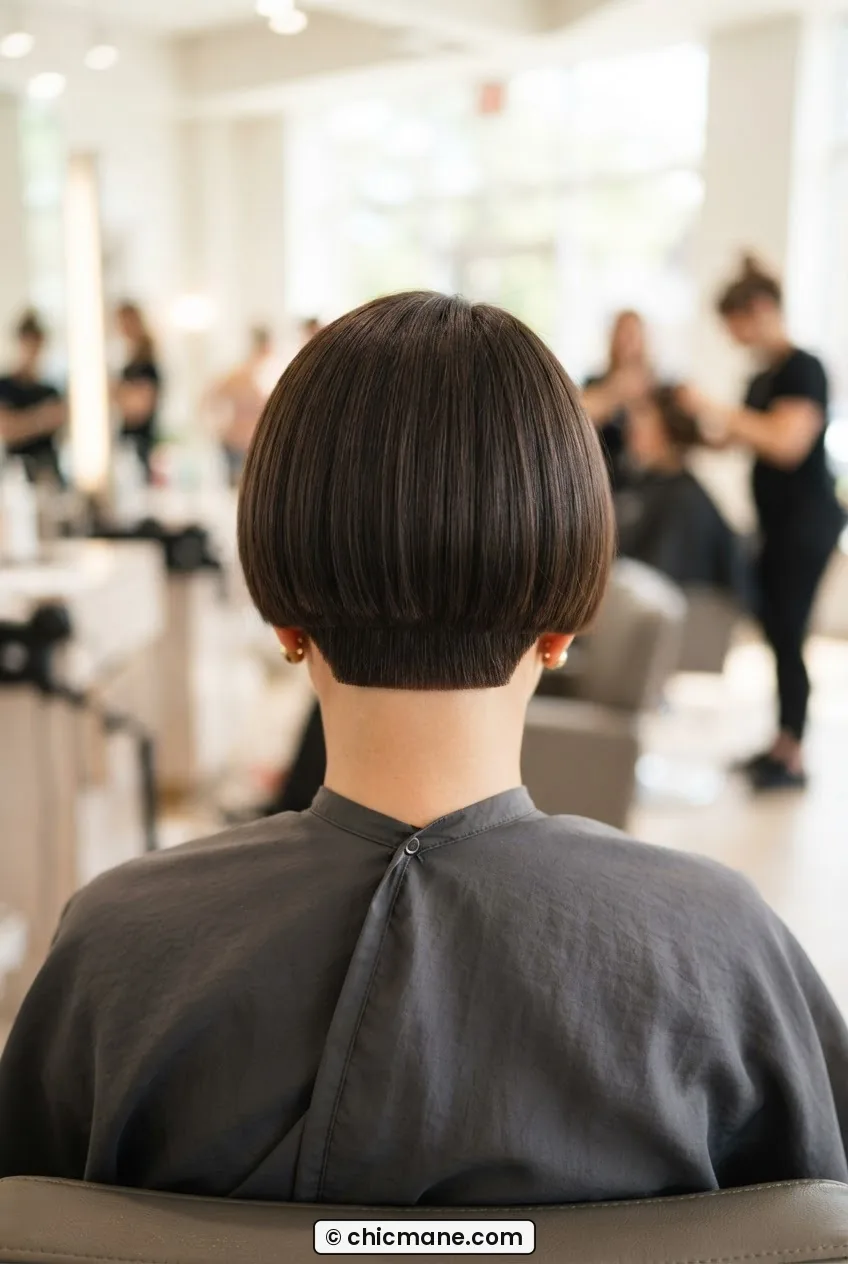
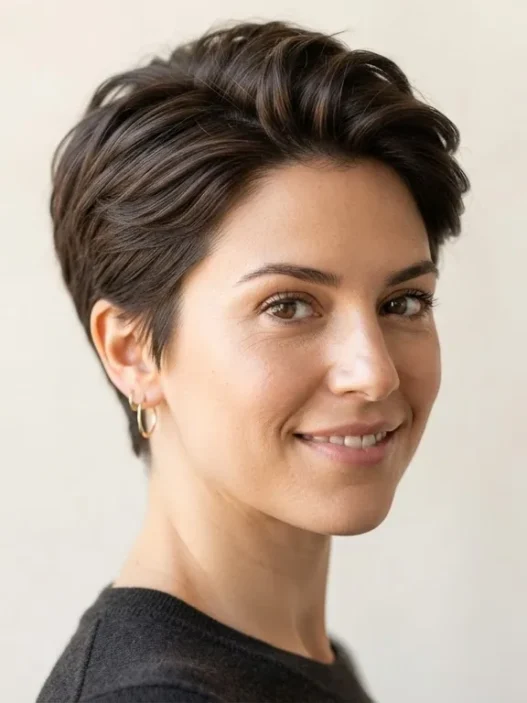
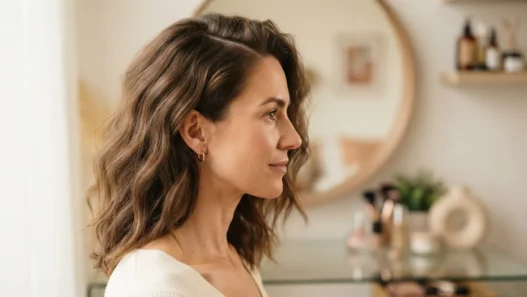
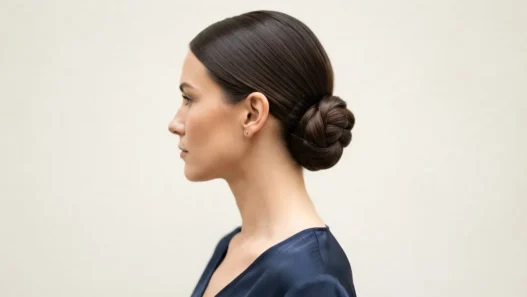
Notice how the sections around her ear are sitting so cleanly in that photo — that’s the duckbill-plus-pin combination doing its job. The hair isn’t fighting to spring out of place because it’s been anchored at the root.
A Stylist Showing the Anchoring Technique Live
Step 5: Smooth the Perimeter
Release the sections one at a time, starting from the bottom again, and pass your flat iron through each one. For the bob perimeter — the ends that create that clean, straight line — keep the iron perfectly parallel to the floor. Any tilt and you’ll accidentally introduce a bend that softens the edge in a way that reads as messy rather than intentional.
Work fast on the final inch of each section. Remember the 15-second window from earlier — this is where it matters most. As you pull the iron through the ends, give a very slight downward pull and then release. No curling the ends under, no flicking them out. Just clean, downward tension and release. That’s what creates the sharp, blunt perimeter line that makes a short bob look properly done rather than overgrown.
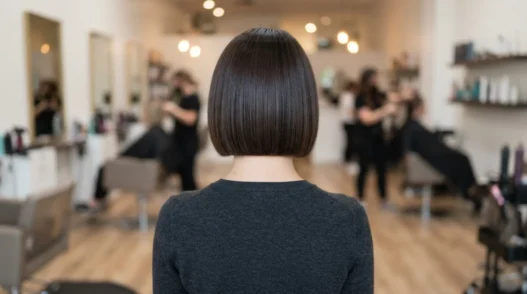
The back perimeter, the area across the nape, is honestly the most satisfying part. Watching that clean horizontal line appear section by section is genuinely exciting. She’s got that exact line in the photo below — see how sharp and level the edge sits across the back? That’s the goal.
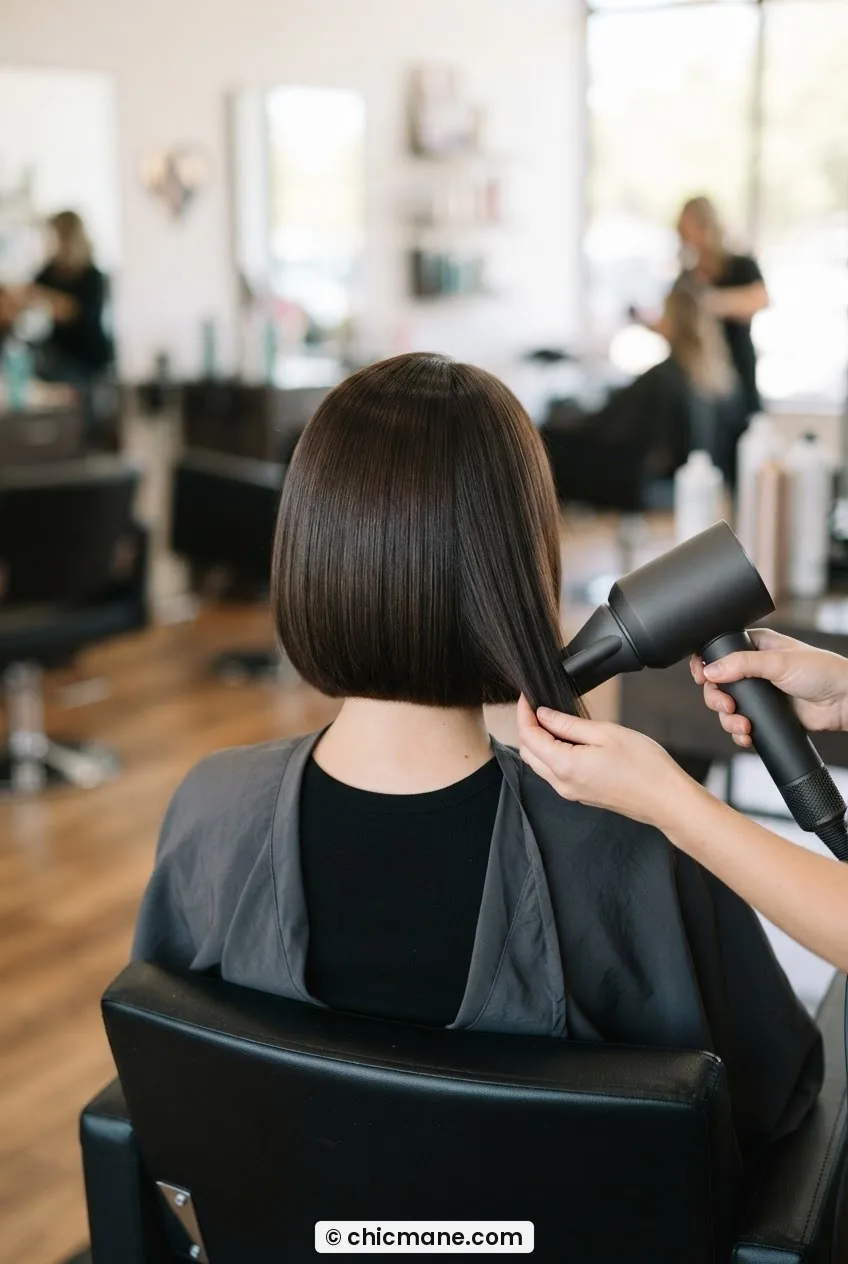
That horizontal line across the nape is the signature of a properly done short bob. Once you see it appearing on your own head, you’ll understand why this cut is so addictive.
Step 6: Lock the Shape With Cool Air
Once all the sections are done and you’ve released all the clips and pins, this is where most people call it finished and walk away. Don’t do that. The cool shot is doing real work here — it’s sealing the hair cuticle in the exact position you just ironed it into, so the style actually lasts instead of slowly relaxing back toward its natural pattern over the next two hours.
Hold your dryer on cool setting about six inches from the head and move it in the same direction your iron traveled — downward, following the hair. Do this for about 90 seconds all over. It’s not glamorous and it feels like nothing is happening, but I promise the difference in longevity is real. My short bob holds for about six to eight hours with this step. Without it, I get maybe three.
Finish with a light mist of medium-hold hairspray, held at arm’s length so it settles as a fine cloud rather than a wet patch. You want to mist, not spray. This is also where learning about fine hair bob styling made a huge difference for me — the same cool-shot principle applies but the product amount drops even further for finer strands.
Step 7: The Finished Look Check
Take a hand mirror and look at the back. Seriously — don’t skip this. The back of a short bob is everything. That clean horizontal line, the way the hair curves around the nape, the perimeter sitting level — if anything looks uneven or has a section that didn’t get fully smoothed, this is the moment to catch it while the style is still warm enough to tweak.
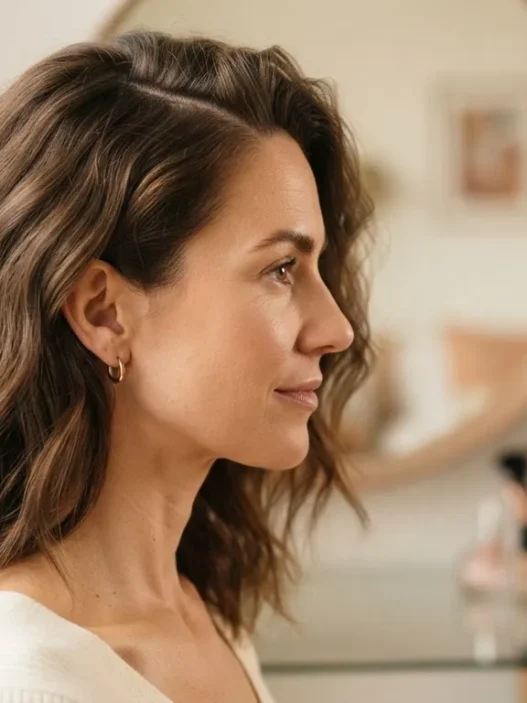
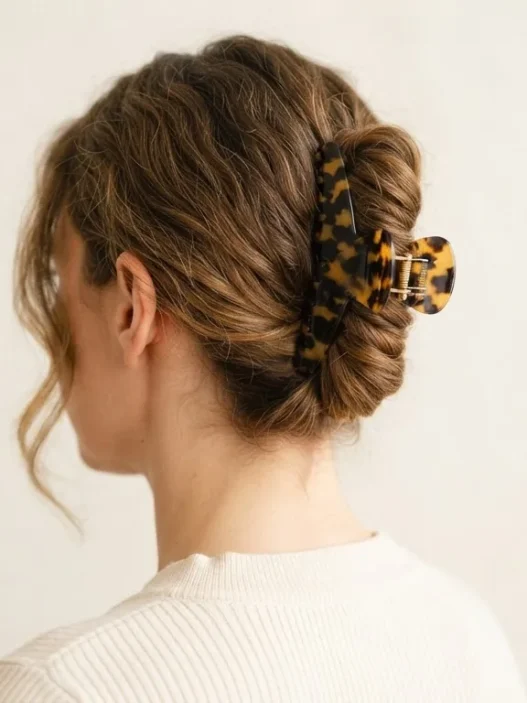
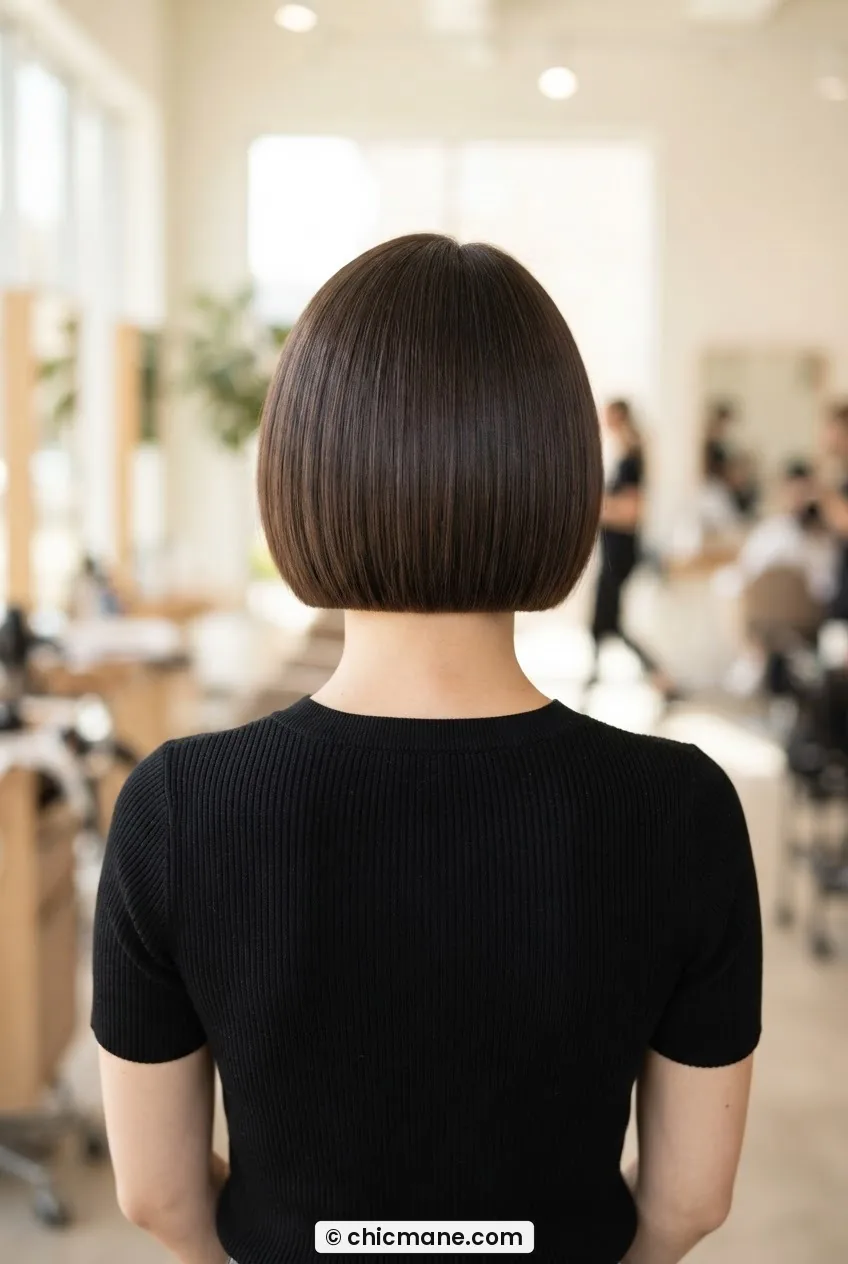
Look at her in the photo below — that back view is the real test of whether the whole process worked. The shape is rounded across the crown, the perimeter is clean and sharp, and there’s no section that’s puffing out or sitting at a different angle. That’s what you’re looking for in your own mirror check.
The first time I got this right, I genuinely stood at my bathroom mirror staring at the back of my own head for an embarrassing amount of time. It’s worth every step to get there.
If a section looks off, take a single duckbill clip, press it flat against the root in the right direction, hit it with 10 seconds of cool air, and release. That micro-correction trick works for small fixes without redoing the whole section. Once you’re happy with what you see — you’re done. That’s your short bob, on actually short hair, holding the way it’s supposed to.
If you love playing with the shape further, the half-up styles category has some great ideas for bob-length hair that don’t require much length to execute. And if you’re curious about other ways your cut might work with different textures, I’ve found the 12 hair inspiration styles matched to curl pattern guide genuinely useful for thinking about what the same length can look like with a different approach.
Questions I Get About This
Can I do this method on wavy or curly hair?
You can, but the goal changes. On wavy hair, you’d skip the flat iron entirely and use the round brush to define and settle the waves rather than smooth them out — the perimeter line still applies, you just get there differently. For curly hair, check out the curly bob styling guide because the technique adapts quite a bit. You can also look at the curly hair styles terminology guide for vocabulary that helps when you’re researching techniques for your specific curl type.
How do I know if my hair is actually long enough to do this?
Two inches dry and in its natural state is the honest minimum. If you can pinch a section between two fingers and feel some resistance — a little substance — you’re probably there. If the section slides out of your fingers before you can get a grip, it’s too short for this method and you’ll need to wait another four to six weeks of growth.
Why does my bob go flat on one side only?
Almost always a growth pattern issue — most people have a stronger natural direction on one side, and the hair on that side falls with more weight or pressure. The fix is to use the duckbill clip in Step 4 to hold that side’s sections slightly against their natural growth direction while you cool-set them. It takes a few attempts to find the right angle, but once you’ve cracked it for your specific head, it becomes automatic.
How often should I wash the hair to keep the style looking fresh?
A short bob looks its absolute best on day one and — with a light cool-air refresh in the morning — holds well through day two. By day three, especially at shorter lengths, the shape starts to soften noticeably. I wash mine every two to three days, which means redoing the styling technique twice a week. Once you’ve practiced it a few times, the whole process takes me about 25 minutes.
My own result, after weeks of trial and embarrassing near-misses: a clean, sharp short bob that holds through a full workday, looks intentional from every angle, and actually photographs well from behind. That last part surprised me most. I spent so long assuming the style just didn’t suit my length, when really I just needed to rethink every single step. If you’re in the same boat, start with the sectioning. That’s where it turns around.