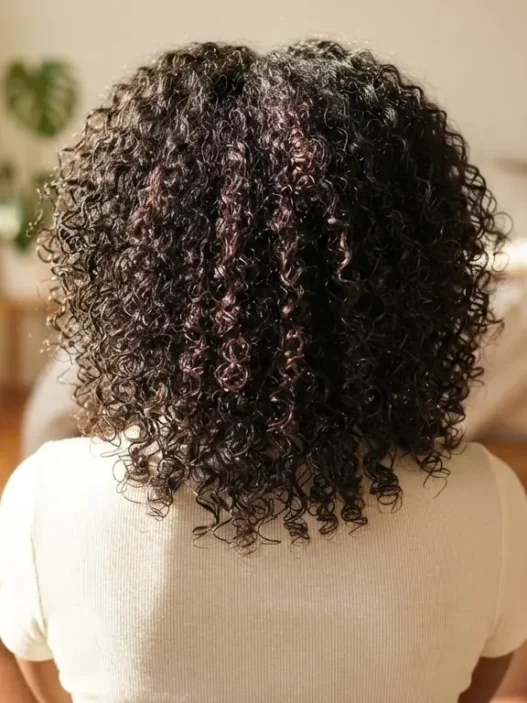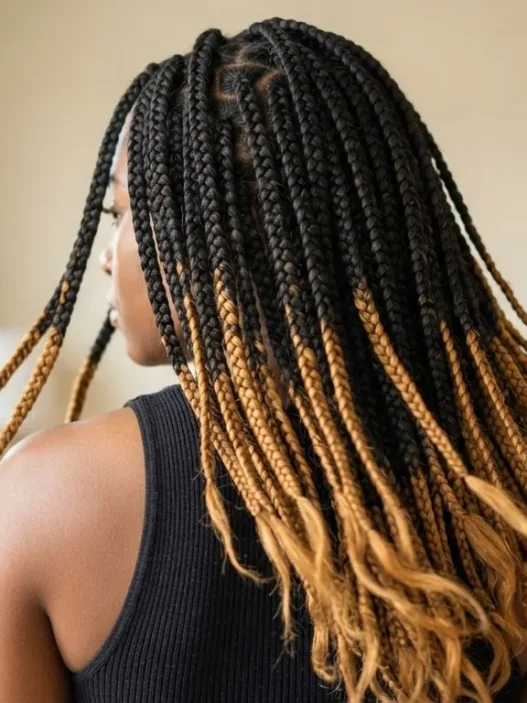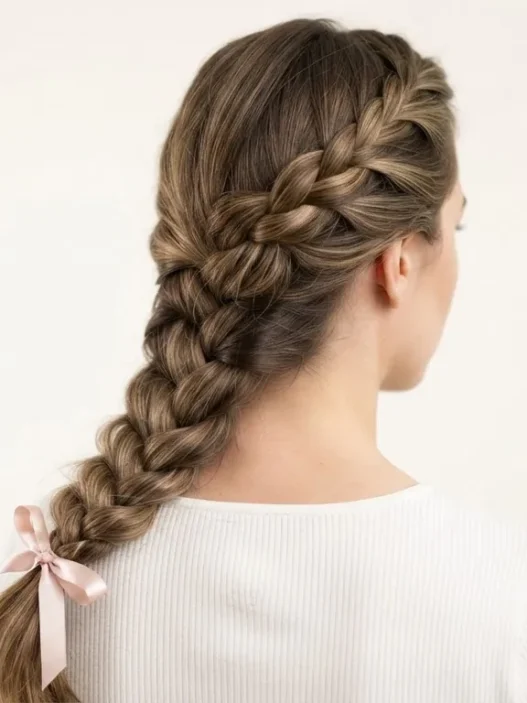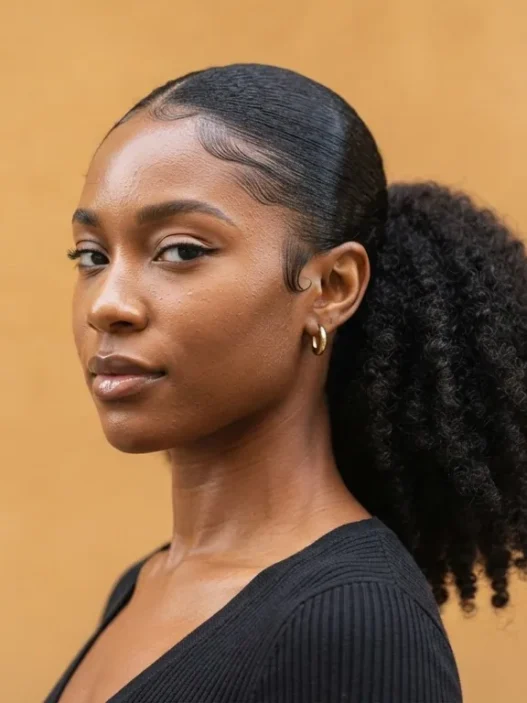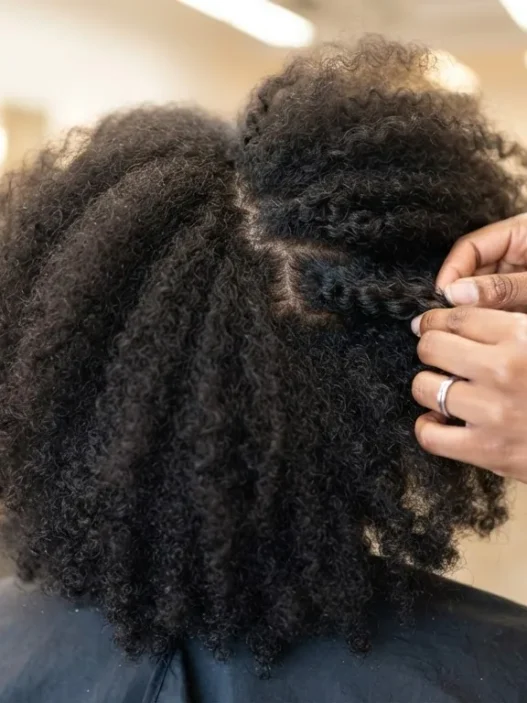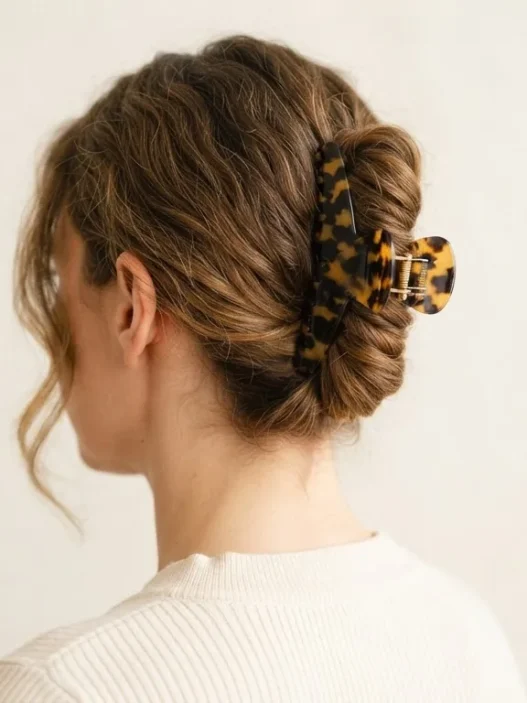












I spent an embarrassing amount of time convinced I was just bad at doing my own hair. Curls that flopped on one side, a blowout that looked great in the front and tragic in the back, braids that somehow unraveled by noon. Then a stylist friend watched me work through a hair tutorial and immediately said: “You’re not sectioning.” She wasn’t wrong. I wasn’t sectioning at all — I was just grabbing random chunks and hoping for the best.
That conversation genuinely changed things for me. Most failures in a hair tutorial aren’t about the technique itself — they’re about the foundation underneath. If your sections are uneven, overlapping, or just invented on the spot, the result will always look a little off no matter how much product you use or how long you spend curling. So before we get into any specific style, I want to give you the map.
What You’ll Need Before You Start
Nothing fancy here, honestly. This is about structure, not products. But you do need a few specific things or the whole system falls apart.
- A tail comb — the thin end is what you’ll use to draw the actual sections, and there’s really no substitute for it
- At least 6 sectioning clips (duckbill clips, butterfly clips, or large alligator clips all work — more on this later)
- A handheld mirror for checking the back — non-negotiable unless you have a three-way mirror setup
- Good lighting, ideally in front of you rather than above you
- A spray bottle with water if your hair is dry and tends to shift when you comb through it
- Optional but useful: sectioning bands (tiny clear elastics) if your hair is very slippery or fine
That’s genuinely it. The sectioning map works on all lengths and textures — I’ve used it on my own medium-length hair and watched it transform results on friends with everything from short bobs to very long, thick hair.
Why Sectioning Is Everything
Here’s the thing nobody tells you in a hair tutorial video: the person on screen already sectioned before they hit record. You’re watching the styling, but the setup — the part that determines whether any of it works — happened off camera.
Bad sections create overlap. And overlapping hair means some strands get styled twice while others get missed entirely. That’s how you end up with a curl pattern that looks inconsistent, or a blowout that has one mysteriously frizzy patch. It’s not your technique. It’s that your “sections” weren’t actually sections — they were just approximate grabs.
Good sectioning does three things. It isolates the hair you’re currently working on from the hair you haven’t touched yet. It keeps the finished work protected while you move through the rest. And it makes sure every single strand gets the same treatment — same tension, same heat, same product. Once you’ve worked through the map I’m about to give you, you’ll start noticing how everything from a heatless blowout to a structured updo suddenly makes more sense as a process.

The Video That Finally Made This Click for Me
Step 1: The Top Triangle
This is where almost every session should start, and almost nobody starts here. The top triangle is the section of hair that runs from roughly your front hairline — about an inch back from your forehead — to the crown. Think of it as a triangle with the point aiming toward the back of your head and the base sitting just above your temples.
To create it: place your tail comb at the center of your front hairline and draw a line back at roughly a 45-degree angle toward your left ear, stopping when you reach the crown. Repeat on the right side. The hair that falls within those two lines is your top triangle. Clip it up and out of the way — this section stays clipped until everything underneath is done.
Why does this section go last? Because it’s the most visible part of your hair. The top triangle is what people see straight-on. If you work through it first, you risk disrupting it while styling the layers beneath. Finishing it last means you can give it your full attention when your technique is warmed up and your arms aren’t already tired.
The mistake I kept making: I was drawing my top triangle too large — basically scooping up half my head. If your triangle reaches past the widest point of your head, it’s too big. The crown is where it ends, not the back of your skull. I had to relearn this one from scratch.

Step 2: The Side Panels
With the top triangle clipped up, you can now see your side sections clearly. The side panels run from the temple — right at the outer edge of your eyebrow — down to just behind your ear. They wrap slightly forward, ending at the hairline near your face, and slightly back, meeting the boundary of your back section.
To mark them: place your tail comb at the temple point on one side, draw a clean vertical line straight down behind your ear, and clip everything in front of that line into its own section. Repeat on the other side. You should now have two distinct side panels — one on each side — each clipped separately.
This is the section that affects face framing the most. Whatever you’re doing here — whether it’s soft waves, a sleek blown-out look, or something pulled back — this is where the style interacts with your face shape. Look at the woman in this photo: you can see exactly how the finished side curls on her left contrast with the unstyled panel on her right. The difference isn’t subtle. That kind of consistency only happens when the side panels are worked as deliberate, isolated sections, not just styled as part of a general sweep.

Side panels also tend to have a different texture or behavior than the rest of your hair — especially if you have any natural wave pattern. The hair at your temples and around your ears often dries differently, absorbs product differently, and responds to heat differently. Treating it as its own section means you can adapt your technique to it specifically, rather than hoping a blanket approach works everywhere. If you’re experimenting with hair inspiration styles matched to your curl pattern, this is the section where that curl-pattern awareness pays off most visibly.
Step 3: The Back
Everything that’s left after clipping up the top triangle and both side panels is your back section. And I mean the true back — from behind both ears, down to the nape, spanning the full width of the back of your head. It’s usually the largest single section, which is why most people treat it as one undifferentiated mass. That’s the problem.
The back section needs to be subdivided — at minimum into a top half and a bottom half, separated at roughly ear level. Use your tail comb to draw a horizontal line from one ear to the other across the back of your head. Clip the upper half up, and work through the lower half first. Hair at the nape is often thicker and more resistant to heat or product, so starting here means you can give it extra time or attention before moving up.

This is also where the handheld mirror earns its place. You can’t see the back of your head without it, which means you can’t verify your sections are clean, that your clips aren’t creating weird dents, or that your styling is actually landing where you think it is. I do a mirror check every time I move from the lower back to the upper back. Takes ten seconds and saves so much frustration.
Once the lower back is done, release the upper back section and repeat — working in horizontal layers if your hair is dense, or as one pass if it’s fine. Then move to the side panels (releasing one at a time), and finish with the top triangle. The order matters: bottom to top, back to front, finishing with whatever is most visible.
If you want a style that’s half-pinned when you’re done, the sectioning map I’ve just described will make those half-up styles so much easier to execute cleanly — because you’ll already know exactly where each section lives.
Clip Choice Changes Everything
Clips are not interchangeable. I know that sounds fussy, but the wrong clip can leave a crease in the middle of a section you just spent twenty minutes on, or let hair slip loose mid-process which defeats the entire point.
Duckbill clips (the long flat ones) are my default for most sections. They sit flat against the head, don’t create pressure points, and hold a surprising amount of hair without leaving a mark. I use them for the top triangle and the side panels almost every time.
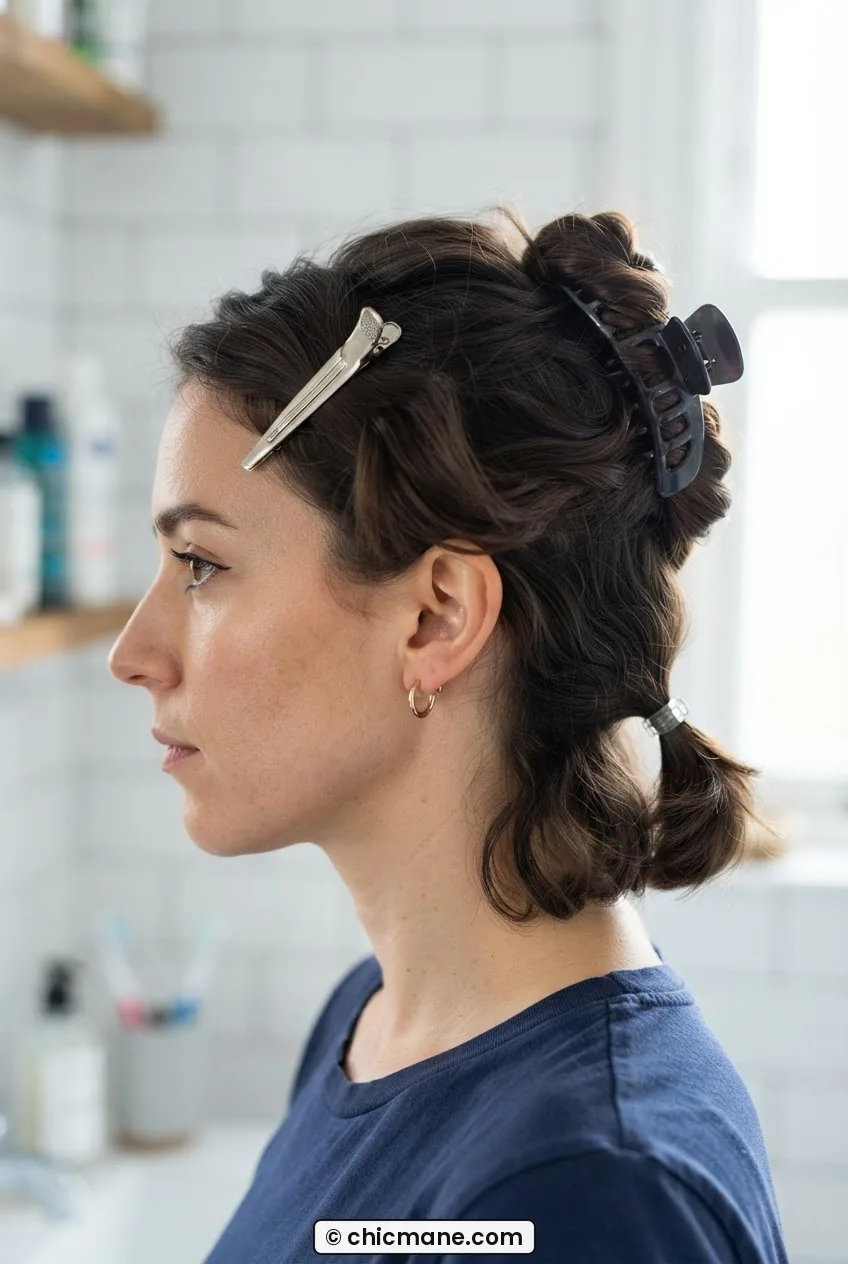
Butterfly clips (the claw-style ones with the teeth) are better for thick or long hair in the back section — they have more grip. But they can leave dents if you clip them in the wrong place, so I always position them on hair that’s already been styled and just needs to stay out of the way, not on hair I’m about to work on.
For very fine hair, large alligator clips can sometimes be too heavy and pull the section downward — which shifts the whole boundary you just carefully drew. In that case, a sectioning band (a tiny clear elastic wrapped loosely once) is often more reliable than any clip. You can also learn more about hair sectioning techniques if you want a deeper dive into the mechanics. And if you’re dealing with particularly stubborn or heavy sections, considering the tension you’re putting on your scalp matters too — check out the best sectioning clips before you invest in a whole set.
The Completed Map — What Comes Next
So here’s the full picture. Top triangle: clipped up, done last. Side panels: isolated on each side, styled second-to-last. Back: subdivided into upper and lower halves, worked bottom-to-top, done first. That’s your map.
What you do inside each section — curl, straighten, braid, blow dry, twist, pin — is entirely up to you and your chosen tutorial. But the foundation doesn’t change. The map is the map. Once it’s in your muscle memory, you’ll find yourself finishing styles faster, with more consistency, and with far less “why does this look weird” energy at the end.

If you want to see the map applied to a fast style, I’d point you toward these five-minute open hairstyle options — several of them are built on exactly this kind of quick, clean sectioning. Even “five minute” styles go faster when you’re not losing time to chaos.
The sectioning map isn’t the glamorous part of a hair tutorial. Nobody pins it. But it’s the thing that makes everything else actually work. Once you stop guessing at your sections, the tutorials stop failing — and that’s when doing your own hair actually gets fun.
Questions I Get About This
Does the sectioning map work on short hair?
Yes — though short hair requires smaller sections. The top triangle still exists even on a pixie or a short bob, it’s just a narrower strip. Side panels on short hair are often only an inch or two wide. The logic is the same; the scale is different.
How many total clips do I actually need?
Minimum six — one for the top triangle, one per side panel, and two for the upper and lower back halves. But honestly, eight to ten clips is the sweet spot. Having extra means you can subdivide the back further if your hair is thick, without running out mid-session.
What if my part shifts when I try to draw the sections?
This usually happens when hair is too dry or too freshly washed and slippery. A light mist from a spray bottle gives you enough texture to hold a clean part without going overboard on moisture. Draw the line slowly with the tail end of your comb — confident, continuous movement rather than short scratchy strokes.
Can I use this same map for a half-up style or an updo?
Absolutely — it actually makes updos significantly easier. For a half-up style, your top triangle effectively becomes the half-up portion, and the side panels determine how much volume you have around your face. The map adapts to the style goal rather than dictating it. You can explore more options over at Chicmane if you’re looking for style inspiration once the sectioning is locked in.