







I have spent a genuinely embarrassing number of mornings staring into my bathroom mirror, watching a style I spent forty-five minutes on slowly surrender to the air. Humidity doesn’t care about your effort. It doesn’t care about your plans. You cannot beat physics — I accepted that a while ago — but you can absolutely work with it, around it, and sometimes straight through it. These 11 natural hair styles are the ones I actually reach for when the forecast says 80% humidity and my patience says zero percent margin for error. Some of them resist the moisture. Some of them lean all the way in. One of them is just about layering your products in the right order, because that one detail genuinely changes everything.
What’s In This Humidity Survival Guide
- 1. The Tight Sleek Pony
- 2. The Embrace-It Curl Day
- 3. The High Puff
- 4. The Twisted Crown
- 5. The Flattened Braid-Out
- 6. The Silk-Pressed Blowout (With a Plan B)
- 7. The Wash-and-Go That Actually Goes
- 8. The Product Layering Order That Holds Everything
- 9. The Flat Twist-Out
- 10. The Bantu Knot-Out
- 11. The Half-Up Knot
1. The Tight Sleek Pony
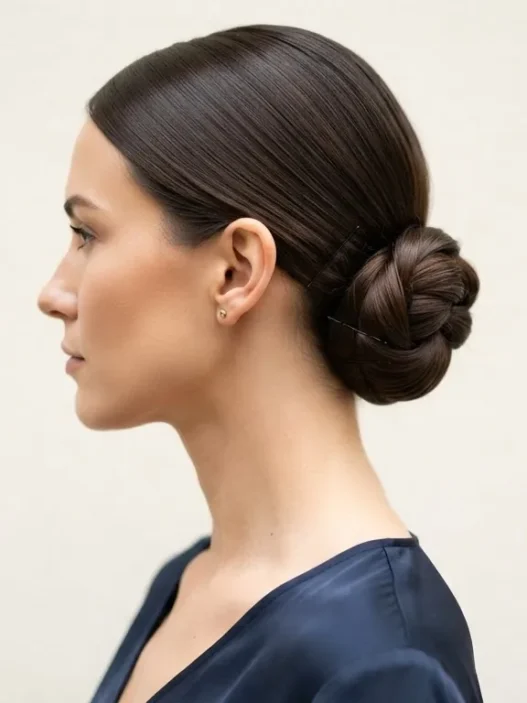
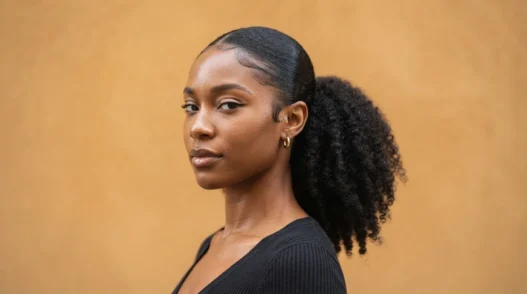
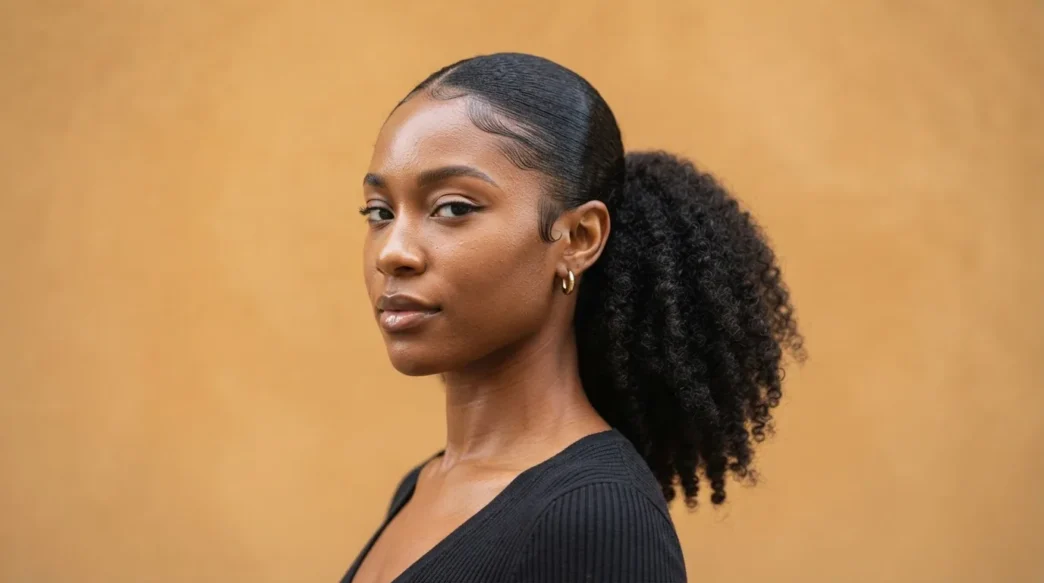
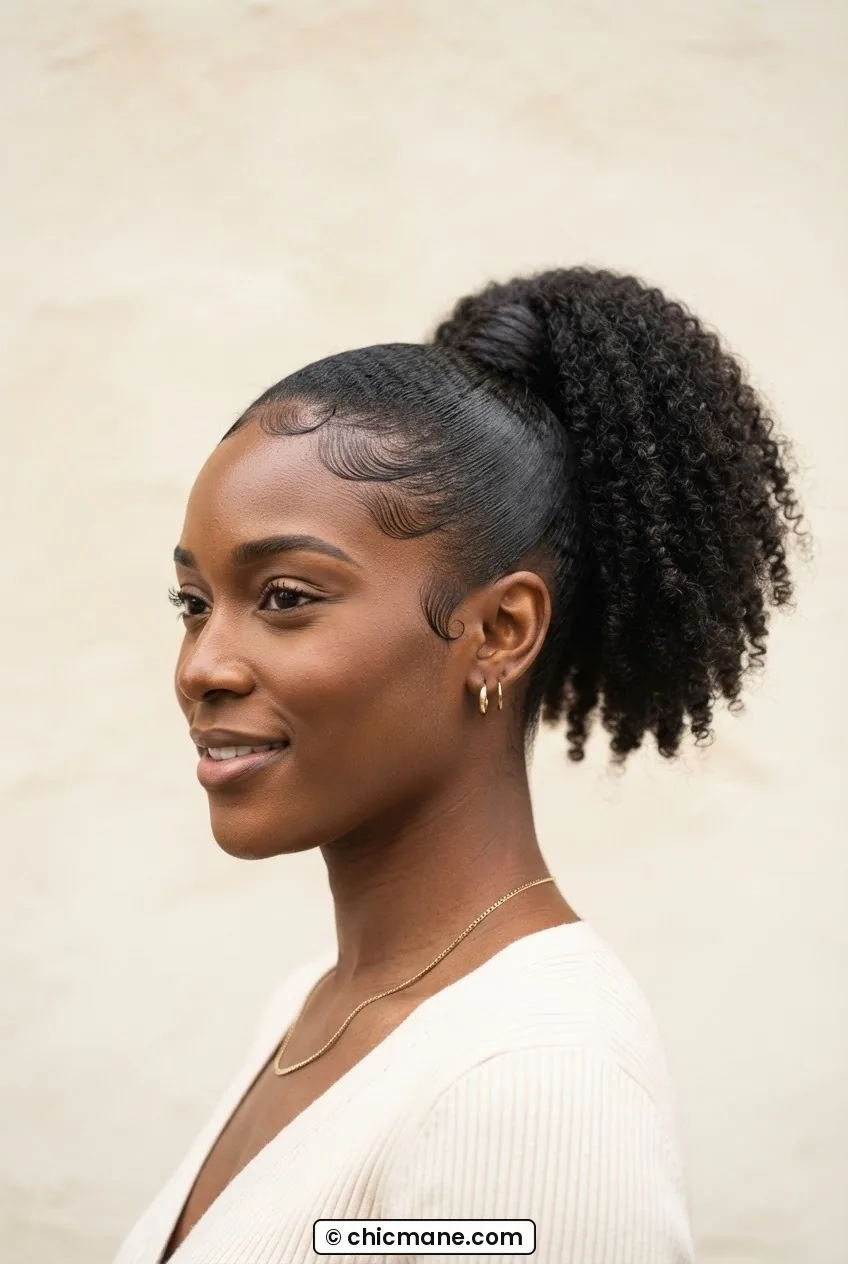
This is the style I call my humidity armor. The whole point is that there’s nothing loose to frizz. You slick the hair back — and I mean really slick it, with a good edge control and a boar bristle brush — gather everything into a high or mid pony, and wrap a small section around the base. If your hair is 4C or tightly coiled, apply your gel to damp hair before you brush so the brush is guiding tension, not fighting texture. The pony itself can be sleek or puffed at the ends. Either way, the perimeter is the thing to focus on. A polished hairline in humidity buys you at least six hours of feeling put together.
If you want to explore more styles across different lengths before you commit to the pony, the roundup of 14 hairstyles ideas from crop to waist is a genuinely good starting point for figuring out what works with your current length.
2. The Embrace-It Curl Day
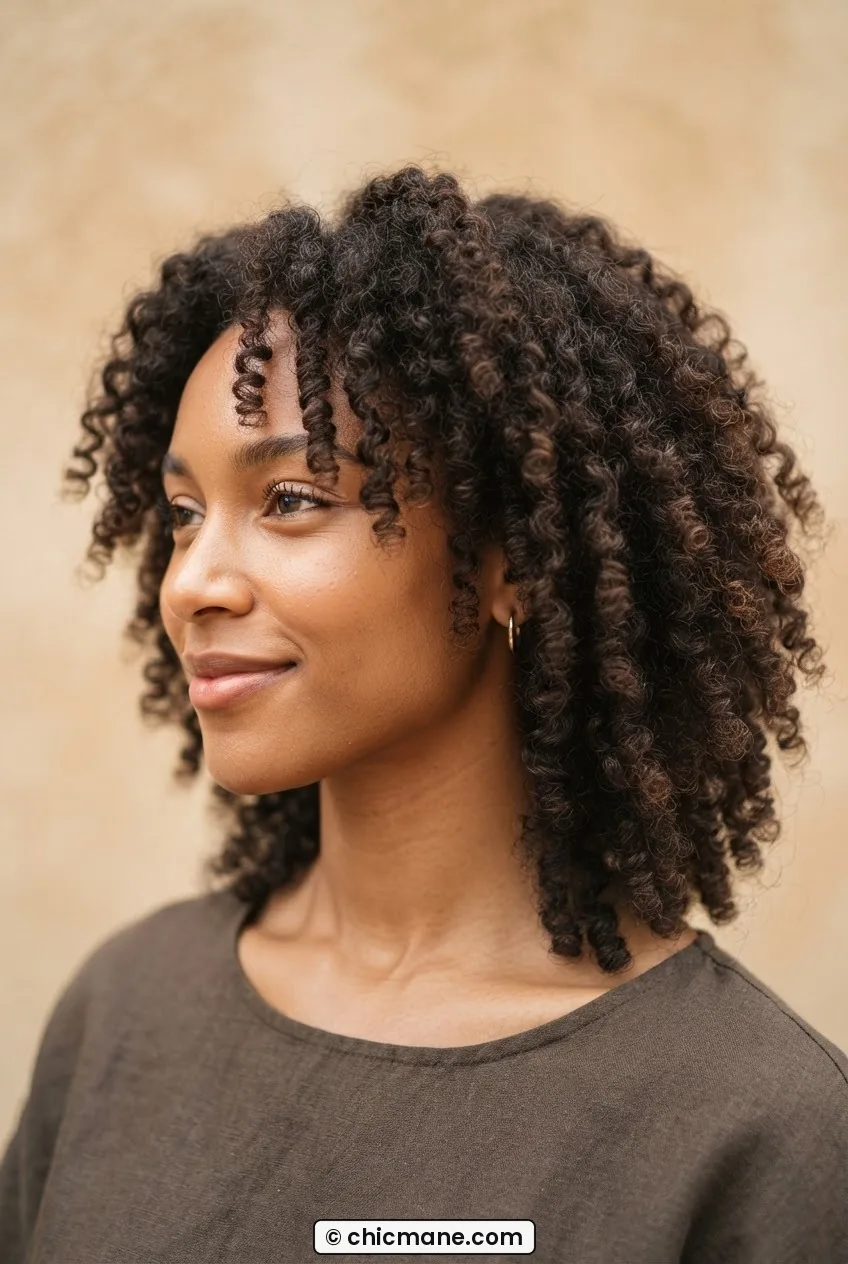
Sometimes the smartest strategy is to stop resisting and just give the humidity what it wants. Curls love moisture. If your pattern is 3A through 4B, a properly moisturized wash-and-go or a simple refreshed curl day will often look better in humid conditions than it does in dry ones — the air does half the work for you.
The key is starting with soaking wet hair and a curl cream that has some hold baked in. Rake it through in sections, scrunch upward, and then leave it completely alone while it dries. No touching. Seriously. That’s the hardest part and also the most important rule.
3. The High Puff
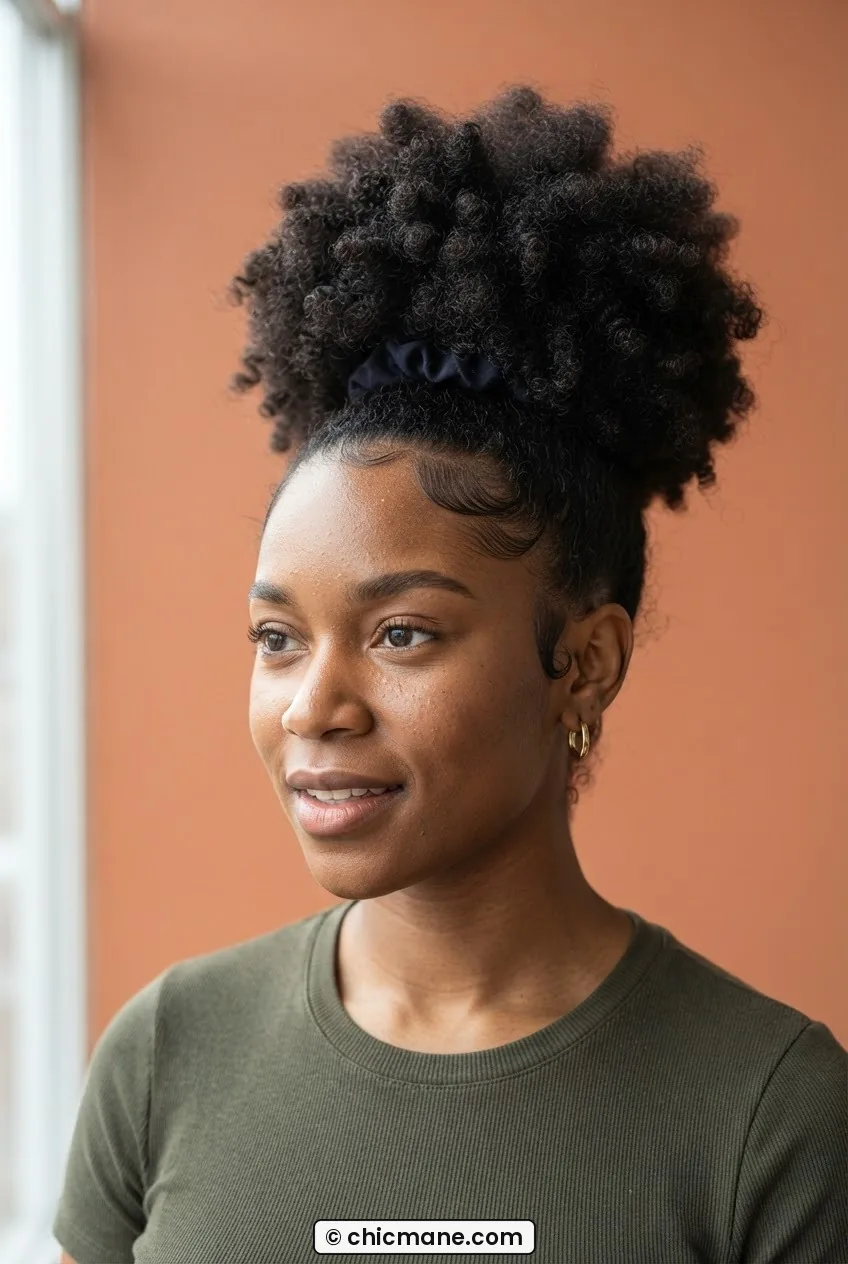
Quick, effortless, and actually cute — the high puff is the style I do when I’m running twelve minutes late and the humidity is already visible in the air. Gather your hair at the top of your head, secure it with a satin-lined scrunchie (not a regular elastic — your edges deserve better), and fluff the puff into shape with your fingers. That’s it. Done.
The secret upgrade: apply a light hold gel just around your hairline before you put the puff up. Smooth your edges with your fingertips, lay them with a scarf for five minutes while you do your makeup, and then take the scarf off. The puff looks intentional instead of rushed, even when it absolutely was rushed.
4. The Twisted Crown
Two chunky twists, pinned across the top of your head like a crown. That’s it. This style is genuinely underrated for humid days because the twists themselves can absorb and blend with whatever the air throws at them — a little frizz on a twist just reads as texture. It doesn’t fall apart the way a blowout or a set style does.
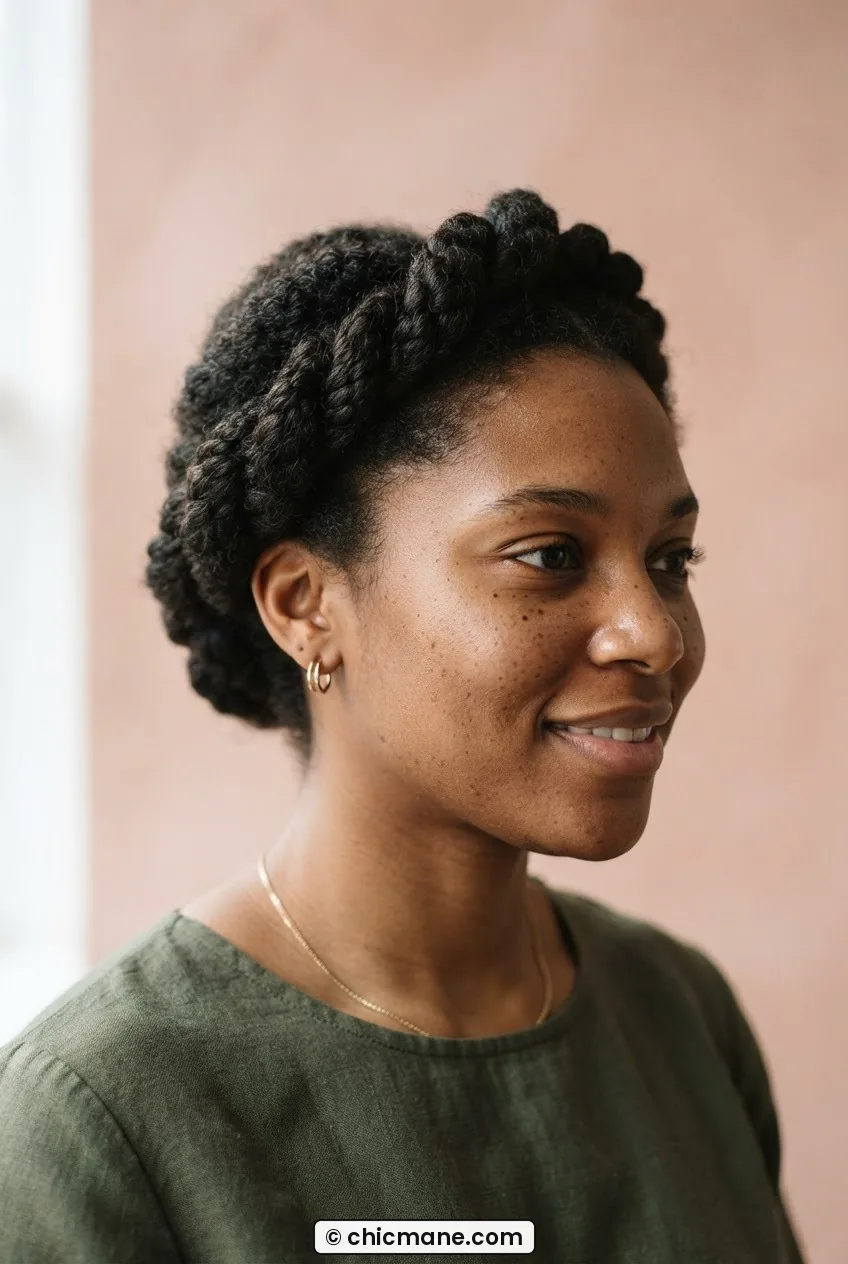
I especially love this on days when I want something that looks more styled than a puff but I genuinely have no energy. You can add a few small twists at the front for detail, or leave it simple. Look at the way she’s got hers sitting in the photo — that slight asymmetry where one side is pinned a little higher than the other is exactly the move that makes it feel editorial rather than thrown together.
5. The Flattened Braid-Out
A braid-out done on stretched hair and then gently pulled apart — not separated into full fluff, but kept slightly flat — sits much better in humidity than a voluminous version does. The reason: less surface area means less frizz catchment. I know that sounds weirdly technical but once you see it in practice it makes complete sense.
Braid on damp hair with a holding cream, let it dry completely (overnight is ideal), take down the braids, separate them once or twice, and then smooth the whole thing gently downward with the palm of your hand. A tiny bit of oil to seal. Done. It has movement, it has definition, and it’s not going to balloon into a triangle by noon.

My personal pick from this entire list is the flattened braid-out. I’ve worn it to outdoor events in July, on beach walks, in rainstorms I didn’t plan for — and it has never once embarrassed me. The fact that it looks intentional whether it’s slightly frizzy or totally defined is the thing I keep coming back to. It’s my desert island style for natural hair in humid weather.
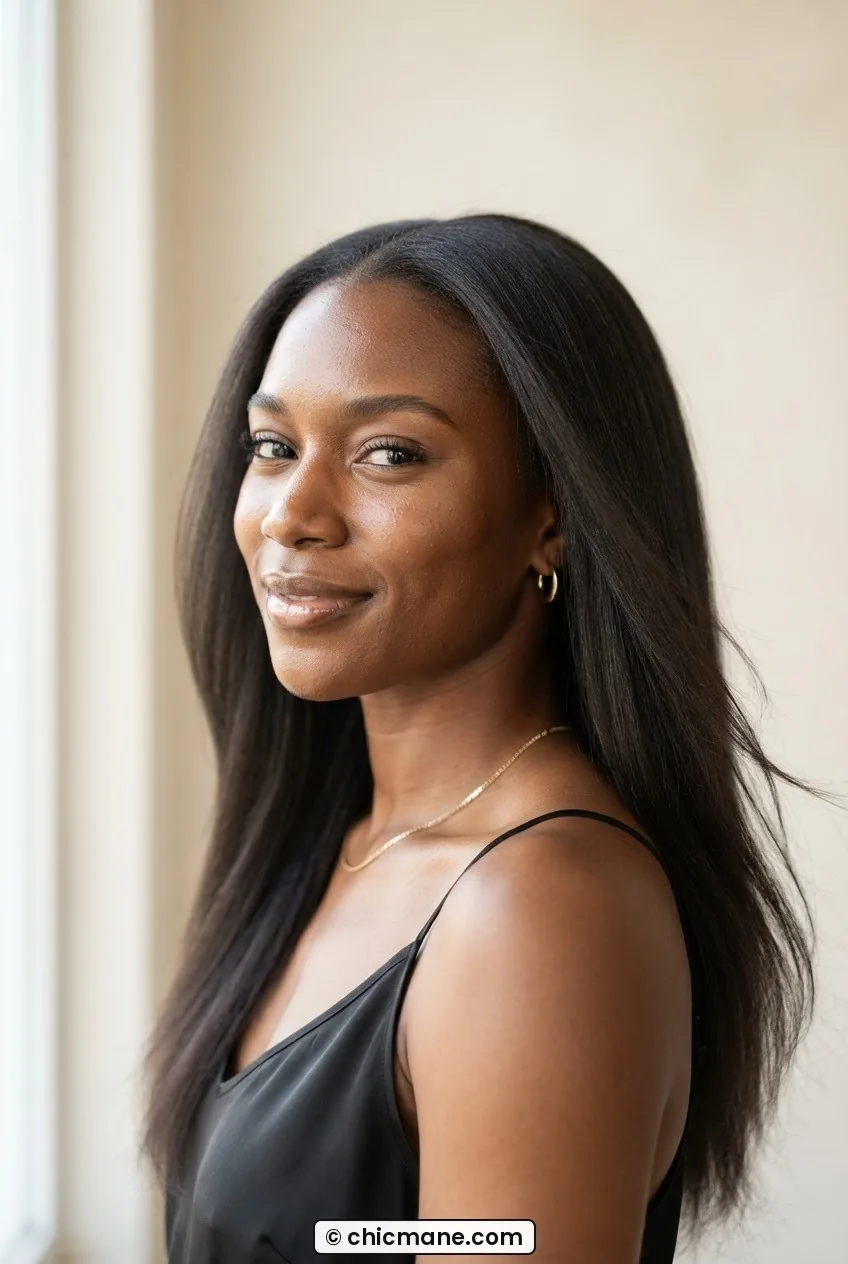
6. The Silk-Pressed Blowout (With a Plan B)
I’m not going to pretend a silk press holds flawlessly in 90% humidity. It doesn’t. No amount of anti-humidity serum fully overrides dew points above 65. What I will say is that a good silk press on properly moisturized hair will last longer than you expect, especially if you apply a silicone-based heat protectant before pressing and a light anti-humidity spray after.
But always have a Plan B. Mine is pinning the hair into a low chignon the moment I feel it reverting. That way it looks like a choice, not a defeat. You can find a lot of useful thinking on protecting natural hair from heat before you pick up the flat iron, especially if you’re pressing frequently through the summer.
7. The Wash-and-Go That Actually Goes
The wash-and-go gets a bad reputation because people do it wrong and then blame the style. If you’re applying product to dry or barely damp hair, that’s the problem. If you’re using a cream with no hold as your only product, that’s also the problem.
Here’s what actually works: detangle in the shower with conditioner still in your hair, don’t rinse everything out completely, apply your leave-in while you’re still in the shower with water dripping off your hands, then layer your gel or custard on top while everything is soaking wet. Step out, scrunch out the excess water with a microfiber towel, and air dry or diffuse on low. The crunchy cast that forms is the hold — break it gently with oil once your hair is 100% dry. If your curl pattern responds differently to different products, the guide on hair inspiration styles matched to your curl pattern is one of the most useful things I’ve read for narrowing down what will actually work for your specific texture.

A Tutorial That Showed Me What Soaking Wet Really Means
8. The Product Layering Order That Holds Everything
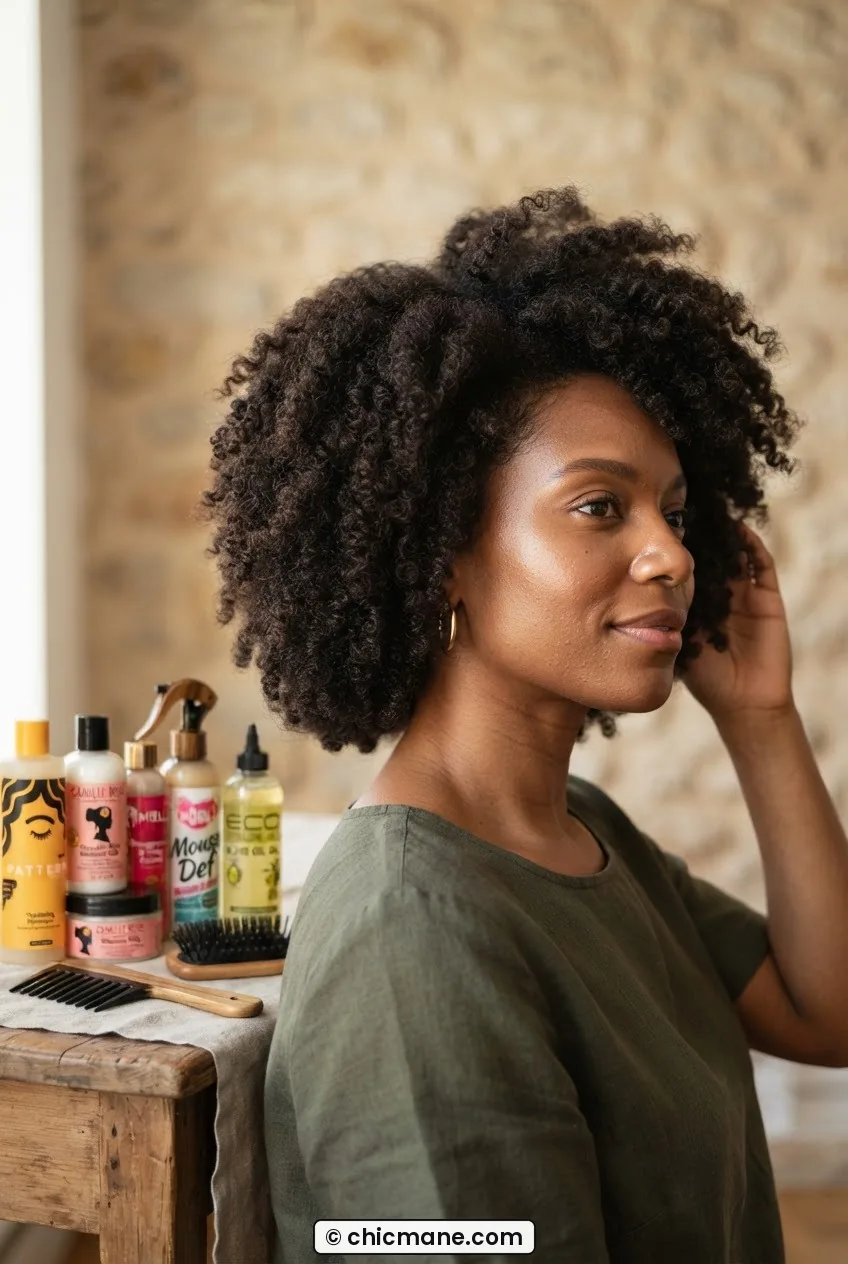
This one isn’t really a style — it’s the thing that makes every other style on this list work. Product order matters more than most people realize, and getting it wrong is what causes styles to collapse in humidity even when the products themselves are good.
The rule I follow: water first, leave-in second, cream or butter third, gel or custard last. The gel goes on top of everything else as a sealant — it’s what creates the barrier against humidity. If you put the gel on before the cream, the cream sits on top of the gel and breaks through it, and then you wonder why your cast didn’t hold. You can also think of it as LCO (Liquid, Cream, Oil) or LOC depending on your porosity, but either way gel goes last if you want hold. That single adjustment improved my wash-and-go life more than any product switch ever did.
If you’re the kind of person who wants a fast option when the product situation feels complicated, the collection of five-minute open hairstyle options is a genuinely good shortcut — some of those styles need minimal product to look good, which takes the pressure off.
9. The Flat Twist-Out
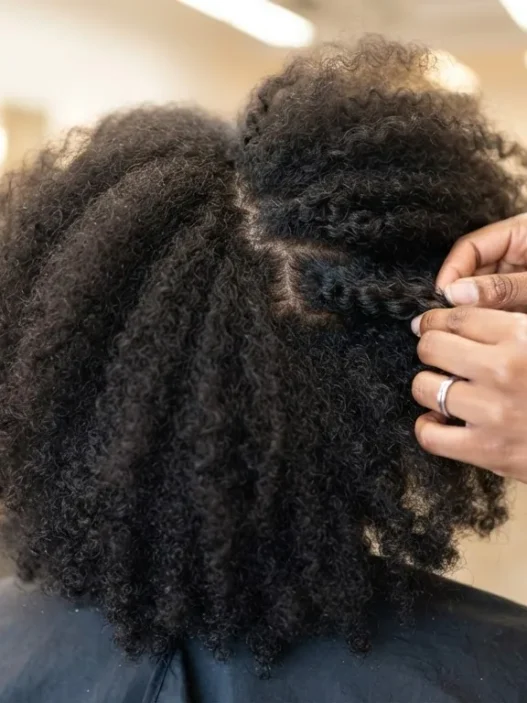
The flat twist-out is the cousin of the braid-out and behaves similarly in humidity, but the resulting pattern is usually a looser, more defined S-wave rather than a crimped texture. I like doing flat twists in larger sections for a more elongated result — smaller sections give you tighter definition but more volume, which in humidity can become too much.
Twist on freshly washed, conditioned, product-loaded hair. Let it dry completely. Take down carefully. The twist-out technique works best when you resist separating too aggressively at the root — keep some of that flatness intact and the style stays much more humidity-stable throughout the day.
10. The Bantu Knot-Out
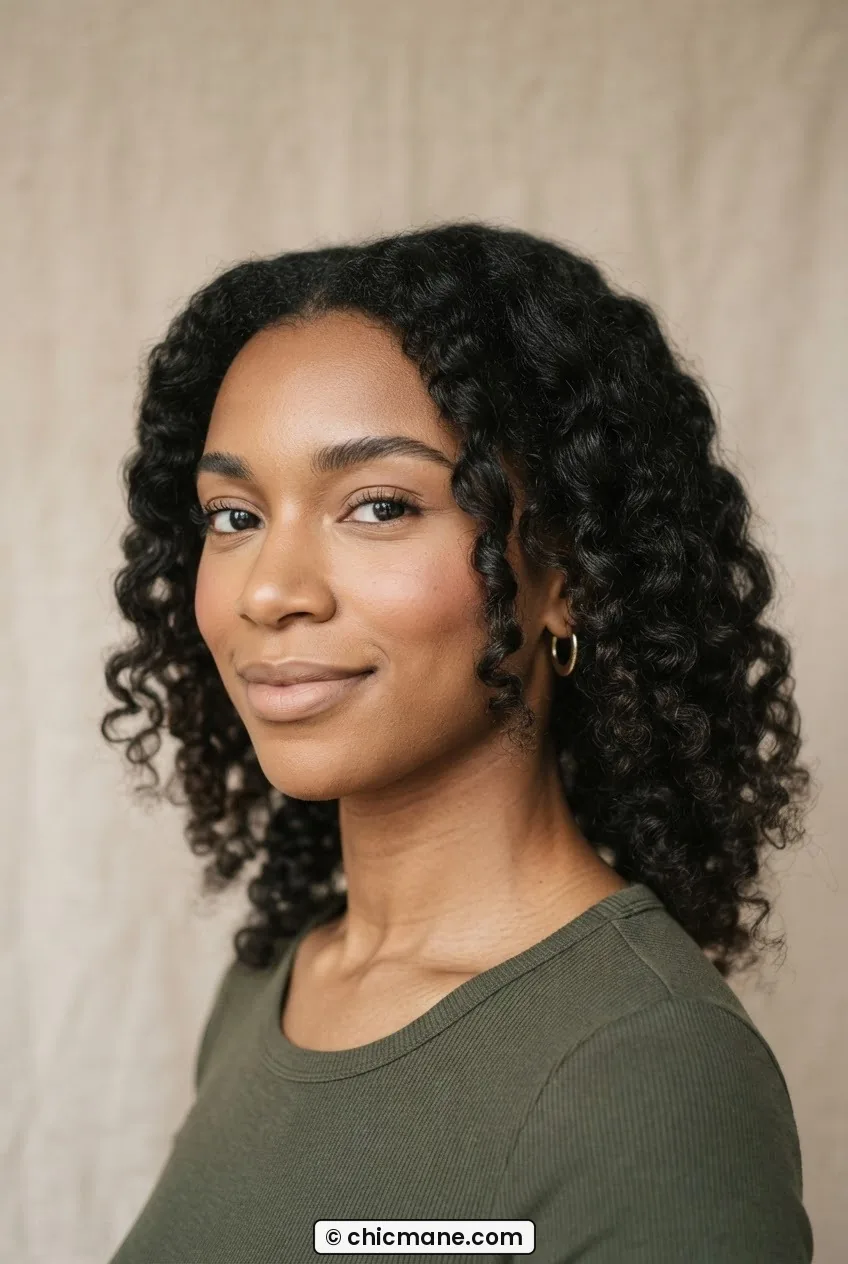
Bantu knots themselves are a protective style and an incredible option for humid days — but what I’m talking about here is wearing them down as a knot-out. The coils that come from Bantu knots are tight, spring-loaded, and actually get more defined when humidity adds a bit of moisture to them. This is one of the few natural hair style options where humidity literally works in your favor.
The more sections you use, the tighter and more defined the coils. Fewer sections gives you bigger, bouncier spirals. She’s wearing a medium-section knot-out in the photo, and I love how each coil has a distinct shape even though the overall look feels effortless. That kind of definition without heat is everything.
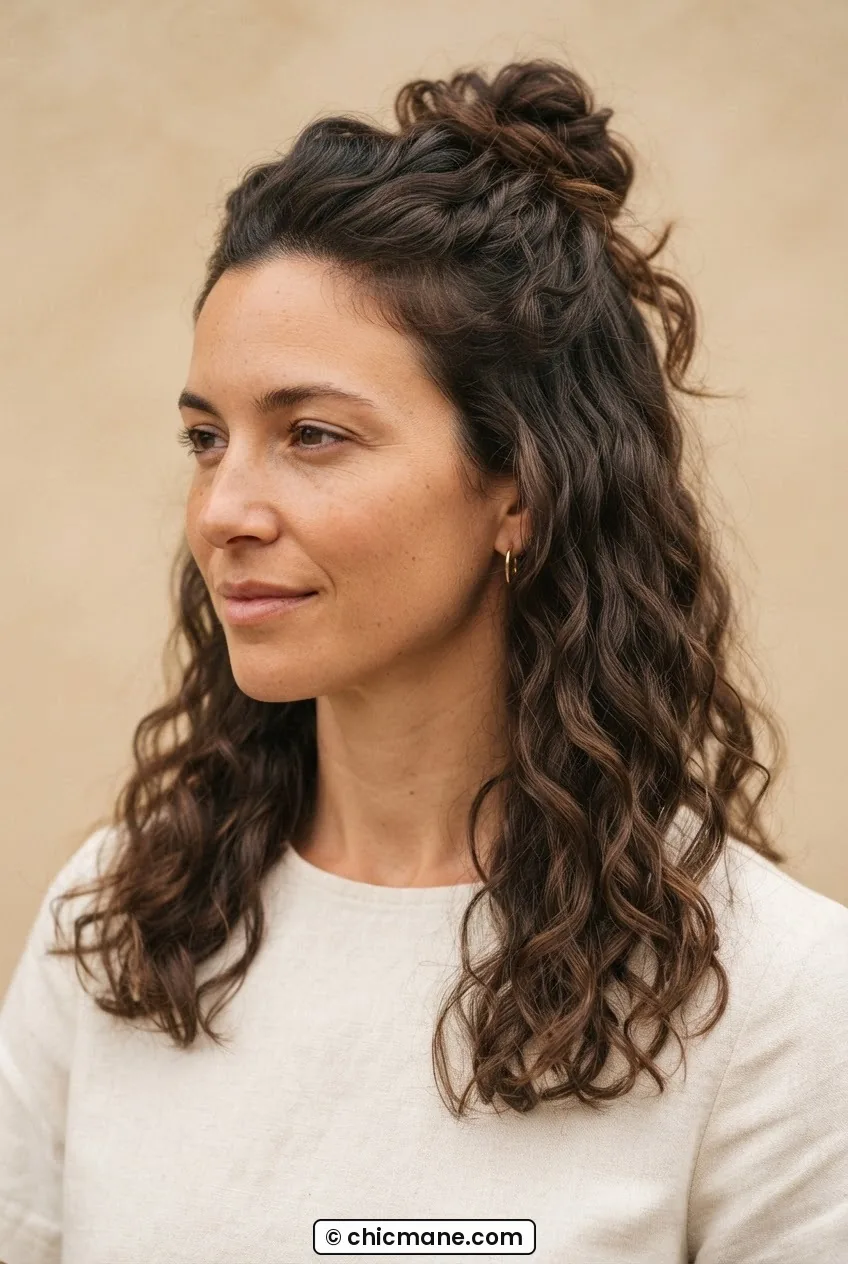
11. The Half-Up Knot
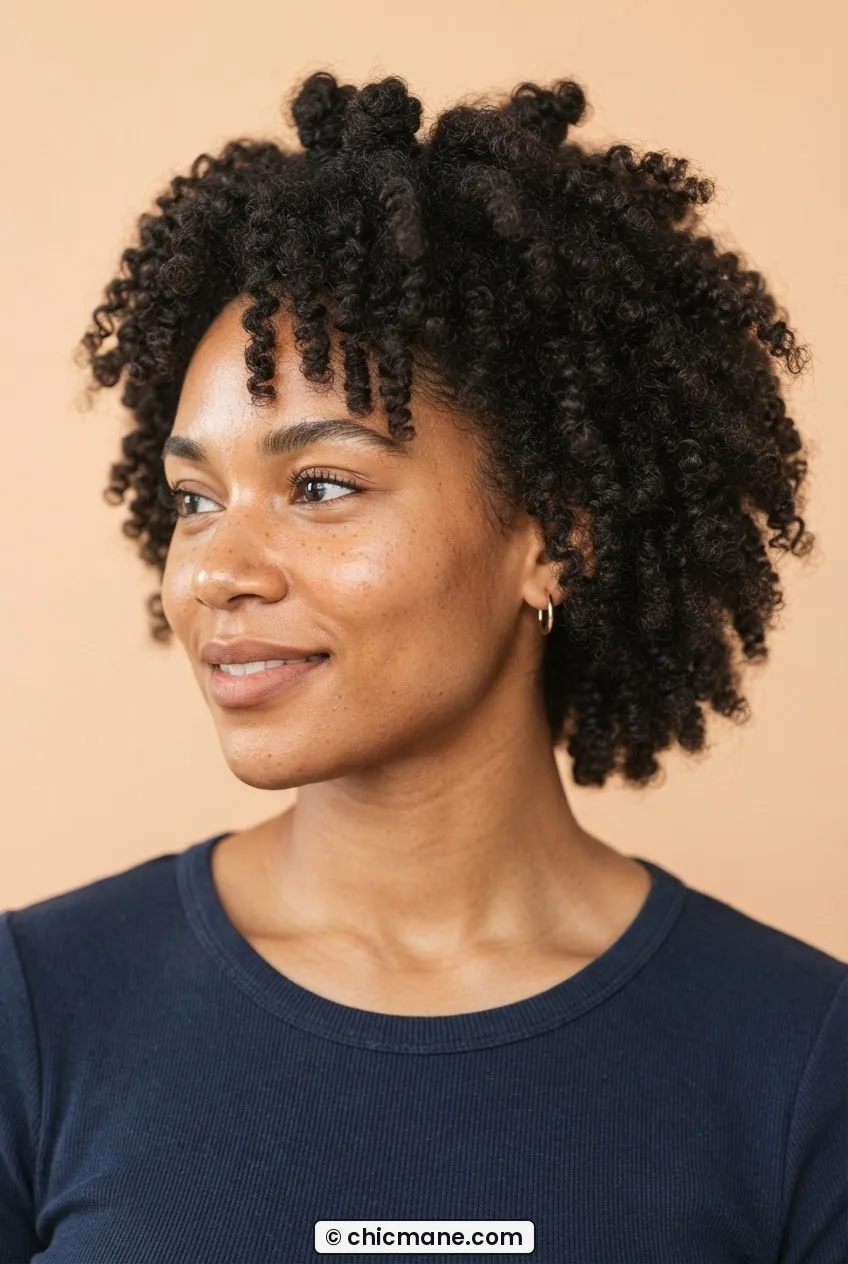
Take the top half of your hair, twist it loosely, and knot it at the crown. Leave the rest down. That’s the whole style. It takes about ninety seconds and somehow looks like you thought about it.
The reason it works in humidity: the loose knot at the top is unfazed by frizz — a little texture just adds to it — and the hair left down is only half your full volume, which means it’s less likely to expand into an unmanageable situation. If your ends are well moisturized and defined, the whole thing holds together beautifully. There’s a lot of good inspiration for this kind of approach in the half-up styles category if you want to see how many directions you can take a simple two-section split.
Quick Answers Before You Head Out
Does gel actually prevent humidity frizz or does it just delay it?
A good gel applied to soaking wet hair creates a cast that seals the cuticle — so it genuinely resists moisture for a while, not just delays it. The key is applying it wet enough and letting it dry fully without disturbing the cast. If you break the cast too early or apply gel to dry hair, yes, it mostly just delays.
Can I use any of these styles on heat-damaged natural hair?
Most of them, yes — but your results on styles like the wash-and-go or braid-out will look different if your curl pattern is compromised. Heat-damaged sections tend not to curl back up the same way. The puff, twisted crown, and half-up knot are the most forgiving options because they don’t depend on curl definition to look good.
How do I refresh a natural hair style on day two in humidity?
Lightly spritz with water, scrunch in a small amount of your original styling product, and let it re-dry rather than touching it constantly. The temptation to keep scrunching and smoothing is real, but it introduces more frizz than it fixes. For twist-outs and braid-outs specifically, just sleeping with a satin bonnet and not touching them until morning is often enough.
Are these styles suitable for all curl types?
The list covers a range — some styles like the Bantu knot-out and wash-and-go work best on defined curl patterns (3A through 4C), while the sleek pony, high puff, and half-up knot work on every natural texture regardless of curl type. The product layering section applies universally.
Humidity is not the enemy. It’s an inconvenient roommate who’s been living with us for our entire natural hair journey and isn’t leaving. Once I stopped trying to create styles that pretended humidity didn’t exist and started picking ones that could coexist with it — or lean into it — my mornings got a lot less stressful. Pick one style from this list that matches your texture and your time, nail the product order, and you’re genuinely good. That’s the whole thing.