






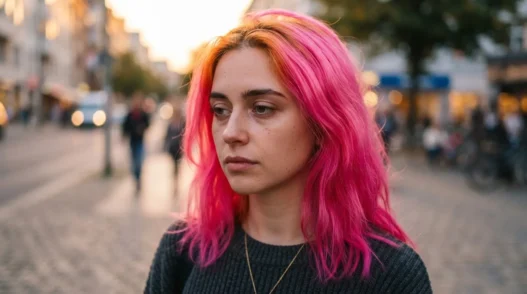
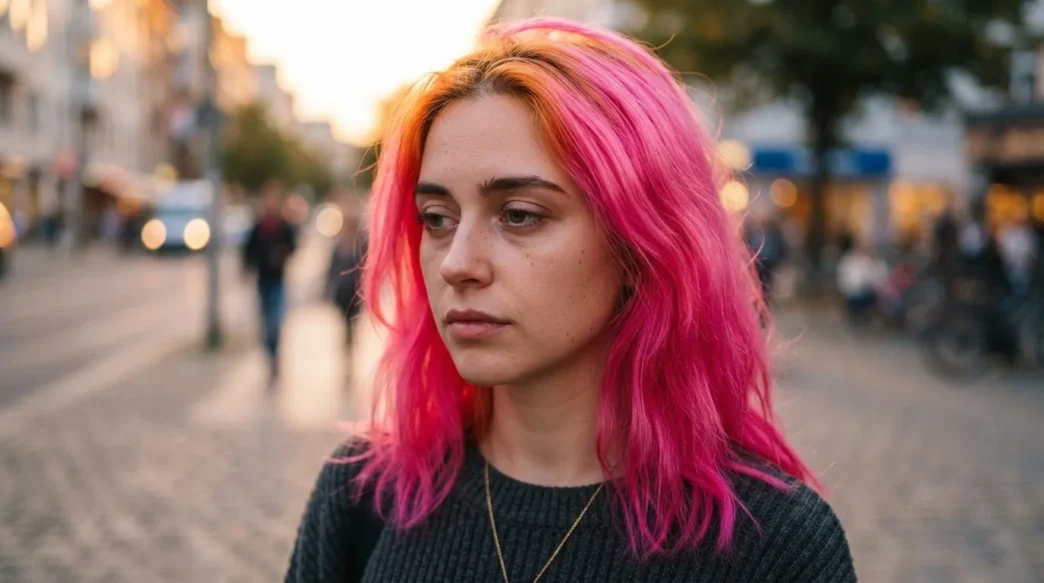
I sat in the car park for about twenty minutes before I could drive. Not because I was upset — well, okay, I was a little upset — but because I genuinely didn’t know what I was supposed to do next. The pink I’d asked for was supposed to be a soft, dusty rose. What I left with was closer to a highlighter marker, and the roots had gone a strange brassy orange that nobody had warned me about. I pulled up three different apps on my phone and started typing increasingly desperate questions into search bars. And then I put the phone down, started the car, and told myself I was going to do this calmly.
Your Recovery Roadmap — Read This First
The First 48 Hours
The first thing I did when I got home was nothing. Which sounds passive, but it was genuinely the right call. Your hair has just been through a lift — possibly an aggressive one — and throwing anything else at it in the immediate hours after is how you compound the damage rather than address the colour.
I washed it gently the next morning with a colour-safe shampoo. Not a clarifying shampoo, not a purple toning shampoo, not anything “stripping” — just something mild and sulphate-free. The shade does shift slightly after the first wash as excess pigment rinses out, and I wanted to see what I was actually dealing with before I made any decisions. That was smart. The orange at my roots calmed down a little. The neon intensity dropped a notch. It was still very much not what I’d asked for, but it was easier to assess.
I also called the salon. I know that can feel awkward, but a good colourist genuinely wants to know when something has gone wrong — not because they’re obligated to fix it for free (though many will offer a complimentary correction), but because they need to understand what happened in order to fix it properly. I described what I was seeing. They asked me to send photos. They booked me in for a follow-up consultation.

Those first 48 hours felt very long. But the only active things I did were: wash gently once, deep condition, call the salon, and take photos in natural daylight so I’d have a reference point. That’s it.
What Not to Do
Okay. Here’s where I have to be honest about what I nearly did, because I think it will save at least one of you from making things significantly worse.
I nearly bought a box dye. A “rose gold” box dye, specifically, because I thought I could nudge the colour closer to what I’d wanted without going back to the salon. I had it in my basket. I read the back of the packet three times. And then I put it back on the shelf, because I remembered something a colourist had told me years ago: box dye on already-processed hair is almost always a gamble you’ll lose. The reason is that box dye deposits colour uniformly, without accounting for how your hair has already been lifted or where the porosity is uneven — and after a failed salon colour, your porosity is almost certainly uneven. You end up with blotchy results at best. At worst, you’re adding damage on top of damage and making the professional correction significantly harder.
The other things I actively avoided that week:
- Clarifying shampoos — they strip colour and dry out already-stressed hair
- Heat styling above low setting — I genuinely just air-dried every day
- DIY toning with purple or blue shampoo left on for more than two minutes — too unpredictable on a fragile base
- Aggressive brushing when wet — I used a wide-tooth comb and worked section by section, which reminded me how much easier working with proper hair sections makes any process
- Any kind of at-home bleach or colour remover — absolutely not
I also avoided spending too much time on social media looking at perfect pink hair photos, because that was not helping my mood or my decision-making. Just putting that out there.
The Corrective Appointment
When I went back in, the colourist did something I wasn’t expecting: she spent about fifteen minutes just looking at my hair and asking me questions before she touched a single product. She checked my hair’s elasticity — wet a small section, stretched it gently, watched how it snapped back. She looked at the roots versus the lengths versus the ends under the salon lighting. She asked what I’d washed it with, whether I’d used heat, and what I’d originally wanted.
The assessment revealed that my ends were more porous than my mid-lengths, which explained why the pink had grabbed so intensely there. The roots were a different issue — they’d been lifted unevenly, which was why the warmth had deposited oddly. A correction wasn’t going to be one simple step.
What she did that day was a partial colour remover treatment on specific sections — not a full strip, just a targeted application to pull back some of the intensity in the areas where the pink was harshest. Then she toned. The whole process took nearly three hours, which honestly felt luxurious after a week of sitting with a colour I didn’t recognise in the mirror. I’ll also note that she discussed how the correction would interact with my existing length, which reminded me of just how much the full range of lengths from crop to waist affects how colour behaves — longer hair retains more history, more damage, more variables.
I walked out with something that was still pink, but a softer, more deliberate version of it. Closer to what I’d actually shown her in the reference photos. Not perfect. But recognisably right.
A Colourist Breaks Down the Correction
Why It Takes More Than One Visit
This is the part that surprised me most, and I think it’s the part most people don’t hear clearly enough when they’re in the chair, upset, just wanting it fixed.
Colour correction on pink hair — especially when the starting point involved a lift — is rarely a single-appointment result. Not because colourists are stringing you along, but because the hair genuinely cannot handle everything in one session. Each process you put the hair through requires recovery time. Integrity matters. If a colourist tells you she could get you exactly where you want to be in one sitting but it would involve two rounds of bleach in the same day, that’s a red flag, not a reassurance.
The process of correcting vivid colour typically works in stages: first session reduces the intensity or addresses the most urgent problem (like the brassy roots), second session refines and tones, and sometimes a third session completes the transition if you’re moving to a significantly different shade. Between each session, your hair needs time — usually four to eight weeks — to recover.
Honestly, learning this reframed the whole experience for me. I stopped thinking of it as a failure that needed emergency surgery and started thinking of it as a process with a timeline. That mental shift made everything less stressful. And in the recovery weeks between appointments, I was deep conditioning twice a week, using protein treatments once a month, and being genuinely gentle with my hair in a way I probably should have been doing anyway.
Where It Settled — And What I’d Tell You Now
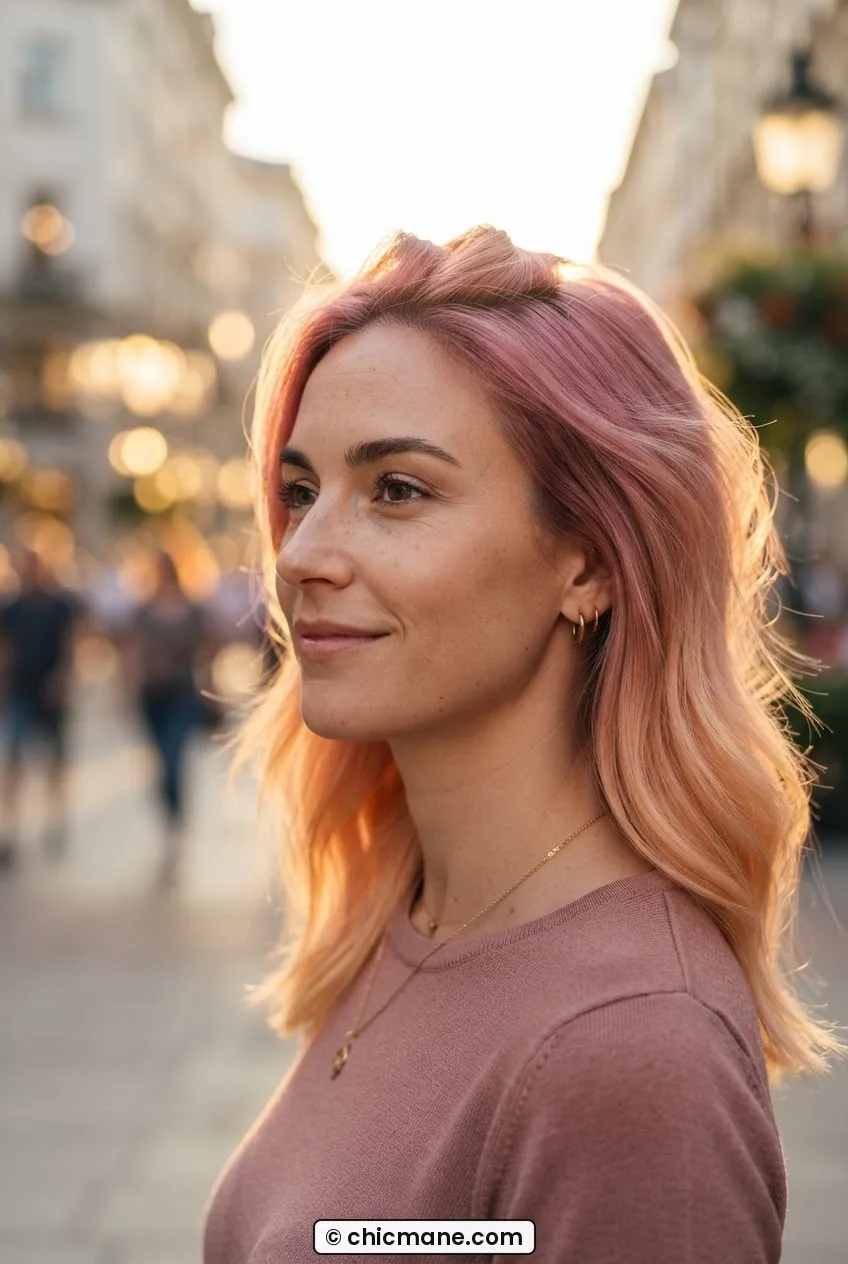
By the third appointment — about twelve weeks after the original disaster — my hair had settled into something I genuinely loved. A warm, dusty pink at the mid-lengths that faded into a peachy blonde at the ends. Not what I’d originally asked for. Better, actually, because the colourist had adapted the vision to suit what my hair could realistically achieve given where it had started.
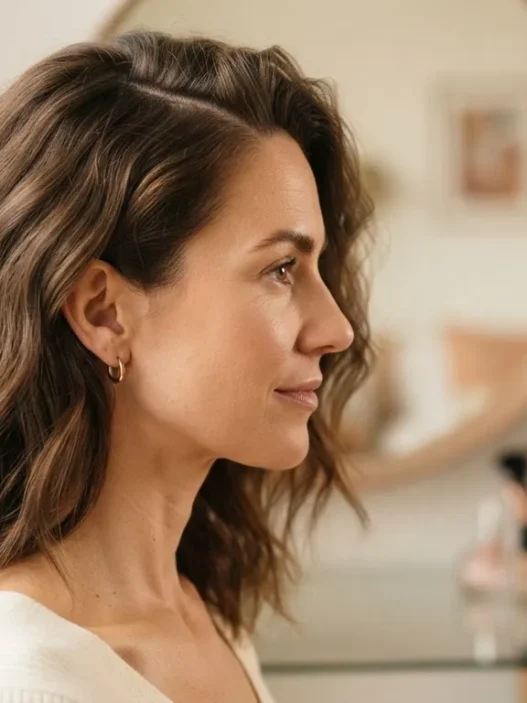
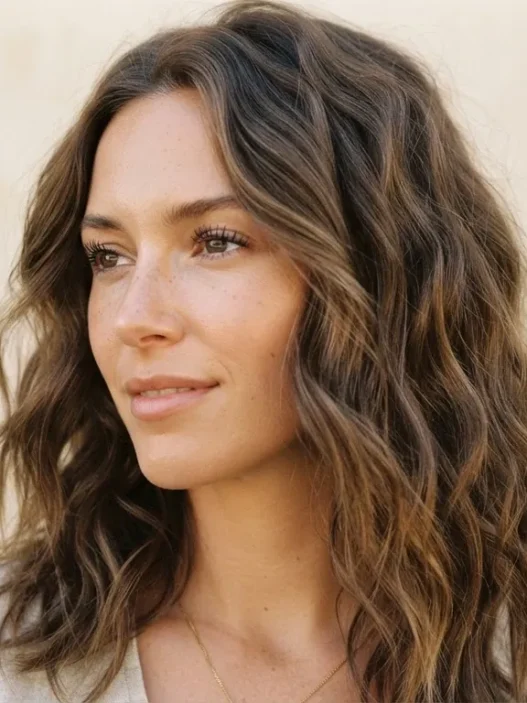
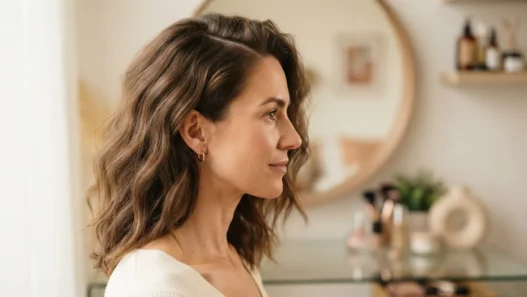
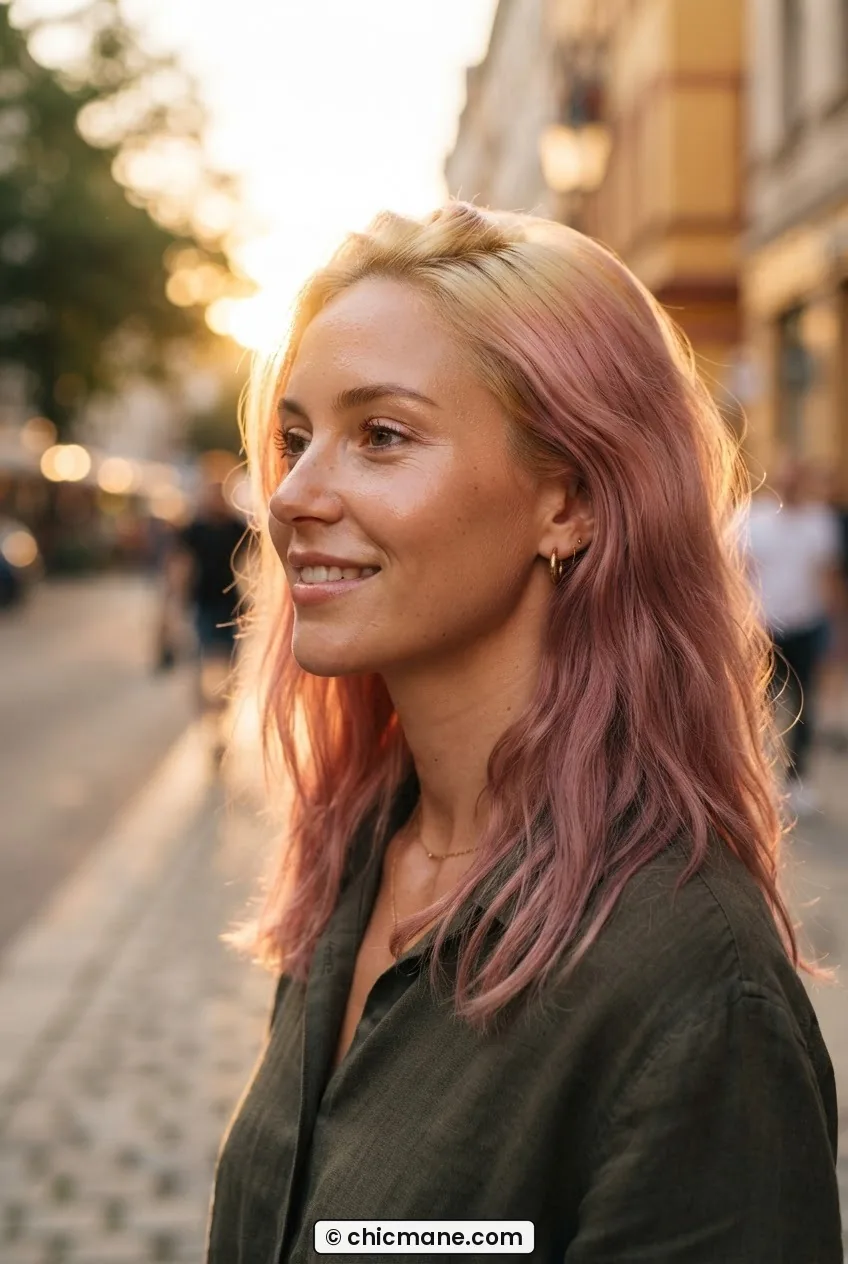
Look at her in this photo — she’s got a similar soft rose tone through the lengths, and the way the light catches it at golden hour is exactly the energy I ended up with. That warmth is real; it’s not a filter. Pink hair photographed in natural light does something genuinely magical.
Here’s my slightly controversial take, and I’m standing by it: I think the original salon appointment wasn’t entirely the colourist’s fault. I went in with a reference photo of a shade that required my hair to be significantly lighter than it was, and I didn’t fully understand that. I said yes to a process I didn’t fully understand. That’s on both of us. Most colour disasters are a communication breakdown as much as a technical one — and I say that as someone who was genuinely frustrated and felt let down. Understanding what communicating colour goals to a stylist actually involves has changed how I approach every appointment since.
If you’re in the car park right now, or in the week after, or at the point of nearly reaching for a box — I’m not going to tell you what to do. But I will tell you that the slow, careful route got me somewhere I’m genuinely happy with, and the shortcut would almost certainly not have. I’ve seen enough friends go the box dye route on damaged hair to know how that story usually ends. Also, while you’re in recovery mode and doing more protective styling to give your hair a break, it might help to browse some quick open hairstyle options that look intentional without putting any stress on your strands.
Questions I Get About This
Can I use a colour remover from the chemist instead of going back to the salon?
I’d be cautious. Over-the-counter colour removers work by shrinking the dye molecules so they can be rinsed out — they’re gentler than bleach, but they’re not neutral. On hair that’s already been lifted and processed, they can cause unpredictable results, particularly if the porosity is uneven. If you’re going to use one, do a strand test first, follow the instructions to the letter, and have a plan for what you’ll do if the result isn’t what you expected. Ideally, do this in consultation with your colourist rather than as a surprise before your next appointment.
How long does a pink hair correction actually take to complete?
Realistically, three to four months if you’re moving from a vivid or wrong pink to something more refined or neutral. That sounds like forever when you’re unhappy, but the alternative — rushing the process — usually means more damage and a longer recovery overall. Each appointment will show visible progress, which helps psychologically.
Should I cut my hair during the correction process?
A trim? Almost certainly yes — and your colourist will probably recommend it. Removing the most damaged ends actually helps colour apply more evenly in subsequent sessions. A dramatic cut? Only if you want one. Don’t let anyone push you into a cut you’re not ready for as a solution to a colour problem. They’re separate decisions. If you’re thinking about how length affects the whole process, the guide on hairstyles from crop to waist is genuinely useful for visualising where you might land.
Is it normal to feel really upset about a bad salon colour?
Completely. Hair is personal in a way that’s hard to explain to someone who doesn’t feel it. Sitting in the car park and not being able to drive for twenty minutes because you’re trying not to cry — that’s a real experience, and you don’t need to minimise it. Give yourself a day to feel it, then make a plan.
Twelve weeks of patience and a good colourist. That’s genuinely all it was. If you’re at the beginning of that road, I hope this helps it feel a little less overwhelming. You’ll get there.