



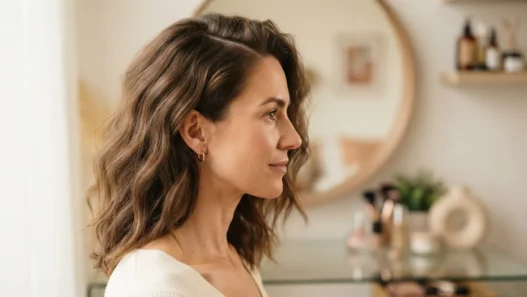

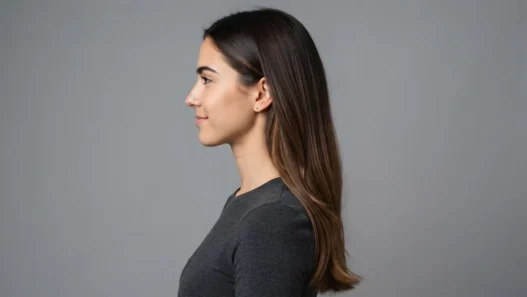

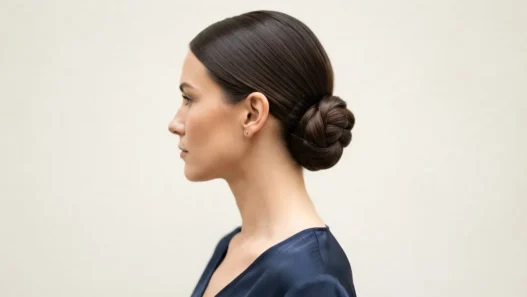

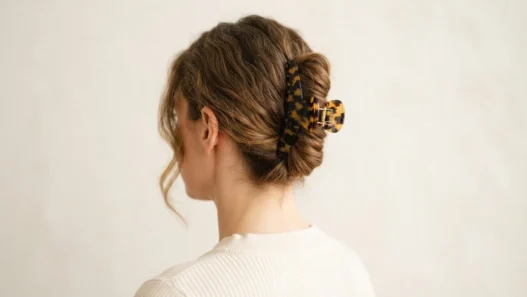
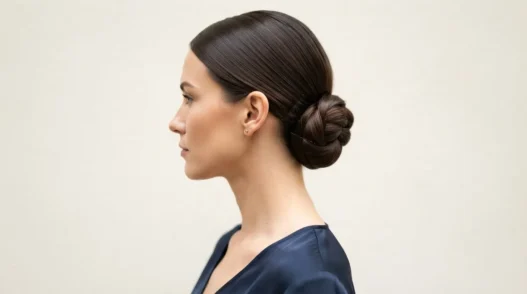
I have a complicated relationship with buns. On one end of the spectrum, there’s the chaotic Tuesday-morning bun I threw up in thirty seconds while my coffee brewed — purely functional, a little embarrassing if I run into anyone I know. On the other end, there’s the kind of sculpted, pinned, polished updo that makes you feel like you could walk into a gala. What fascinates me is that it’s the same basic shape doing completely different work depending on placement, texture, and how many pins you actually commit to. I’ve been experimenting with bun variations for years, and these eleven are the ones that have genuinely earned a spot in my rotation.
Jump to Your Bun Style
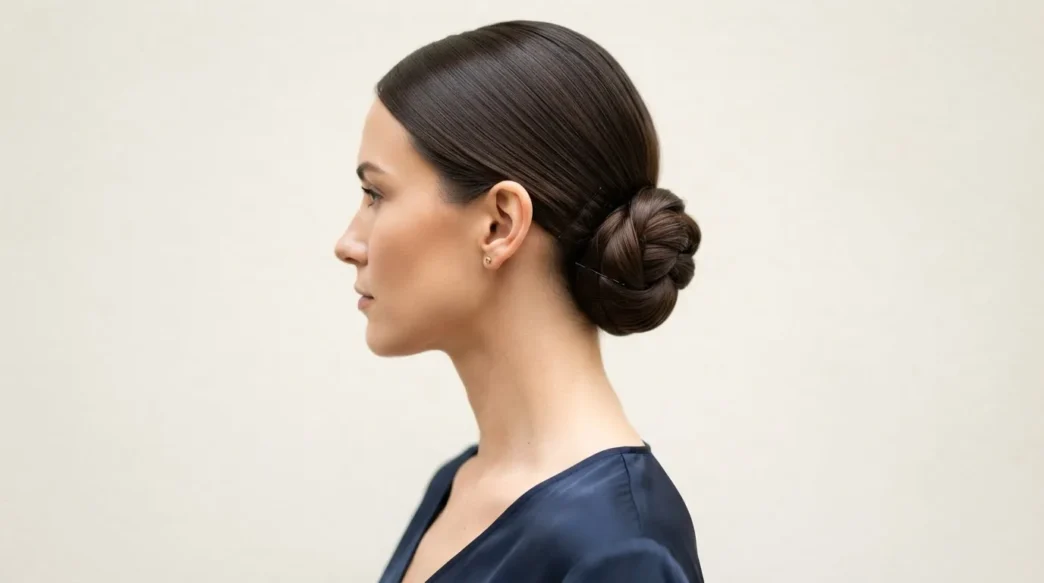
1. The Low Nape Chignon
This is the one I reach for when I need to look like I tried. The low nape chignon sits right where your neck meets your shoulders, and that placement alone does something remarkable — it elongates the neck, keeps the face completely clear, and somehow reads as elegant even on a rushed morning. I pull my hair into a low ponytail, twist the length into a rope, then coil it around the base and pin with as many bobby pins as it takes to feel secure. Usually six. Sometimes eight. No shame.
The trick is to not over-smooth. A little texture on the crown — a few strands slightly lifted — keeps it from looking too severe. This holds beautifully for a full workday, especially with a light mist of hairspray before you start. My stylist actually recommended this as one of the most reliable work hairstyles she knows, and I completely agree.
2. The Soft Top Knot
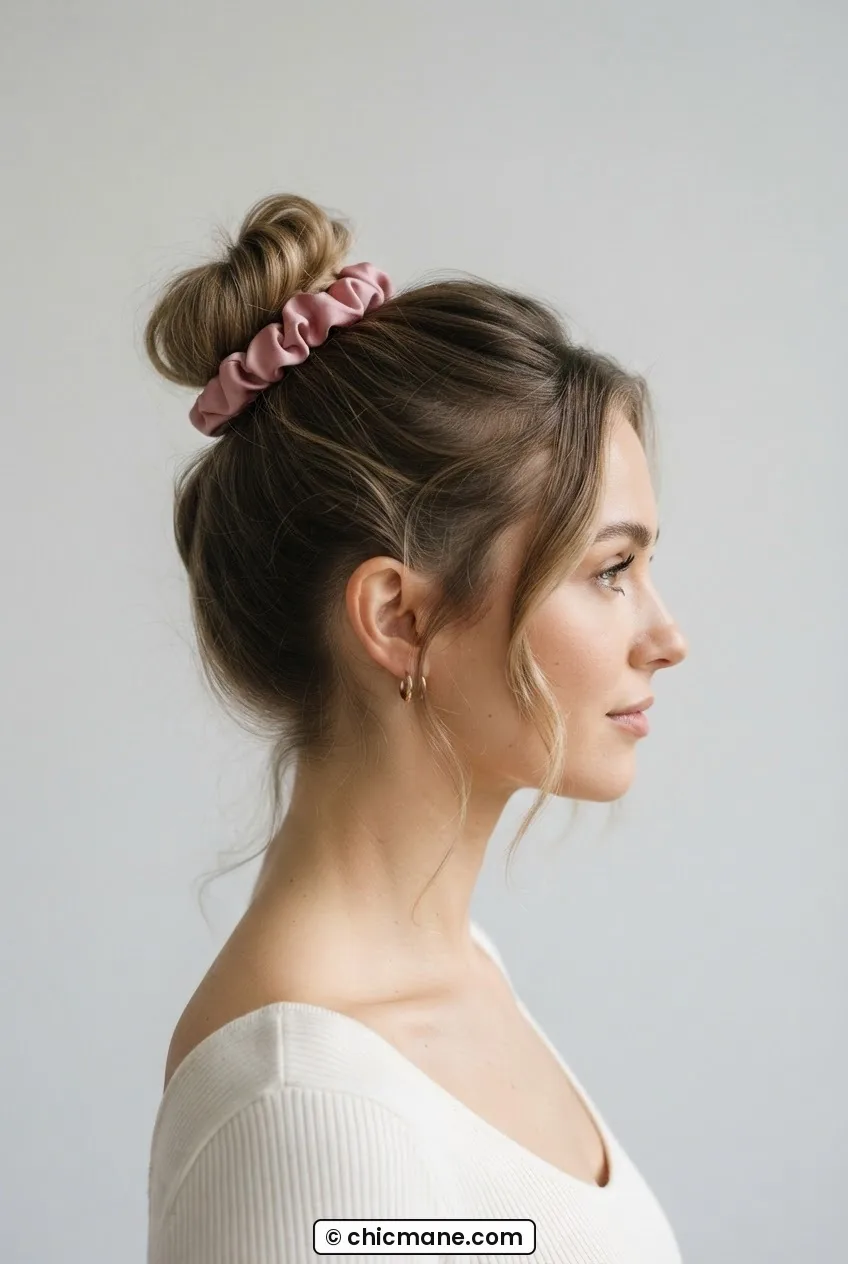
The soft top knot lives squarely in casual-cool territory. High on the crown, looped rather than tightly wound, with a few tendrils left out around the face. It’s the bun hairstyle equivalent of wearing a blazer with sneakers — effortless, but clearly intentional.
I like to use a silk scrunchie for this one instead of a regular elastic, because it gives the base a little extra volume and doesn’t crease the hair. Pull the ponytail partway through on the last loop so you get that soft looped shape rather than a fully threaded tail. Shake the bun gently to loosen it. Done. This one lasts about four to six hours before it needs a quick re-pin, so I’d call it a brunch-to-early-afternoon situation rather than an all-day commitment.
3. The Braided Crown Bun
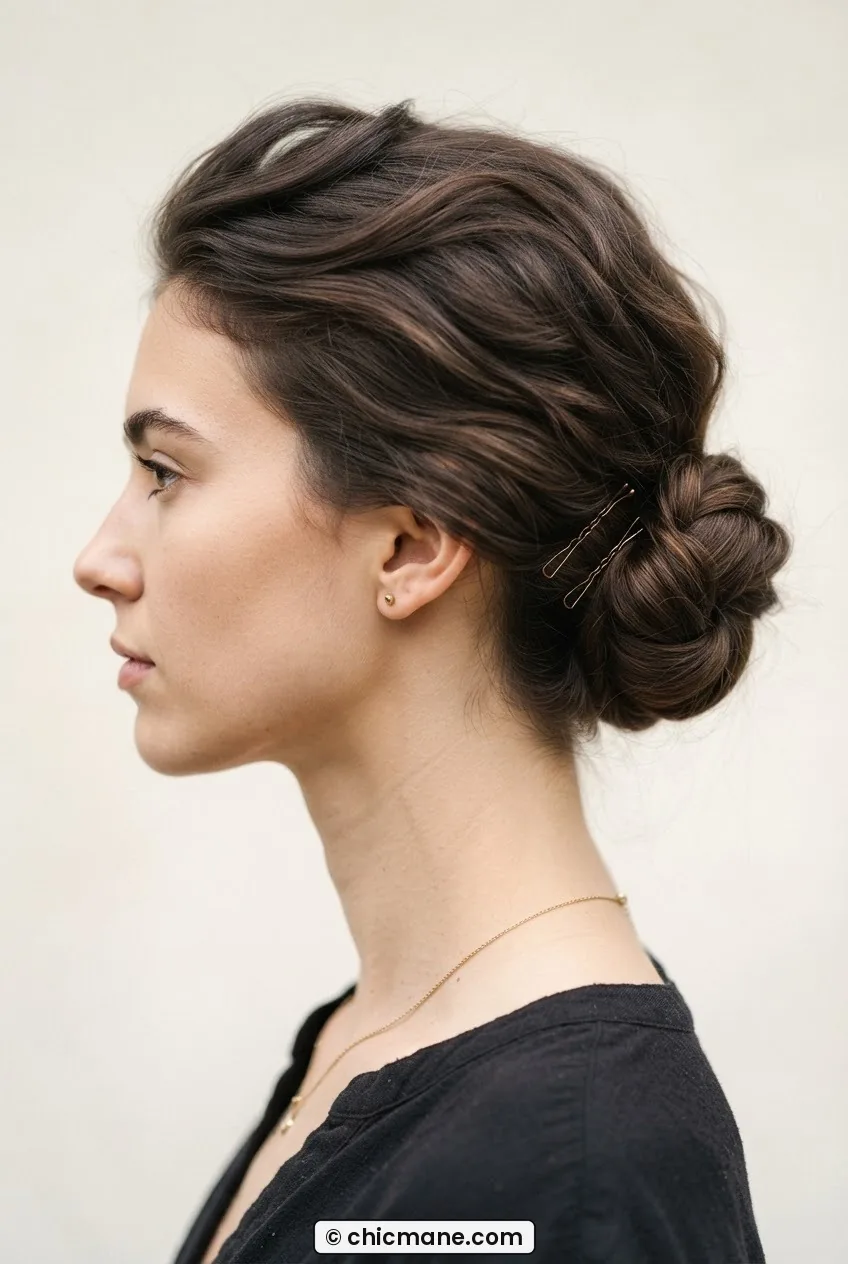
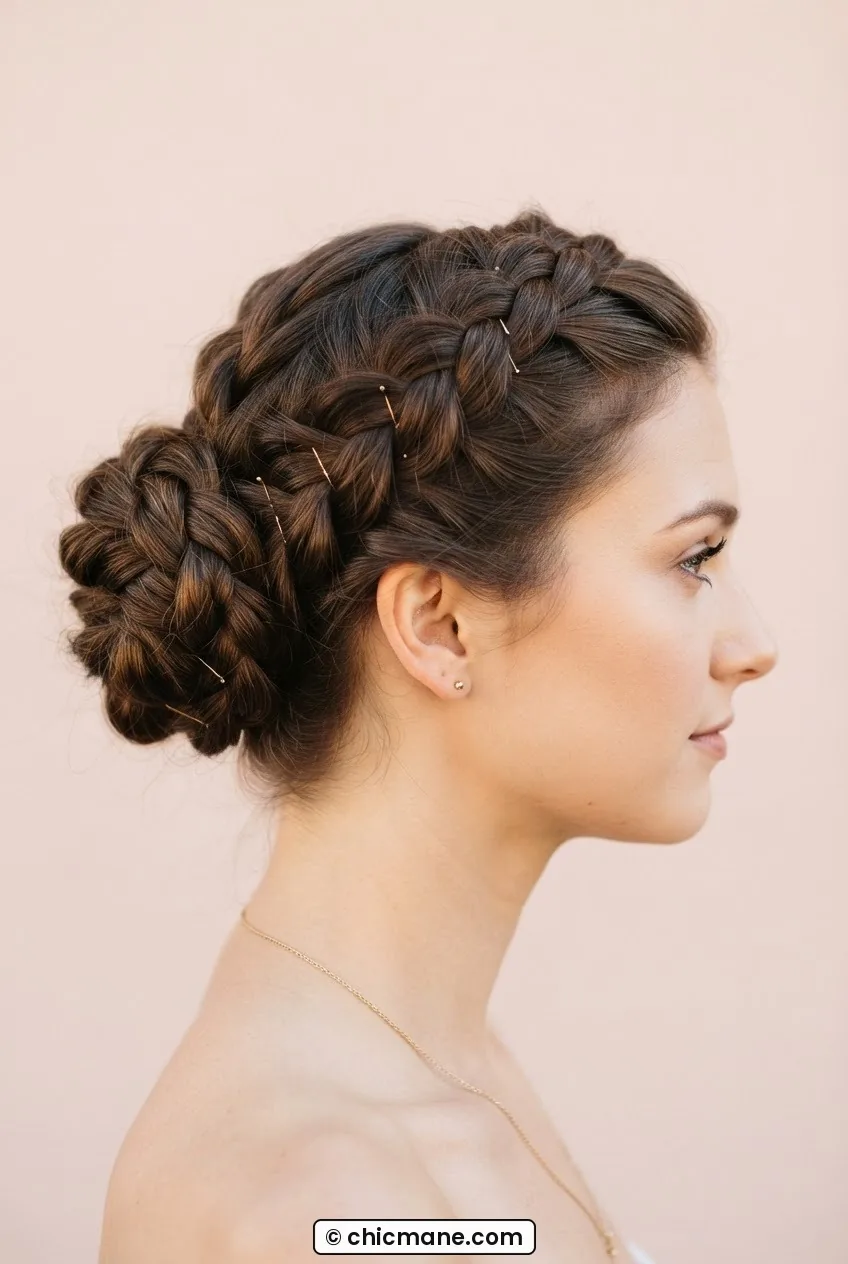
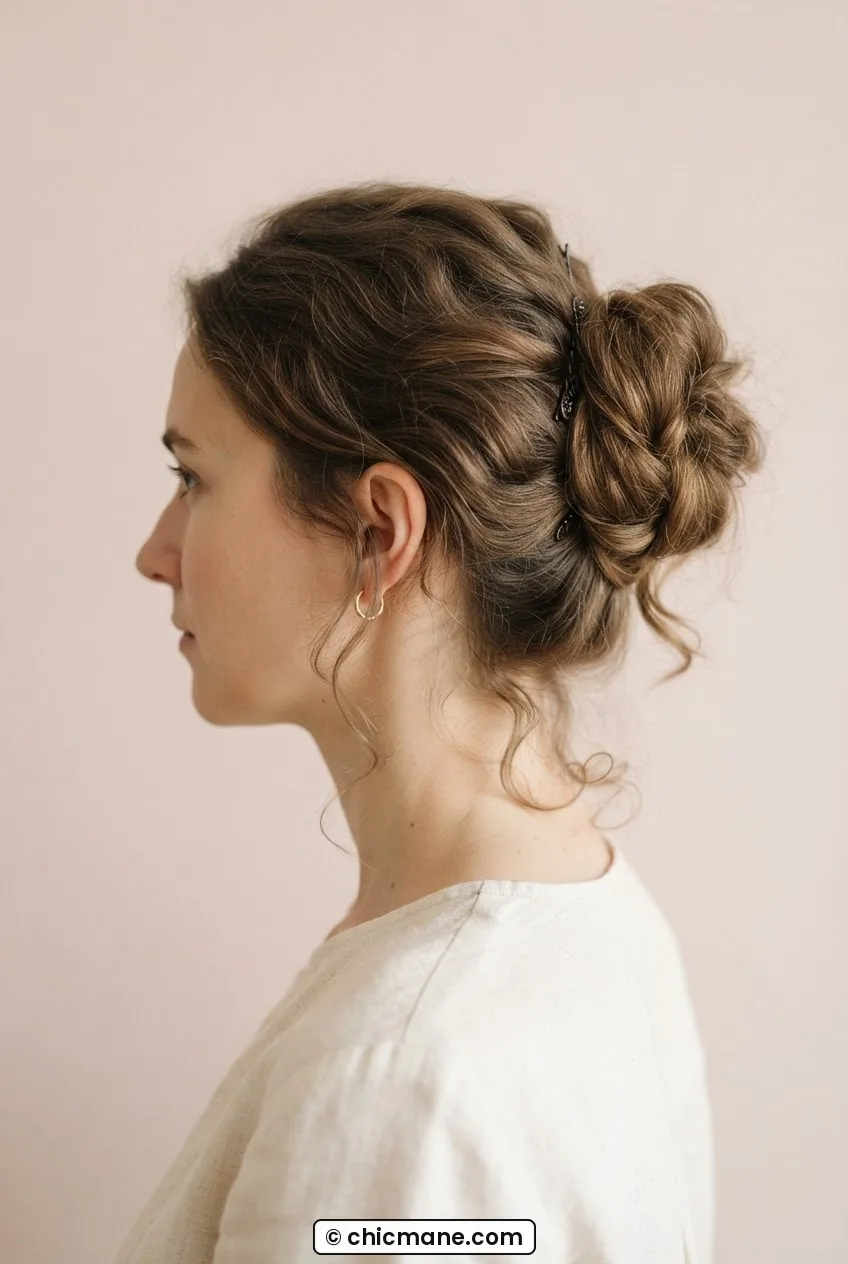
This one takes a bit more time, but the payoff is worth it. You braid the hair first — a simple three-strand or Dutch braid — then coil the braid into a bun at the crown and pin it. The result is this beautifully textured, almost regal updo that looks like it required a professional. It didn’t, but we don’t have to tell anyone that.
Because the braid adds structure, this style holds remarkably well. I’ve worn it through an entire outdoor event without a single pin shifting. It also works on second-day hair, which is genuinely one of its best qualities. Look at how she’s wearing hers in the photo — see how the braid wraps cleanly around the base? That tight coil at the crown is exactly what gives it that finished, intentional look.
4. The Messy Ballerina Bun
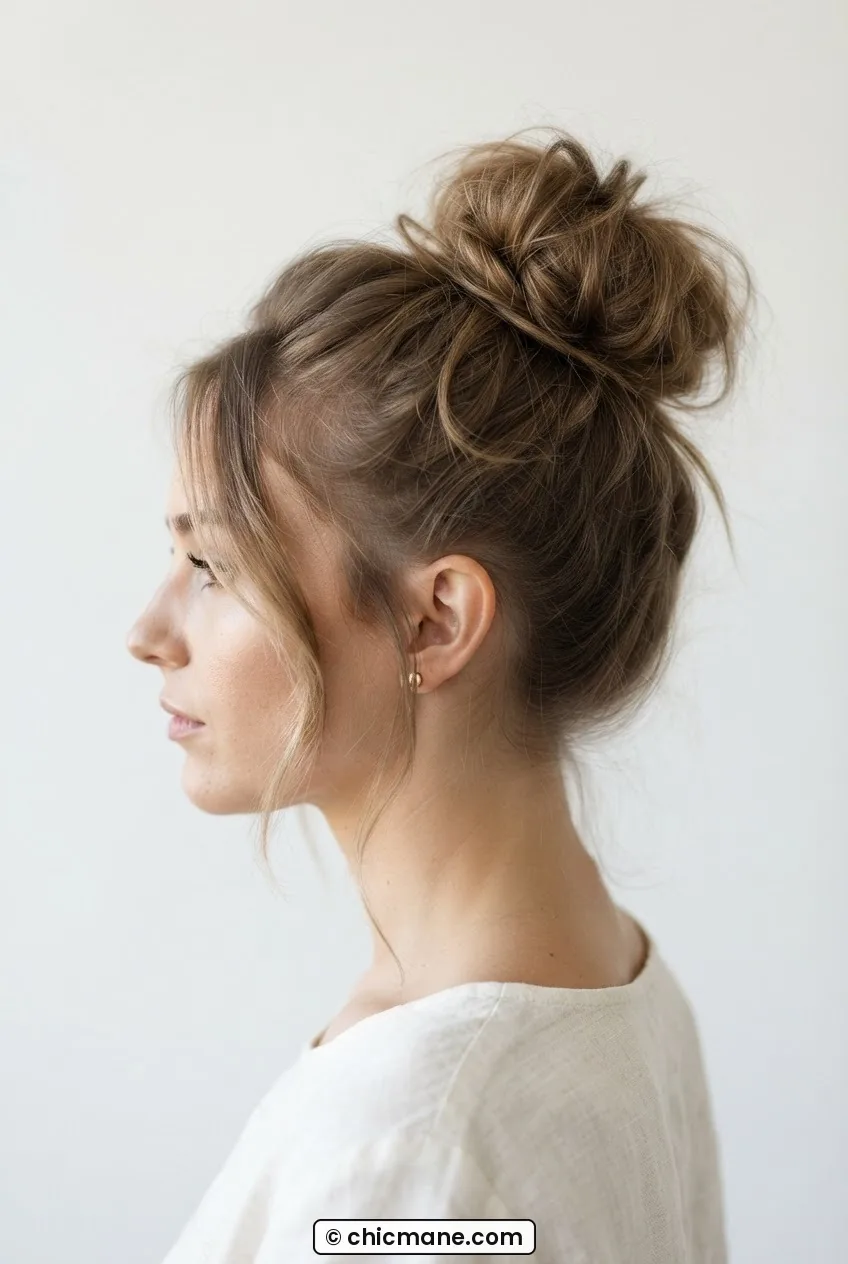
Do not let anyone convince you that a messy bun is less of a style choice. The messy ballerina bun — placed high, with piecey bits pulled out at the temples and nape — is genuinely one of the most flattering updo shapes for a wide range of face types. It creates height, softens a square jaw, and gives the whole look a relaxed energy that’s hard to replicate with a polished style.
I pull mine up in a high ponytail, wrap the hair loosely around the base without neatening it, and secure with an elastic plus a couple of pins through the messiest parts. Then I tug a few pieces out — specifically at the hairline. Not too many. Two or three is flattering. Six starts to look genuinely unintentional. You can read up on messy bun technique if you want a full breakdown of the wrap method.
5. The Sleek Knotted Bun
This is the bun I wear when I want to mean business. No flyaways. No texture. Just a perfectly smooth, tightly wound knot, usually at mid-occipital height — not quite at the nape, not quite at the crown. Think sharp, think sculptural, think the kind of updo you’d see on a runway model or a ballerina mid-performance.
Getting it right means starting with freshly washed hair that’s been blown dry smooth, or using a generous amount of smoothing cream on second-day hair. A fine-toothed comb to sleek the sides, a strong elastic, then wind and pin. Finish with a firm-hold gel brushed over any surface frizz. This holds all day — easily eight hours — and looks even better after hour four when the shine settles in.
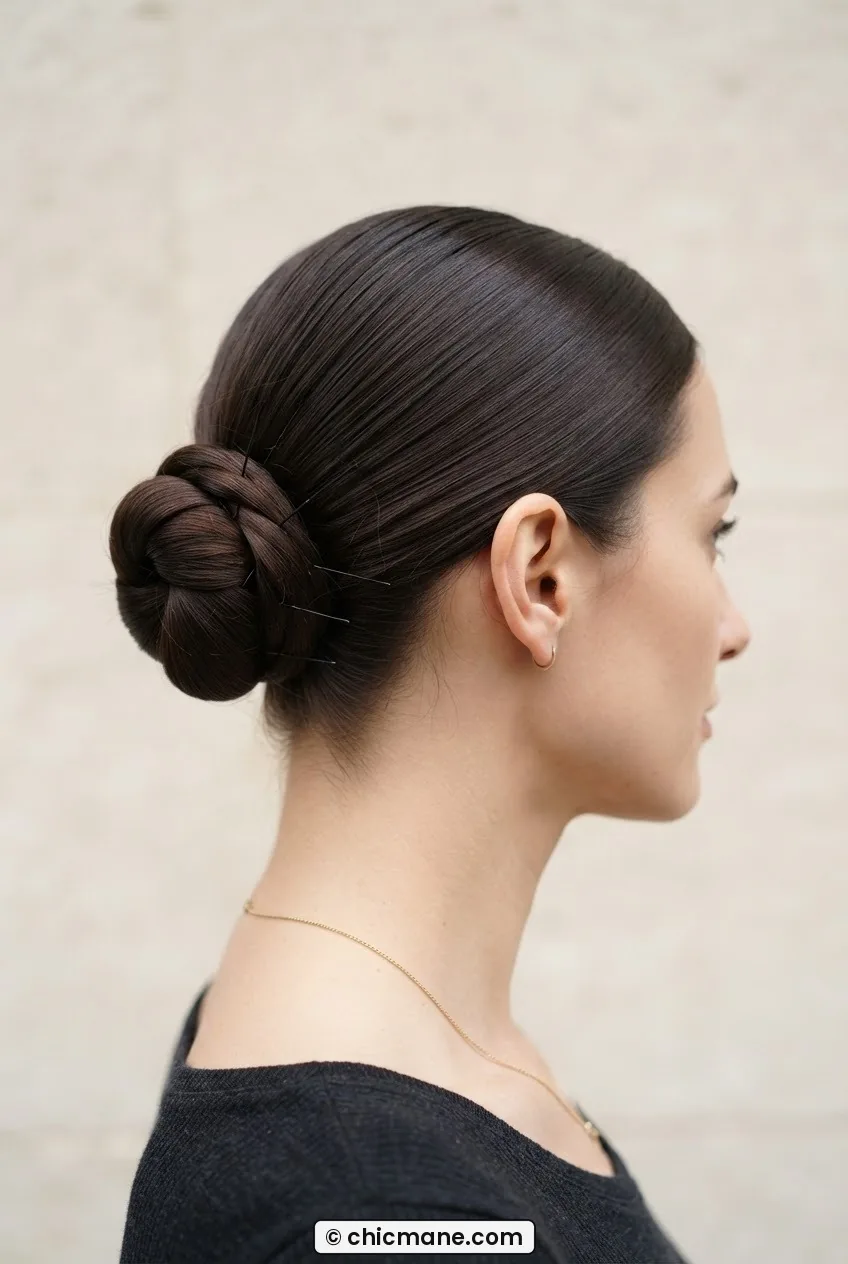
Personal pick: if I had to choose just one bun style for the rest of my life, it would honestly be the sleek knotted bun. There’s something deeply satisfying about hair that stays exactly where you put it. It works for a job interview, a dinner, a wedding — I once wore it to a funeral and got three compliments. It does everything.
A Tutorial That Finally Made It Click
6. The Half-Up Mini Bun
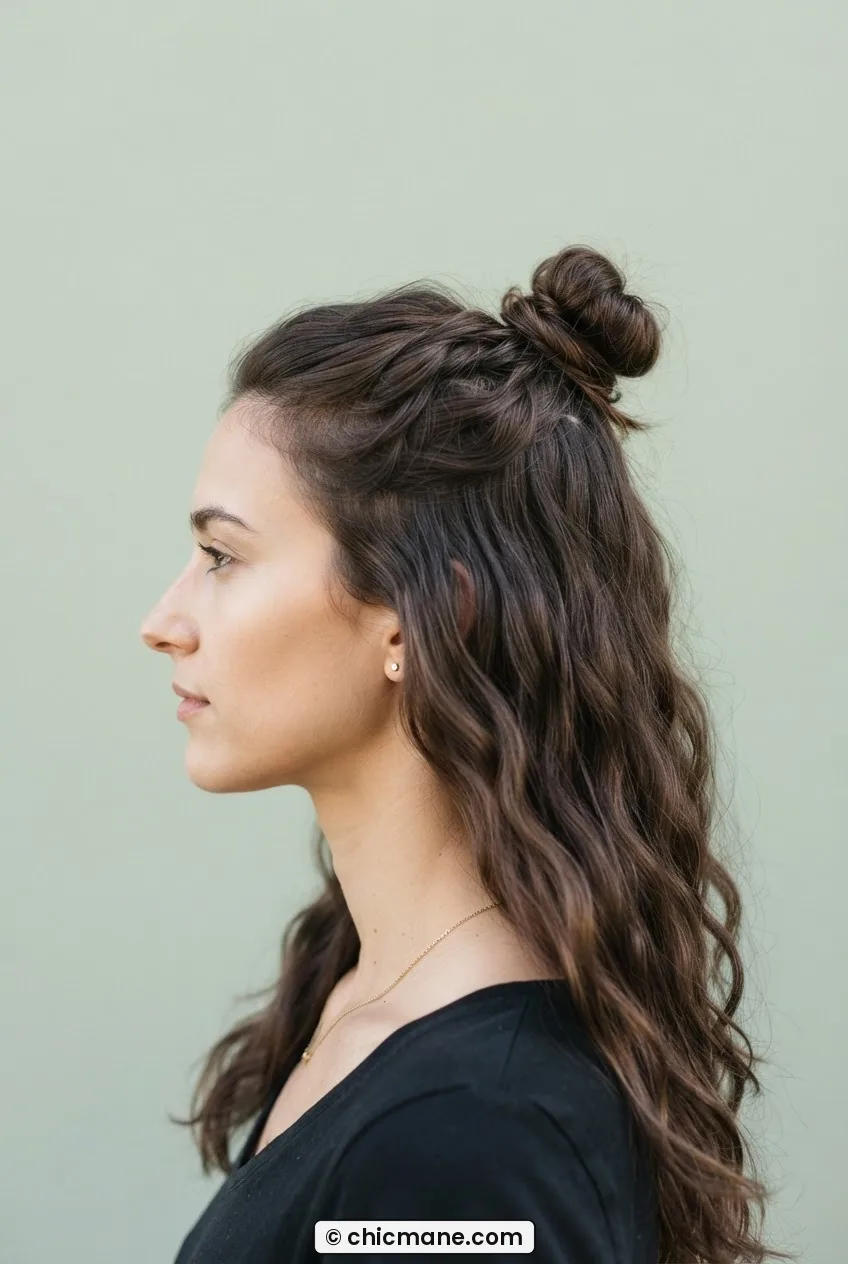
For those days when you want your hair mostly down but your face clear of it — this is the answer. The half-up mini bun takes just the top section of hair, creates a tiny bun at the crown or slightly behind it, and leaves the rest of the length loose. It’s simultaneously low-effort and surprisingly cute.
I’ve seen this look really shine on women with waves or natural texture in their loose length — the contrast between the neat little bun and the free-flowing waves below it is genuinely lovely. If you’re someone who loves quick open hairstyles but wants something slightly more put-together, the half-up mini bun is that middle ground. It takes about three minutes. It holds for several hours. I’m a fan.
7. The Twisted Side Bun
Oh, the twisted side bun. It’s romantic in a way that feels almost surprising for a style that’s basically just a bun moved three inches to the left. Placed just behind one ear, low at the nape, this style frames the face beautifully — especially if you leave a few face-framing pieces loose at the temples.
The construction involves twisting two sections of hair toward each other before gathering them into a low off-center ponytail, then coiling and pinning at the side. That initial twist is what gives the front section its beautiful swept-back shape. She’s wearing hers beautifully in the image — notice how the twist starts high at the crown and then flows into the side bun? That continuous line from hairline to bun base is what makes the whole thing look intentional and polished rather than just asymmetrical.
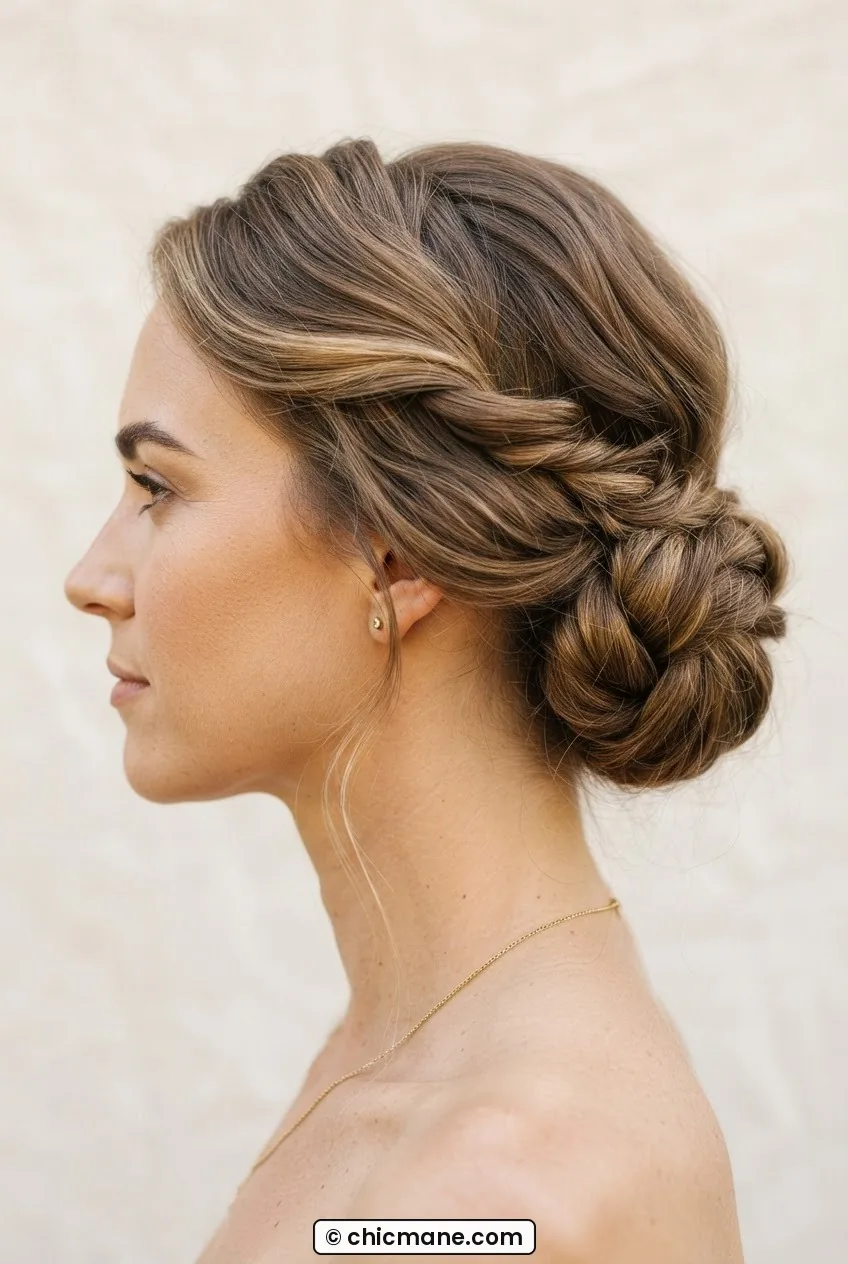
8. The Textured Bun for Thick Hair
If you have thick hair, you know the particular challenge of the bun: it either ends up the size of a small planet, or you spend twenty minutes taming it into something that feels foreign to your actual hair. Neither is ideal. The textured bun solves this by working with the volume rather than against it.
Start with a low ponytail. Divide the ponytail into two or three sections and twist each one loosely. Then wrap those twists around the base in different directions, overlapping them, and pin as you go. The result is a large, interesting, dimensional bun that looks intentionally textured rather than out of control. The multiple sections also mean less bulk in any one spot, which actually makes it more comfortable to wear and easier to pin securely. I’ve seen this look incredible on women with thick, coily textures too — the natural definition of each twist section really shines through. There’s also some great guidance on styling thick hair in a bun if you want to adapt this for coily or high-porosity hair types.
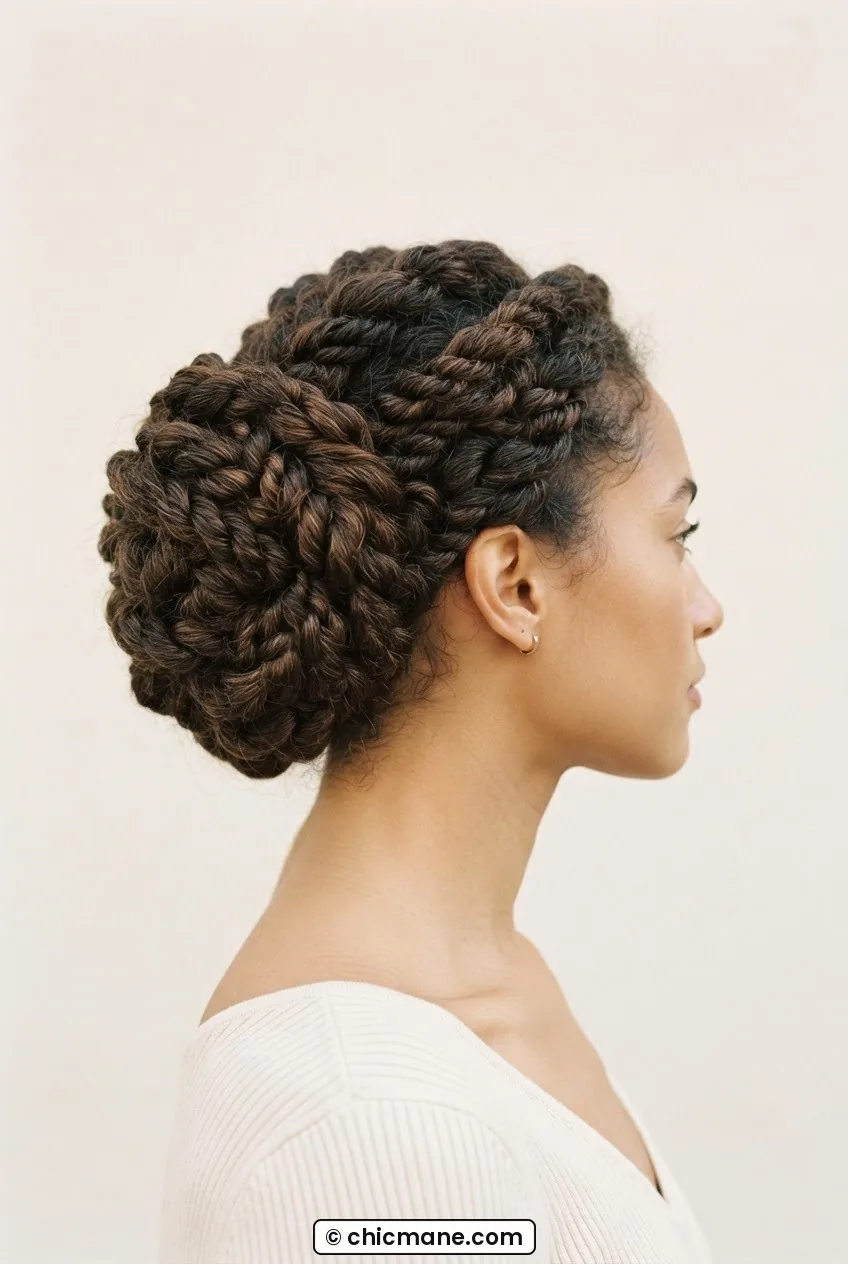
9. The Featherweight Bun for Fine Hair
Fine hair and buns have a rocky relationship. The bun ends up flat. Or tiny. Or the elastic slides out by 2pm because there just isn’t enough texture to grip. I’ve been there. The solution — and it genuinely works — is to prep the hair with volumizing mousse while damp, rough-dry it for texture, and then use a teasing comb very lightly at the roots of the ponytail before you wrap the bun. A little backcombing gives the fine strands something to hold onto.
For placement, mid-crown or slightly higher is better for fine hair than a low nape bun — it creates the illusion of more volume. Use a donut bun form if you want shape without requiring density. Wrap your hair around it, tuck, pin. The form does the architectural work; your hair just has to cover it. She’s wearing the donut-form version in the photo — see how the bun looks full and round even though her hair is clearly on the finer side? That’s the trick. If you’re curious about other ways to add dimension across different lengths, hairstyle ideas from crop to waist length covers some really smart volume-boosting approaches.
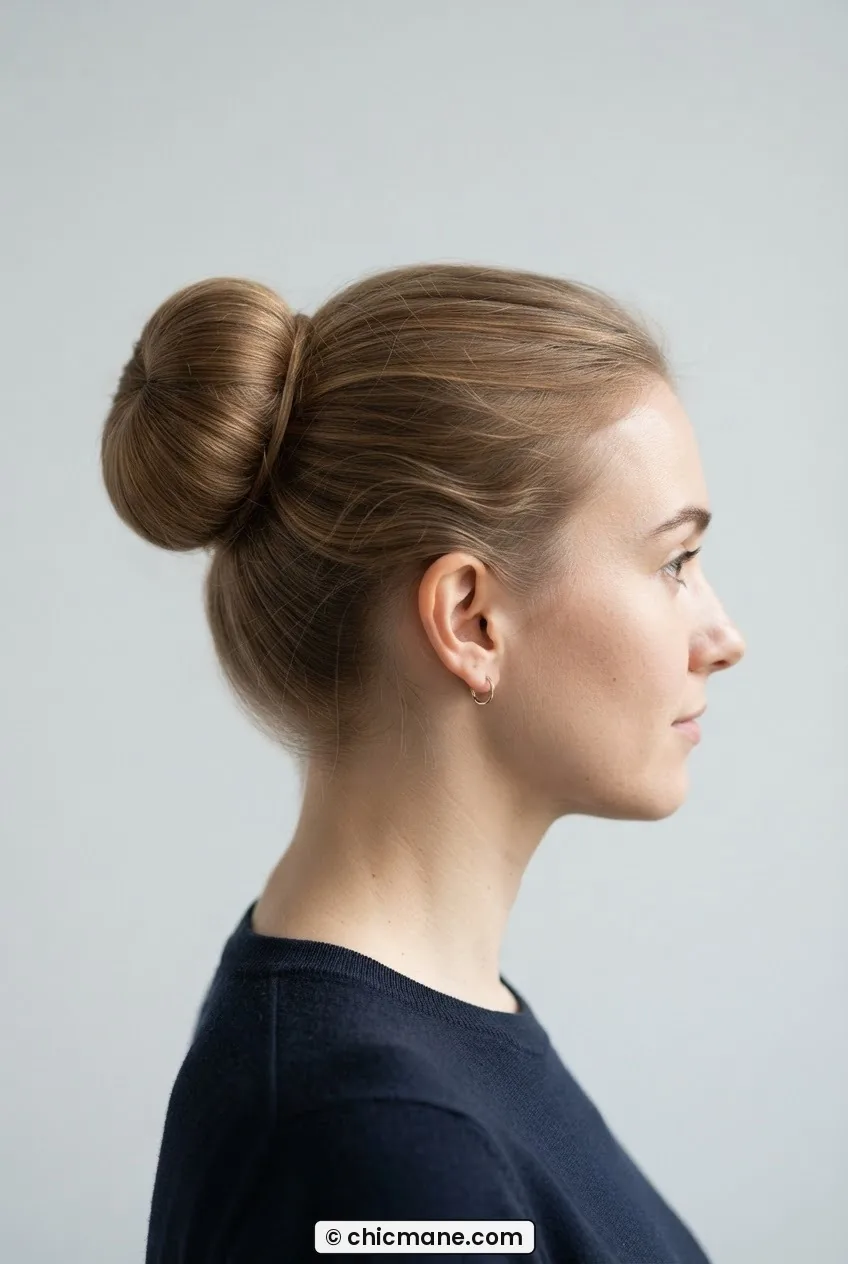
10. The Double Bun
Yes, I’m including the double bun, and I won’t apologize for it. Two small buns side by side at the crown — sometimes called space buns, sometimes just called fun — are having a genuine 2026 moment. They’ve moved past purely editorial territory into real everyday wear, and they work better than you might expect for a range of occasions.
Part the hair down the center, make two high ponytails, and build each one into a small bun. They can be neat or messy depending on the vibe you’re after. This actually connects to the playful energy I love about softball hairstyles getting popular again — that sporty, youthful confidence in a high updo is exactly the same impulse. Short-to-medium hair? This is genuinely your best double bun option since shorter lengths actually make neater individual buns without excess bulk.
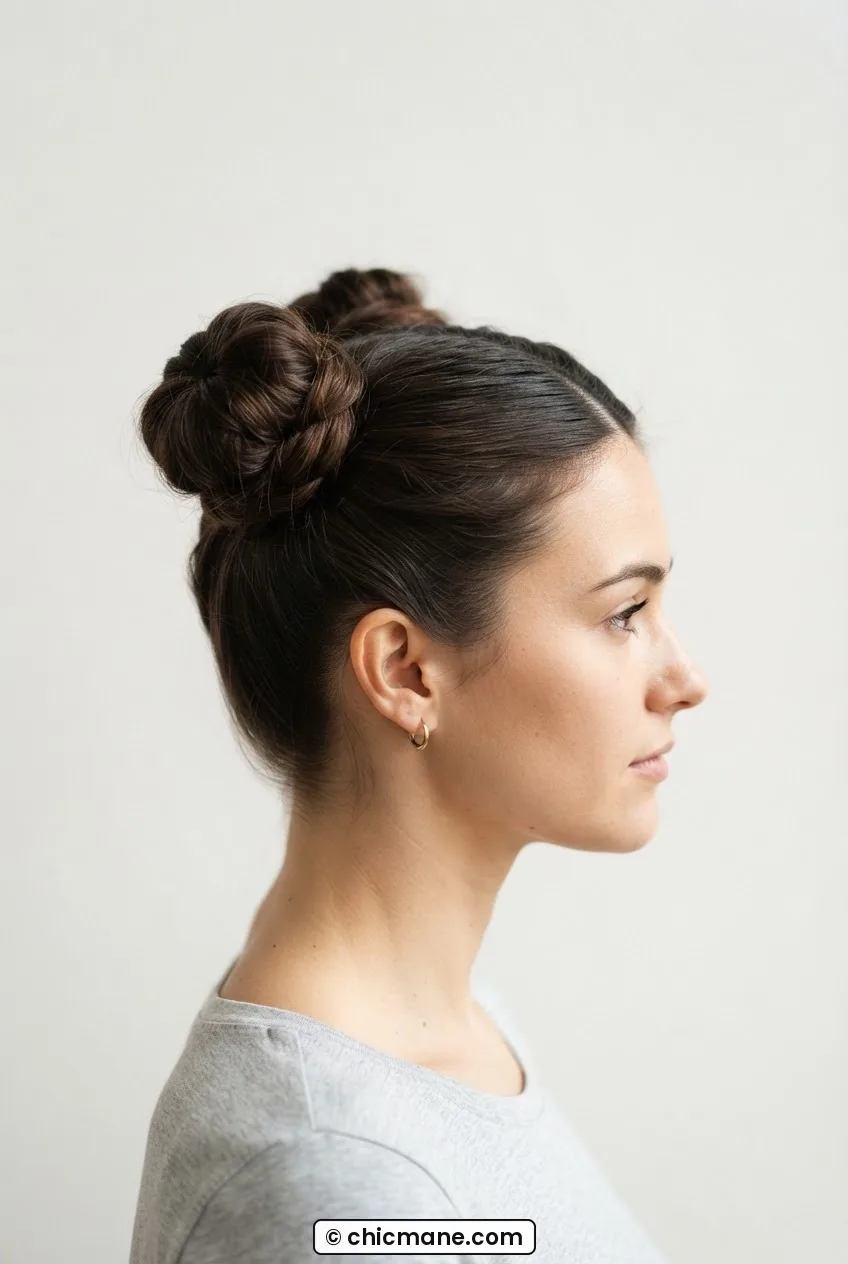
11. The Undone French Chignon
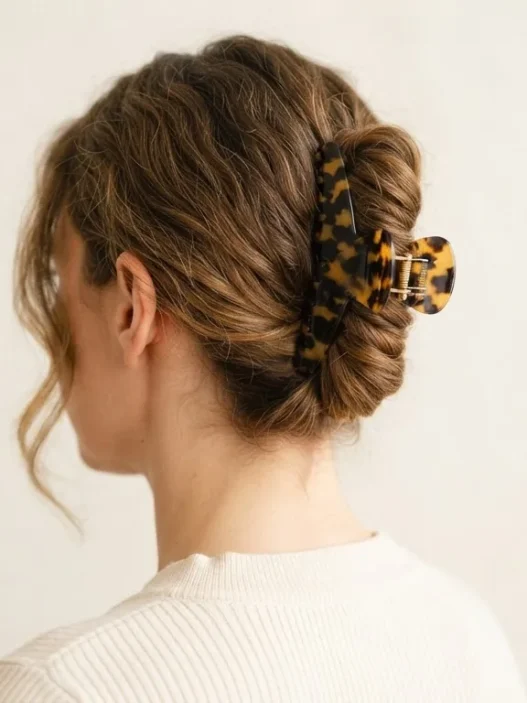
This is the one that looks the hardest and is actually achievable once you understand the mechanics. A traditional French chignon is impeccably neat, rolled and tucked. The undone version keeps that same vertical roll at the back of the head but lets pieces escape — at the nape, at the temples, maybe a slightly uneven edge on the roll itself. It’s formal structure with a casual soul, and it’s absolutely beautiful.
I start by gathering hair into a low ponytail, then fold the tail back up under itself and tuck. Instead of pinning everything flat, I leave the edges slightly loose and tuck just enough to keep the overall shape. Then a few pins through the core of the roll to secure it. The whole thing takes ten minutes once you’ve practiced it a couple of times. It’s genuinely one of the most elegant bun hairstyle options I know, and it photographs beautifully from every angle. Look at hers in the photo — that slight looseness at the nape is completely intentional, and it makes the whole style feel modern rather than stiff. If you love this kind of occasion-ready updo, there are some beautiful ideas across cute hairstyles for short hair sorted by length too, especially if you’re working with a shorter cut and want a similar effect.
Quick Answers
How do I make a bun stay in all day without it sliding out?
The number one reason buns slide is a slippery elastic on freshly washed, product-free hair. Use a slightly textured elastic, apply a light-hold mousse or dry shampoo before styling, and always cross your bobby pins in an X formation through the bun — single pins pull out much more easily. A finish spray after pinning locks everything in place for hours.
Can I do these bun styles on short hair?
Most of these work on medium-length hair (shoulder-length and longer) without modification. For shorter hair, the half-up mini bun, double bun, and soft top knot are your best bets — they don’t require a lot of length to build the shape. A bun form or donut insert can also help create the illusion of a fuller updo on shorter lengths.
What’s the difference between a chignon and a regular bun?
Technically, a chignon refers to a bun that sits low at the nape of the neck — it’s a specific placement rather than a completely different structure. The word comes from French and it’s been used to describe elegant low updos for centuries. In practice, most people use “chignon” to signal something a bit more refined and polished than an everyday bun, which is why it shows up in wedding and formal contexts so often.
How do I add volume to a bun if my hair is very thin?
Two things make the biggest difference: a bun form (also called a donut or sock bun insert) and strategic backcombing at the ponytail base before you wrap. The form gives you structure and circumference that your hair density can’t generate on its own. Backcombing adds grip so the hair wraps more securely and stays fuller-looking throughout the day.
There you have it — eleven ways to wear a bun, from completely thrown-together to genuinely formal. My honest advice? Pick two or three from this list and actually practice them until they feel automatic. The messy ballerina bun and the sleek knotted bun together cover probably eighty percent of life’s hair situations. Add the undone French chignon for occasions and you’re genuinely set. Now go find your pins.