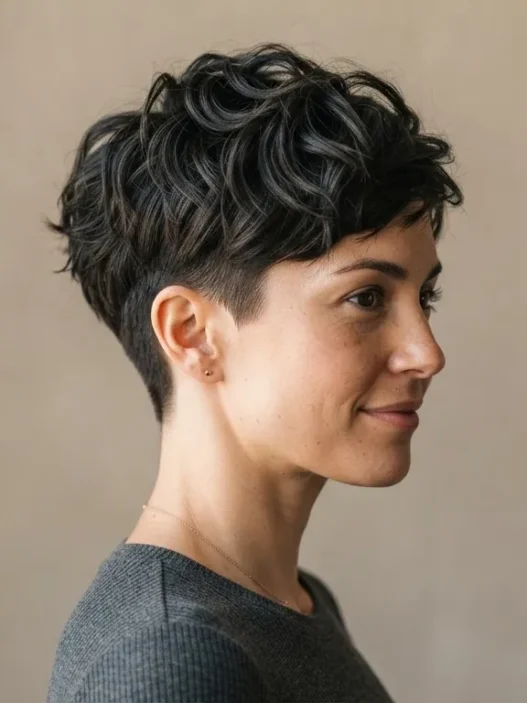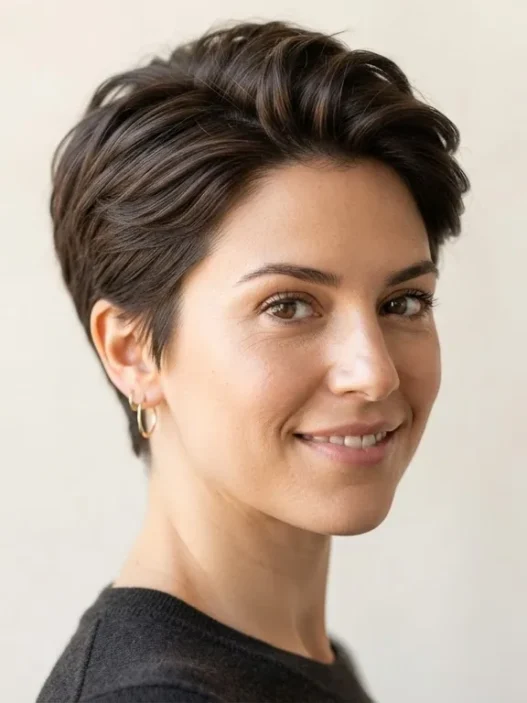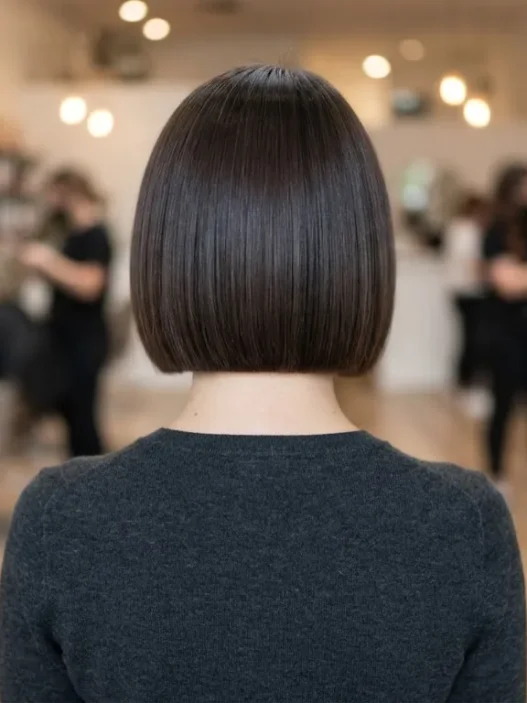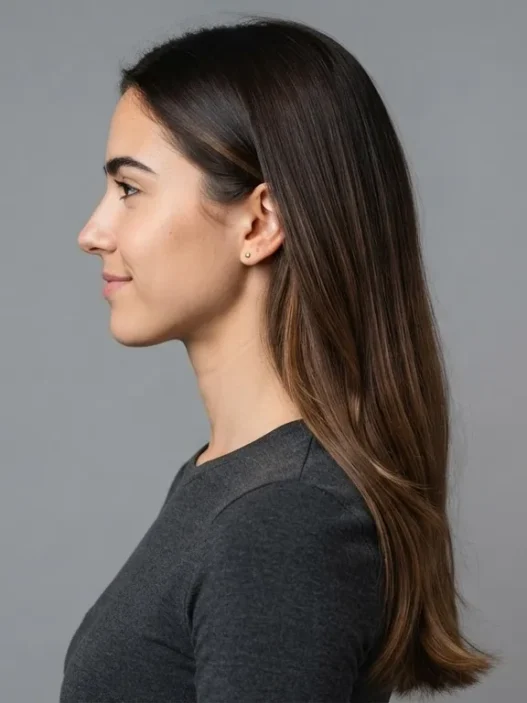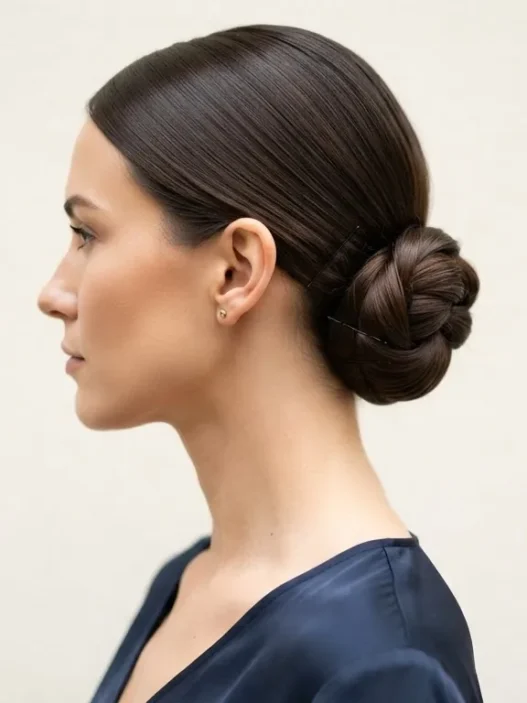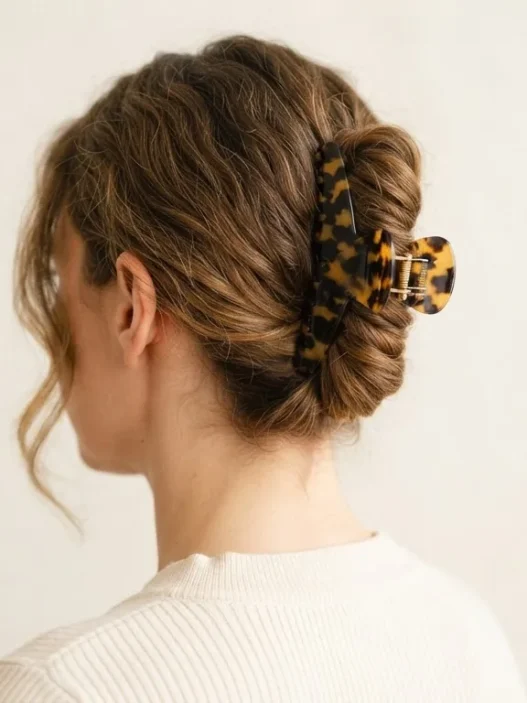









I cut my hair to chin length last winter and immediately panicked. Not because I hated the cut — I actually loved it — but because every styling tutorial I found assumed I had at least a ponytail’s worth of hair to grip. I didn’t. I had a bob that barely grazed my jaw and a drawer full of clips that just slid out. So I spent about three weeks testing every adaptation I could find, broke one flat iron trying to get sections thin enough, and eventually figured out a system that genuinely works when you’re dealing with short hair that refuses to cooperate with standard techniques.
This tutorial is for that specific situation. Not short-ish. Actually short. We’re talking ear-to-chin territory, where the usual rules break down entirely.
Everything We’re Covering — Jump Ahead If You Need To
- What Changes When Hair Is Short
- What You’ll Need
- Step 1: Start With the Right Moisture Balance
- Step 2: Section Smaller Than You Think
- Step 3: Create the Anchor Point
- Step 4: Build the Texture
- Step 5: Secure Without Bulk
- Step 6: Tame the Perimeter
- Step 7: Set and Finish
- The Minimum Length Honest Talk
- Quick Answers
What Changes When Hair Is Short
Everything, honestly. The physics of hair styling relies on weight and length to help products distribute, heat set, and hold stay in place. When you remove most of that length, you lose the thing that was doing half the work for you.
Short hair has more flyaways relative to its length. It also has less surface area for products to grip, which means formulas that work brilliantly on a lob can turn a pixie or jaw-length bob into a frizzy, slippery mess. And the ends — those blunt or textured ends right at the jawline — can stick out at weird angles that longer hair would naturally pull smooth.
The style I’m teaching you here is a textured half-twist look: smooth sides, pinned back at the crown with a deliberate piece pulled loose at the front, finished with a soft wave through the main body of the hair. It looks effortless. It takes about twelve minutes once you know the steps. And it’s specifically designed for women working with chin-length or shorter cuts — the kind of short bob on short hair where traditional tutorials completely abandon you.
What You’ll Need
Keep this stuff on the counter before you start. Running around mid-style to find a clip is how you end up with one lopsided side and a bad mood.
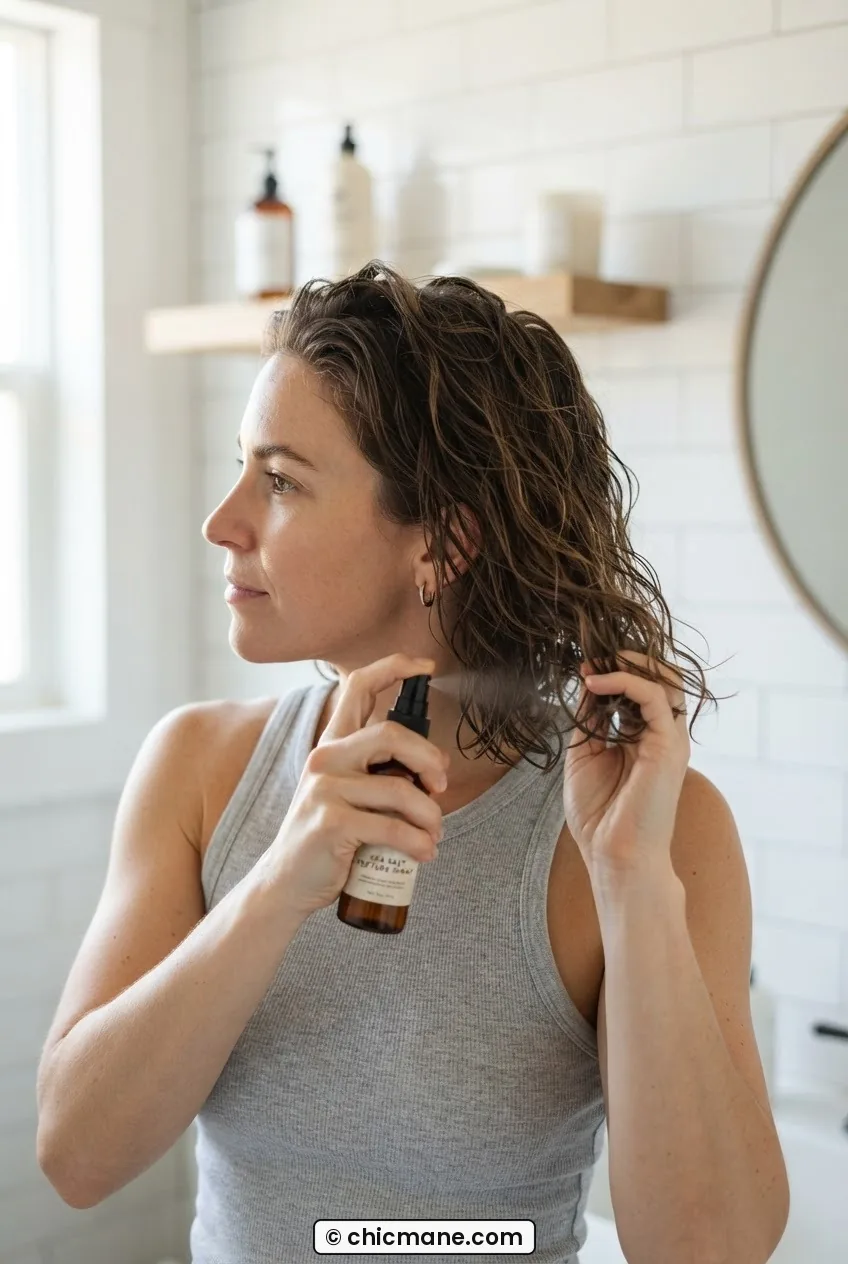
- A lightweight texturizing spray (not a thick mousse — you want control without weight)
- A small-barrel curling iron or flat iron — ideally ¾ inch to 1 inch
- Fine-tooth sectioning comb
- At least 4 fine bobby pins in your hair color (thin ones, not the thick craft-store kind)
- 2–3 small jaw clips for holding sections while you work
- A lightweight finishing serum or hair oil — just a few drops
- A flexible-hold hairspray (not max-hold — it’ll make short hair crunchy)
One note on the flat iron vs. curling iron choice: I actually prefer a flat iron for this particular style because I can get closer to the root on short sections without burning my fingers. Either works, but a flat iron gives you more control on hair that’s only two or three inches long. If you want to understand how flat ironing creates waves on short hair differently than on long, that context will help you at Step 4.
Step 1: Start With the Right Moisture Balance
Short hair styles easy to execute always start before you pick up a hot tool. The prep stage matters more on short hair than on any other length, because there’s so little hair that product distribution errors become immediately visible.
Work with hair that’s been washed, conditioned, and blow-dried about 80% of the way — not soaking wet, not perfectly dry. That slightly-damp-but-mostly-set texture is what gives product something to grip. If your hair is completely dry when you start, mist it lightly with water and give it sixty seconds to absorb before you touch anything else.
Apply your texturizing spray now — not later. One or two pumps, distributed from root to end with your fingers, not a brush. On short hair a brush over-smooths at this stage, and you actually want some grip in the texture before the iron goes near it. Work the product in with a scrunching motion rather than raking it through.
Mistake I made: I used my usual volumizing mousse on short hair the first time I tried this. Mousse is great for shoulder-length cuts but on jaw-length hair it made everything stiff and sticky before I even touched the iron. The ends were practically immovable. Switch to texturizing spray — it’s lighter, it plays nicer with heat, and it doesn’t set until you want it to.
Step 2: Section Smaller Than You Think
This is where most people go wrong on short hair. They try to style it in sections that would make sense on a lob or a long cut — big sweeping chunks — and then wonder why the result looks choppy or undefined.
On hair that’s chin-length or shorter, your sections should be no wider than one inch. Honestly, three-quarter inch is better. I know that sounds tediously small, but those thin sections are what let the heat fully penetrate and create a shape that actually holds. Thick sections on short hair get partially styled on the outside and completely unstyled at the core — which is why the style collapses by noon.
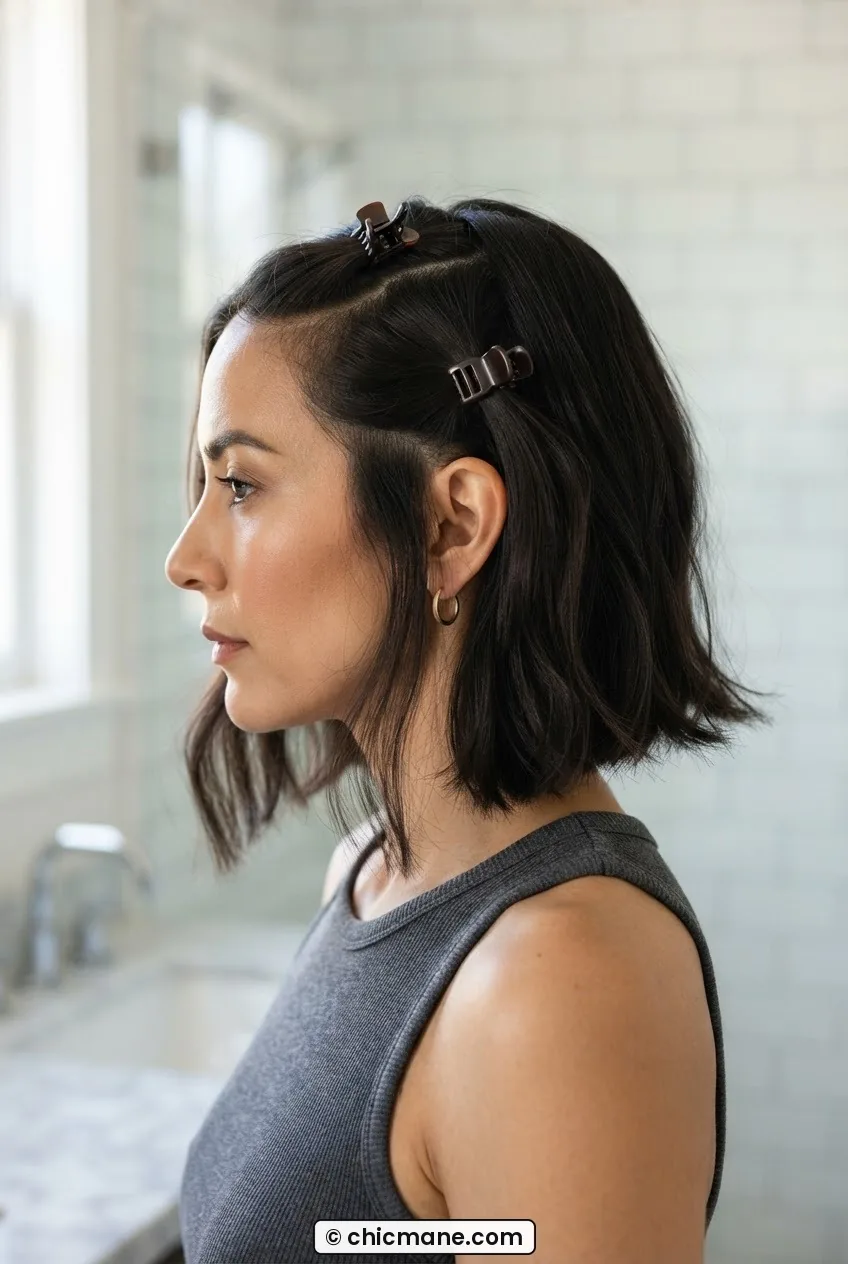
Use your sectioning comb to divide the hair into three zones: the back section (from the crown down), the right side (from your ear forward), and the left side. Clip up the back and one side so you can work one section at a time. Jaw clips are better than elastics here — they don’t crease already-short hair.
Step 3: Create the Anchor Point
Before any styling, you need your anchor point — the place where the style is “held” in the back. This is the defining structural moment of the whole look.
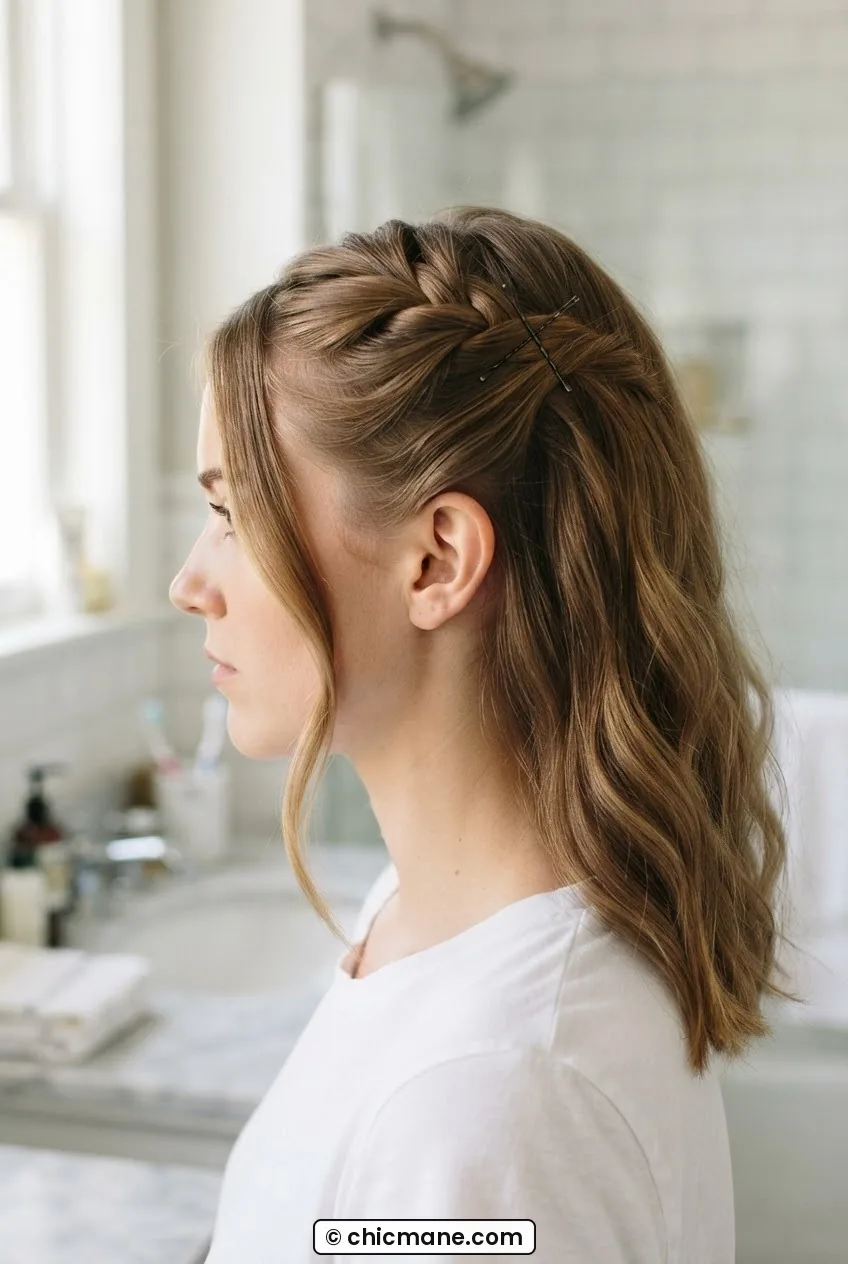
Take a one-inch-wide section from the crown area (right at the top-back of your head) and loosely twist it toward the nape, keeping the twist flat against your skull. Pin it using two bobby pins in a crossed pattern — one going left, one going right, so they lock against each other. This cross-pin technique is everything on short hair because you don’t have the weight of long hair to keep pins in place. A single bobby pin will slide on short hair within twenty minutes, every time.
Leave one or two pieces loose at the front on your dominant side — these become the intentional face-framing element later. Don’t try to pin everything back. Short hair that’s pinned back too tightly just looks severe and unfinished, not styled.
If you want more pinned hairstyle inspiration adapted for shorter lengths, the roundup of five-minute open hairstyle options has some genuinely clever ideas you can pull from even at this length.
Step 4: Build the Texture
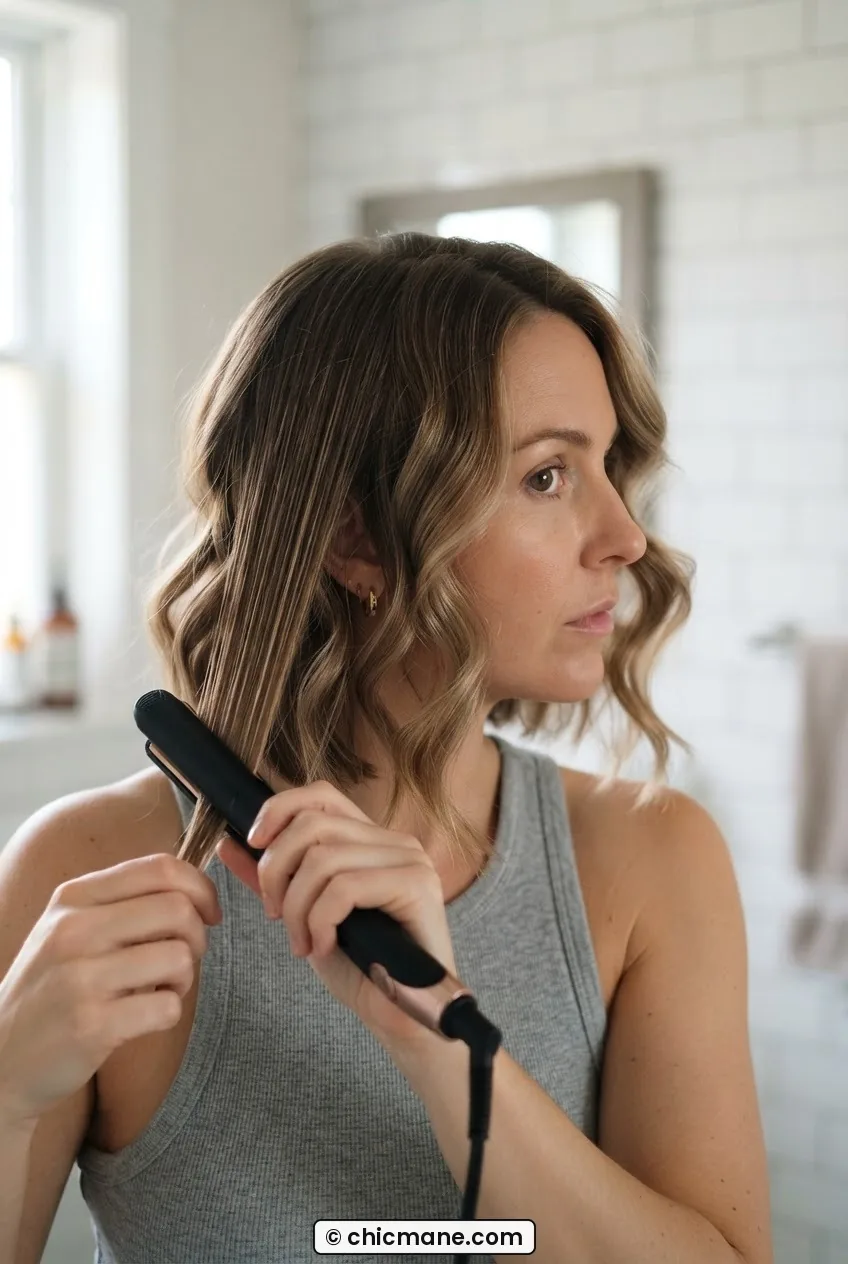
Now the iron goes in. Starting with the back section (remember, still clipped up), take your first one-inch sub-section and wrap it around your barrel or work it through your flat iron in a slow S-curve motion. Hold for three seconds. Release. Move to the next sub-section.
The goal here is a soft wave, not a tight curl. On short hair, tight curls can read as a perm rather than a styled look, and they’re also much harder to relax once you’ve set them. For this style you want waves that look almost accidental — like your hair just does this naturally. That’s achieved by keeping the barrel angle lower than usual and not holding the iron in place for more than three or four seconds per section.
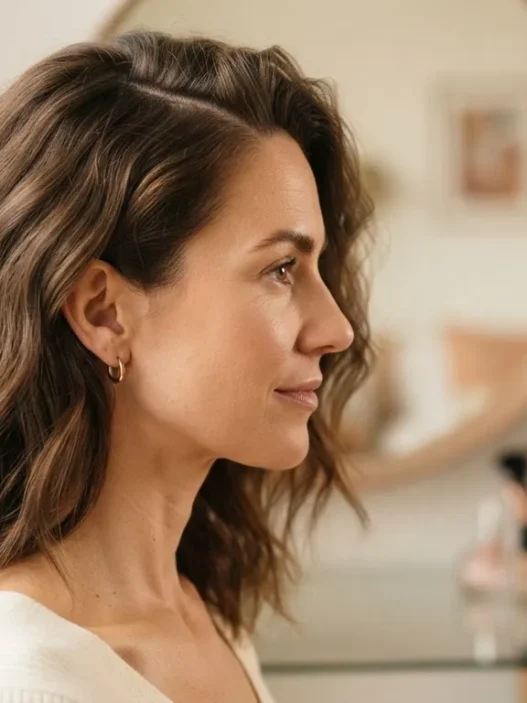
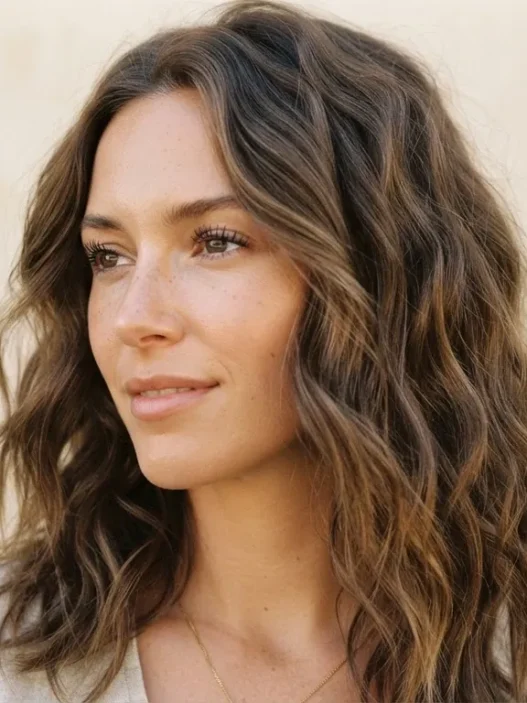
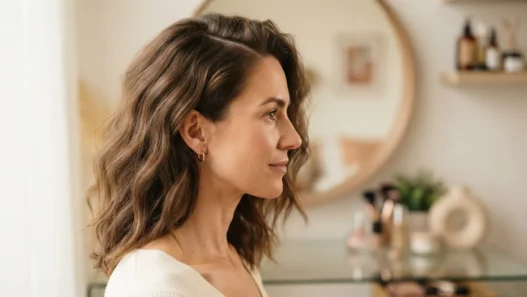
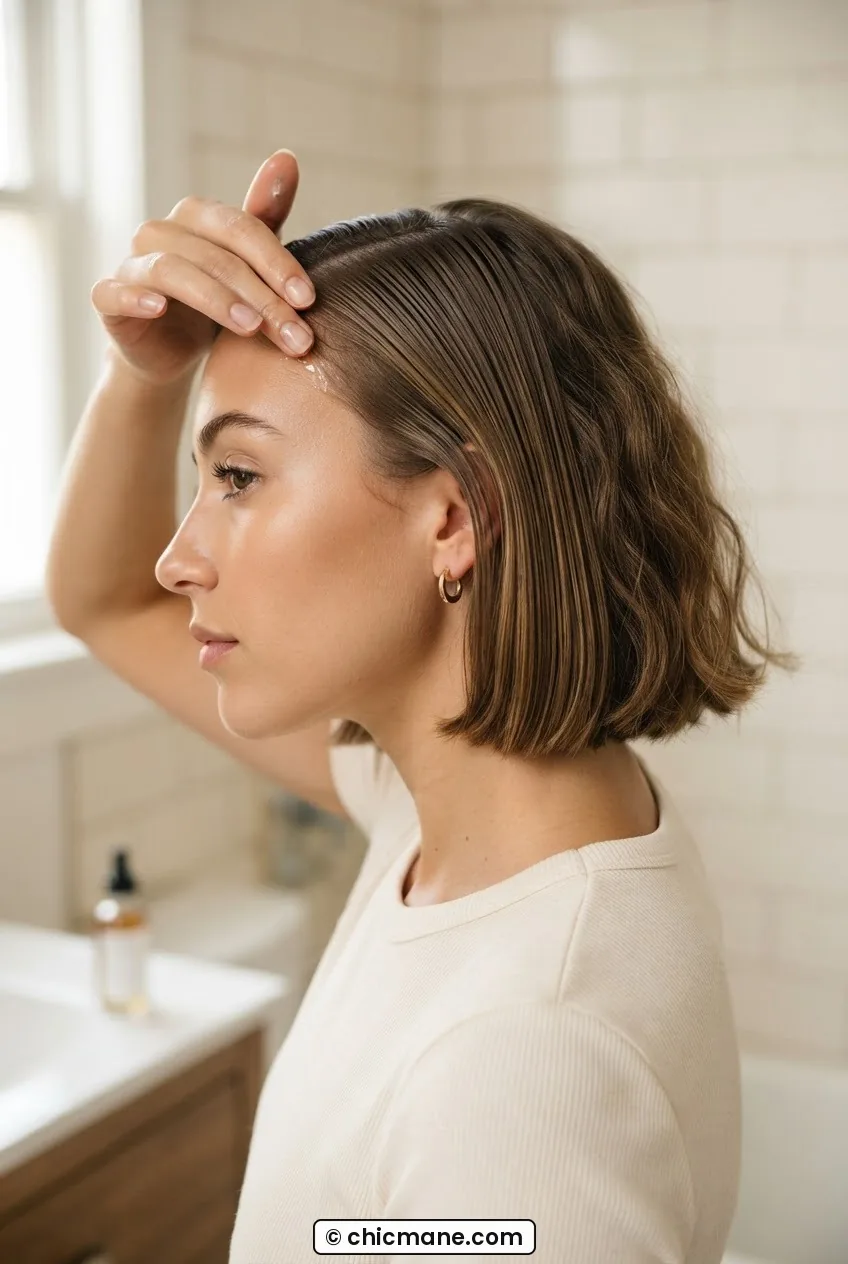
Work section by section from the back, then release one side, wave it, re-clip, then the other. Always curl away from your face on the sides — this creates that swept, open look rather than closing your features in. Look at how her waves open outward in the photo here — the direction makes a significant difference on short hair because the ends land right at the jawline where everyone can see them.
See the Wave Technique Up Close
Step 5: Secure Without Bulk
The grip problem on short hair is real, and securing a style without making it look stiff or overworked is probably the trickiest part of this whole process. Here’s what I learned: less is always more, and placement beats quantity.
Go back to your anchor point from Step 3 and check that the crossed pins are flush against your head. If any ends are sticking up or the twist looks lumpy, add one more pin — but only one. Piling in too many pins on short hair creates a visible ridge under the hair, which looks messy rather than styled.
For the sides, if any sections near your ears feel loose or won’t stay curved, use a single fine bobby pin hidden behind each ear, going horizontally along the hairline. This is an invisible trick that holds the side waves in place without any visible hardware. Learning the right techniques for hiding pins in short hair will genuinely change how long your styles last.
Do not use elastics on any part of this style — even a tiny clear elastic creates a crease in short hair that is impossible to disguise without re-ironing that section.
Step 6: Tame the Perimeter
The perimeter is the hairline — the little hairs around your ears, your nape, your temple. On short hair, these are painfully visible because there’s nothing else to hide them. This step is the difference between a style that looks intentional and one that looks like you almost got there.
Take one or two drops of your finishing serum or lightweight oil and rub it between your palms until it’s barely there. Then use your fingertips — not your palms — to lightly smooth down the perimeter hairs in the direction of the style. Along the temples, sweep backward. At the nape, sweep down and slightly under.
Those loose face-framing pieces you left in Step 3? Give them one light pass with the iron now to create a gentle wave, then let them fall forward naturally. Don’t over-direct them. Short hair has a mind of its own and fighting it creates a stiff, unnatural look — the goal is to guide, not control.
Step 7: Set and Finish
You’re almost there. Hold your flexible-hold hairspray about ten inches from your head — further away than you’d expect — and mist the entire style in one smooth arc. Don’t stay in one spot. Don’t saturate. Short hair only needs a light veil of hold spray, not a coat of armor.
Wait fifteen seconds for the spray to set, then use just your fingertips to gently separate any sections that look too uniform or stuck together. Short hair styles easy to maintain throughout the day are the ones that have been given a little movement at the end — a single pass of stiff spray with no finger-separation afterward leaves the style looking like a helmet.
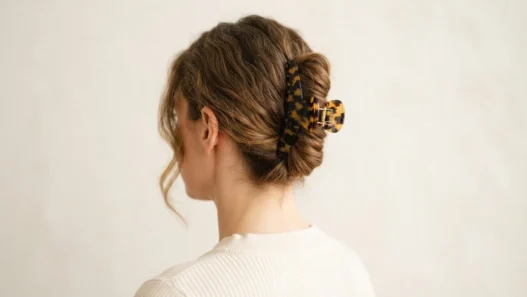
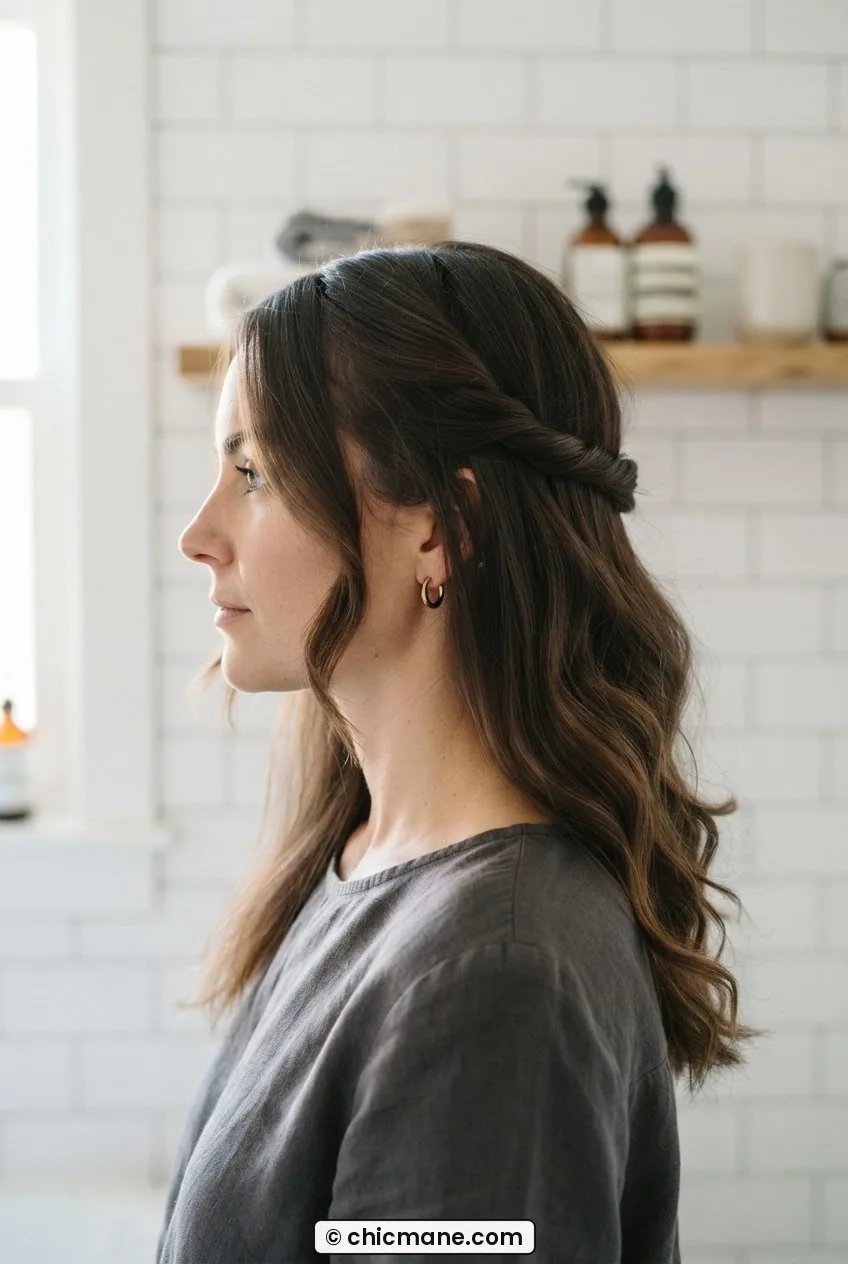
Step back and look at the full silhouette. The back should be smooth with the subtle crown twist visible, the sides should have soft open waves moving away from the face, and the face-framing pieces should fall naturally at the cheekbone or jawline. She’s got it exactly right in this photo — notice how the finished half looks relaxed rather than sprayed-into-submission, while the unstyled side shows you just how much the technique changes the overall shape.
For more ideas on how to push styles at different lengths, the 14 hairstyles from crop to waist guide gives great visual context for where your cut sits in the range of options — and what becomes possible as you grow it out.
The Minimum Length Honest Talk
I want to be straight with you here, because I hate tutorials that promise miracles. This specific technique — the textured half-twist with pinned crown — requires a minimum of about two and a half inches of length at the crown. That’s the minimum for the cross-pin to have anything to grip.
If you have a pixie cut that’s under two inches at the top, the anchor section won’t hold, no matter how many pins you use. For that length, the right approach is texture-only styling — no pinning, just defined waves and perimeter control. That’s a different tutorial.
For the sides and front, you need at least one and a half inches for the wave to form and be visible. Below that, the iron has nothing to work with and the result is just slightly frizzy short hair rather than a wave. I’m not saying any of this to discourage you — I’m saying it because knowing your actual length constraint saves you twenty minutes of frustration.
If you’re in the medium-length zone and wondering what other style options open up, the hair styles for medium length guide covers that territory really thoroughly. And if you’re specifically working with a bob-length cut and want to understand what structure you’re actually working with, the short bob styling guide is worth reading alongside this one. You can also look at the half-up styles category for more pinned and twisted looks adapted to shorter lengths — there’s a lot more there than you’d expect.
The good news? If you’re sitting at exactly the minimum — two and a half inches at the crown, one and a half on the sides — this technique still works. It just requires more patience with the sectioning and a lighter hand on the product. You can learn the fundamentals of styling short bobs at home to get a solid foundation before you add this technique on top.
Quick Answers
Can I do this style on fine short hair?
Yes, but go even lighter on the texturizing spray — fine hair gets weighed down faster than thick hair, and a heavy product application will make it look flat rather than textured. Use one pump of spray maximum and skip the oil in Step 6, substituting a tiny amount of lightweight powder instead for hold without weight.
How long does this style stay in place?
With the cross-pin anchor and flexible-hold spray, I get a solid six to eight hours before it needs any refreshing. The crown twist holds longer than you’d expect — the two-pin cross method is genuinely more secure than it looks. A quick mist of spray and finger-fluff at midday extends it another few hours if needed.
What if my bobby pins keep slipping out?
Two fixes: first, rough up your bobby pins slightly by opening and closing them a few times before use — this creates micro-texture on the surface that grips better. Second, insert them with the wavy side down against your scalp rather than the smooth side. Most people do it backwards. The wavy side is designed to grip, and on short hair that grip is what keeps everything in place.
Can I do this without heat tools?
The crown anchor section works completely without heat — that’s just pinning and twisting. For the wave texture through the body of the hair, you can get a softer version by scrunching the hair with texturizing spray while it’s slightly damp and letting it air dry. It won’t be as defined as the iron version, but it works well on naturally wavy hair and is a genuinely decent no-heat option.
Does this work on thick short hair?
It does, but thick hair needs smaller sections than I described — go down to half-inch sub-sections at Step 4 and take your time with each one. Thick hair also holds a wave longer once you set it, so you can afford to use the iron at a slightly lower temperature without losing definition. The bigger challenge with thick short hair is the perimeter in Step 6 — you may need a stronger smoothing serum to keep the nape and temple hairs tamed.
When I finally got this right — about two and a half weeks into testing — I stood in my bathroom genuinely shocked at how polished it looked. Not polished in a formal, trying-too-hard way. Just done. Like someone who has their hair figured out. That’s the version of easy short hair styles I was looking for all along, and if you follow these seven steps in order, you’ll get exactly that result. The length that felt like a limitation turns out to be the whole point.