







I started braiding my own hair at fourteen, standing in front of a foggy bathroom mirror, completely convinced I had ruined it for the day. Spoiler: I had. But eventually something clicked — and when it did, everything else started clicking faster. The thing nobody tells you is that braiding is less about talent and more about learning ONE new hand movement at a time. Each style on this list builds on the last, so if you work through them in order, you’ll go from fumbling with a three-strand to pulling off a full stacked crown faster than you’d expect. I promise that’s not an exaggeration.
Your Braid Ladder — Jump to Any Rung
1. The Three-Strand Side Braid (Easiest)
Start here. No, really — even if you think you already know this one, practice it until you can do it without looking at your hands. That’s the whole unlock. The three-strand side braid is the foundation every single style below is built on, and if you can feel the rhythm blind, everything harder becomes dramatically easier. Sweep all your hair to one shoulder, split into three sections of roughly equal weight, and alternate: right over center, left over center, right over center. That’s it. The secret move to master is even tension — keeping each section pulled to the same tightness as you go.
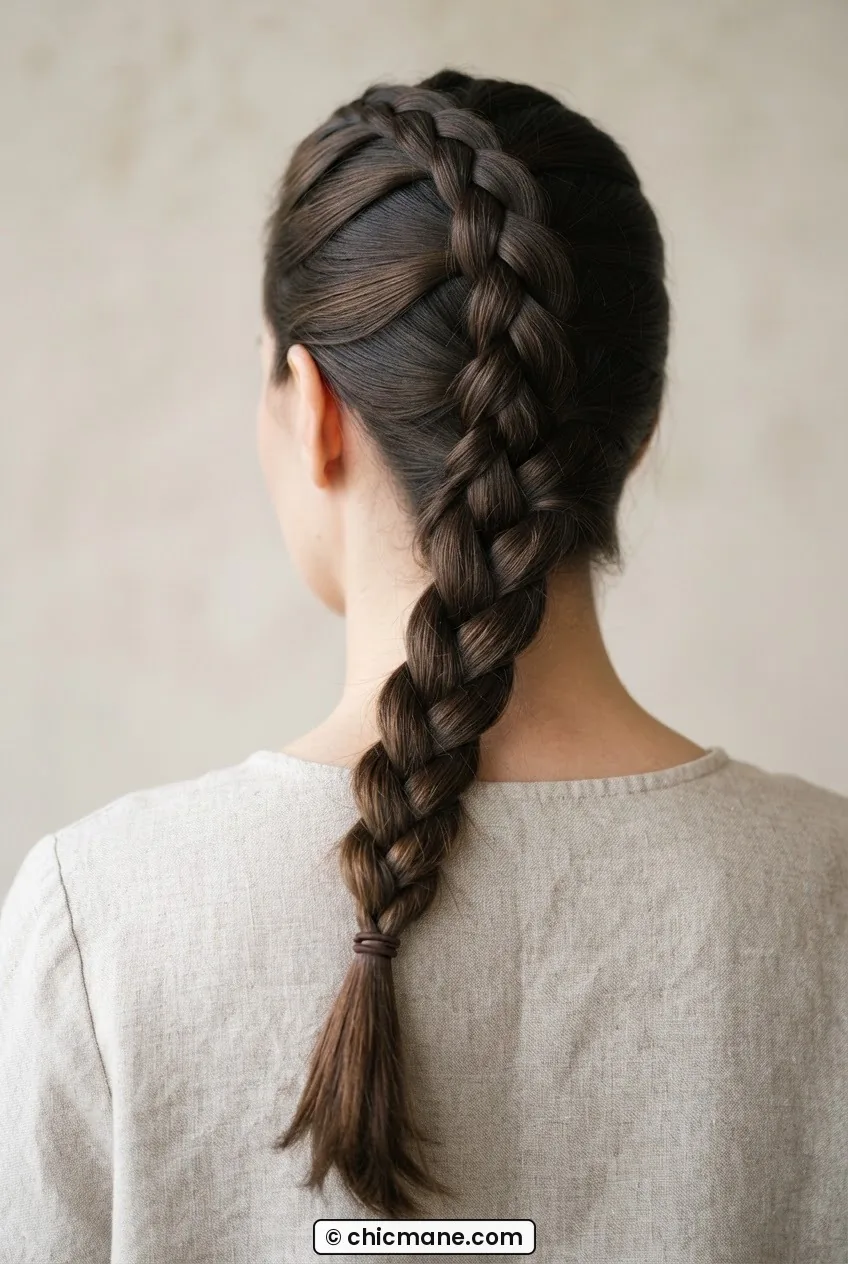
If you want to see how a relaxed, undone three-strand looks at various lengths, the 14 hairstyles from crop to waist roundup actually shows it beautifully across several different lengths. Worth a look before you commit to where you part yours.
2. The Basic French Braid
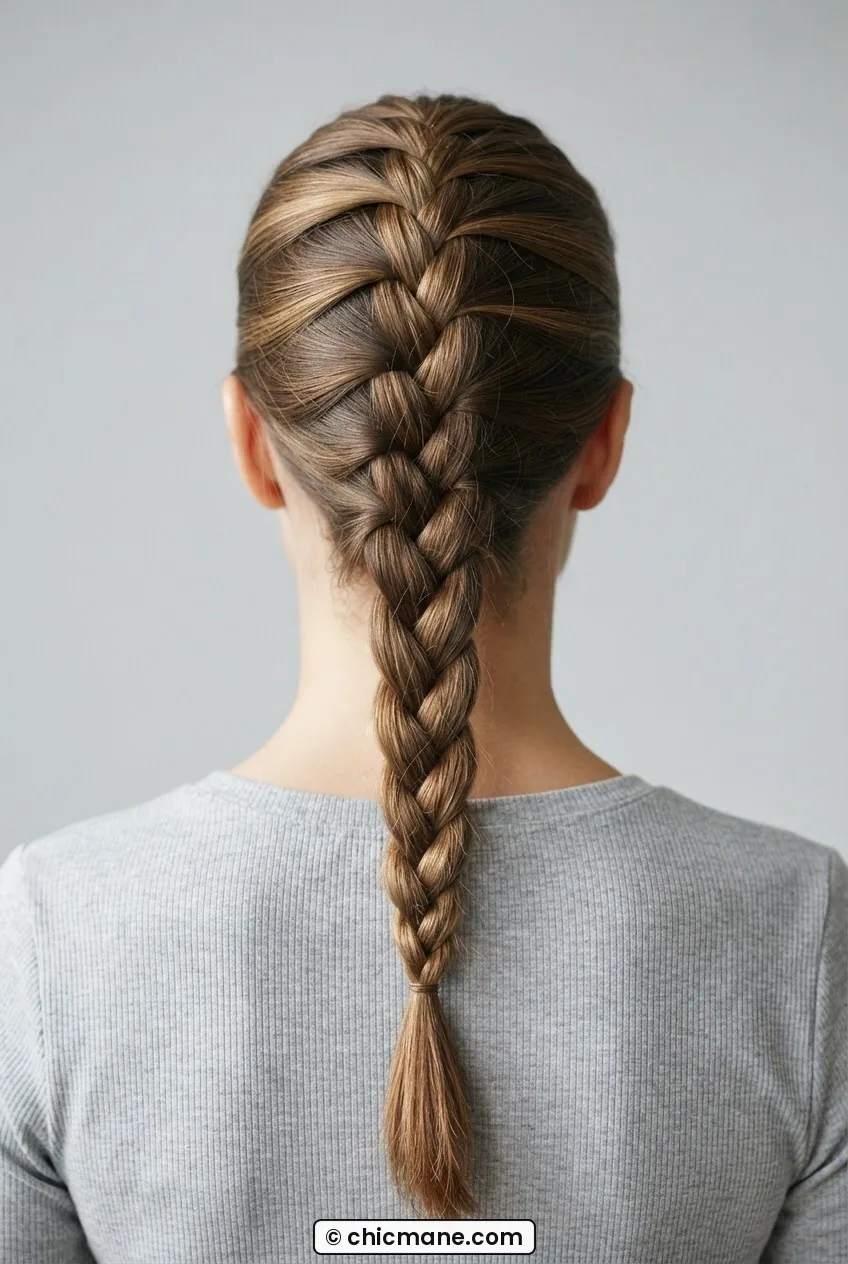
Here’s where people get scared. They shouldn’t be. The French braid is just the three-strand — with one extra instruction: every time the side strand crosses to the center, pick up a thin strip of loose hair from the scalp and add it in. That’s the only new movement. One. Grabbing that strip cleanly and adding it without dropping the other two sections is the coordination challenge, and it usually takes about three attempts before your hands get it. I remember my third try feeling like some kind of miracle. Don’t rush the pickups — clean partings make the braid look much more polished than tight tension does.
3. The Classic Dutch Braid
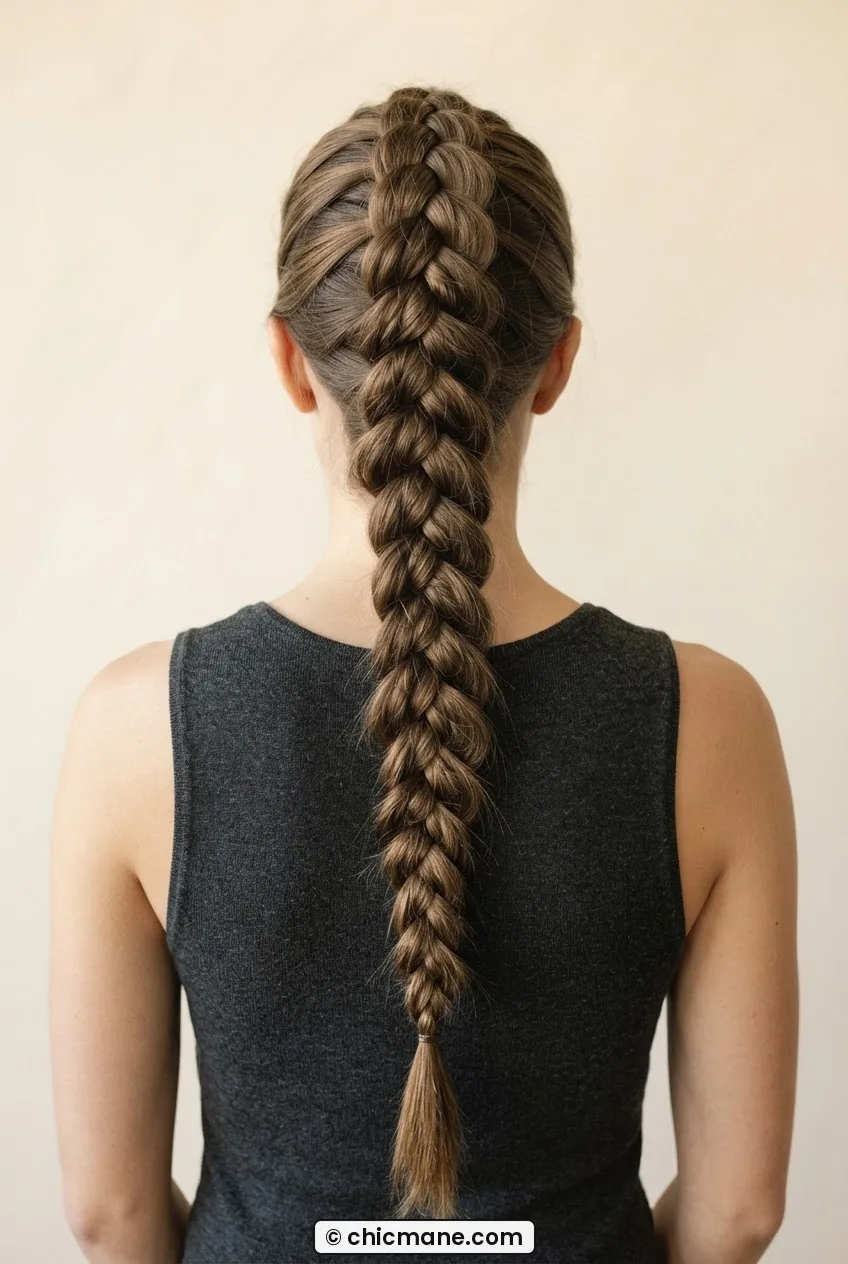
French braid but inverted. Instead of crossing strands over the center, you cross them under. That single direction flip makes the braid pop outward instead of sitting flat against the head — giving you that raised, 3D look that photographs stunningly. The new movement here is re-training your hands to go under when every instinct says over. Muscle memory fights you for about five minutes. Then it just… works. She’s wearing a double Dutch in the photo below and look at how defined those ridges are — that’s exactly what going under achieves.
4. The Rope Braid
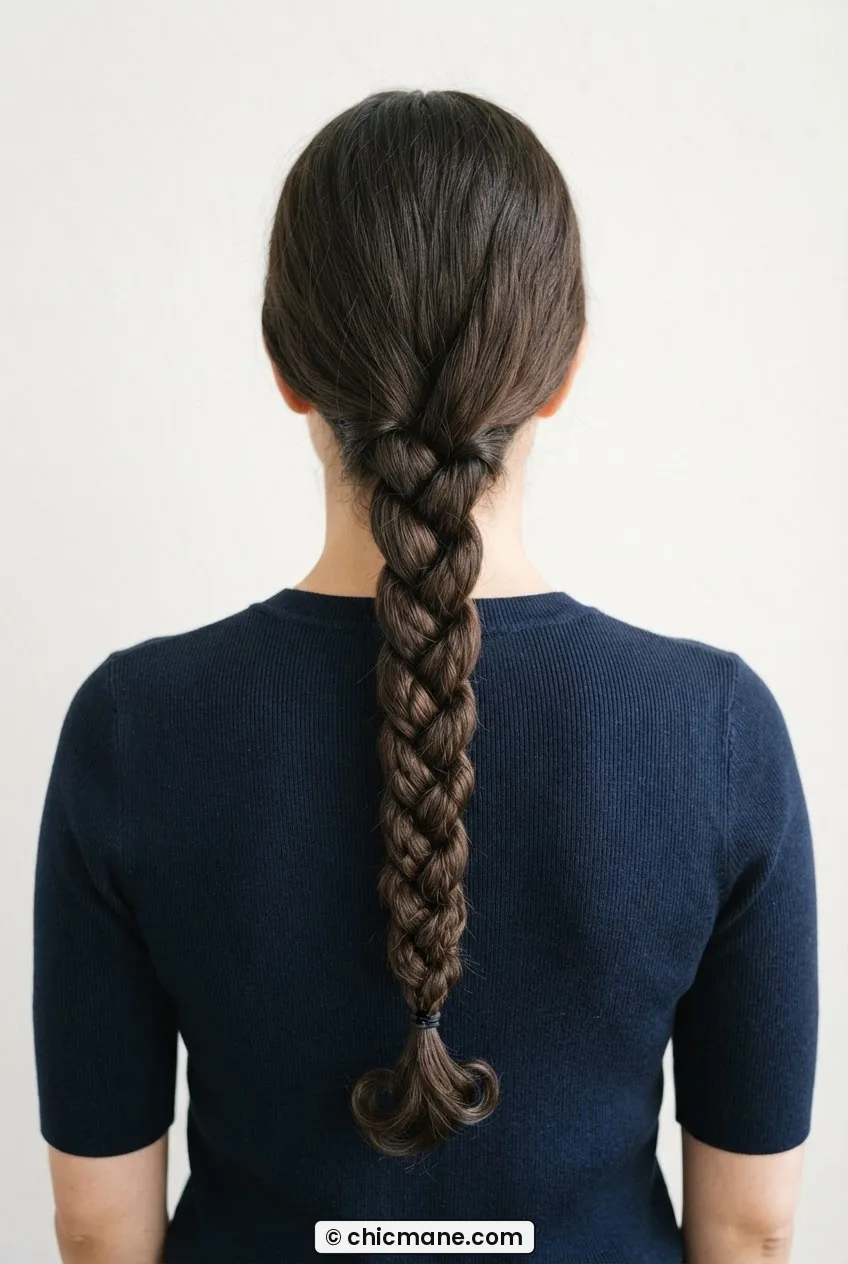
This one looks hard and is absolutely not. I’m flagging it clearly: the rope braid is the deceiver on this list. It looks twisted and complex and intentional, but it involves only two sections (not three), and the technique is just twist-and-wrap. Divide hair into two equal sections. Twist each section clockwise, then wrap them around each other counter-clockwise. The opposing twist directions lock the sections together so it holds without needing any over-under pattern. It’s almost meditative once you get it. Great news for anyone who’s been scared off by the visual.
5. The Fishtail Braid
Still two sections — but now you’re pulling tiny strips from the outside of each section and crossing them to the opposite side. The new movement here is going thin. The thinner the strips, the more intricate and woven the finished braid looks. People consistently tell me their fishtails look sloppy, and almost every time the culprit is taking too-thick sections. Aim for strips no wider than a pencil. It takes longer, yes. But the result looks like you spent an afternoon on it when you really didn’t.
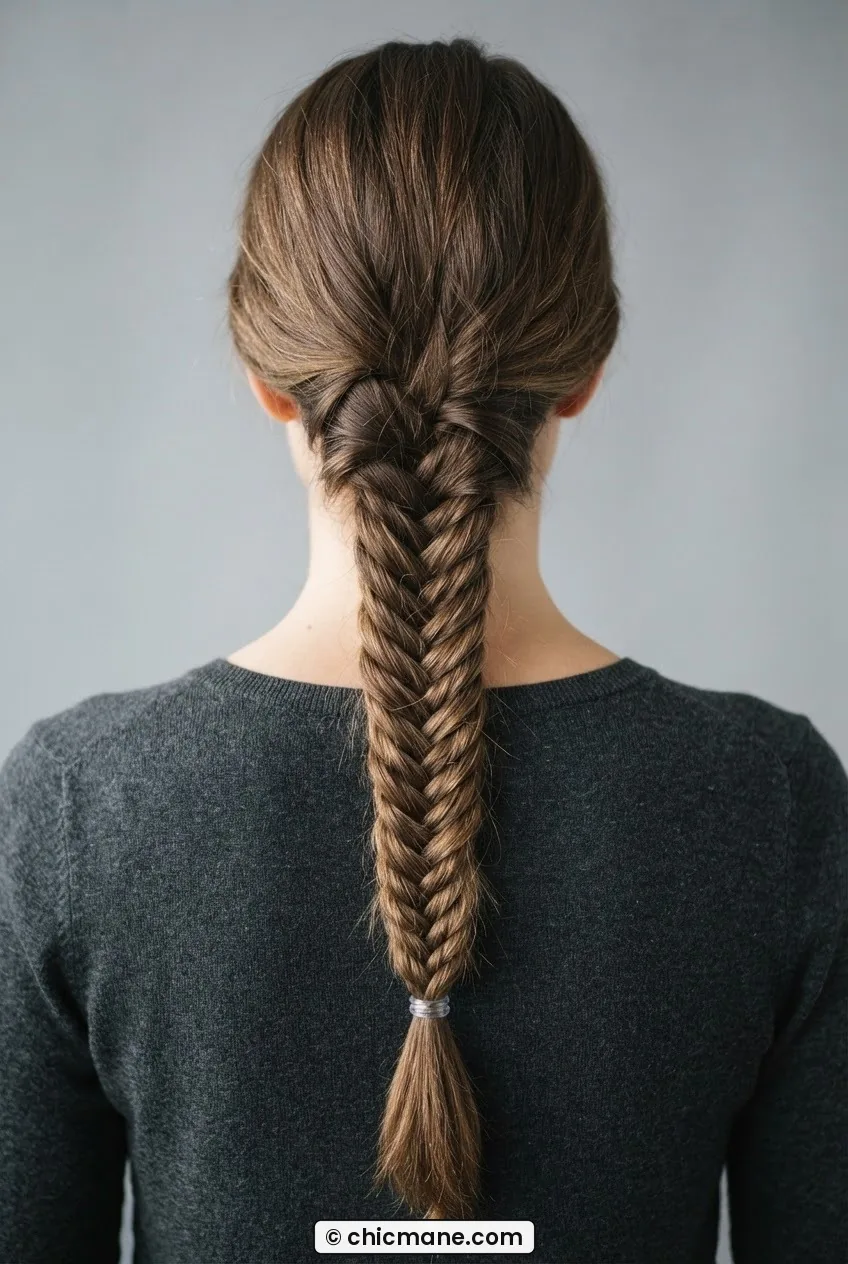
The fishtail is one of those styles that transitions beautifully from casual to polished, which is why stylists recommend it so often for the office — something I learned firsthand from reading about what my stylist told me about work hairstyles. A messy fishtail pulled to one side is genuinely office-appropriate.
My personal pick on this whole ladder is the fishtail — hands down. It’s the braid I reach for when I want to look like I tried without actually trying that hard. Once your hands learn the thin-strip rhythm, it almost braids itself. I’ve done it in the car (parked, obviously) more times than I should admit.
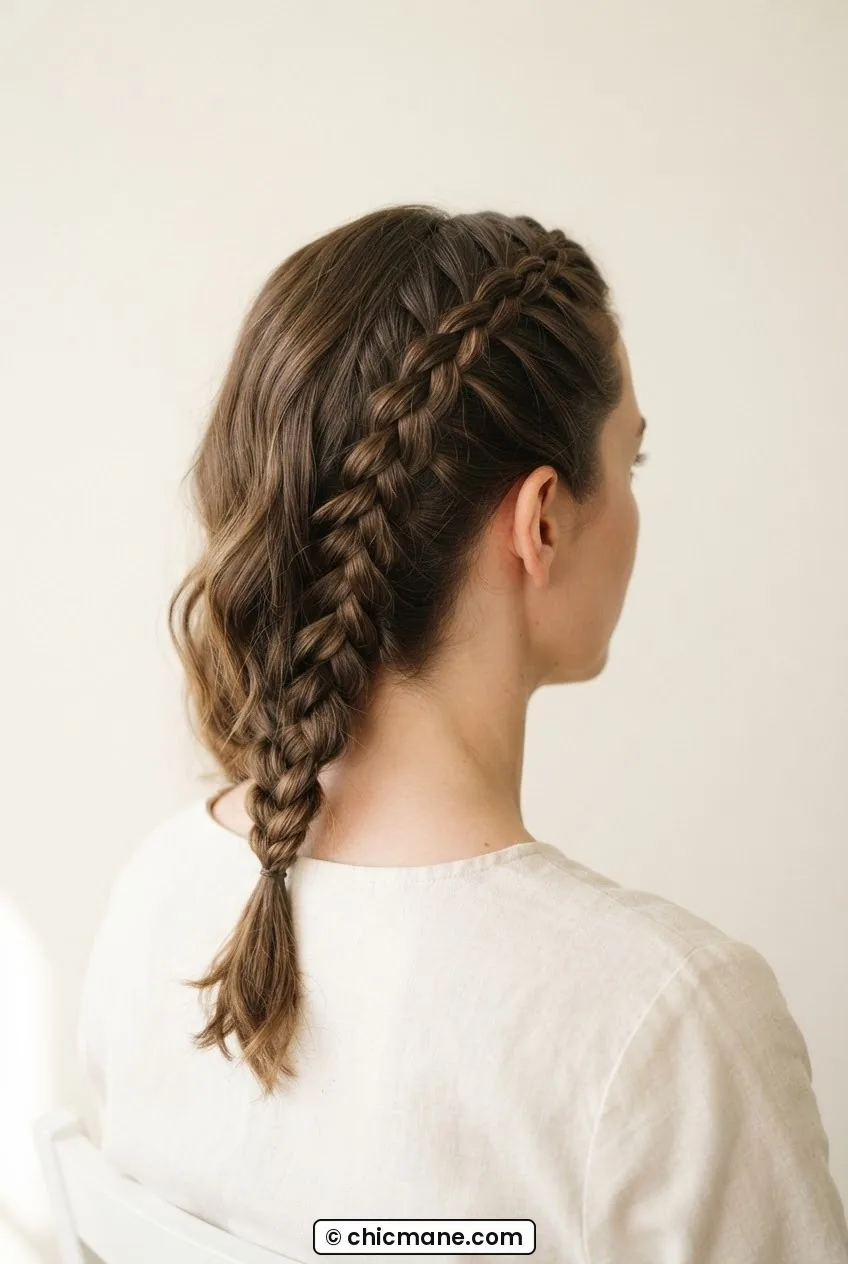
6. The Lace Braid
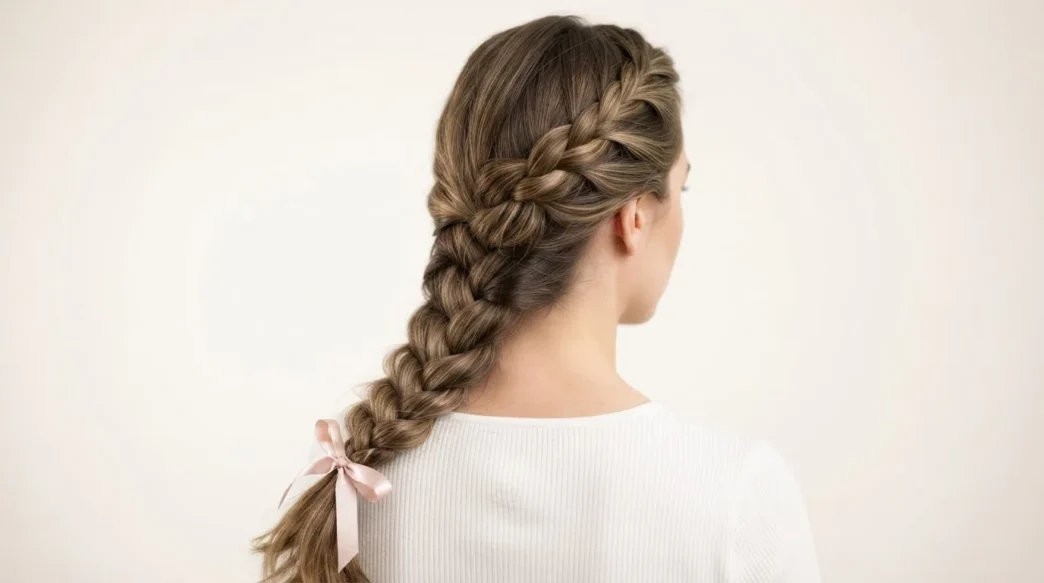
Think of the lace braid as the French braid’s more romantic, one-sided sibling. Instead of picking up hair from both sides as you go, you only add hair from one side — usually the top — leaving the other edge clean and loose. This creates an open, cascading edge that frames the face gorgeously. The movement to practice is the one-sided pickup: reaching over your working sections to grab cleanly from the scalp without disrupting the braid structure. It requires a bit more spatial awareness than the full French, but the payoff in terms of how it photographs is genuinely worth the extra practice.
7. The Waterfall Braid
Okay, this is the one everyone DMs me about. It looks impossibly elegant — strands of hair appearing to fall through the braid like water — and yes, it does require a new concept: dropping a section intentionally and replacing it. Instead of keeping all three strands all the way through, you drop the lower strand after each cross, pick up a fresh strip of hair from the section below, and continue. That dropped strand becomes the “waterfall” fall. The moment you understand that the falling strands are not mistakes but the whole point, everything suddenly makes sense. The waterfall braid technique is worth studying closely before your first attempt.
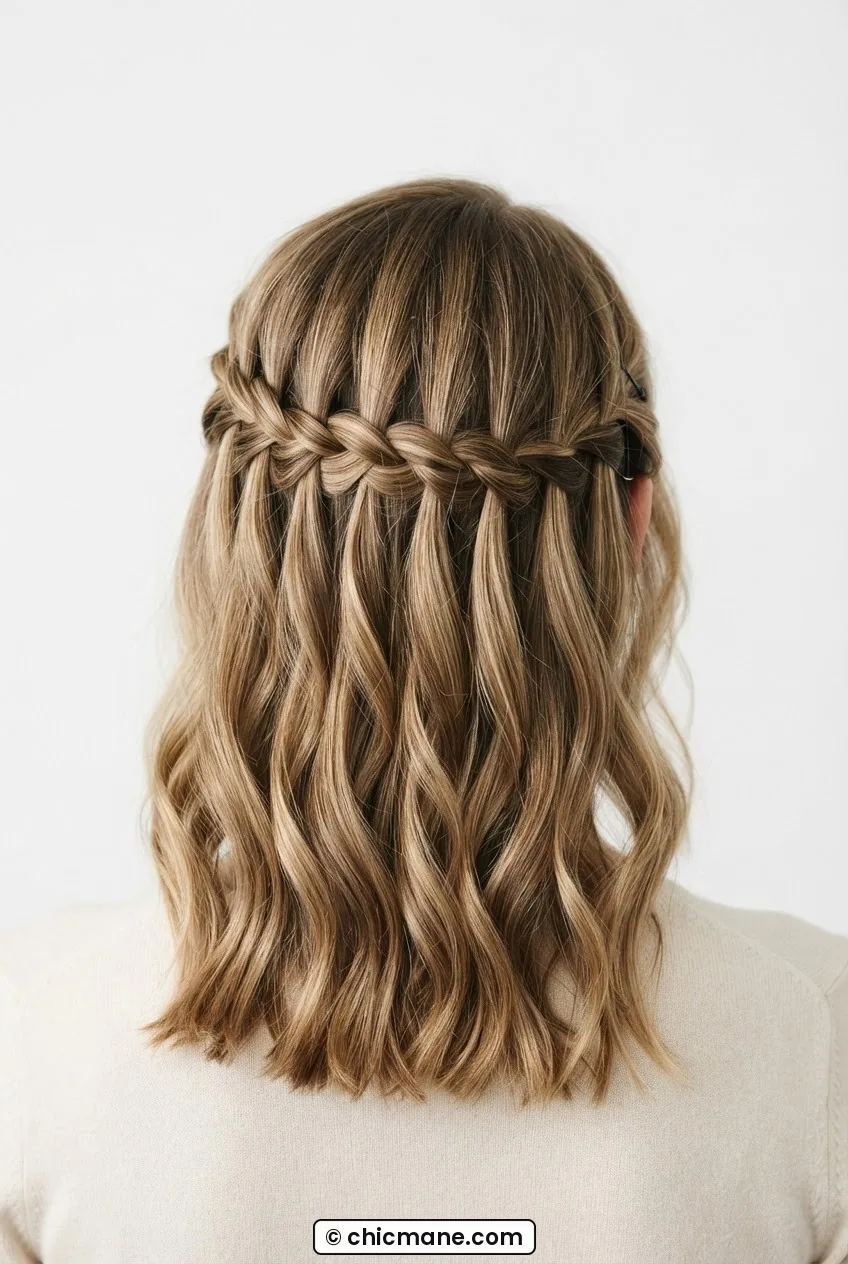
A Tutorial That Finally Made the Waterfall Click
8. The Infinity Braid
Not as well-known as it should be. The infinity braid uses four strands arranged in pairs, and the crossing pattern traces the shape of a figure-eight — hence the name. The new unlock here is managing four sections simultaneously without losing track of which pair is active. My trick: use two different hair ties in contrasting colors during practice to keep the pairs visually distinct. Once the pattern is memorized, ditch the ties. This one genuinely impresses people who know braids, because the finished texture is dense and almost geometric.
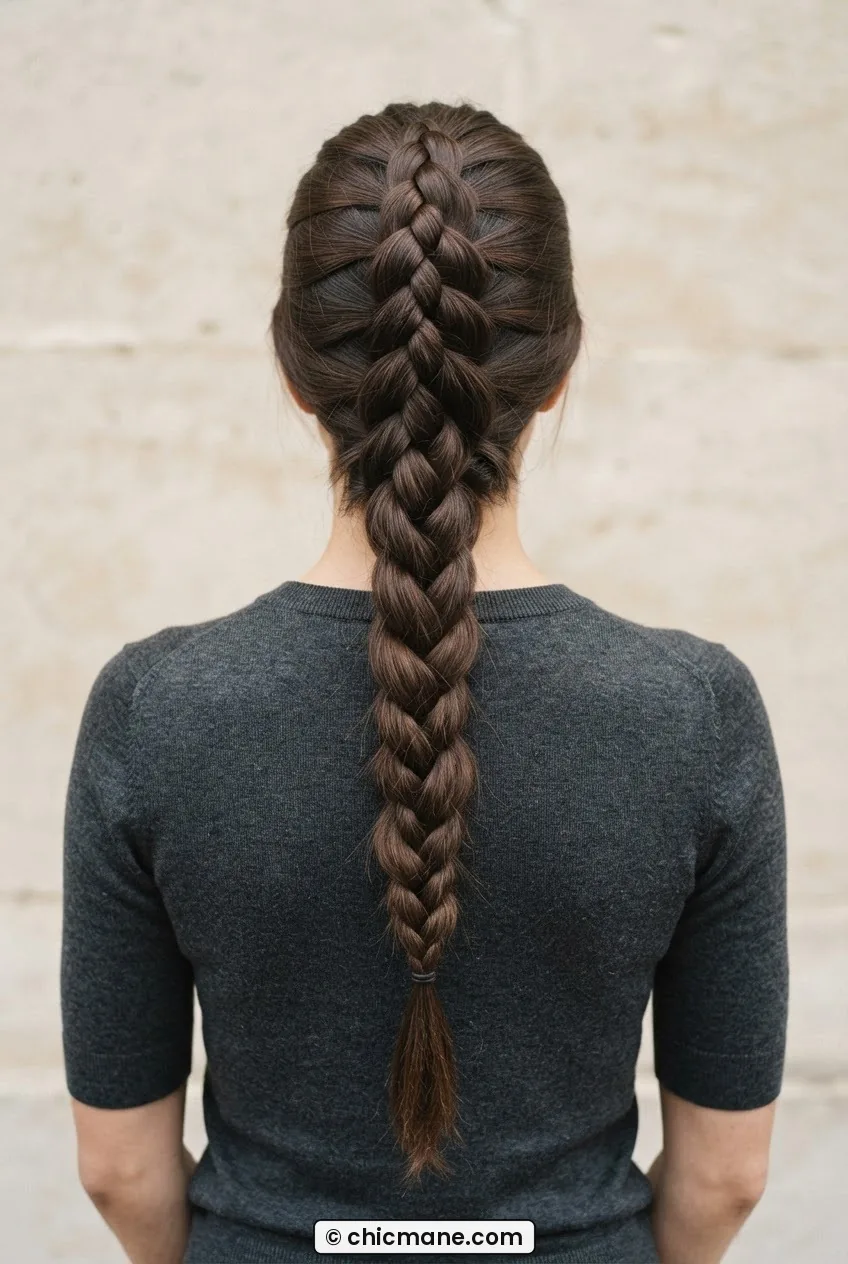
9. The Four-Strand Braid
Adding that fourth strand changes everything in the best way. The pattern produces a flat, ribbon-like braid with a woven center channel that looks wildly intricate. The movement to learn is the under-two-over-one pattern: the outer strand goes under two middle strands, then back over one. It sounds like a math problem, and honestly the first time I wrote it out on a sticky note and read it aloud while braiding. No shame. Four-strand braids are particularly stunning in thick hair where the width of each section shows the channel clearly. Learning to do four-strand braiding properly takes one or two focused practice sessions — not weeks.
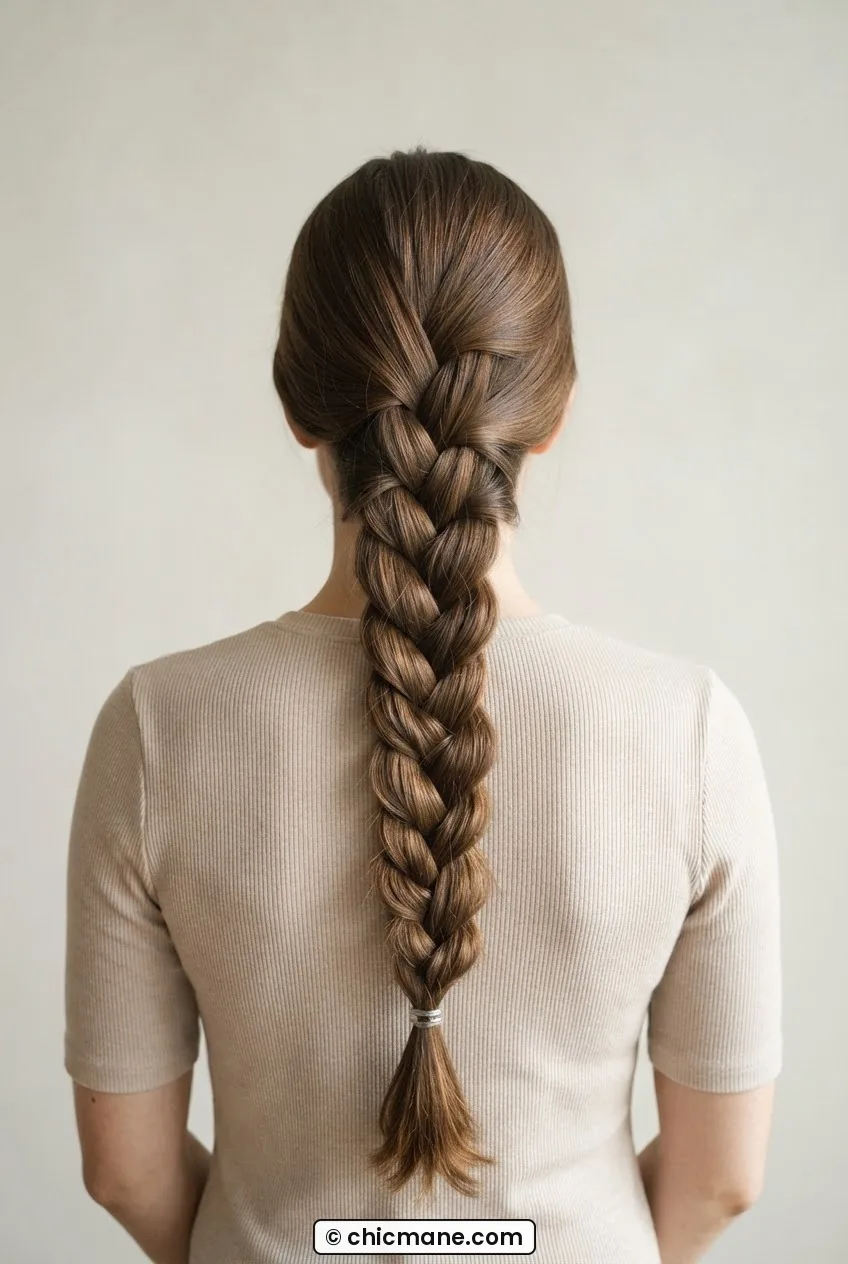
If you like the idea of wearing this kind of braid in a half-up situation, there are some brilliant combinations in the half-up styles collection that pair intricate braids with loose waves in a way that’s genuinely wearable every day.
10. The Stacked Milkmaid Crown
Everything you’ve practiced up to this point gets stacked here — literally. You’re creating two Dutch braids starting from each temple, then wrapping and pinning them across the crown of the head in opposite directions so they interlock at the top. The difficulty isn’t any single technique; it’s the spatial coordination of braiding away from your face while keeping the path clean, then positioning the finished braids so the join at the crown looks intentional and seamless rather than lumpy. This is where bobby pins become your best friends. Use more than you think you need.
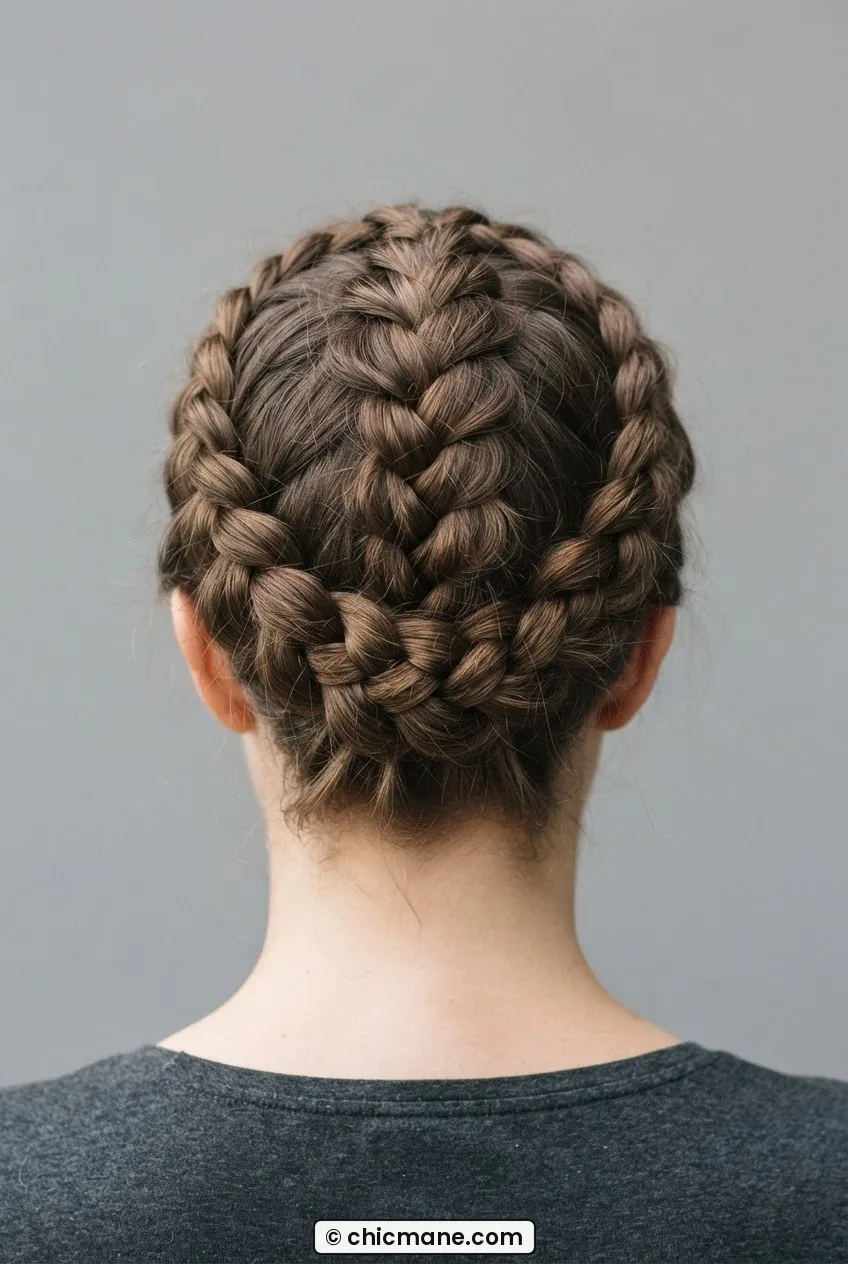
The milkmaid crown is one of those styles that’s evolved from old-school sporty to genuinely fashion-forward — a transformation that makes complete sense given how softball hairstyles got popular again in mainstream fashion. Crown braids were part of that whole revival.
11. The Goddess Box Braid (Hardest)
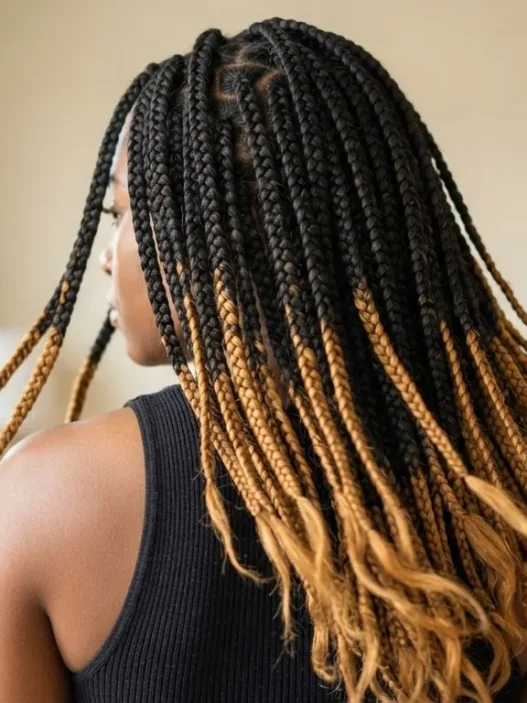
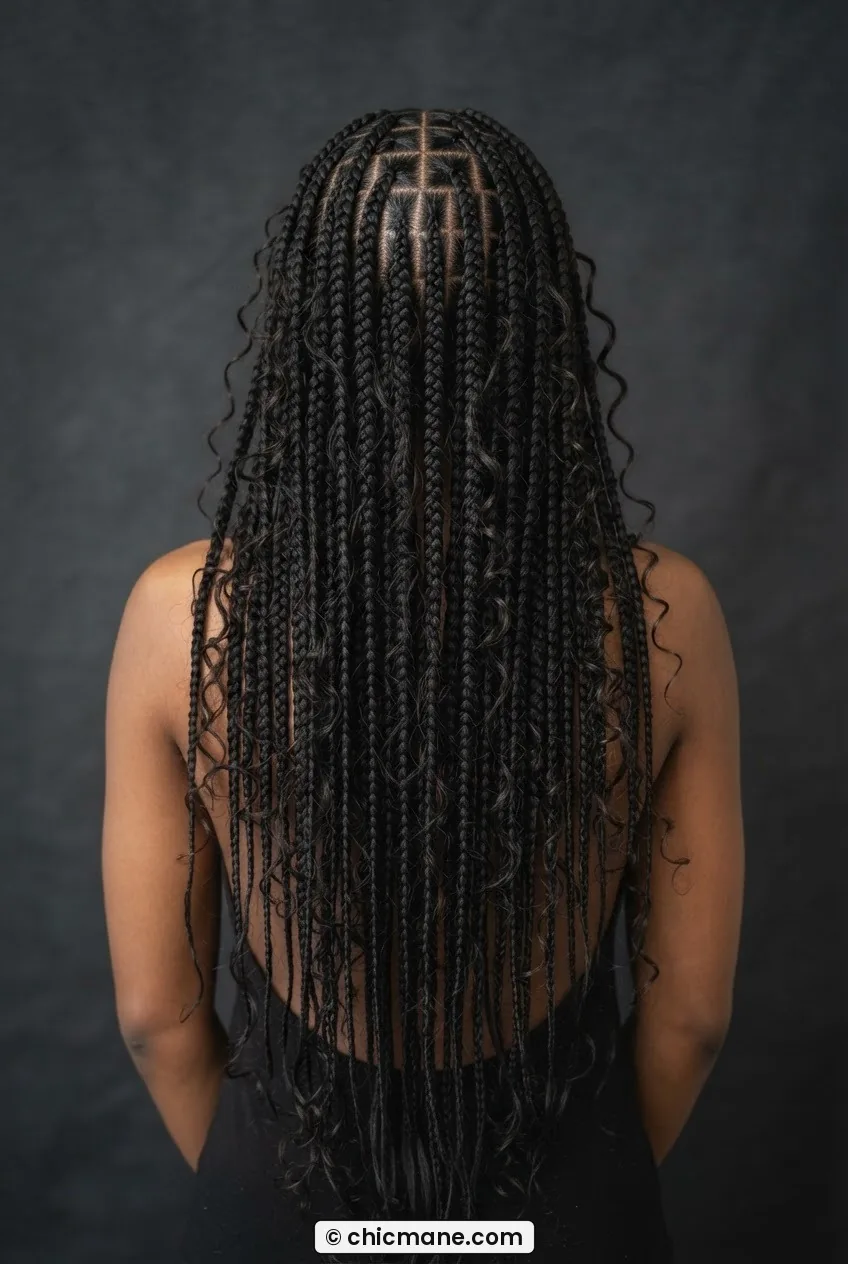
This is the top of the ladder, and it deserves the spot. Goddess box braids involve sectioning the entire head into neat, square-shaped partitions, then braiding each one — often with added hair for length and fullness — incorporating loose, curly strands fed in at intervals to create that soft, wispy goddess effect along the length. The complexity is multidimensional: precise sectioning, consistent tension across the entire head, managing added hair, and blending the loose curly pieces naturally into the braid pattern.
Look at her braids in the photo below — the way those loose strands float out from the body of each braid at different lengths is not an accident. Every single one was placed intentionally. This style also takes real time: plan for several hours at minimum, or visit a professional who specializes in protective braided styles. It’s worth understanding the box braid scalp care side of things before you commit, because proper maintenance genuinely affects how long they look great. But when it’s done well? Absolutely nothing compares. If you have the patience to get to rung eleven, you’ll earn every single compliment.
And if you’re figuring out how to wear your hair the day before you get goddess braids installed, the ten open hairstyles you can do in five minutes roundup is genuinely perfect for those lazy prep days.
Quick Answers
Do I need long hair to learn these braids?
Not for most of them. The three-strand, rope, and fishtail all work well at shoulder length. The French and Dutch braids ideally need enough length to create at least four to five crosses before you run out of hair to add — so chin-plus is a good working minimum. The milkmaid crown and goddess box braids genuinely do benefit from longer lengths, but the foundational styles on this list are very accessible to shorter hair.
What’s the best hair texture for learning braids?
Honestly? Slightly unwashed hair with a tiny bit of natural texture is the easiest to learn on — it grips itself and doesn’t slide around. Freshly washed silky hair is the hardest for beginners because sections escape constantly. If your hair is very fine or very slippery, a light texturizing spray before you start makes an enormous difference in how well sections hold.
How long does it take to get good at braiding?
Working through the first five rungs of this ladder, most people feel genuinely comfortable in about two to three weeks of regular (not obsessive) practice — maybe fifteen minutes every couple of days. The upper half of the list takes longer because the movements are more unfamiliar, but they still follow the same principle: isolate the one new movement per style, drill it until it’s automatic, then move on.
Can I skip rungs and jump straight to a harder style?
You can try, but I wouldn’t recommend it for the upper half of the list. The styles from 6 onwards assume your hands already know how to maintain tension while doing a secondary action — which is exactly what the lower rungs build. Skipping the lace braid before attempting the waterfall, for example, usually results in a lot of frustration that feels like failure when it’s really just missing prerequisites.
That’s the full ladder. Start at rung one even if you think you’re past it, enjoy the rope braid plot twist in the middle, and don’t rush the upper rungs — they pay off way more when your hands are actually ready for them. Drop a comment if you want me to go deeper on any single style here. I could genuinely talk about braids for an embarrassing amount of time.