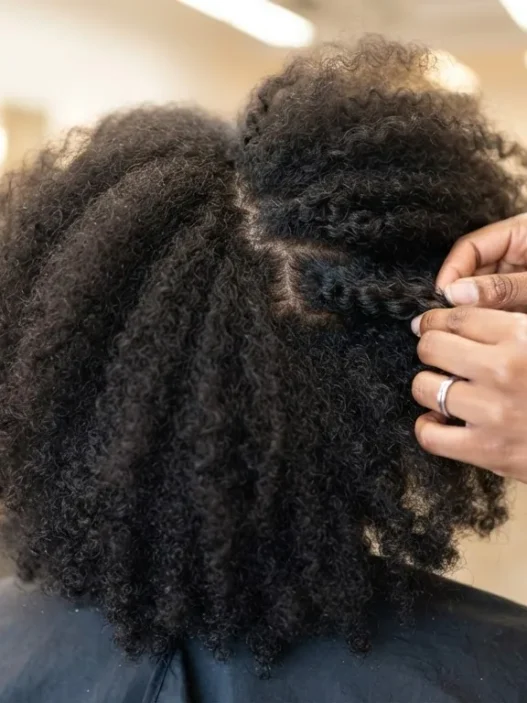












I used to think my twists looked fuzzy because I had the wrong cream. Nope. I spent a whole spring redoing my two-strand twists every four days, blaming products, blaming my hair, blaming humidity. Then a friend watched me twist once and said, you are strangling the root and babying the ends. She was right.
Once I stopped chasing the perfect product and started paying attention to my hands, everything changed. Tension is the invisible skill behind a clean twist. And it is learnable, I promise, because my hands were clueless at first too.

What You’ll Need
I like to keep this simple. You do not need a salon setup, just a few well-chosen things within arm’s reach so you never have to pause mid-section with a half-twisted piece drying out. I do mine sitting on the floor by the window, which sounds random but the light helps me actually see the root.
- A spray bottle with warm water plus a pea-size drop of leave-in mixed in
- A creamy, slightly tacky twisting butter or cream, not a slippery oil
- A light hold gel for the root only, if your texture slips easily
- A wide-tooth comb and a fine, metal-part tail comb
- Four small duckbill clips to park finished sections
- A hand mirror so you can check the back crown without craning
- Something to watch. I am serious. Calm hands twist better.
My hair is mid-density with a lot of curly hair shrinkage, so I work on damp, stretched hair. If yours is very fine, use less cream than you think. If it is super thick, work in smaller, half-inch sections. The tools stay the same, only the section size changes.
Step 1: Where Tension Comes From
Here is what nobody told me for years. Tension in a twist does not come from pulling hard. It comes from three small, steady things working together. Your anchor at the scalp, your finger pressure as you cross the strands, and the even stretch you keep on the hair shaft while you turn.
Think of it like holding a ribbon taut to curl it. You do not yank. You hold it firm and smooth so the scissors can do their work. My twists finally started looking clean when I held the base snug with my non-dominant hand and let my working fingers do the turning with a light, constant drag. The base holds, the hands move. That split job is everything.
I start on washed, conditioned, lightly damp hair. I mist one back section until it feels cool and pliable, not dripping. Then I rake a fingertip of cream from root to tip, and I mean really rake. I want every strand coated so my fingers glide instead of catching. Catching makes you squeeze harder without realizing it, and that is where wonky tension begins.
Part a clean, half-inch square. I comb the root smooth once, hold the section straight out from the head at about 90 degrees, clearly lifted and not flat to the scalp and not yanked straight up to the ceiling, then split it in two. That lift matters. If you start flat to the head, you will pull down to compensate. If you start straight up, you have already added extra pull before you even twist.
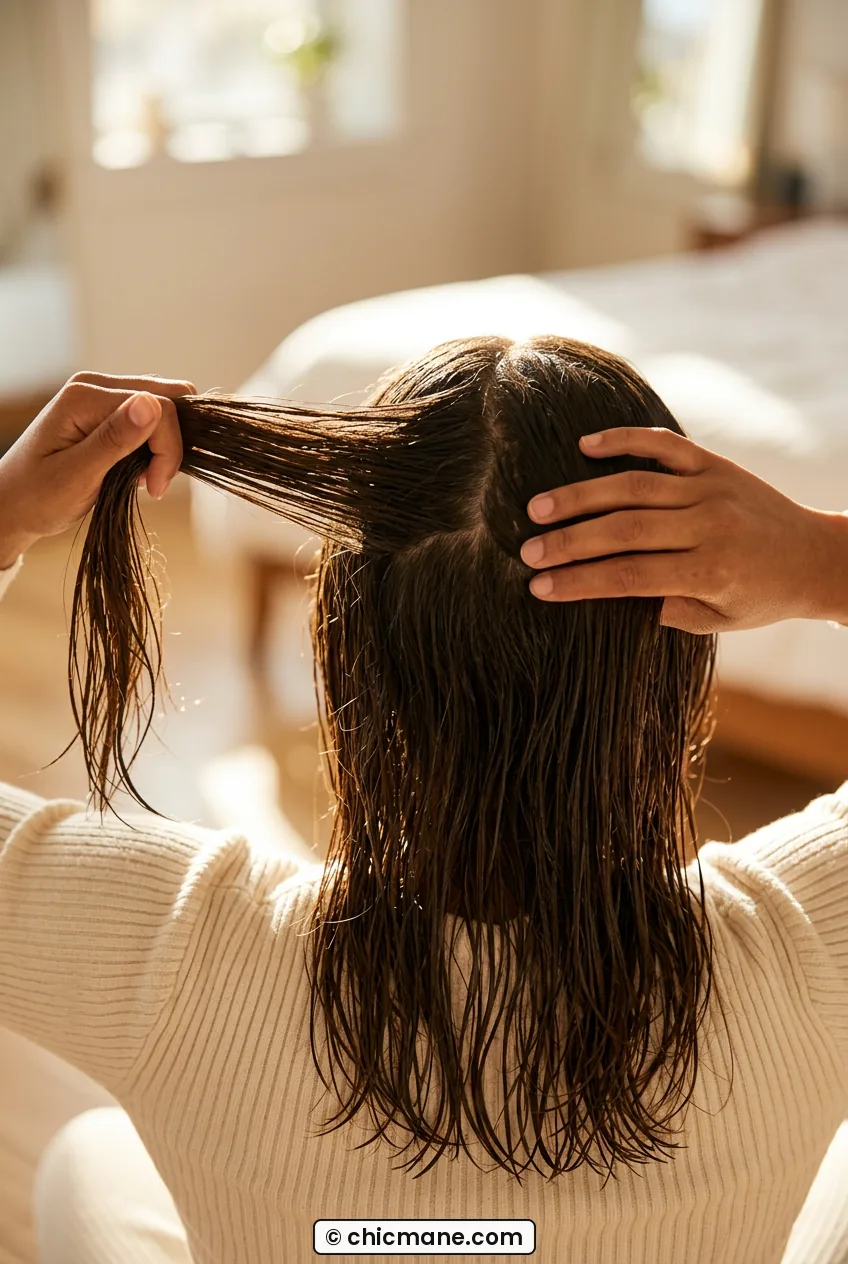
Look at how she is holding hers in the photo above, that lifted-out base with both strands visible before the first cross. That is exactly the starting position I mean. Her section is held out from the head at 90 degrees, clearly lifted and not flat and not vertical, and you can see daylight between the two legs. I copy that every time now.
For the first three turns, I keep my thumb and forefinger close to the scalp, about a quarter-inch away. I am not twisting the scalp hair itself. I am stabilizing it. I learned a lot about keeping that base smooth without over-pulling when I read up on flat-twist root control while I was practicing, because the same idea applies even if you are doing a hanging two-strand. Pinch, smooth, then start turning.
And here is my favorite test. After the first two crosses, let go for one second. Does the base stay? A good anchor will hold its shape softly. If it instantly unravels, you had no tension. If your scalp stings, you had too much. We are aiming for that quiet middle where it just sits there, neat and unbothered.
Step 2: Finding the Just-Right Pull
Okay, so what does correct tension actually feel like in your fingers? I describe it to friends as holding a ripe cherry tomato without denting it. Firm enough that it will not roll off your palm, soft enough that the skin stays smooth. When I tried this cue in the mirror last winter, my twists went from lumpy to almost salon-smooth in one head.
Physically, you should feel a gentle, even tug along the whole strand from root to tip. Not a pinch at the scalp. Not a loose wobble in the middle. I keep my wrists relaxed and my elbows tucked, and I twist with my fingertips, not my shoulders. When my shoulders creep up, I know I am muscling it. I drop them, shake out my hands, start again.
I twist down the length with a slow, two-beat rhythm. Cross right over left, then lightly smooth down the working strand with my pinky side before the next cross. That little smoothing pass keeps the cuticle flat and prevents those puffy air pockets that make a twist look tired by day three. It also keeps my speed consistent, and consistent speed equals consistent tension.
Halfway down I do a quick visual check. The twist pattern should look like a neat, closed rope with no gaps and no bulging. If I see a skinny spot next to a fat spot, I know my pulling hand sped up. I undo to just above the wobble, I do not keep going and hope it disappears, and I redo it slower. Going back two inches saves the whole piece.
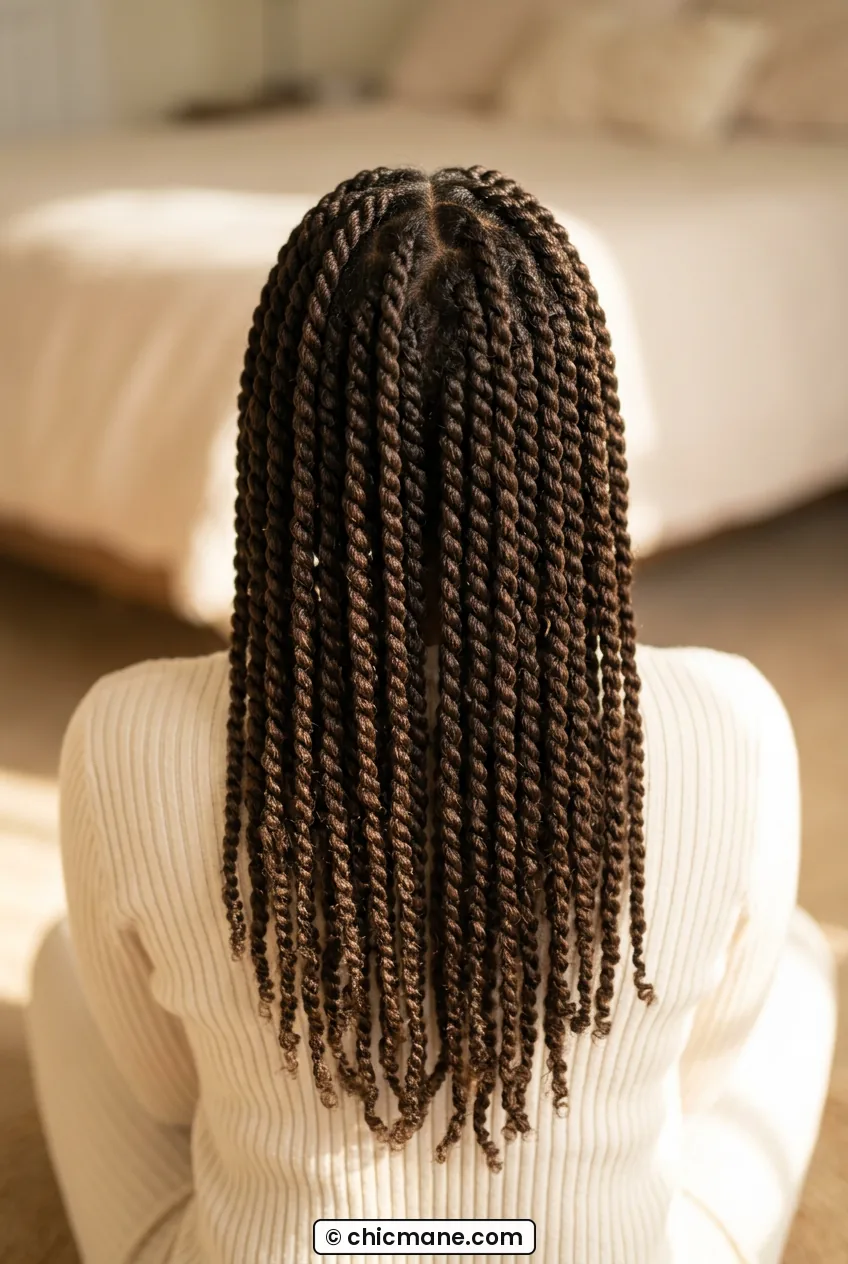
She has got that closed-rope look I am talking about through the mid-lengths, see how even the overlapping Vs are with no puffy gaps? My favorite is when the twist looks almost braided from the back, but still soft to the touch. If yours feels hard and wiry, you are squeezing. If it feels cloud-soft and moves when you breathe on it, add a touch more pull.
At the ends, I switch strategies. Most of us lose tension at the last two inches because our fingers get tired. I add a tiny dab of cream, twist a little tighter for the final inch, then coil the tip around my finger and hold for ten seconds. No rubber band needed on my texture. The warmth of my finger sets it. If your ends are straight or chemically smoothed, you might need a small perm rod there, and that is totally fine.
I used to think oil would help me twist smoother. It made my fingers slip and then I over-gripped to compensate. Now I keep oil for takedown day only. Cream for grip, water for slip. That pairing gives me the steady drag that makes tension controllable. Honestly, once I felt that drag one time, my hands remembered it.
Step 3: Too Tight
Let us talk about too tight, because I lived there for a year. My twists looked sharp on day one, edges laid, parts crisp. By night two I had those tiny white bumps along my hairline and a headache when I smiled. I told myself tight meant neat and long-lasting. It meant sore.
Signs you have gone too tight are pretty clear once you name them. Your scalp feels tingly or tender right after you finish a section. The skin around the part looks pulled shiny or slightly raised. You see thinning baby hairs snapping at the front. You get that I-need-to-take-this-out urge by bedtime. And the twist itself feels rigid, like a shoelace, with the root puffing up to relieve pressure.
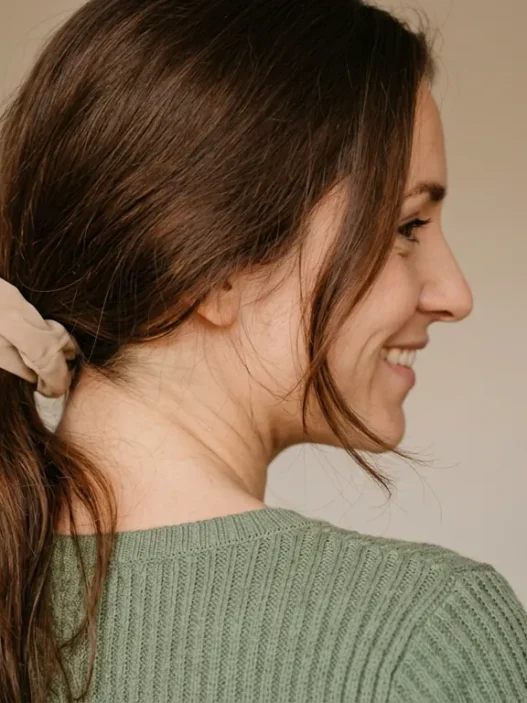
What helped me was moving my starting point. Instead of gripping right on the scalp, I start a pencil-eraser width away. I smooth the root with gel, anchor with flat fingers rather than pinched nails, and I never twist the first turn while pulling outward. I have a similar face shape to mine in the third photo here, and honestly you can see the difference a softer hairline makes. Her edges lie flat without that pulled-back wince.

I point to the hairline when I teach friends. If the little hairs are swooped and calm rather than stretched straight, the tension is right. Mine used to be pulled so tight my forehead looked shiny. Not cute, and not worth it for an extra day of wear.
The mistake I made for months: I retwisted my front row every morning to keep it fresh. I would wet it, pull it tight, twist fast. By week two my temples were tender and I had breakage fuzz I had never had before. Now I leave the front alone and just tie a silk scarf for ten minutes in the morning. It smooths without a single pull.
If you already went too tight, do not just suffer through it. I loosen the worst offenders immediately, especially around the hairline and nape. I mist with warm water, gently untwist two turns, and retwist with half the pull. Scalp pain is not part of the style. I also massage with light fingertips at night, which I learned more about when I was reading on soothing tight protective styles after a rough install last year. Comfort is part of good technique.
A quick note if you wear glasses or pull hair back for work. Tight twists plus a low bun plus glasses arms equals pressure on the same spot behind the ears. I give myself a little more slack there on purpose. It does not show, but I feel it by 3 p.m. in the best way, which is not at all.
Step 4: Too Loose
Too loose was my rebound mistake. After I got scared of pulling, I went full feather-hands. My twists looked soft and romantic for about six hours. Then they puffed at the root, the parts blurred, and the ends unraveled in my sleep. I woke up looking like I had fought my pillow. I had.
How do you know it is too loose? The twist feels airy and separates if you lightly pinch and pull it apart. You can see scalp through the twist itself, not just at the part. The root swells within a day, especially in steam or rain. And the whole style only lasts three to four days before it looks grown out, even if your hair grows slowly like mine.
The fix is not to yank harder. It is to add grip and structure. I make sure the hair is damp enough, I use a tackier cream, and I keep my crossing point close to the twist, not three inches down the strand. Long swinging crosses look fancy on video but they add air. Short, close crosses add density. That one change doubled my wear time.
Length matters here too. On my mid-back hair I need smaller sections than my sister does on her medium cuts length, because longer hair has more weight pulling down. Weight loosens a soft twist fast. If you have long hair, go a touch firmer through the middle third. If you have a cropped length or short cuts, you can stay softer because there is less pull from below.
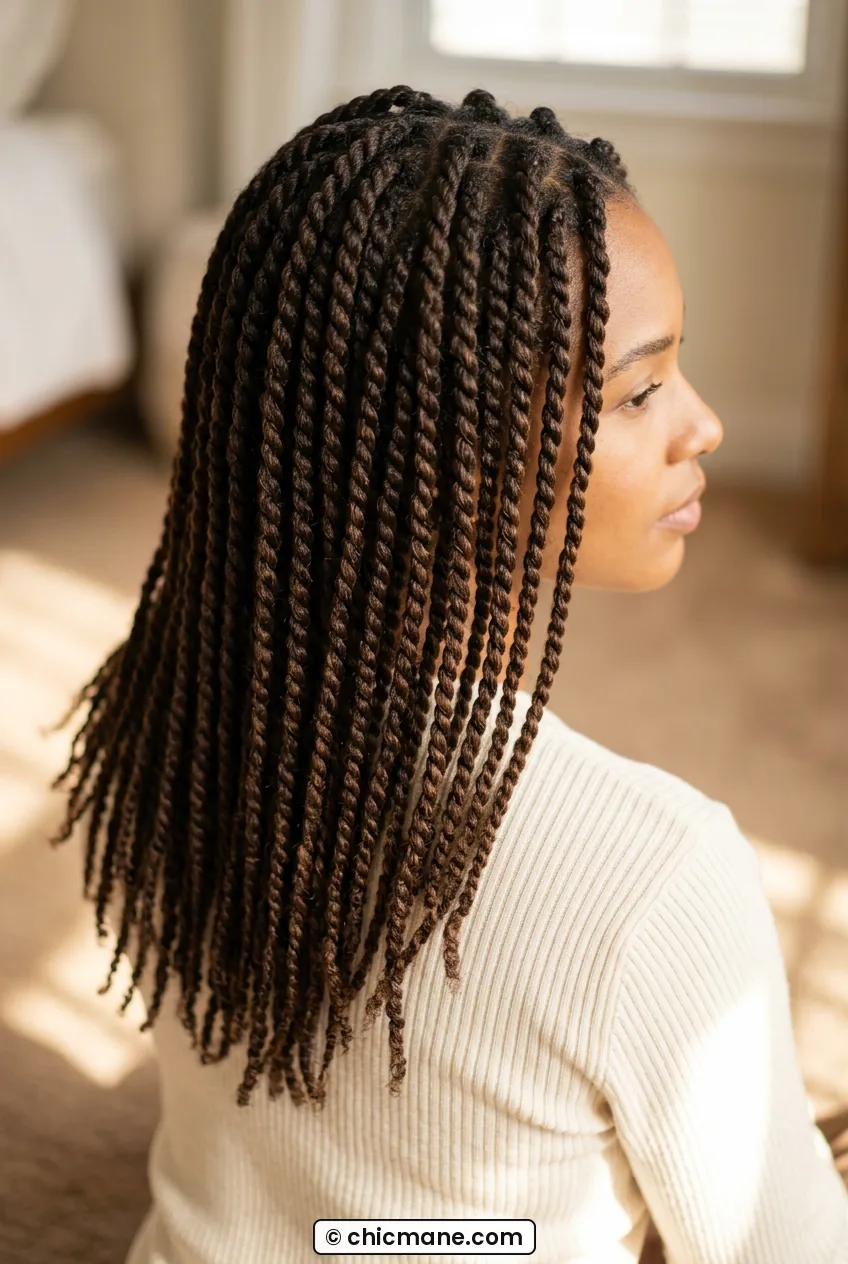
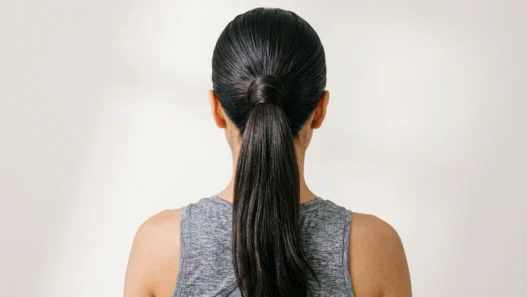
This side view shows what I mean about the middle third. See how her twist stays the same width from root to tip with no fuzzy halo blooming out? That is grip plus close crosses. Mine used to balloon right at the cheekbone. Now I slow down exactly there and add that extra smoothing pass.
And do not skip the ends. Loose ends are the number one reason a twist fails early. I finish every piece the same way, twist to the very tip, add moisture, twirl and hold. I even roll my ends on two fingers for curly ends sometimes. A secure tip makes the whole piece read as polished, even on day eight when the roots are a little lived-in.
Weather plays a role too. In humid August, my too-loose twists frizz by lunch. I learned to twist slightly firmer in summer and slightly softer in dry winter when hair is more brittle. Same hands, different season. Once you feel the difference, you will adjust without thinking, like turning up the heat in your flat.
Step 5: Drills to Calibrate Your Hands
This is the part that actually trained my hands. Not watching, doing. I do these drills on wash day when I am not rushed, and they take maybe fifteen minutes. They feel silly. They work.
First, the three-bears row. Part three side-by-side sections at the nape where no one sees. Twist the left one intentionally loose and airy, the middle one at your best guess of just right, the right one a touch firm but not painful. Clip them, walk away for an hour, come back and compare. Which root still looks crisp? Which tip held? I did this four wash days in a row and my just-right got narrower and truer every time.
Second, the mirror check drill. Twist a front section while watching your forehead in the mirror. If your eyebrows lift or your skin moves, you are pulling with your whole arm. Stop, drop your elbows, and redo using only fingers. I still catch myself lifting my brows like I am surprised. My eyebrows have learned to tell on me.
Third, the overnight test. This one convinced me more than anything. Finish one side of your head with your normal tension, take a photo close up, sleep with a bonnet, photo again in the morning. A well-tensioned twist looks 90 percent the same. Too loose looks 60 percent. Too tight looks perfect but your scalp aches. You want that boring, same-as-last-night result.
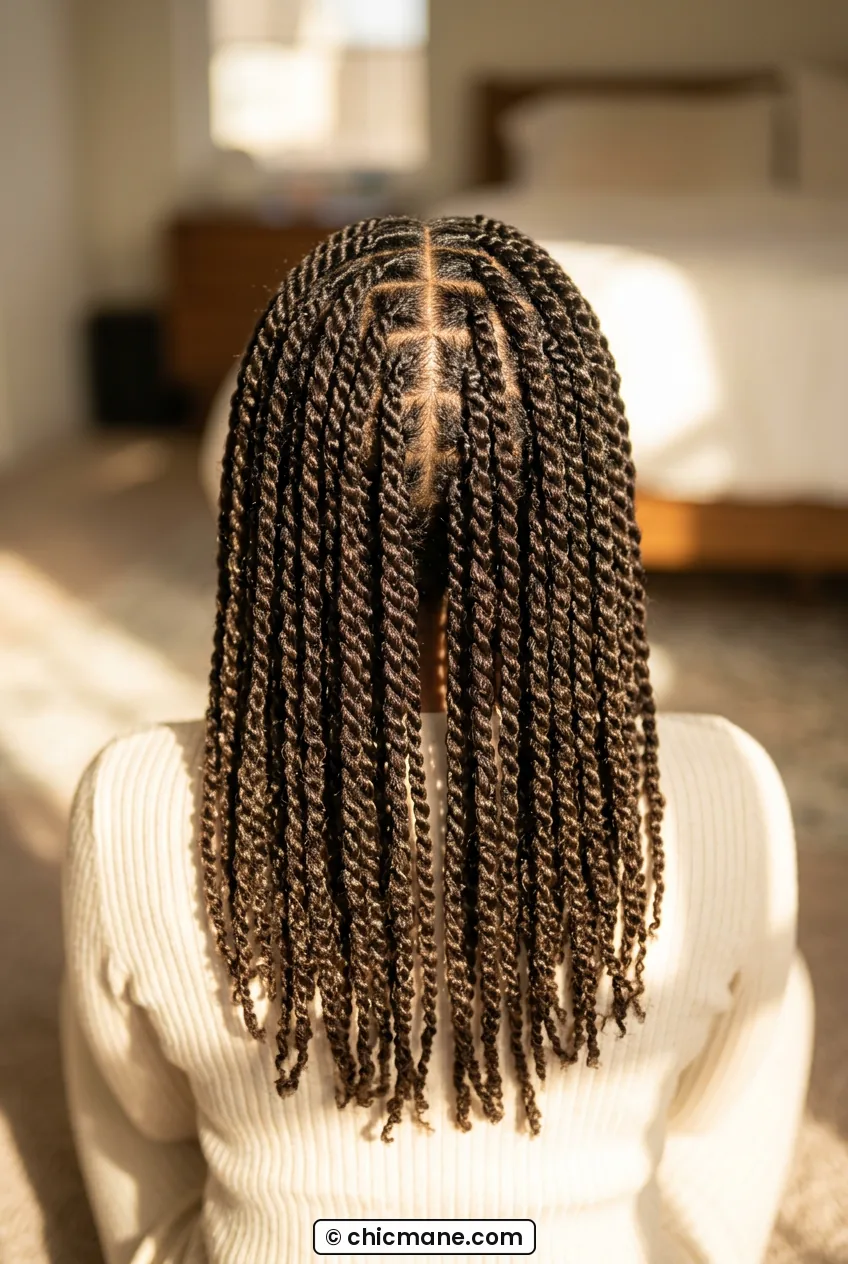
The back-crown photo is my report card. She is showing exactly the angle I photograph on myself, straight-on back view with warm light so every part shows. If my rows look like hers, straight and even with no scalp tugging, I know my hands stayed honest.
I also love practicing on a single chunky twist behind my ear when I am watching TV. No pressure, no full head. Just ten minutes of crossing and smoothing to build muscle memory. It is like scales on piano. Boring, effective, weirdly relaxing. My cat sits on my feet and supervises.
Once this clicks, it transfers everywhere. My flat twists got cleaner without me trying. My cuts grow-out looked better because my parts stayed neat longer. Even my heatless buns hold better because I wrap with that same even drag instead of yanking. Tension is not a twist trick. It is a hair skill, period. I found that framing really helpful when I was digging into keeping braids neat longer and realized all rope-style techniques share the same hand logic.
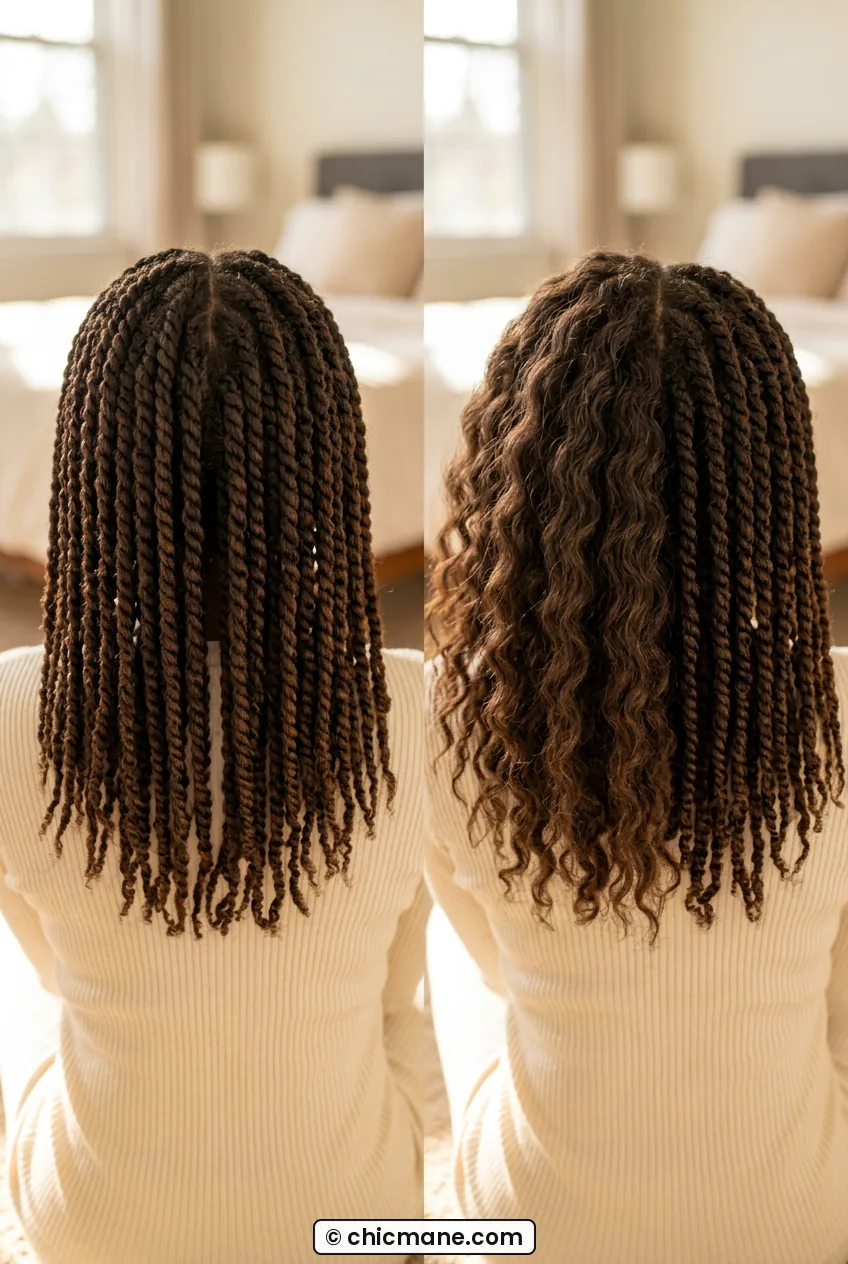
And if you ever highlight or play with cool tones, clean tension shows off the color dimension so much more. Fuzzy twists blur highlights, but a smooth rope lets each tone catch light. That alone keeps me practicing.
My last head lasted eleven days, which for me is a record. Day one crisp, day five soft and pretty, day eleven lived-in but still presentable for school pickup. No headaches, no unraveling pillow mess, no morning retwist panic. Just my hands, finally knowing what just-right feels like. Yours will get there too. Give them four wash days. They are quicker learners than you think.
Twist Questions That Come Up While You Practice
How do I know if my twist tension is hurting my scalp?
If you feel tingling, throbbing, or pain when you smile or raise your brows, it is too tight. I loosen those pieces right away and retwist softer. A good twist should feel like nothing after five minutes.
Why do my twists look great on day one but fuzzy by day three?
That is usually loose mid-shaft tension or dry ends. Try closer crosses, a tackier cream, and sealing the last inch well. Sleeping in a bonnet and skipping daily retwisting helps a lot too.
Can I practice tension on stretched or blown-out hair?
Yes, and I actually prefer it for learning. Stretched hair shows uneven spots faster and needs less pull to look smooth. Just keep heat low and hair damp-light, not soaking, so you can feel the drag.
How long should a well-tensioned twist last?
On my texture, seven to ten days with nightly protection. Finer hair might get five to seven, coarser hair can push two weeks. If yours falls apart in three days, add grip before you add force.
Let me know how your three-bears row goes. Mine was humbling and hilarious, loose, lumpy, too-tight all in one nape. But that little row taught my fingers more than a year of full heads did.