






Nobody sat me down and said: “Here are your length bands, here is what works at each one, and here is what to ask your stylist.” I just kept showing up to appointments with a vague Pinterest board and leaving with something that was almost right. It took me an embarrassingly long time to realize that medium hair isn’t one length — it’s at least four, and each one behaves completely differently. So this is the guide I wish someone had handed me.
I’ve sorted everything into four length bands: Pixie and Crop, Chin to Jaw, Collarbone, and Past the Shoulder. The middle two get the most detail here because — honestly — that’s where most of us live, and that’s where the decisions get interesting. Let’s go through each one.
Your Medium Hair Length Roadmap
Pixie and Crop Length
Okay, technically these flirt with the boundary of “short” — but I’m including them because so many medium-hair readers end up here after a dramatic chop, and the styling rules are their own universe. Three looks worth knowing:
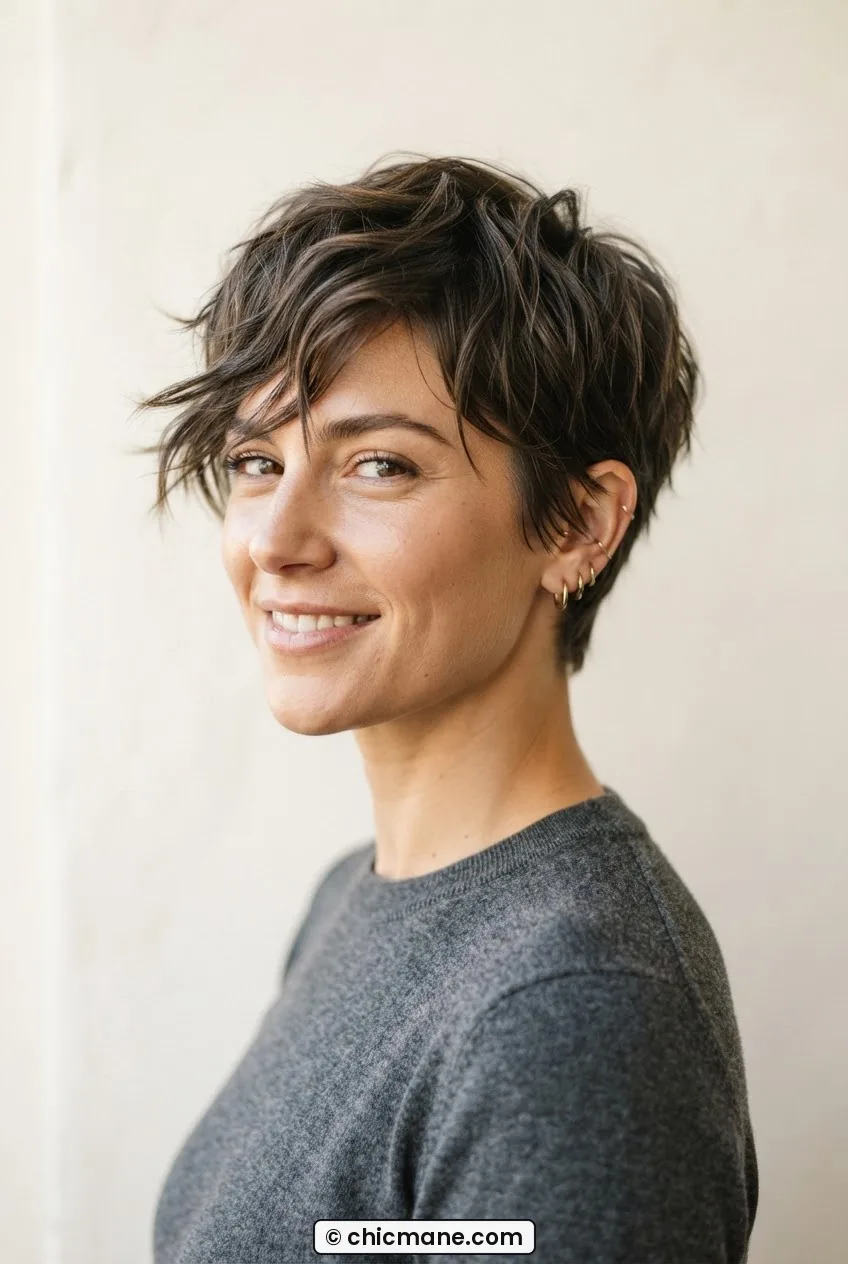
1. The Textured Pixie With Piece-y Front
This is the one that photographs beautifully and looks incredibly high-maintenance but is actually… not? The key is a good texturizing paste worked through damp hair, then air-dried. The front pieces are left intentionally separated — not slicked, not fluffy. Just defined. She’s got this look nailed in the photo below: notice how the front sections point slightly downward at different angles. That’s intentional and that’s everything.
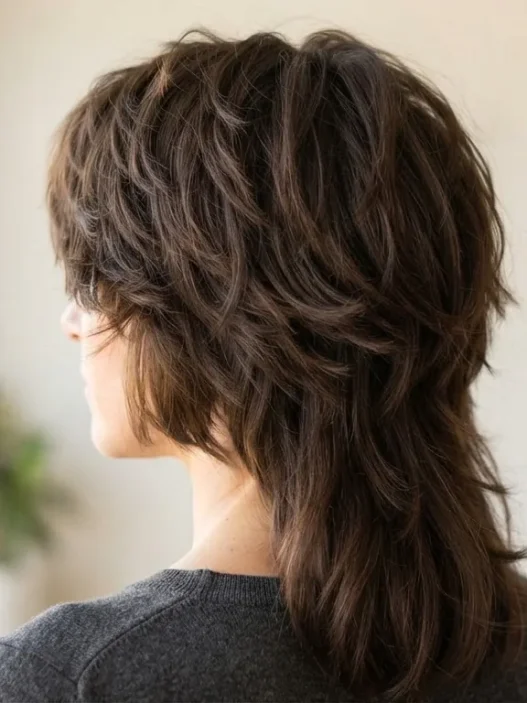
2. The Modern Shaggy Crop
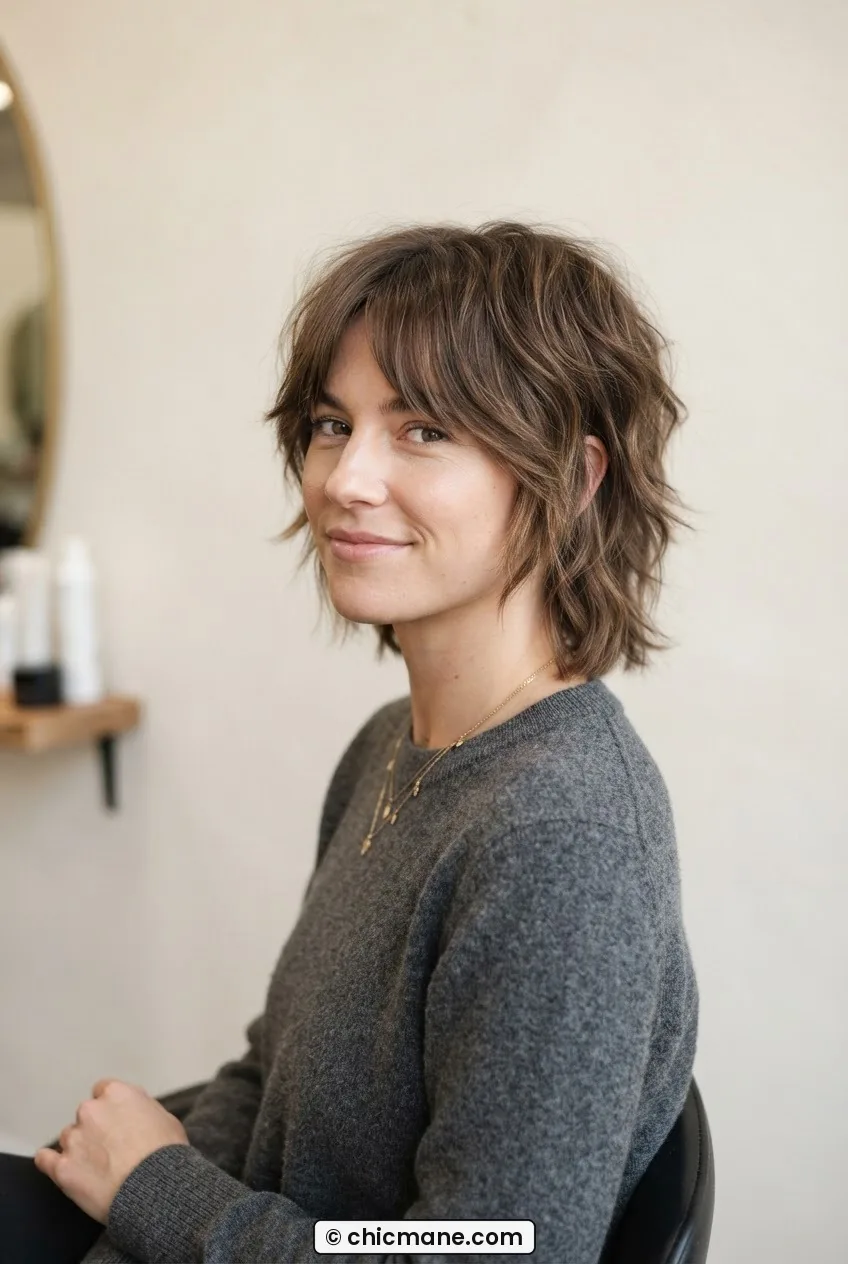
Lots of layers, curtain bangs, lived-in texture. This is where the wolf cut energy starts. It’s forgiving on almost every face shape because the layers frame without committing to one strong line. I think of it as the crop for people who were nervous about getting a crop.
3. The Blunt Micro Bob
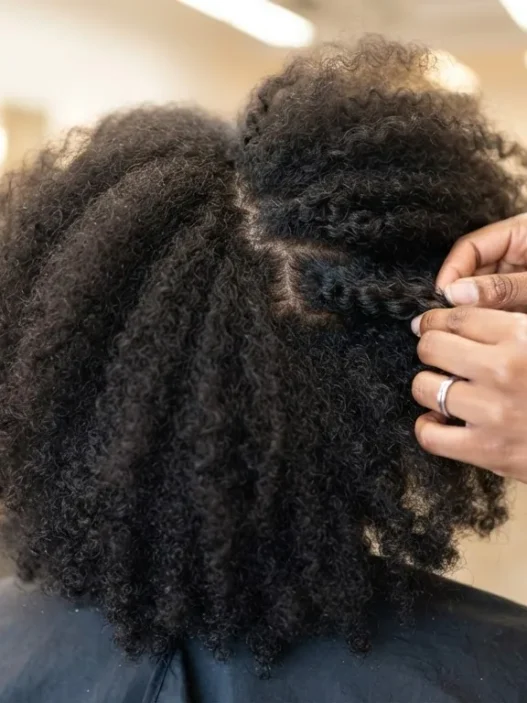
One clean line. No layers, no graduation — just a precise cut sitting right at or above the ear. It reads chic and a little severe in the best way. Thick hair loves this. Fine hair can make it work with a good blowout and a round brush, though the weight might need adjusting. If you want to understand how this works on different hair textures, a deeper look at the curly hair styles words that confuse everyone actually helps clarify why blunt lines behave so differently on different hair types.
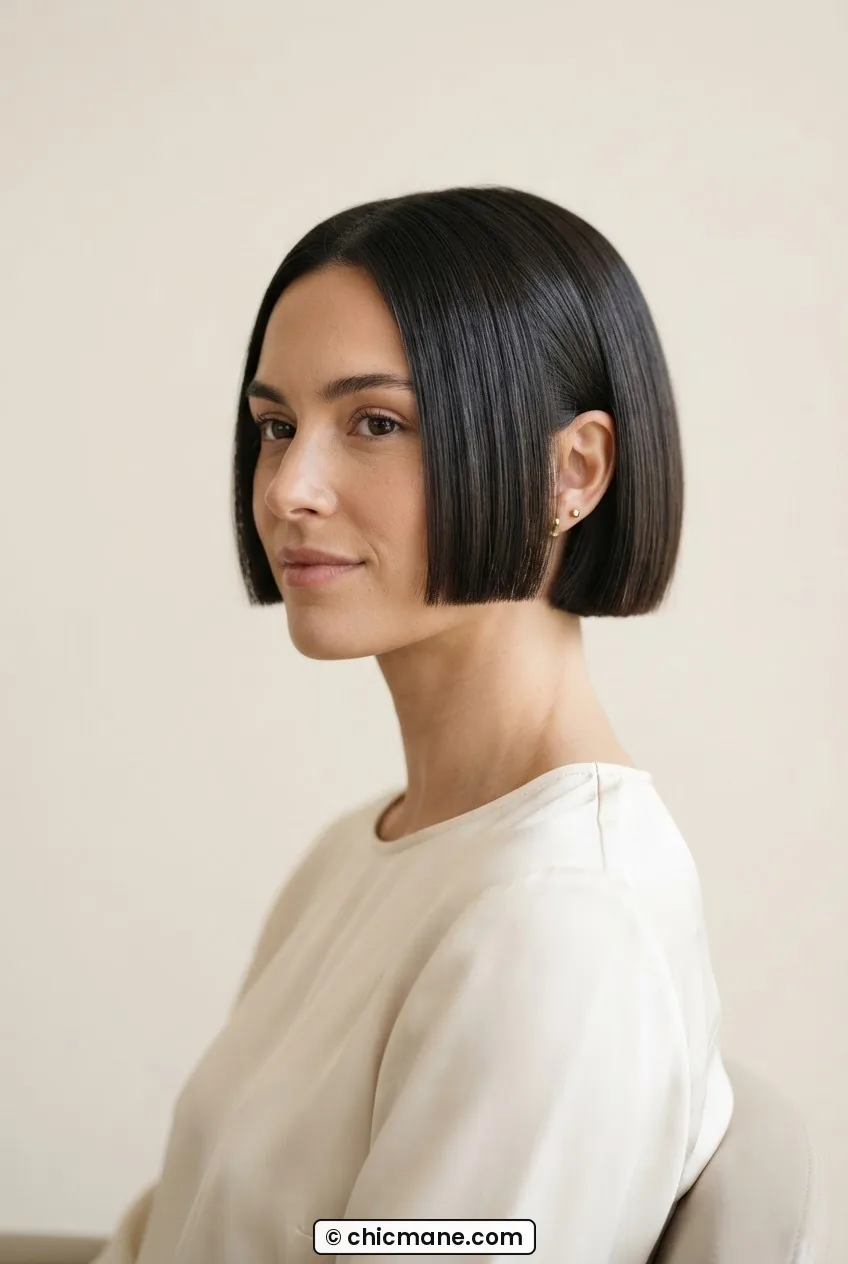
Chin to Jaw
This is where things get genuinely exciting — and where most styling decisions are actually made or broken. Chin-to-jaw length is specific enough to be intentional but versatile enough to do a lot. It’s also the band where the wrong cut for your face shape is most obvious, which is why I’m giving it real depth.
4. The Classic Bob (With a Modern Tilt)
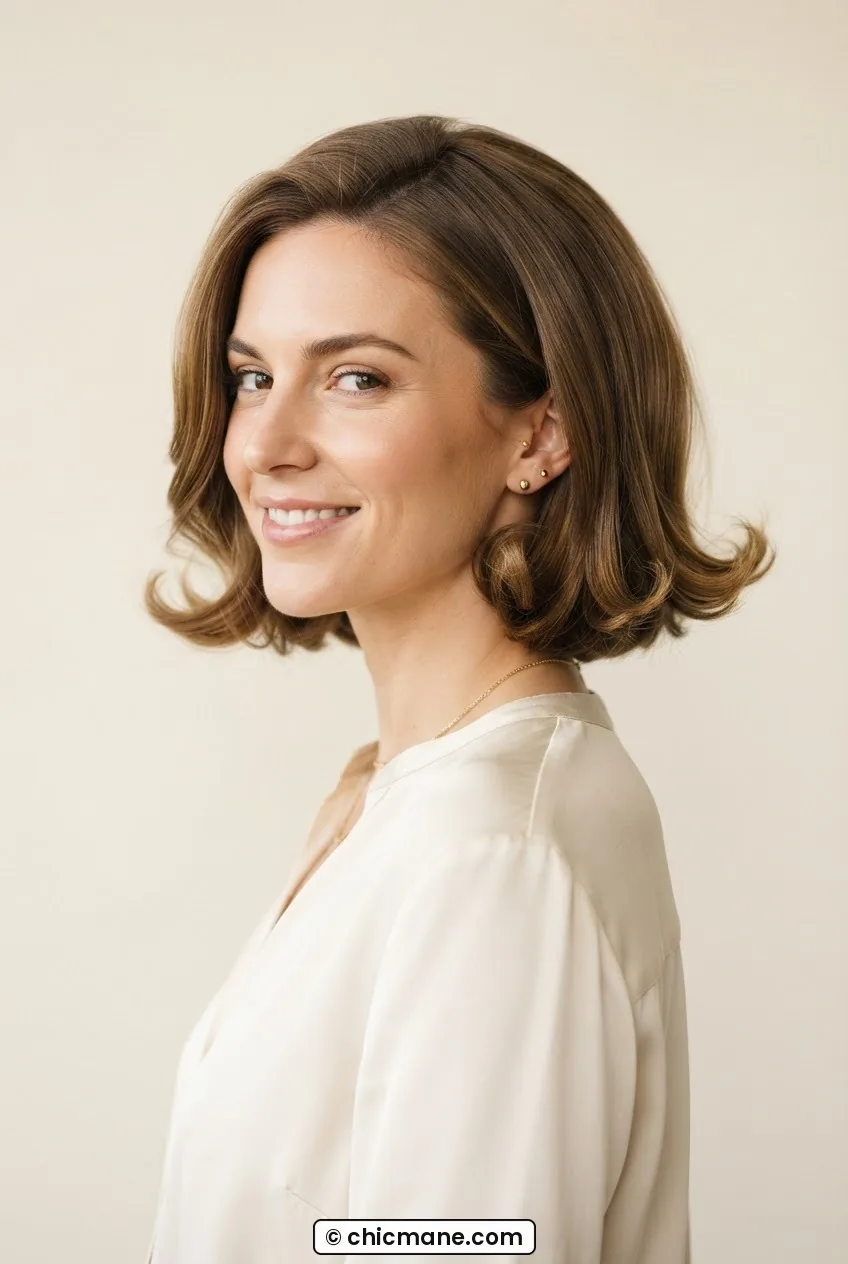
The bob never actually goes anywhere — it just keeps evolving. Right now the most flattering version has a very slight A-line angle (shorter in back, a touch longer in front) and is worn with the ends curled outward, not under. That outward flip is the detail that keeps it from feeling like 2010. Look at how she’s wearing hers in the image — that slight flick at the ends is doing a lot of visual work.
5. The Layered French Bob
Shorter than a standard bob, almost always paired with bangs (usually blunt or slightly rounded), and deliberately undone in texture. Think Parisian nonchalance — it’s meant to look like you thought about it for exactly zero minutes, even though you spent fifteen. The layers inside give movement without removing the bob’s signature silhouette. This is the length I’m talking about in the photo: see how it hits just above her chin but doesn’t read as “short”? That’s the French bob’s magic trick.

6. The Wavy Jaw-Grazer
For anyone with naturally wavy or lightly curly hair, letting it sit at jaw length with its natural texture is one of the most effortless hair styles for medium hair in this band. The wave adds volume, the jaw length adds structure, and together they frame the face without fuss. My personal tip: a tiny bit of curl cream on damp hair, scrunched not raked, then fully air-dried.
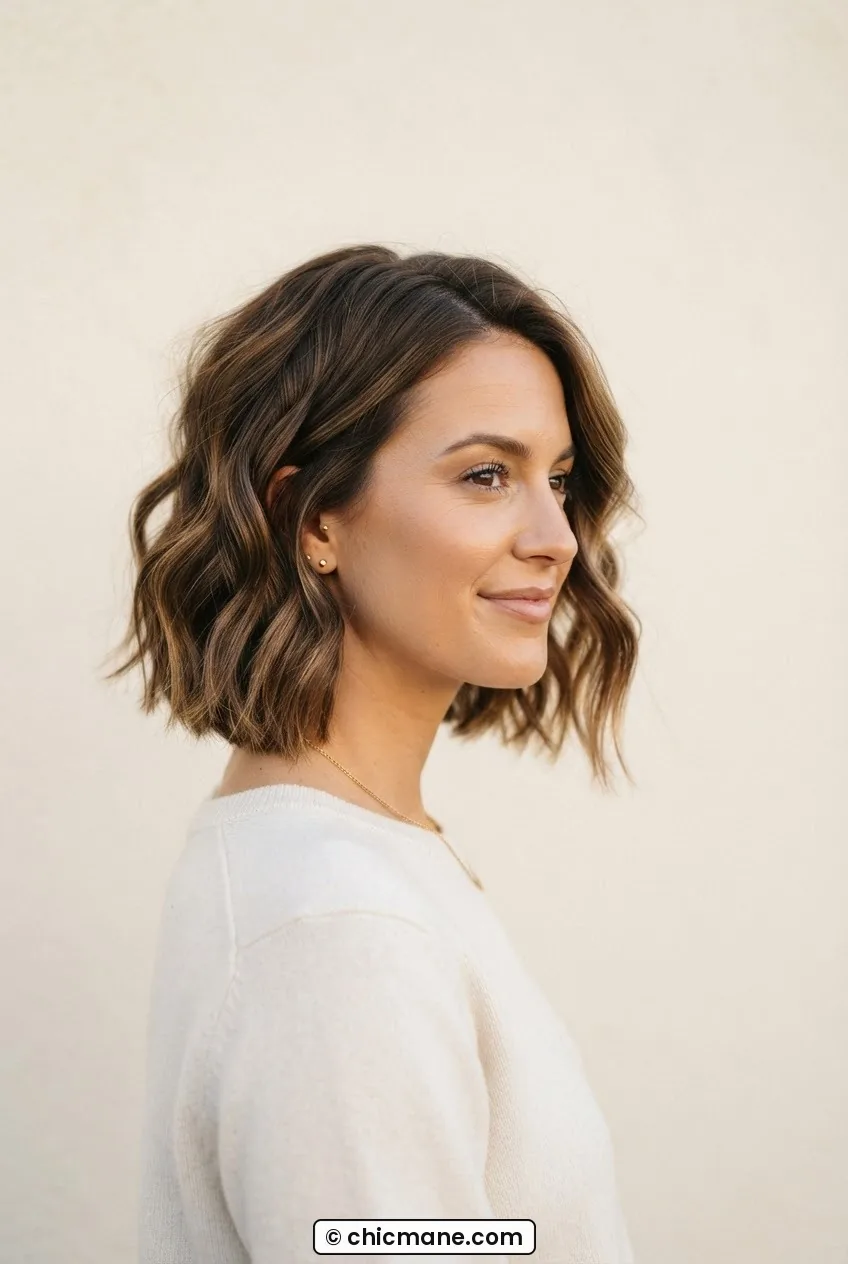
My personal pick in this entire guide is the wavy jaw-grazer. I had this cut for most of last year and received more “what do you do to your hair?” questions than I had in the previous five years combined. The answer was: nothing. That’s the point.
7. The Sleek Jaw-Length Lob With Center Part
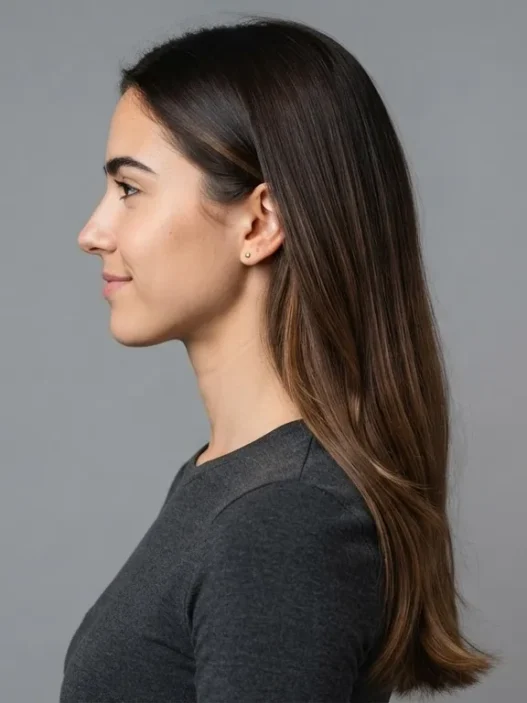
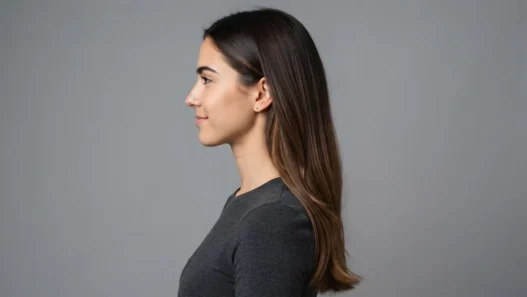
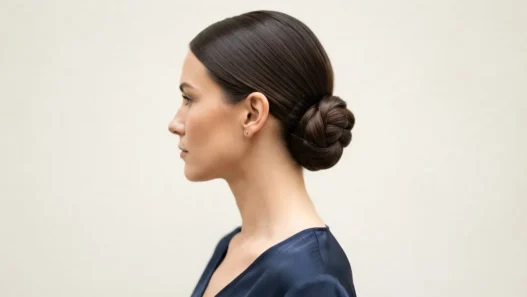
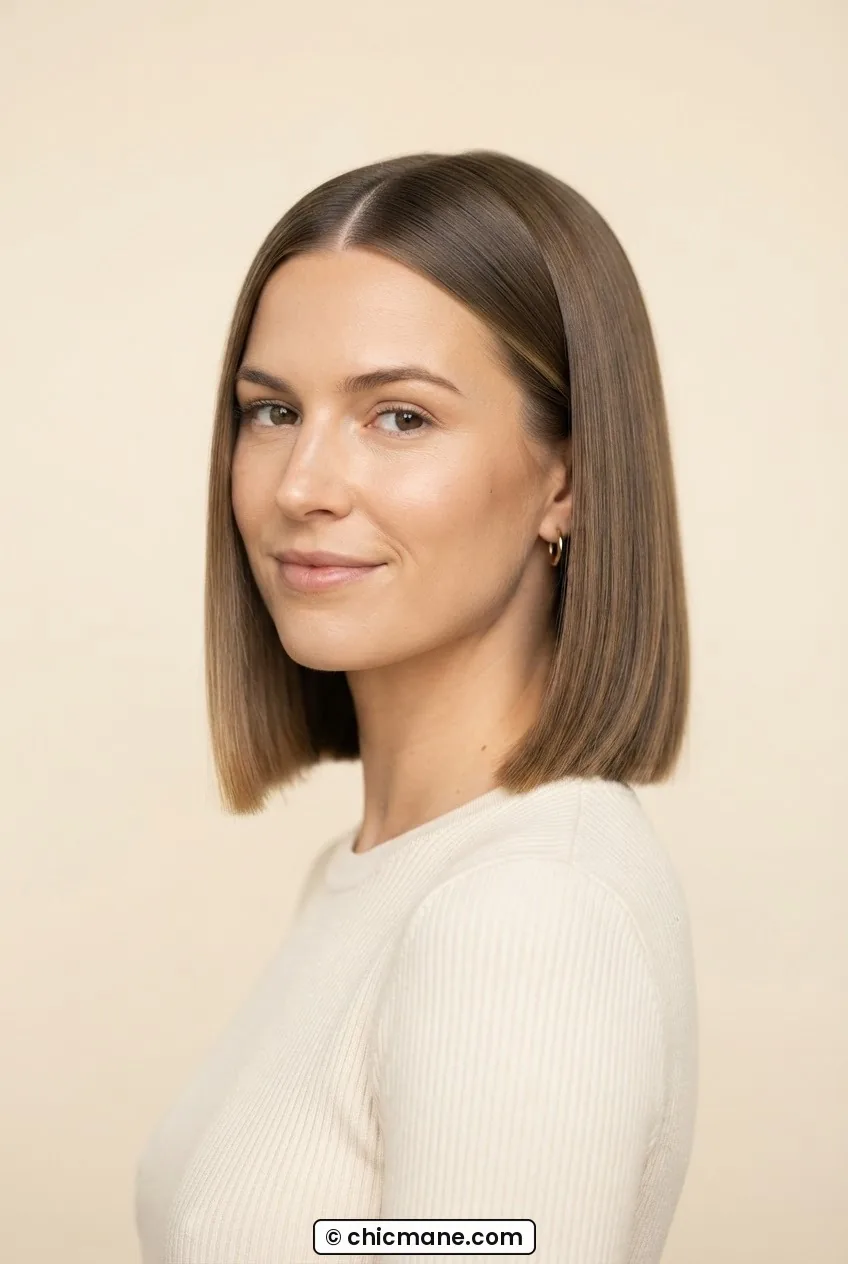
Straight, smooth, and very deliberate. This one requires either naturally straight hair or a flat iron, but when it’s done right it looks incredibly polished. The center part elongates the face and gives it a symmetry that works beautifully for oval and heart shapes. She’s got a similar structure to my own face shape in the image below, and honestly this cut looks incredible on her. The sleekness is the whole point — don’t fight it with too much product.
Collarbone
Collarbone length is arguably the most flattering band for the widest range of people, which is probably why it’s also the most requested in salons. There’s just enough length for updos, enough body for texture, and enough structure to hold a good style. This is also the sweet spot for five-minute open hairstyles options — you’ve got enough hair to do something interesting but not so much that it overwhelms you at 7am.
8. The Bouncy Blowout Lob
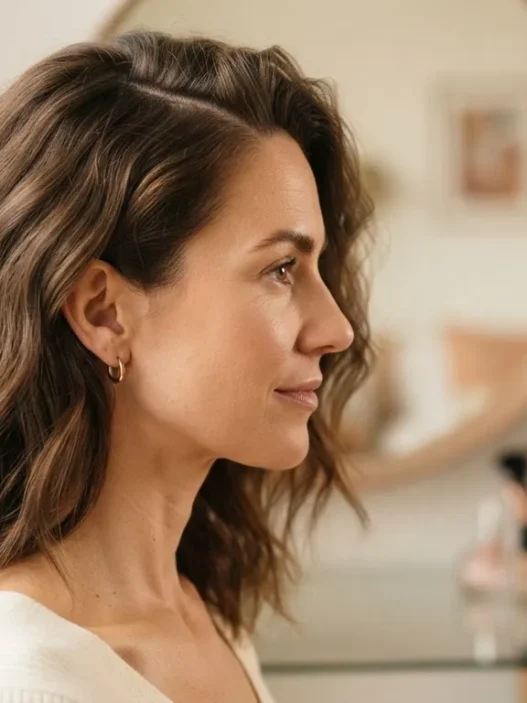
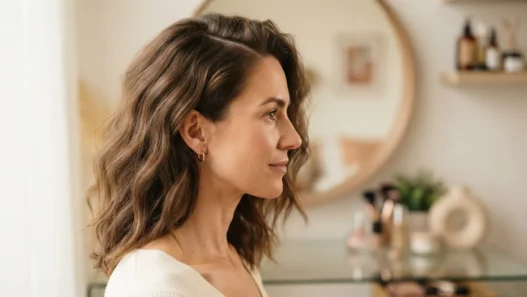
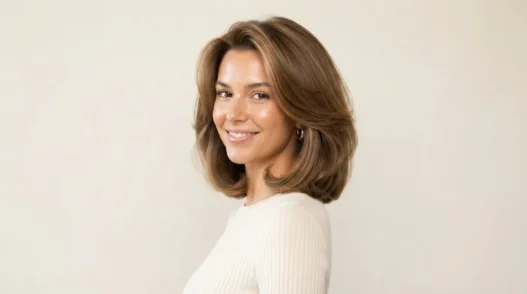
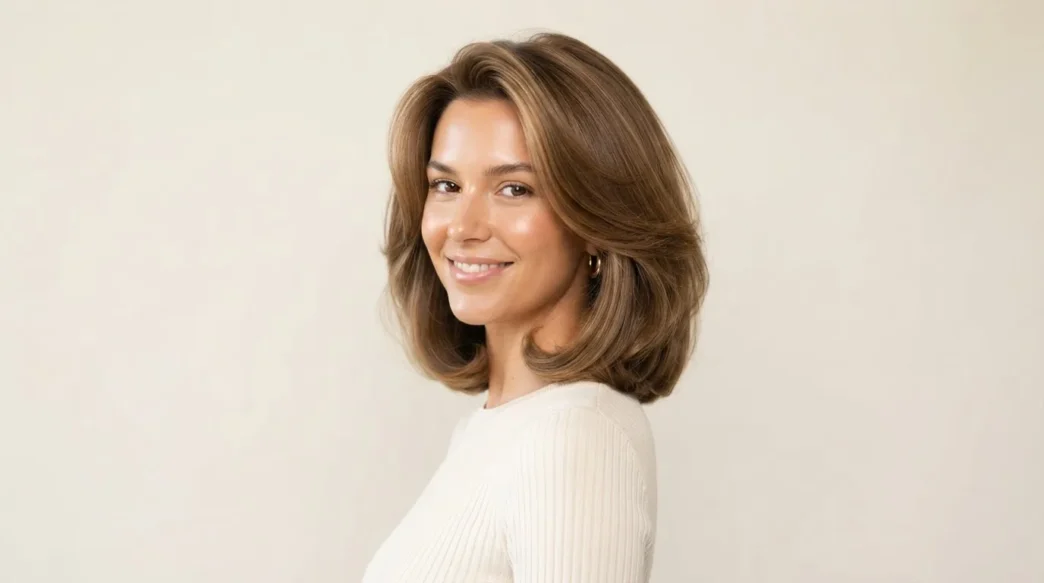
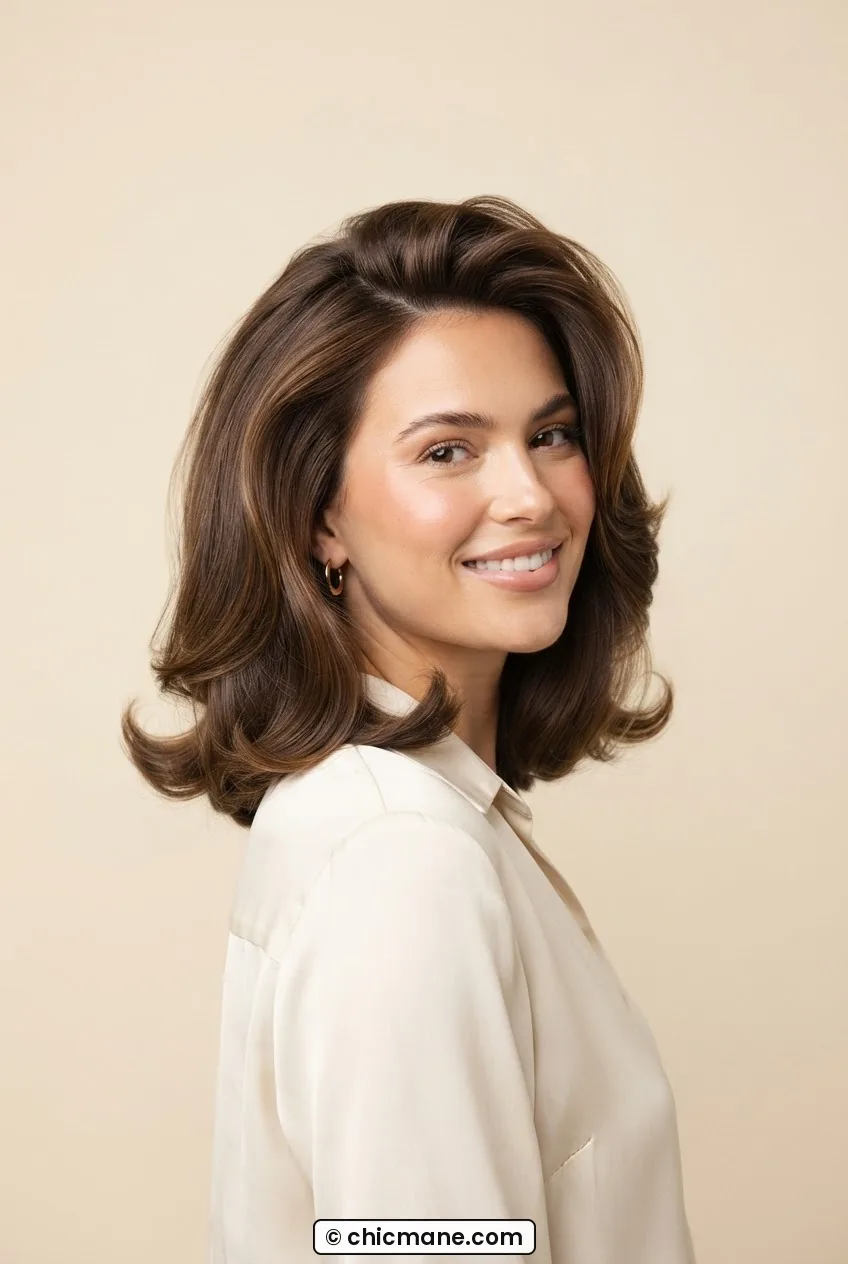
This is the one that makes people look like they just stepped out of a salon at all times. The secret is body — layers that start mid-shaft (not too high, or you lose the lob silhouette) and a round brush blowout that curves the ends under very slightly. Not dramatically under, just kissed. The photo here shows exactly the volume I mean: look at how the hair moves away from the head rather than lying flat. That lift at the root is everything, and it’s achievable with a good root-lifting blowout technique and ten minutes of patience.
9. The Curtain Bang Lob
Curtain bangs changed the collarbone-length lob game entirely. They add a face-framing element without commitment (they grow out gracefully) and make a medium-length cut feel more styled even on its laziest days. The lob underneath can be straight, wavy, or textured — the bangs work with all of it. If you have a round face shape, the curtain bang parted in the center is particularly flattering because it creates vertical visual lines. Styling them at home takes about three minutes with a round brush once you know the motion.

10. The Half-Up Collarbone Look
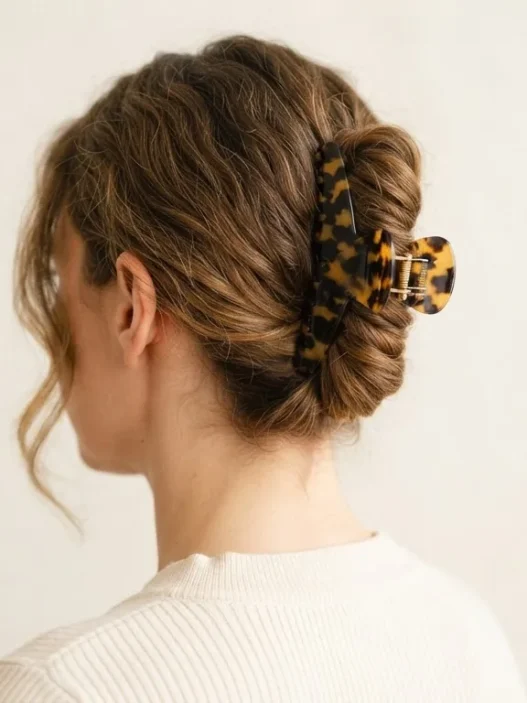
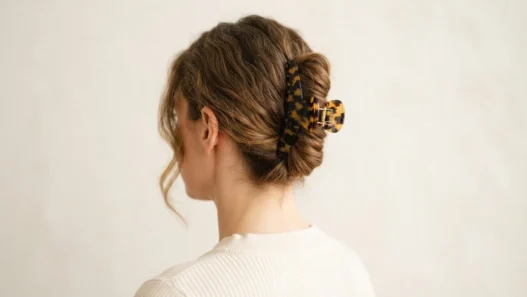
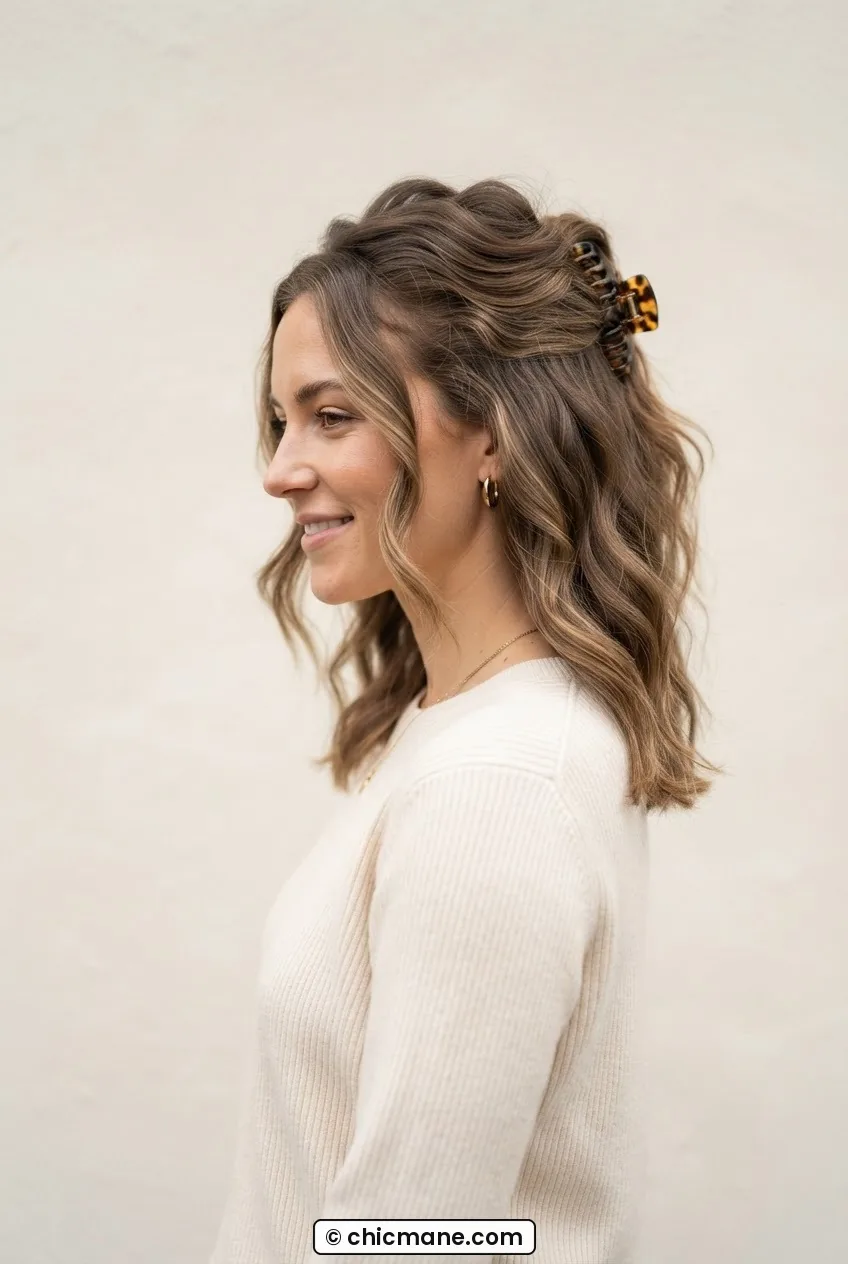
This isn’t a cut — it’s a styling position unique to this length band. At collarbone length you have just enough hair to pull a top section back into a proper half-up, but the ends are still present and visible and doing something. A claw clip, a small bun, or even a tiny knot at the crown all work. If you want to get deeper into this styling territory, the half-up styles section has options I revisit constantly.
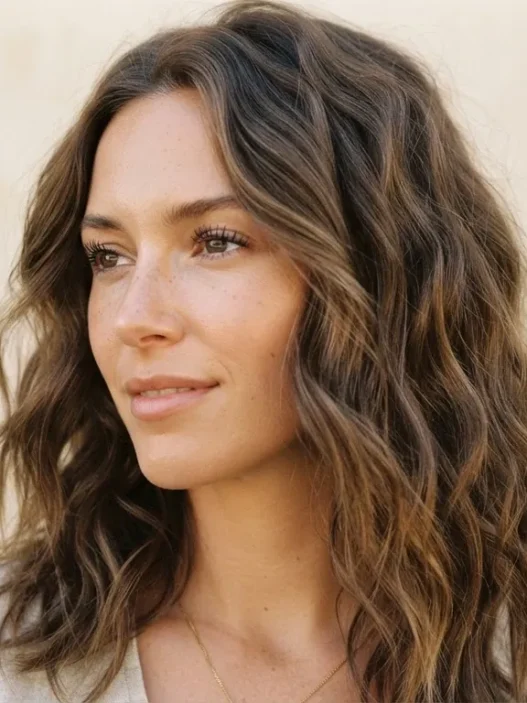
11. The Beachy Collarbone Wave
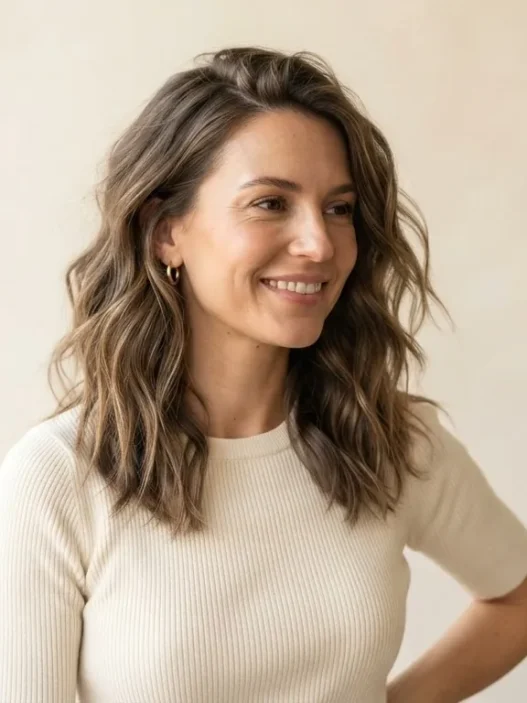
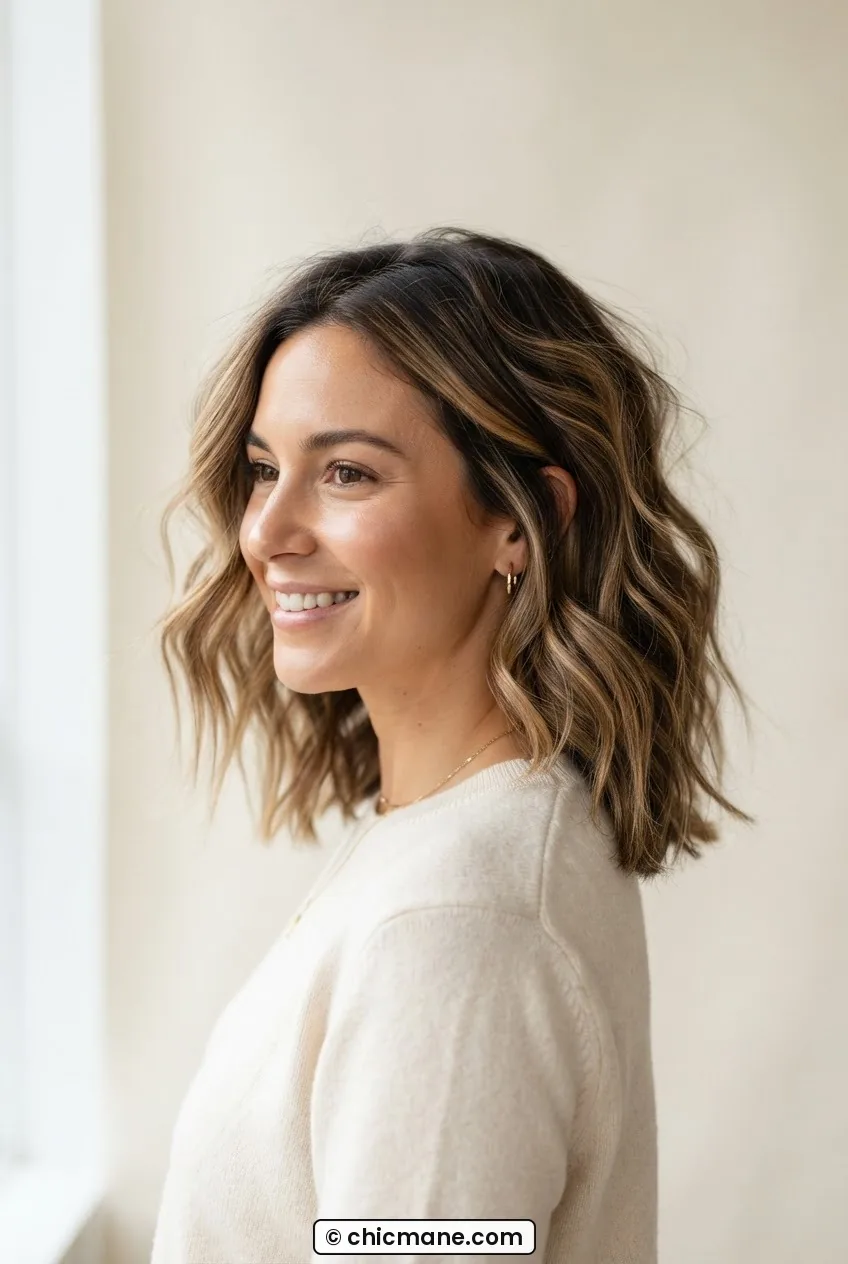
Salt spray. A one-inch curling wand. Alternate the direction of each curl. Done. This is my most-used styling method for medium hair at this length because it hides second-day hair completely, adds personality to a basic cut, and looks genuinely intentional. She’s got this nailed in the photo — notice how no two waves move in exactly the same direction. That inconsistency is what makes it read as “effortless” rather than “set.”
A Blowout Tutorial That Actually Makes Sense
Past the Shoulder
Once hair hits past the shoulder it enters the longer end of medium — technically still medium, but with different rules. There’s more weight to manage, more surface area for color and texture to show up, and more styling options (including actual updos and braids). For a bigger picture of how styles range across lengths, the 14 hairstyles ideas from crop to waist breakdown is worth bookmarking alongside this post.
12. The Long Layered Cut
Layers at this length add movement without removing mass. The best version has face-framing pieces that start around the cheekbone and longer layers through the body that create a cascading effect. This is a reliable, flattering option for nearly every texture — it just works. The hair tutorial sectioning map is genuinely useful if you want to understand how your stylist creates those face-framing layers, or if you’re attempting any DIY trimming at home.

13. The Straight and Heavy One-Length Cut
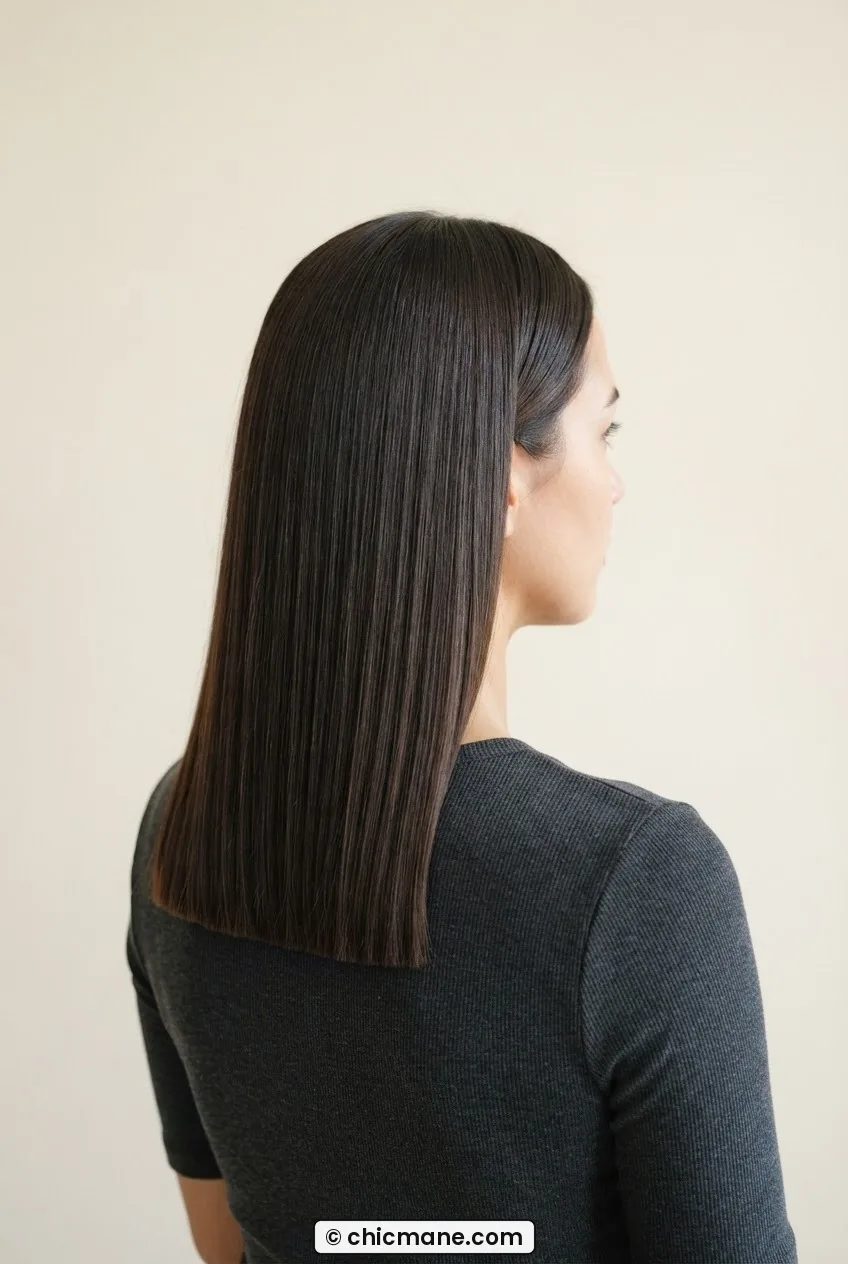
No layers. One length. All the weight sits at the bottom hem, which creates an incredibly dense, blunt edge. On fine hair this can actually create the illusion of thickness because all that hair is concentrated in one line. On thick hair it can feel heavy, but that density is also kind of stunning when it’s well-kept. This look requires almost no styling — just a good blowout and a serum to keep the ends from splitting visually.
14. The Tousled Braid-Ready Length
Past-the-shoulder hair unlocks actual braiding options — loose plaits, soft fishtails, low braided ponytails. At this length the hair is long enough that braids look substantial rather than stubby. I love this band for anyone who wants the flexibility of “styled” on one day and “pulled back” on another without sacrificing either. A loose texture spray and a five-minute braid is honestly one of the best things medium-to-long hair can do. And if you want more ideas that take almost no time at all, the open hairstyles roundup I mentioned earlier has ten options you can finish in five minutes — several of which are perfect at this length.
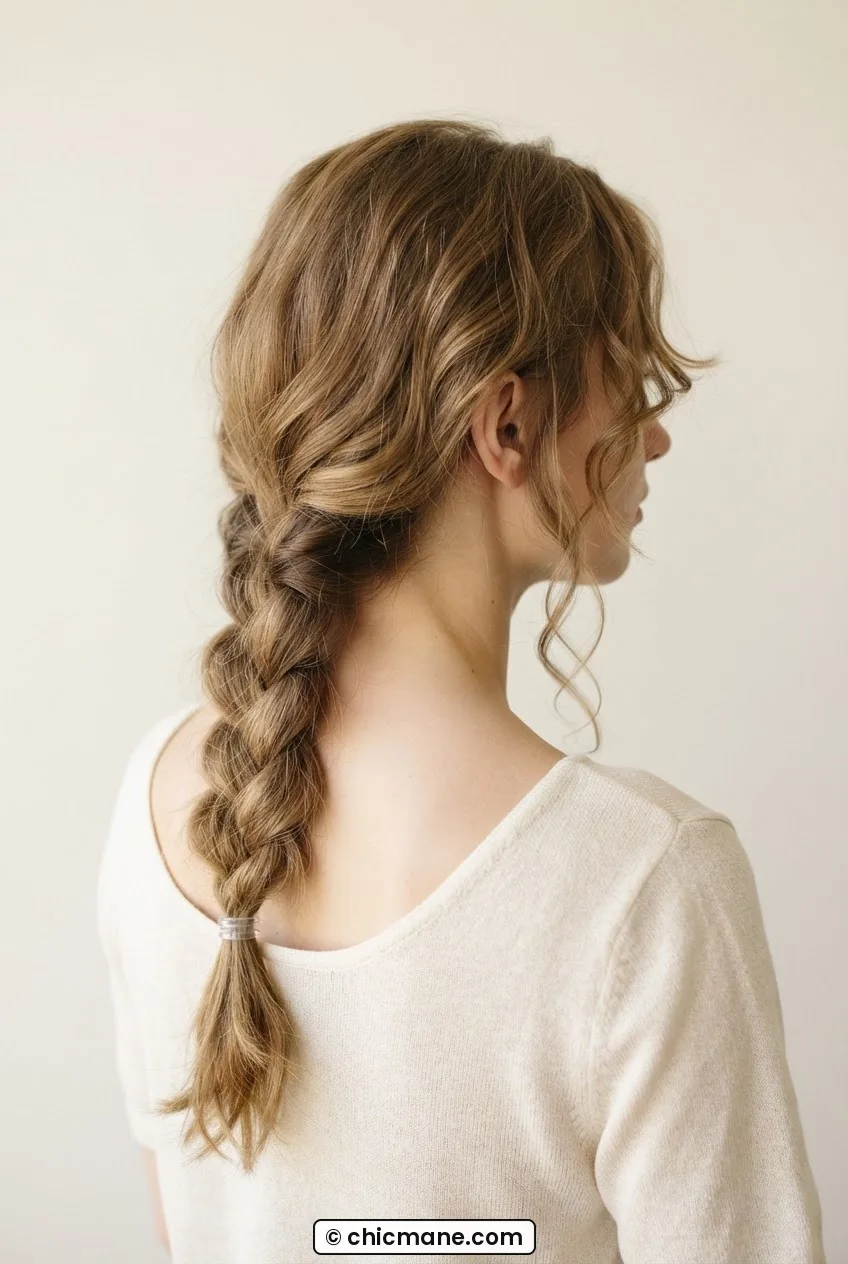
Moving between length bands doesn’t have to be dramatic or scary. The most painless transitions are usually one band at a time — collarbone to chin, never collarbone to pixie in one sitting (unless you genuinely want that, in which case go for it). Layers grow out faster than blunt cuts and give you more flexibility during the in-between phases. And honestly? The in-between phases have their own looks worth owning. Every length band I’ve lived through has had at least one style I actually loved. Sometimes the transition is the destination. Understanding growing-out stages before you commit to a big chop can save you a lot of buyer’s remorse too.
Questions I Get About This
How do I know which length band I’m actually in?
Stand straight, look in the mirror, and note where your ends sit on your body — not where they hang when you tilt your head. Chin = chin-to-jaw band. Touching or grazing the collarbone = collarbone band. Sitting noticeably below the collarbone but above mid-back = past the shoulder. The bands overlap a little intentionally, so don’t stress about the exact line.
Which length band is easiest to maintain?
Collarbone wins this one for most people. It’s long enough to skip wash day with a half-up or quick braid, short enough that drying time isn’t a whole event, and it holds styles well without needing a lot of product. The chin-to-jaw band is a close second if you don’t mind slightly more frequent trims to keep the shape sharp.
Can I do these styles on fine hair?
Most of them, yes. Fine hair actually does really well with blunt cuts (no layers removes the appearance of thinness at the ends) and with bouncy blowouts that add volume at the root. The styles I’d approach carefully with fine hair are anything relying purely on natural texture for body — you may want some styling support like a volumizing mousse to get the same effect.
How often should I trim to stay within my chosen band?
Hair grows roughly half an inch per month. If you want to stay within a band rather than grow through it, trims every eight to ten weeks keep you in place. If you’re actively trying to move to a longer band, stretch that to twelve to fourteen weeks and just clean up the ends rather than taking real length.
Alright — that’s the guide I wish I’d had years ago. Pick your band, grab the look that actually fits your life, and stop apologizing to stylists with vague descriptions. You know exactly what you want now. Go get it cut.