








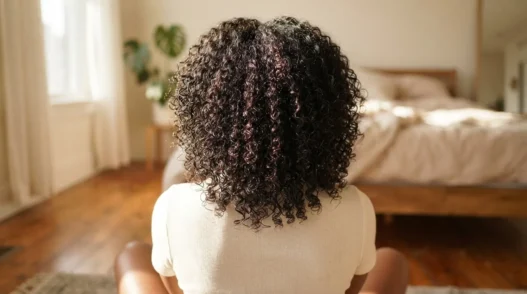
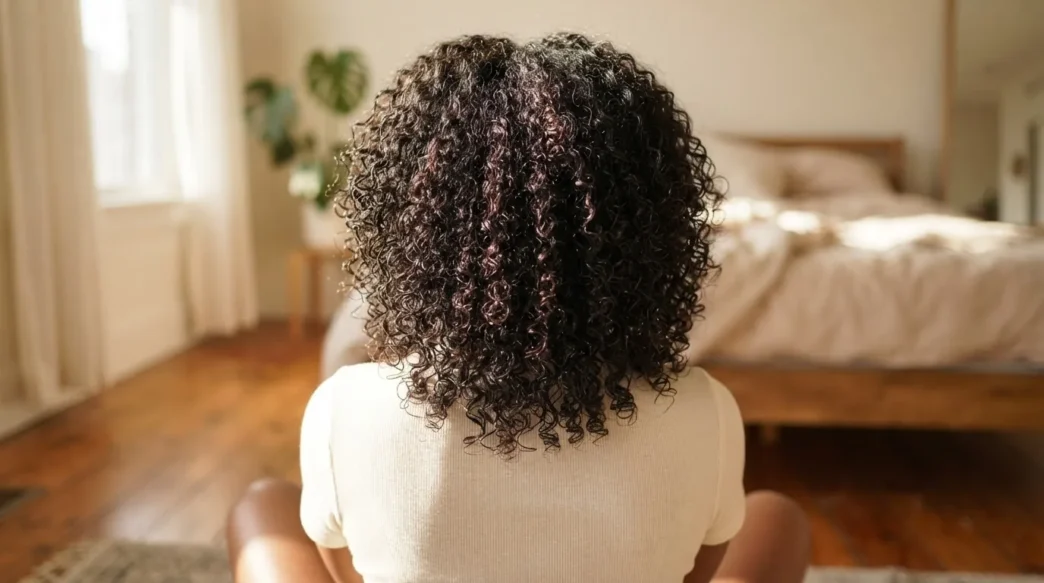
I spent two years following tutorials made for straight or loosely wavy hair and wondering why my 4B coils came out frizzy, flat, or just… confused. The techniques weren’t wrong exactly — they just weren’t made for me. Every time I tried to adapt them, I’d lose my curl definition at the root, or I’d end up with elongated stretched-out sections that looked nothing like the beautiful twist-outs I kept saving on Pinterest. So I had to reverse-engineer the whole process myself, step by step, until it finally clicked.
This guide is what I wish someone had handed me at the beginning. It’s a single process — a seven-step twist-out method — and it’s specifically designed to work with your natural curl pattern, not around it. If you’ve ever wondered why your twists dry frizzy or your curls clump unevenly, the answer is almost always in how you prepared before you even picked up a product.
Everything We’re Covering in This Tutorial
- Why Straight-Hair Instructions Break Your Curls
- What You’ll Need
- Step 1: Wet or Dry — Know Before You Start
- Step 2: Detangle Without Erasing Your Pattern
- Step 3: Section With Intention
- Step 4: Apply Product the Right Way
- Step 5: Twist for Definition
- Step 6: Protecting the Pattern While It Sets
- Step 7: The Unravel — What to Skip Entirely
- What My Hair Looked Like After
- Questions I Get About This
Why Straight-Hair Instructions Break Your Curls
Here’s the core problem. Most mainstream styling tutorials — even good ones — are built around hair that doesn’t have an existing pattern to protect. When you apply those techniques to coily or tightly curled hair, you end up fighting the structure that’s already there. Rough detangling disrupts curl clumps. Applying product section-by-section in the wrong order causes inconsistent moisture. Drying methods that work beautifully on a 2C wave will leave a 4C coil crunchy and undefined.
Curl pattern isn’t a problem to fix. It’s the foundation you build on. And once I started treating it that way — protecting it at every stage rather than working around it — everything changed. The natural hair styles easy enough for a Sunday morning suddenly became achievable. You can also look through hair inspiration styles matched to your curl pattern to get a sense of which looks will suit your specific texture before you start.
What You’ll Need
Nothing fancy. I was shocked when I realized how much product I’d been buying that I didn’t actually need. Here’s what I genuinely use for this method:
- A spray bottle filled with water (distilled is great if your tap water is hard)
- A wide-tooth comb — not a brush, not a fine-tooth comb
- Sectioning clips (at least 6–8)
- A moisturizing leave-in conditioner
- A curl-defining cream or butter (nothing with heavy mineral oil)
- A light holding gel — optional but helps with frizz
- A satin or silk scarf or bonnet
- Time. Seriously. Don’t start this twenty minutes before you have to leave.
That’s genuinely it. The magic isn’t in buying a twelve-step product line — it’s in the technique.
Step 1: Wet or Dry — Know Before You Start
This is the decision that shapes everything that follows, so I want to be really clear about it. Twist-outs work on both wet and dry hair, but the results — and the techniques — are genuinely different.
Wet: Start immediately after washing, while hair is still damp (not dripping). Curls are at their most pliable, products absorb easily, and definition tends to be tighter and more uniform. This is what I do on wash day. Drying time is longer — plan for several hours or overnight.
Dry: Mist hair with your spray bottle until sections are damp but not soaked. This works well as a refresher mid-week when your hair has already been styled. Results can be slightly softer and more diffuse — some people prefer this look. The twist-out opens more loosely.
For this tutorial, I’m going with the wet method — it gives you the most control and the cleanest definition. If your hair is already dry, just mist generously and let it absorb for two minutes before moving to Step 2. The goal before you proceed is damp, not wet.
Step 2: Detangle Without Erasing Your Pattern
I cannot stress this enough. How you detangle is the single biggest factor in whether your natural curl pattern survives the process intact.
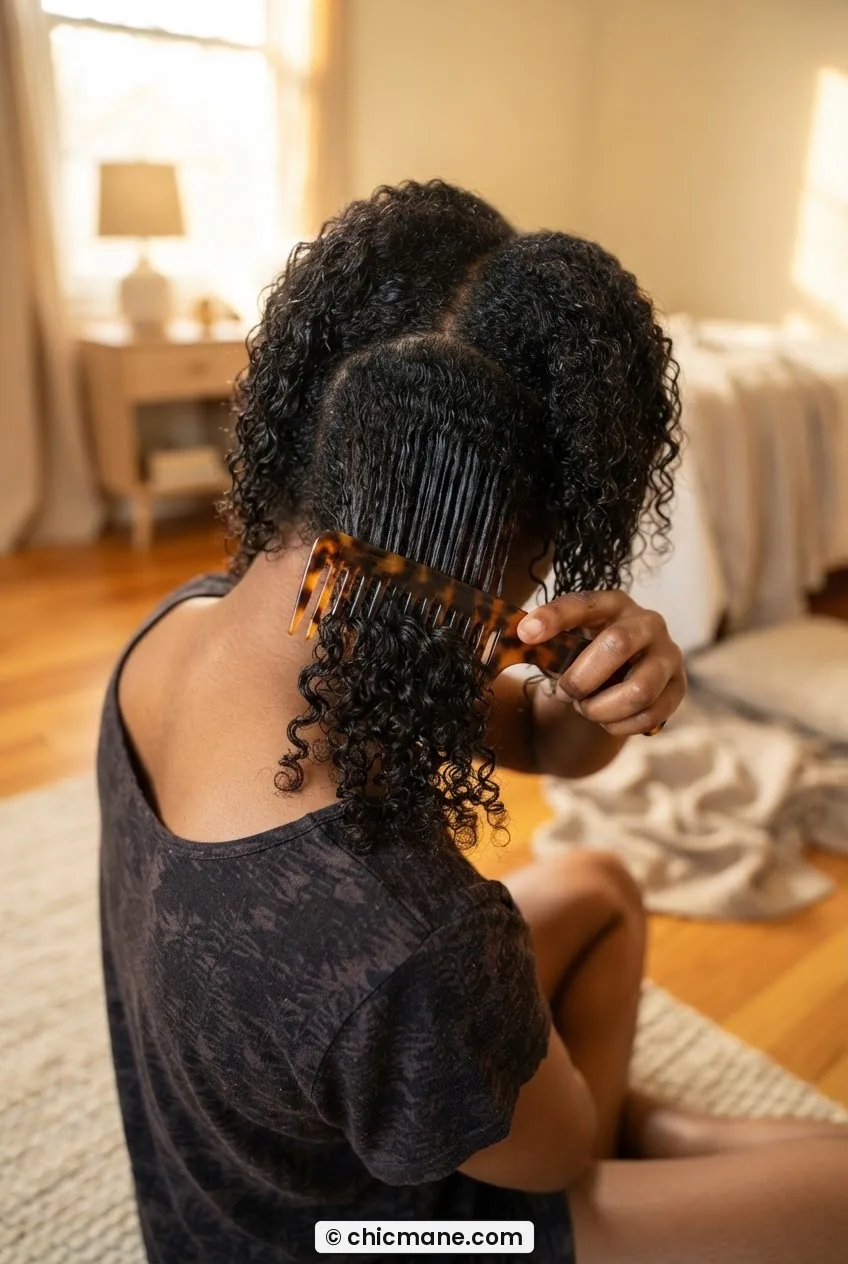
Use your wide-tooth comb, and start from the ends. Work your way up toward the root in small increments — never drag from root to tip in one stroke. Your other hand should be holding the section steady just above where you’re combing, so you’re not pulling directly on the scalp. Take your time. Rushed detangling is the number one reason curls lose definition before you’ve even applied a single product.
The mistake I made for an embarrassingly long time: detangling with a brush because it was faster. A brush separates curl clumps that are supposed to stay together. I’d detangle, apply product, twist, and then wonder why my twist-out looked stringy and undefined instead of full. Switch to wide-tooth and never look back.
Once a section is tangle-free, it should spring back into its natural shape. If it’s just hanging limp, you may have over-manipulated it — mist lightly and scrunch upward to encourage the curl to reform before you move on.
Step 3: Section With Intention
Sections determine the size of your twist-out curls, so this matters more than most people realize going in. Bigger sections = looser, more voluminous waves. Smaller sections = tighter, more defined coils. Neither is wrong — it just depends on the look you want.
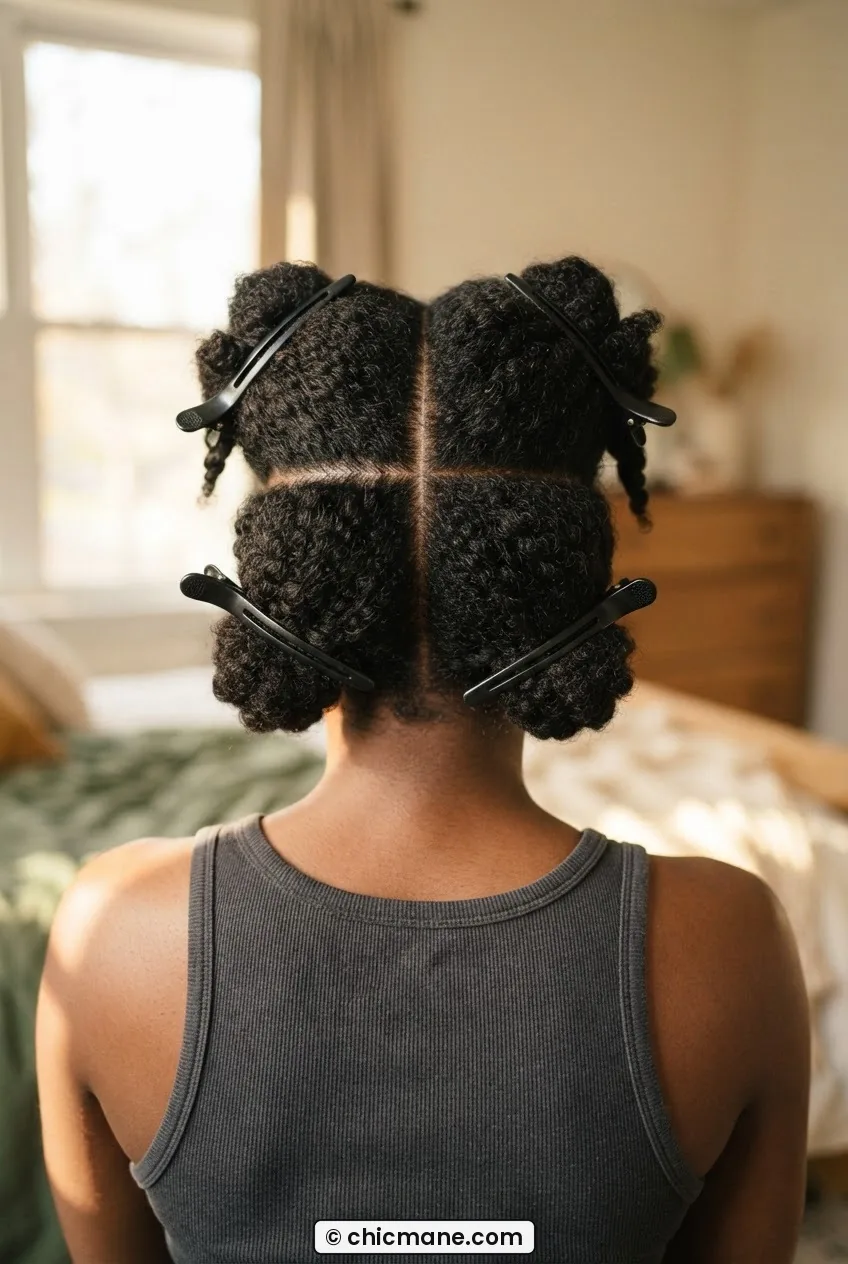
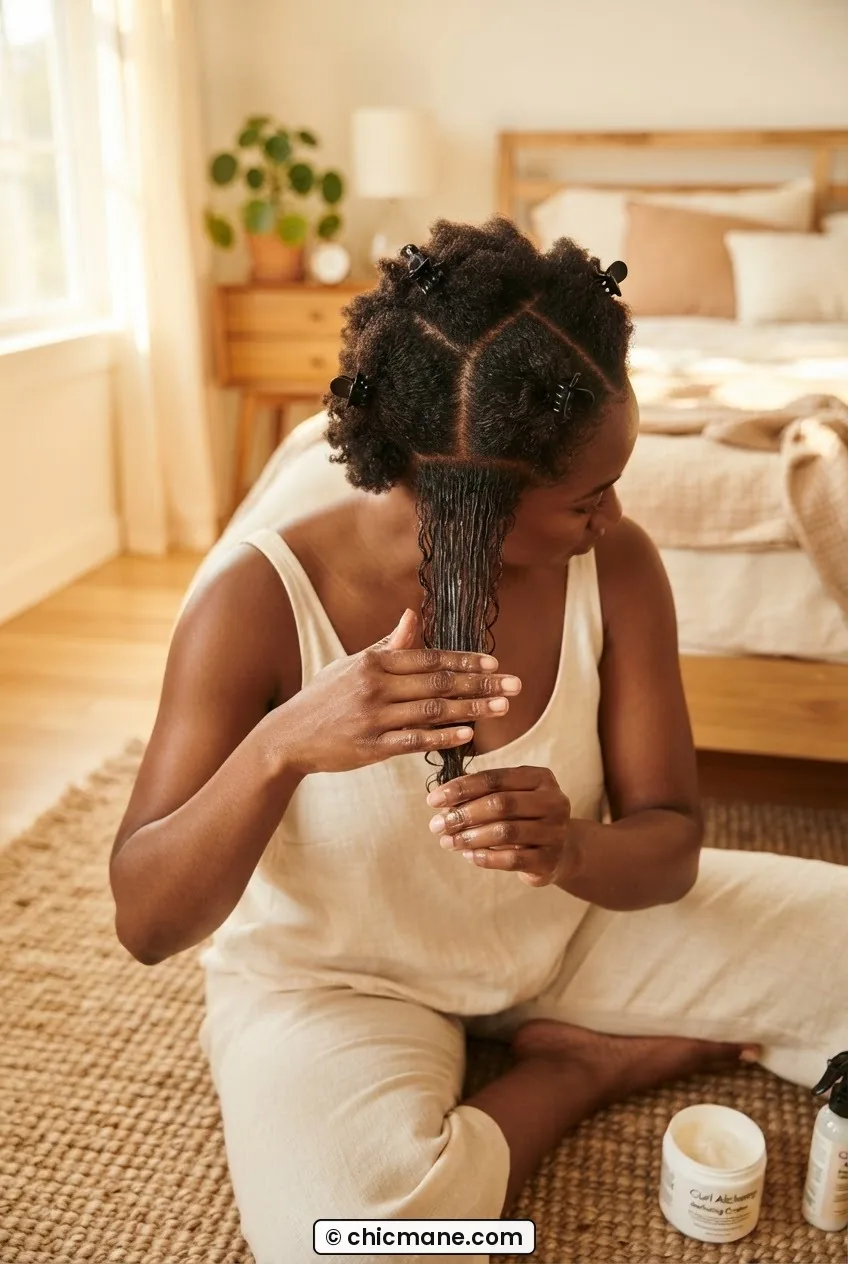
I divide my hair into four quadrants first: two in the front, two in the back. I clip each one out of the way while I work. Then, within each quadrant, I take twisting sections roughly the width of two fingers. For medium-length natural hair, this tends to produce the most balanced result — enough definition without looking overly segmented. If you have shorter hair, there’s a good breakdown of what works at different lengths over on short hair styles easy when there’s not much length to work with.
Always work from the back sections forward. This keeps the front hair — which everyone sees first — moisturized and un-manipulated until you get to it. By the time I reach my front sections, I’ve got my technique dialed in and I give them the most careful attention.
Step 4: Apply Product the Right Way
This is the step that genuinely changed my results. Most people apply products to their whole head and then twist. I apply product section by section, one twist at a time. The difference is that the product stays active and the moisture doesn’t start evaporating before you get to each piece.
Here’s my exact order for each section:
- Mist with water if the section has dried slightly since wash
- Apply leave-in conditioner — rake it through with fingers, not a comb, so you’re not disturbing the curl you just set
- Layer the curl cream on top — smooth it from root to tip in one direction
- If you’re using gel, apply a small amount last and smooth over the outside of the section only
The layering order matters. Leave-in first seals in moisture. Cream adds slip and definition. Gel (if using) locks everything in place. Reversing these steps is like putting your socks on over your shoes. You can also read up on the LOC method for natural hair to understand why this layering works at a deeper level — it’s the science behind why the sequence matters so much.
Step 5: Twist for Definition
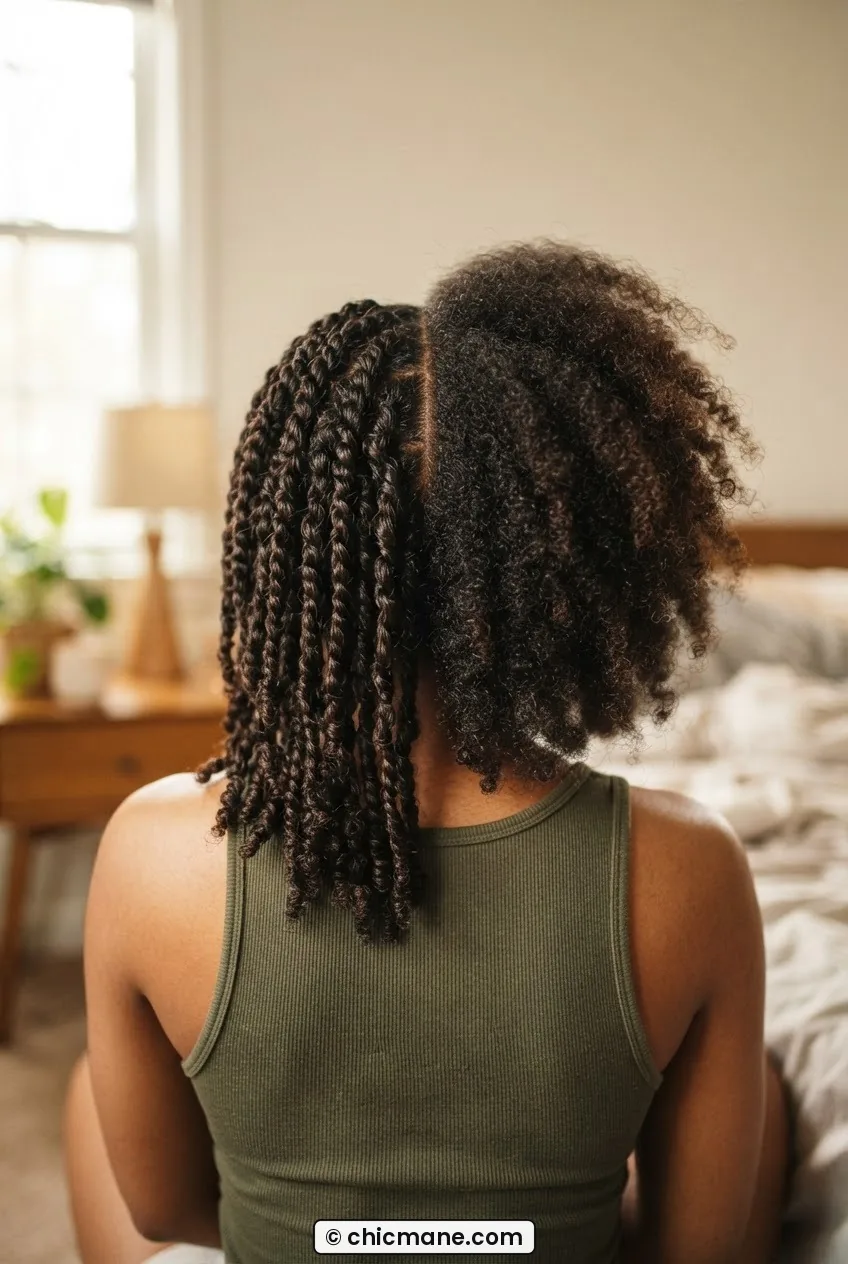
Now we’re actually twisting. Take your product-coated section and split it into two equal pieces. Wrap them around each other in a consistent direction — I always go clockwise, from root to tip, so my whole head has the same twist pattern when it unravels. This consistency is what makes the final result look intentional rather than accidental.
Keep tension firm but not tight. You want the twist to hold its shape without pulling at the scalp. As you spiral downward, let the two pieces coil around each other naturally — don’t force them flat against your head. When you reach the end, either tuck the tip under the last coil or use a small flexi-rod if your ends tend to unravel before drying.
Look at how she’s wearing her twists in this photo — notice how each one has a consistent diameter from root to tip, without any bulging in the middle. That’s what you’re aiming for. Inconsistent tension mid-twist is the most common reason the unraveled result looks uneven.
Work your way through every section until your whole head is twisted. This is the moment it feels like the most work, but it’s also the part where you’re building every bit of definition you’ll see tomorrow. Don’t rush it.
A Twist-Out Technique That Actually Makes Sense
Step 6: Protecting the Pattern While It Sets
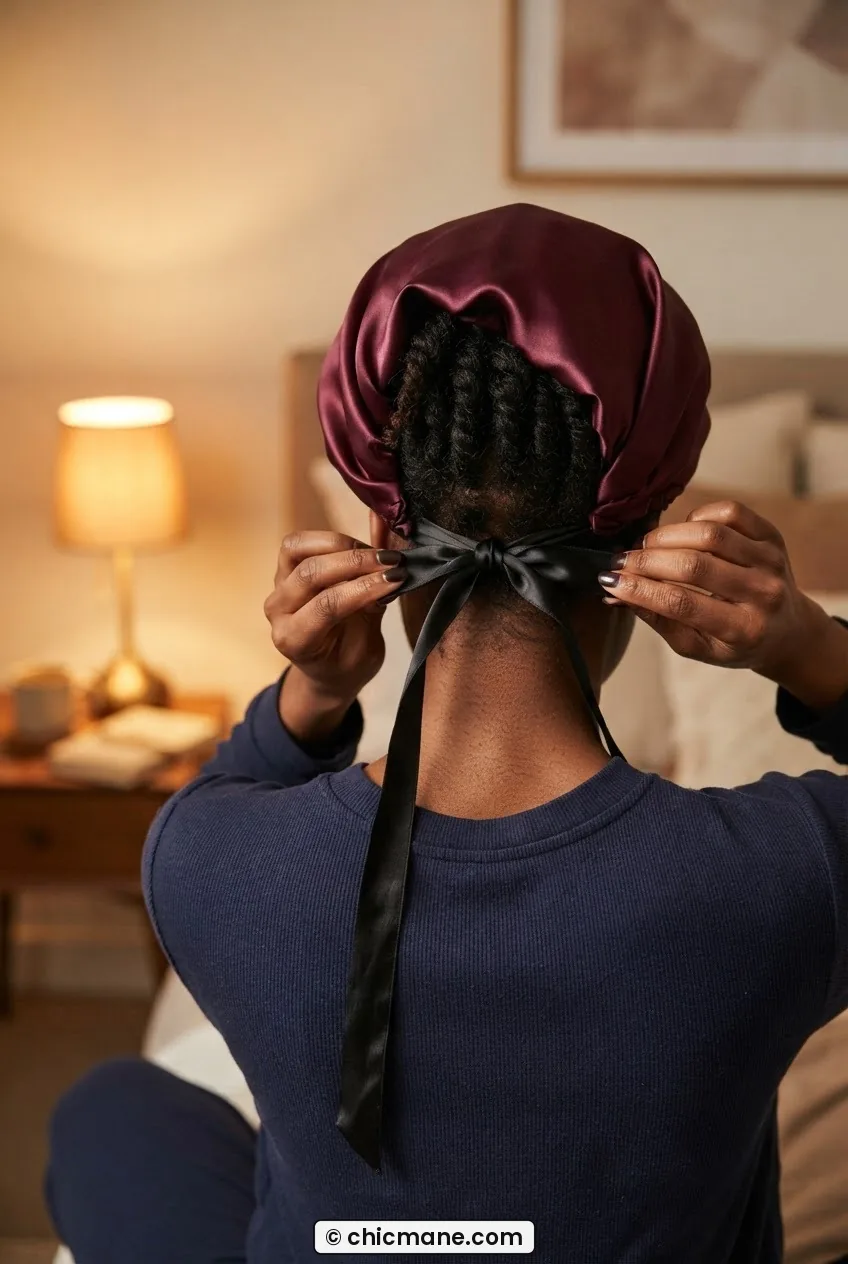
Your twists need to dry completely before you unravel them. This is non-negotiable. Opening a twist that’s even slightly damp inside is the fastest route to frizz. For most textures, air drying overnight under a satin bonnet is the best option — no heat disrupting the pattern, no rushed timing.
If you need to speed things up, use a hooded dryer on low heat. A diffuser attachment works in a pinch but moves the twists around too much for my liking — I find I get better results staying still. What I never do anymore is sleep on a cotton pillowcase with unprotected twists. Cotton is porous and it pulls moisture right out of your hair while you sleep, which means you wake up with twists that are dry on the outside but still slightly damp at the core. Satin bonnet, every time.
While you’re waiting, this is a great moment to look through some open hairstyle options for days when your twist-out needs a refresh — knowing your backup plan before you need it saves a lot of panic-styling in the morning.
Step 7: The Unravel — What to Skip Entirely
This is where most people undo their own good work. The unravel is a technique, not just the part where you shake your hair out and hope for the best.
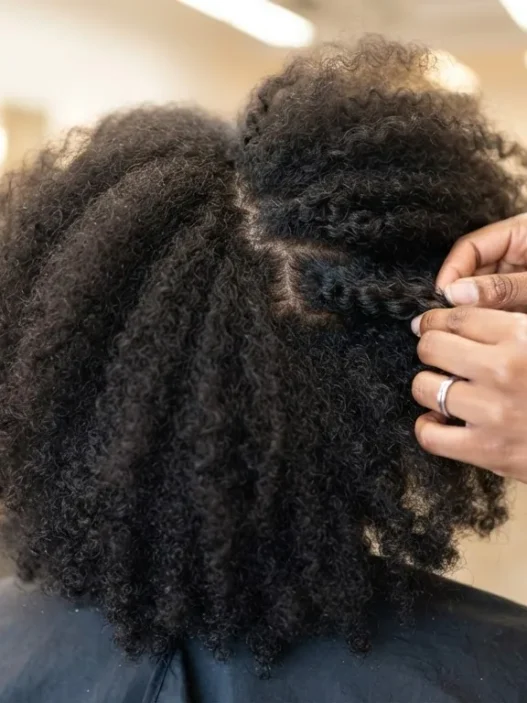
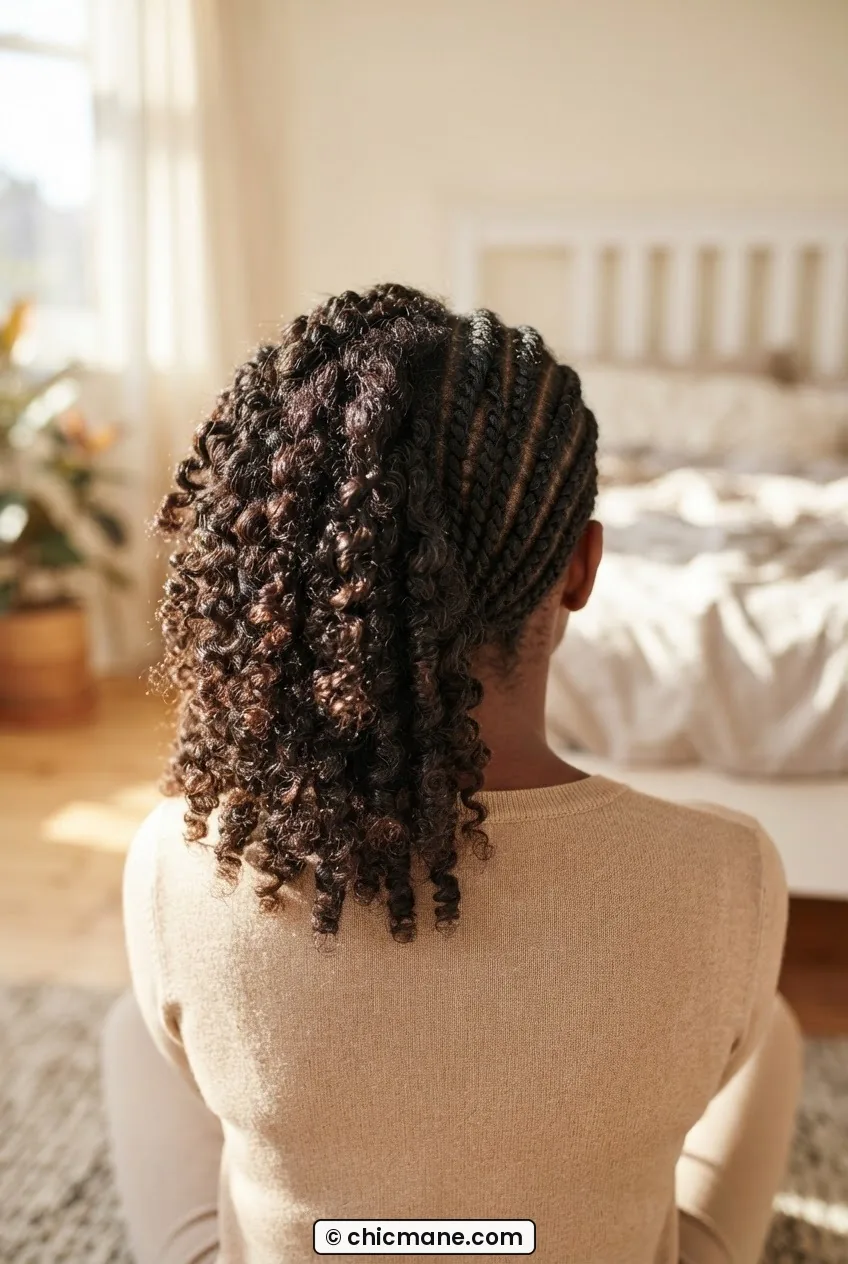
Start at the back of your head and work forward — same order as when you applied. Add one or two drops of a lightweight oil to your fingertips before you start. Then, unwrap each twist slowly, using your fingers to gently separate the coils as they open. The key word is gently. You’re not pulling the two strands apart like you’re unwrapping a candy — you’re letting the twist fall open at its own pace while you guide the curl with your fingertip.
What to skip entirely: combing or brushing after unraveling. Picking aggressively through the roots immediately. Using your whole hand to shake sections loose from the root. All of these things break the curl clumps you just spent hours building. If you want volume at the root, use just the very tips of your fingers and gently lift at the base — the same motion you’d use if you were pretending to play piano on your scalp.
See how in this photo, her defined curls are still intact on the right side while she’s mid-unravel on the left? That contrast is exactly what I mean about gentle separation — the pattern survives when you respect it.
Once everything is unraveled and shaped, resist the urge to touch it again. I know. It’s hard. But the more you handle it, the more frizz you introduce. Shape it once, set it, leave it.
What My Hair Looked Like After
The first time I followed this exact sequence without skipping or rushing any step, I genuinely stood in front of the mirror for a moment just looking. My curls were defined, uniform, and full at the roots — not the flat-at-the-crown, puffy-at-the-ends result I’d been getting for months. They stayed that way for three days before I needed to refresh, which is a record for me.
The biggest shift was realizing that natural hair styles easy enough to repeat consistently aren’t about having the right products. They’re about understanding the order of operations. I also started thinking more about what my hair could do at different lengths — the hair styles for medium hair length guide helped me figure out which twist-out variations were actually suited to where my hair was in its growth journey at the time.
And on days when I want to do something different with a two-day twist-out, pinning the front into a half-up style is genuinely one of my favorite moves. It takes sixty seconds and makes it look like you planned a whole new style. You can also check out second day twist-out refresh when your first day is perfect and you want to preserve that definition into day two without starting from scratch.
Questions I Get About This
Can I do a twist-out on transitioning hair that’s still partly relaxed?
Yes, but it requires extra patience at Step 2. The line of demarcation — where your natural growth meets the relaxed ends — is fragile, so detangle even more slowly than usual and be especially gentle near the ends. The two textures will behave differently when the twist opens, and that’s okay. Your curl pattern will become more consistent as the relaxed portion grows out.
How long does a twist-out actually last?
Realistically, three to five days with proper maintenance. Night one is the best definition; by day three you might be refreshing the perimeter or pinning sections back. Sleeping in your satin bonnet every night is the biggest factor in how long it holds. Humidity is the enemy — a light anti-humidity product over the top on day two helps more than you’d expect.
Why does my twist-out always look frizzy even when I follow these steps?
Nine times out of ten, it’s because the twists weren’t fully dry before unraveling. Even if the outside feels dry to the touch, the interior of a thick twist can still be damp — especially at the root. Try waiting an extra two hours beyond when you think it’s done, or use a hooded dryer for the last thirty minutes. The other common culprit is using too much heavy product, which can prevent the hair from drying properly in the first place.
Does the size of my sections change depending on my hair thickness?
Definitely. If you have very thick or dense hair, go slightly smaller with your sections — thick twists take longer to dry and can come out looking bulky rather than defined. If your hair is finer or lower density, slightly larger sections will give you more volume and keep the style from looking sparse when it opens up. Think of the two-finger guideline as a starting point, not a fixed rule.