








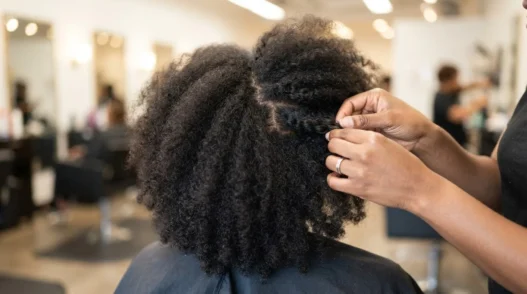
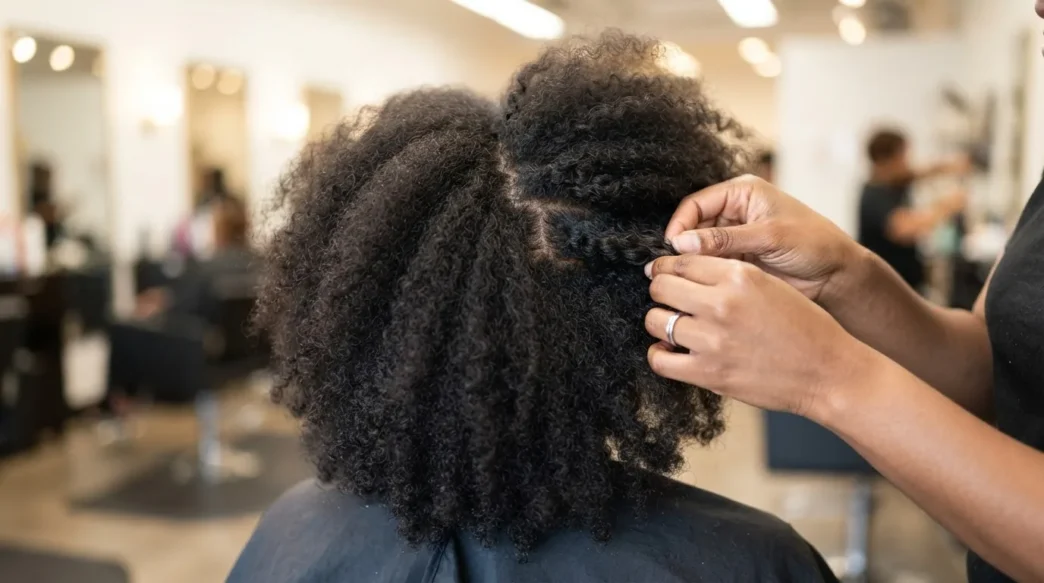
I used to sit down every single time to do my cornrows and immediately start wrestling my nape into a direction it flatly refused to go. I’d finish, feel proud, and then watch the whole left side slowly lift away from my scalp over the next 48 hours. My edges would puff up in the exact spot I’d worked hardest to slick down. For two years I blamed my hair. Turns out my hair was never the problem — I just didn’t understand what it was trying to tell me.
Your Roadmap: 7 Steps to Cornrows That Work With Your Hair
- Why I Spent Years Getting This Wrong
- What You’ll Need Before You Start
- Step 1: Finding Your Pattern
- Step 2: Mapping While Damp
- Step 3: Working With It — Sectioning
- Step 4: Working With It — Anchoring the First Braid
- Step 5: Working With It — Feeding Through the Body
- Step 6: Working With It — The Edges
- Step 7: When to Overrule It (and What It Costs You)
- Questions I Get About This
Why I Spent Years Getting This Wrong
The thing nobody tells you about cornrows on natural hair is that your scalp has opinions. Strong ones. The growth direction at your temples is almost never the same as the direction at your crown, which is almost never the same as your nape. And all of those directions sit underneath the pattern you’re trying to create. When they fight each other, you feel it — tightness, lifting, weird bumps along the braid line, edges that puff back within a day.
I spent ages watching tutorials where someone would just draw a comb straight back from hairline to nape and call it a section. Easy! Perfect! But every time I did that, something subtle went wrong. The braid would sit beautifully on camera, then slowly torque away from my scalp because I was running it against the grain of how my hair grows in two or three key zones.
The fix wasn’t technique. It was observation. I needed to learn my own pattern before I ever picked up a rat-tail comb. If you’ve been fighting the same invisible battle, this guide is the thing I wish someone had handed me on day one. If you’re newer to braided styles generally, my breakdown of braided hairstyles and how they’re constructed covers a lot of helpful groundwork too.
What You’ll Need Before You Start
Nothing exotic. Here’s what I keep on hand:
- Rat-tail comb (the skinnier the tail, the better your sections)
- Wide-tooth comb for detangling
- Spray bottle filled with water (just water — more on why shortly)
- Light-hold gel or edge control — I use a edge control for 4C hair that doesn’t flake
- Small butterfly clips or duck-bill clips to hold sections out of the way
- A good mirror setup — ideally a handheld and a wall mirror so you can see your nape
- A fine-tooth comb or toothbrush for edges
- Hair ties or small elastic bands for the ends (if you’re not threading or wrapping)
- Optional: light oil like jojoba or grapeseed to seal the scalp after braiding
That’s genuinely it. You don’t need seventeen products. The overcrowded product lineup is its own separate problem I’ll come back to.
Step 1: Finding Your Pattern
Before any water, before any combing — look. Really look at your dry hair at the roots. Run your fingertips along your hairline and notice where the hair naturally leans. Does your left temple grow forward? Does your nape spiral slightly to the right? Is there a crown whorl that sends hair out in four different directions depending on where you stand?
Every person has at least three distinct growth zones. Most of us have five. For cornrows natural hair that actually lies flat, you need to know yours before you decide where your rows will run. I map mine mentally into: right temple, left temple, front center, crown, and nape. Each one might grow in a slightly different direction, and each one will resist a braid line that cuts across its grain.
Understanding your curl pattern helps here too — if you haven’t already dug into how your specific texture behaves, reading about hair inspiration styles matched to your curl pattern will give you a useful frame of reference before you start mapping.
Mistake I made: I assumed my growth pattern was uniform and that any variation was just “difficult hair.” It wasn’t. I have a pronounced leftward lean at my right temple that I spent two years trying to override by braiding straight back. Every single time, that section pulled tighter than the rest and showed lift by day three. When I finally angled the first row slightly to accommodate that lean — problem gone.
Step 2: Mapping While Damp
Now wet your hair — not soaked, just damp. This is the step that changed everything for me. When natural hair is lightly misted, it settles into its most honest position. It doesn’t puff, it doesn’t frizz out, and it doesn’t perform for you. It just sits where it wants to sit.
Spray the whole head evenly and then do nothing. Wait thirty seconds. Watch where each zone falls. Run your fingers gently through from root to tip without pulling — you’re not detangling yet, you’re reading. Notice which sections glide smoothly in which direction and which ones snag when you move against them. That snag is a growth direction boundary.
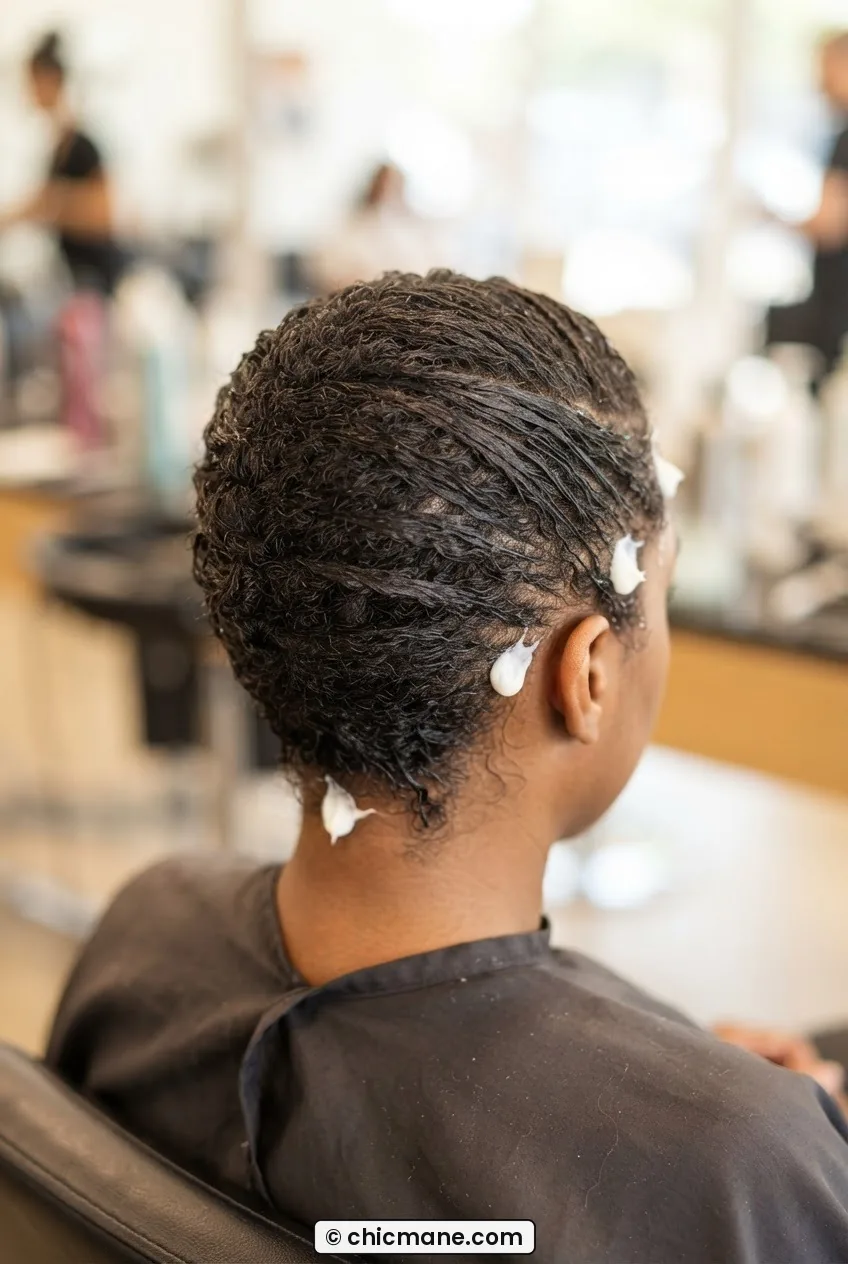
This is your map. I actually used to mark mine with a tiny dab of white conditioner at the transition points — three dots along my hairline showing me where the growth direction changed. Sounds fussy, but it saved me so much fighting later. You can use a light-colored gel if conditioner feels too slippery. The point is to make the invisible visible before you commit to a single section.
If you’re someone who normally styles natural hair with as little disruption as possible — which honestly, more of us should be — the approach over at natural hair styles that don’t disturb the curl pattern touches on this same philosophy of reading before acting.
Step 3: Working With It — Sectioning
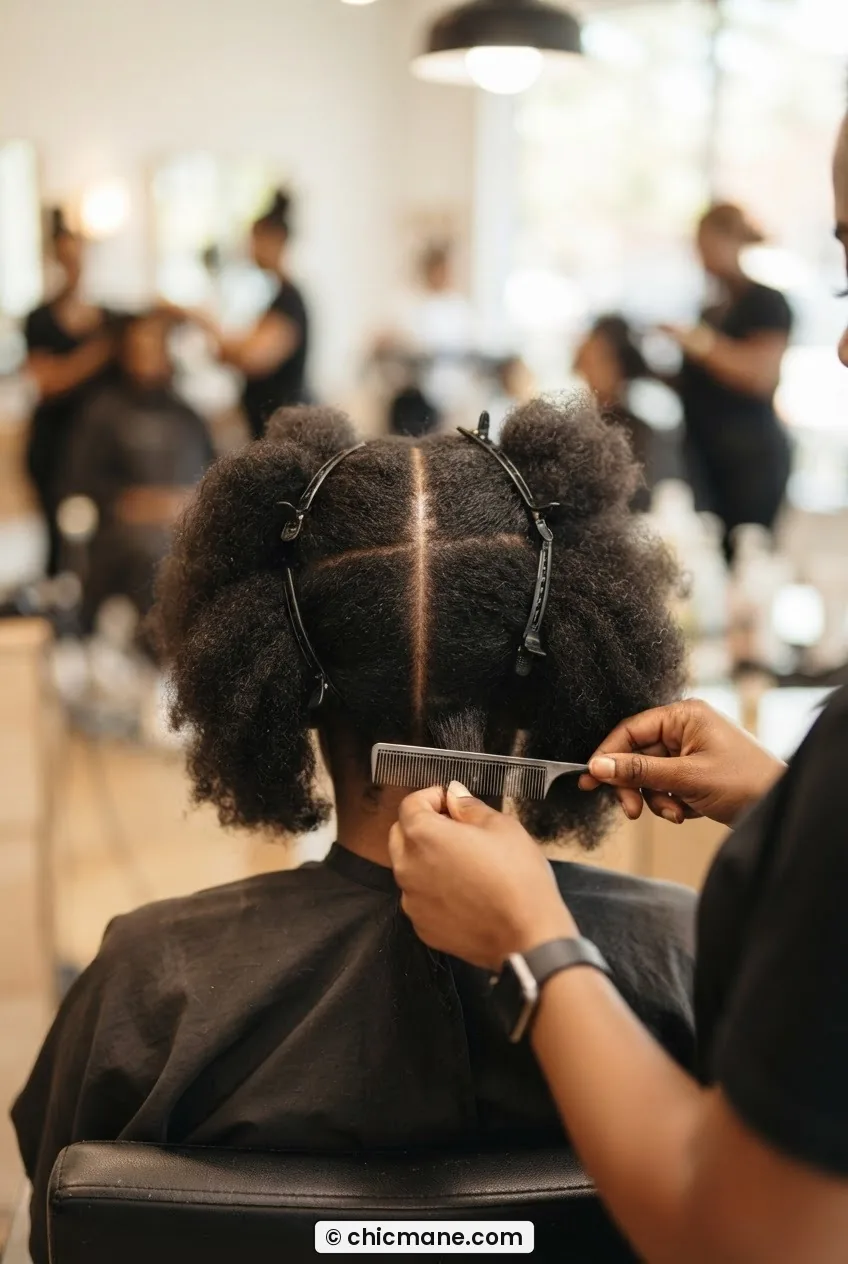
Now you can pick up your rat-tail comb. Start at the front hairline and create your first parting — but instead of going ruler-straight, follow the lean of the hair in that zone. If your front center grows back and slightly right, your first parting line angles slightly right. Trust what you read in Step 2.
Work one section at a time, clipping everything else out of the way. The width of each section is a personal choice — I like mine about the width of the comb’s tooth spacing, which gives a neat, medium-sized braid — but whatever width you choose, keep it consistent. Inconsistent sections are the fastest route to an uneven finished look.
Don’t try to pre-section the whole head before braiding. I know it feels organized to map out all your rows at once, but by the time you get to row six, the earlier sections have dried differently and shifted. Section one row, braid it, then section the next.
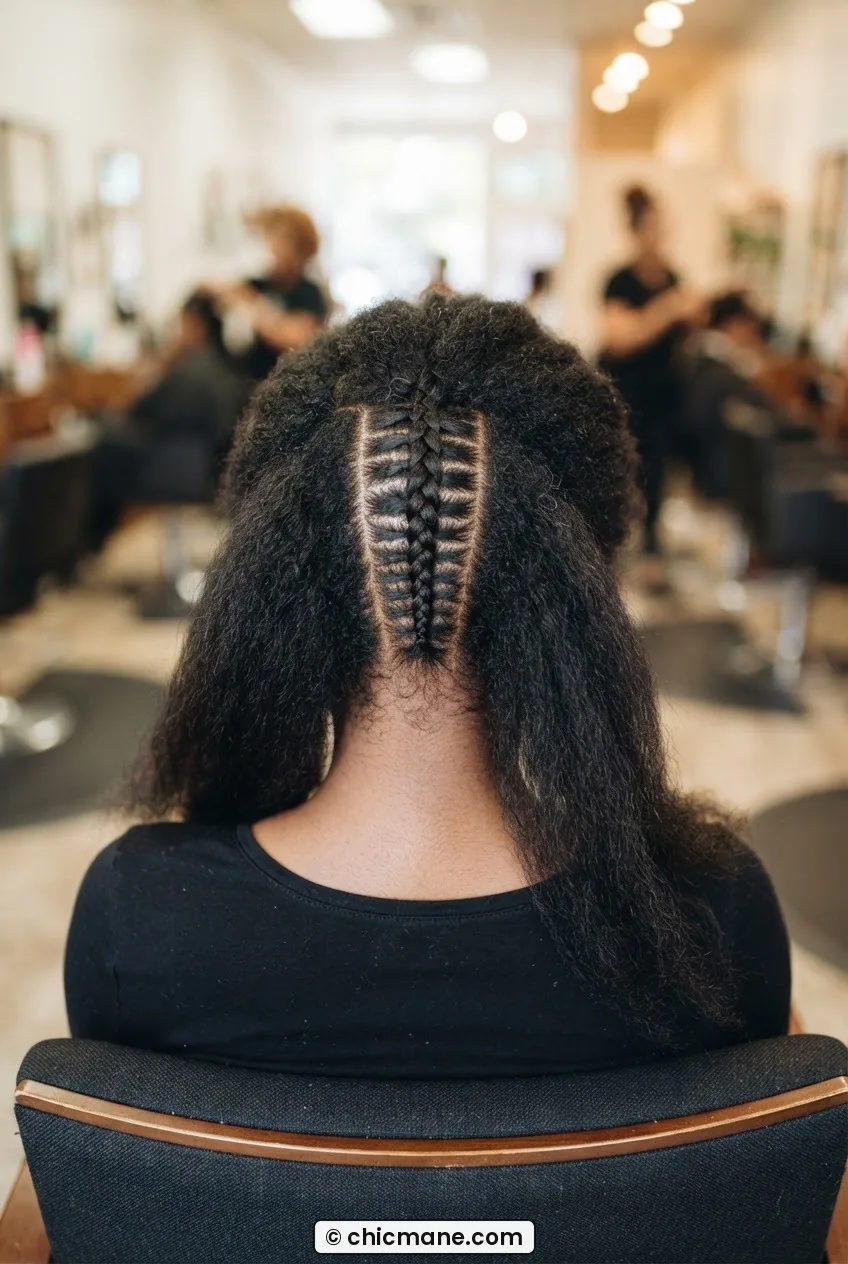
Step 4: Working With It — Anchoring the First Braid
The first braid sets the template for the entire head. This one is worth slowing down for.
Take your sectioned hair, apply a small amount of gel — just enough to give the strands some grip on each other without stiffening them — and split the section into three even parts. Start your cornrow braid at the very front of your hairline, right at the root. The key word here is at. Not a half centimeter back. Right at the hairline follicles.
As you make your first two crosses, you’re establishing the angle and direction of the row. Keep the tension even across all three strands — not tight, just firm enough that the braid sits flat. If you’re braiding in the direction the hair naturally grows (which you now know, because you did Steps 1 and 2), it should feel almost effortless. The hair wants to go that way. You’re just organizing it.
After four or five picks, pause and press the braid lightly against the scalp. It should lie completely flat without you holding it. If it lifts when you let go, you’re either working against the grain or your tension is uneven. Undo those first few picks and re-start with slightly less angle.
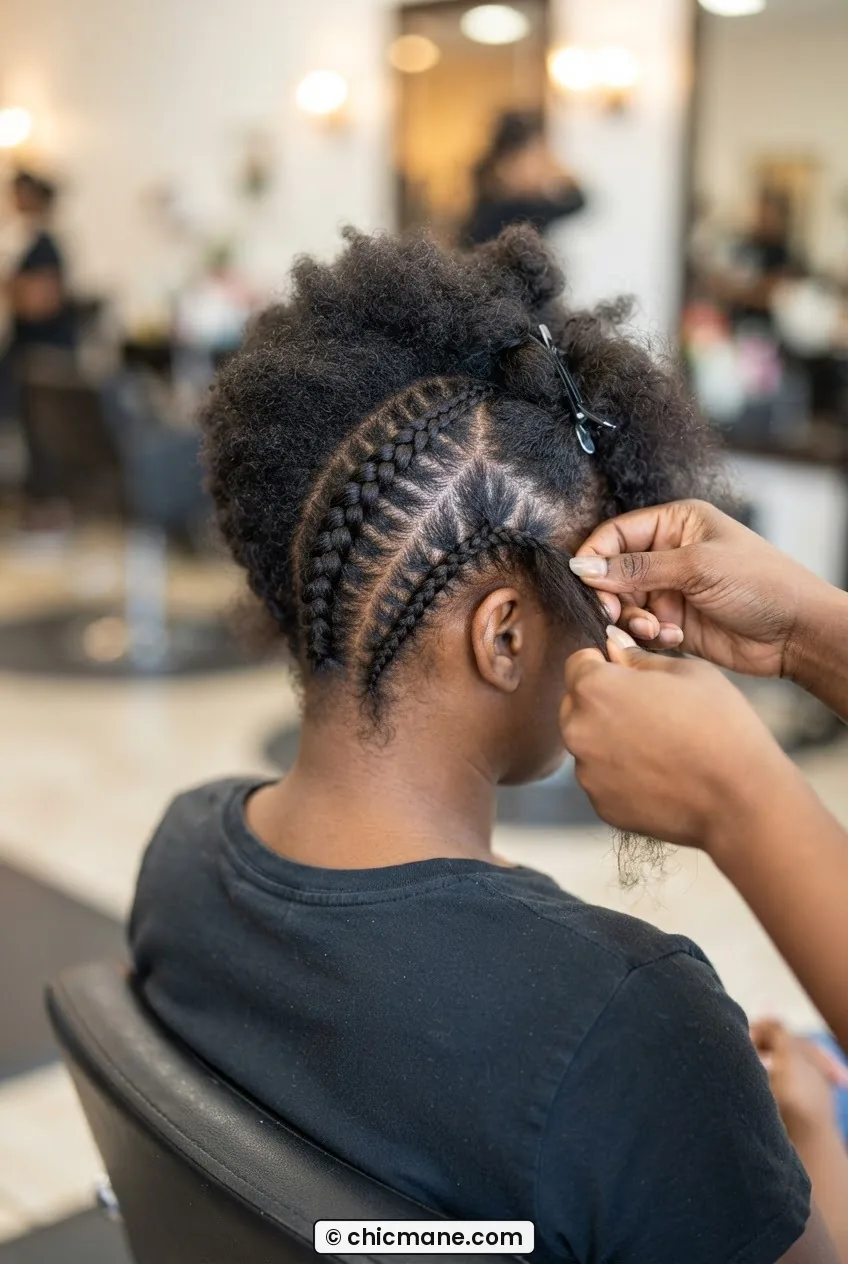
A Tutorial That Shows the Anchor Step Clearly
Step 5: Working With It — Feeding Through the Body
Once you’ve got a solid anchor (those first four or five picks feel stable and flat), you can pick up speed through the body of the braid. Feed new hair in with each pick using your index finger rather than the comb — the finger gives you more tactile control over how much hair you’re adding and where exactly you’re picking it up from the scalp.
Add hair in small, consistent amounts. This is where a lot of DIY cornrows go lumpy — you add a big chunk one pick, a tiny strand the next, and it shows. Smaller and more frequent additions create a smoother braid surface and a cleaner look overall. Think of it like shading — the closer together your lines, the more seamless it looks.
Keep that spray bottle nearby and mist any section that starts to feel dry and resistant. Dry hair during braiding = breakage at the pick point. I re-mist my working section about every five to six picks. It adds maybe two minutes to the whole process and saves you noticeably more in terms of hair health.
Step 6: Working With It — The Edges
Edges are their own conversation. They grow differently from the rest of your hair — finer, often in a distinctly different direction, sometimes in multiple directions within a centimeter of each other. This is the zone where fighting your pattern causes the most visible damage over time.
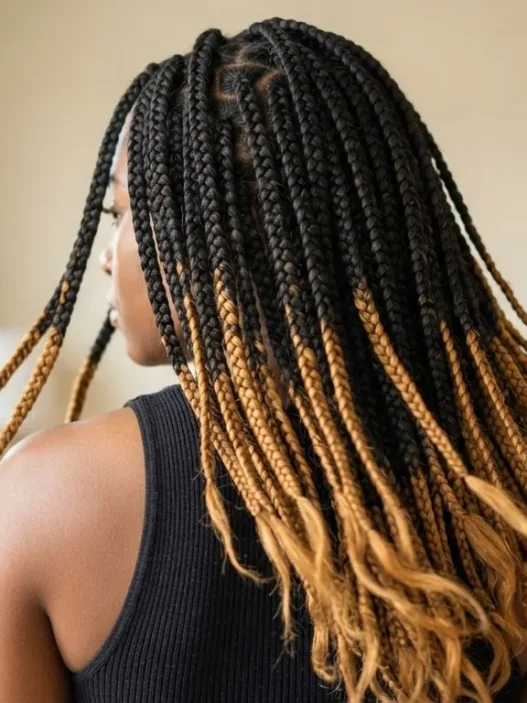
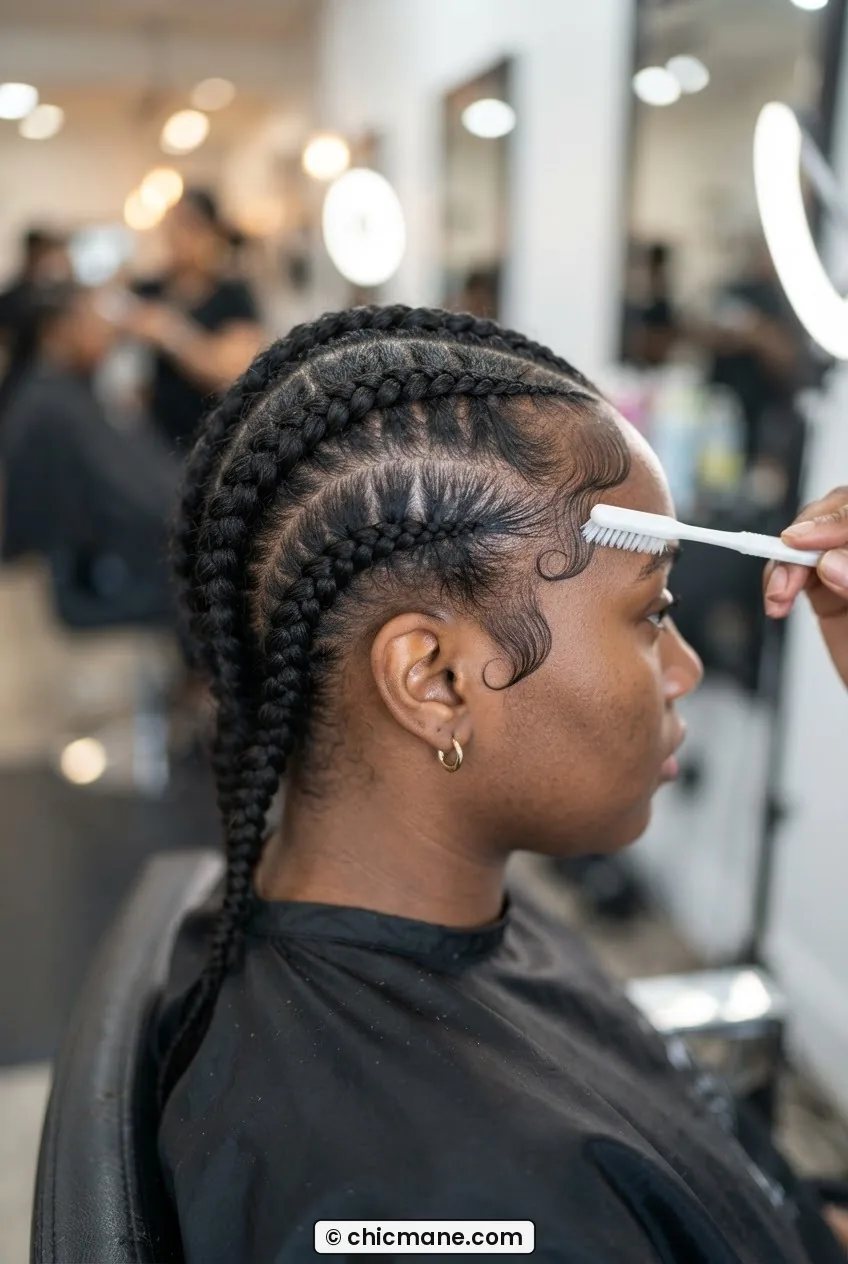
Look at how she’s got her edges handled in this photo — notice how the baby hairs are following their natural swirl rather than being pulled into a straight line that doesn’t exist in that hair’s growth map. That’s what I’m talking about. The braid starts cleanly, the edges are laid but not tortured.
My approach: after the braid row is done, I apply a tiny amount of edge control (just on the hairline, not the scalp) and use a soft toothbrush to smooth the edges in the direction they naturally grow. If they spiral left, I smooth left. I don’t fight them into a straight line just to match the braid direction above them. The braid can end at the hairline; the edges do their own thing just below.
You can also read up on how to protect edges before you start if your hairline is already fragile — it’s worth understanding the tension limits before you pull.
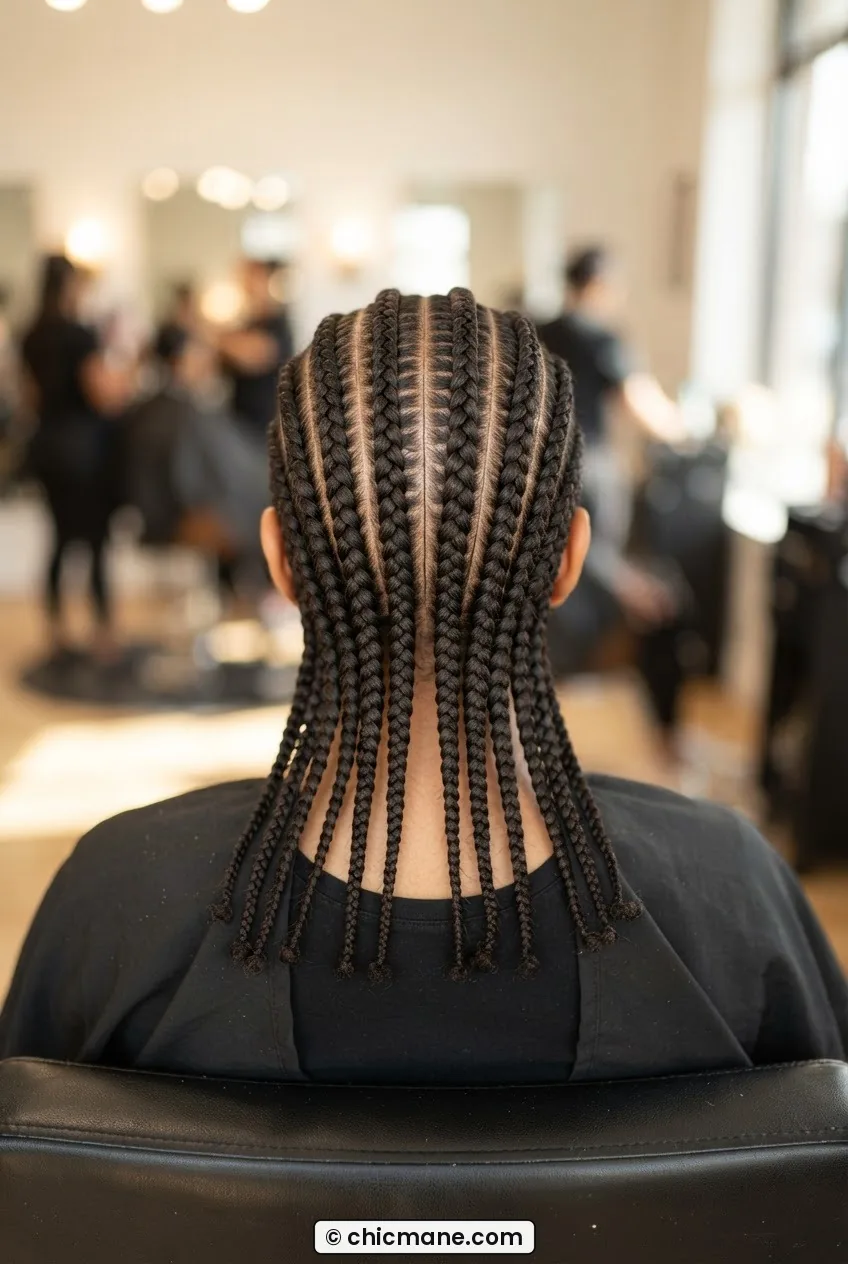
Step 7: When to Overrule It (and What It Costs You)
Sometimes you want a specific design — curved rows, zig-zag patterns, braids that run at an angle your growth pattern doesn’t naturally support. That’s valid. Art sometimes requires working against the grain. But you should go into it with clear eyes about the trade-off.
Overruling your growth pattern means higher tension. Higher tension over time means traction stress — most visibly at the hairline and temples. The causes of traction alopecia that affects a lot of natural hair wearers isn’t usually caused by one set of tight braids. It accumulates. Each installation that fights the growth direction is a small withdrawal from a finite account.
If you do choose to overrule your pattern for a design:
- Keep the style installed for no longer than four weeks
- Moisturize your scalp every three to four days during wear
- Give yourself at least two weeks of no tension styles between installations
- Never re-install immediately — let your edges rest and bounce back
- Apply a light oil to the hairline daily during wear
The days of sitting in front of the mirror fighting my own scalp are genuinely behind me. My last three sets of cornrows on my natural hair were done without a single section having to be redone, and they lasted almost five weeks with zero lifting. Working with my growth pattern didn’t make the style less intentional — it made it more durable.
If you’re curious how this same principle scales across different lengths — whether you’re working with a short crop or longer strands — the guide on hairstyles from crop to waist has a great visual range. And for days when you want something quick between braid sets, the five-minute open hairstyle options are genuinely useful as a rest-period alternative.
Questions I Get About This
How do I know if my cornrows are too tight?
If you can feel a dull ache at the root within the first hour of installation, they’re too tight — full stop. Some tension is normal; pain is not. You should also watch for small bumps or pimples along the braid line in the first 24 hours, which is a stress response. Loose or redo the sections if either of those happens.
Can I cornrow on very short natural hair?
Yes, but you need at least about two inches of length for the braids to hold without slipping. Shorter than that and the hair can’t feed cleanly through the picks. If you’re in that in-between stage, flat twists are a better transitional option that follows the same growth-direction logic.
How long should cornrows on natural hair last?
A well-installed set that works with your growth pattern — not against it — typically stays neat for three to five weeks. After that, new growth and frizz at the root make them look fuzzy rather than intentional. I find week four is usually my personal cut-off before they start looking tired.
Should I wash my hair before cornrowing?
Yes — clean hair grips itself better and the braids hold longer. I wash two days before installation, not the same day. Same-day washing leaves the hair too puffy and soft to section cleanly. Two days out, the hair has settled back into its natural texture and the pattern mapping in Step 2 is much more accurate.
What if my growth pattern changes after a big chop?
It might, slightly — shorter hair can behave differently because there’s less weight pulling it down. Re-do your damp mapping (Step 2) at each new length milestone. The zones will be broadly the same, but the intensity of the lean in each zone can shift as your length changes. It only takes five minutes and saves you a lot of frustration.