






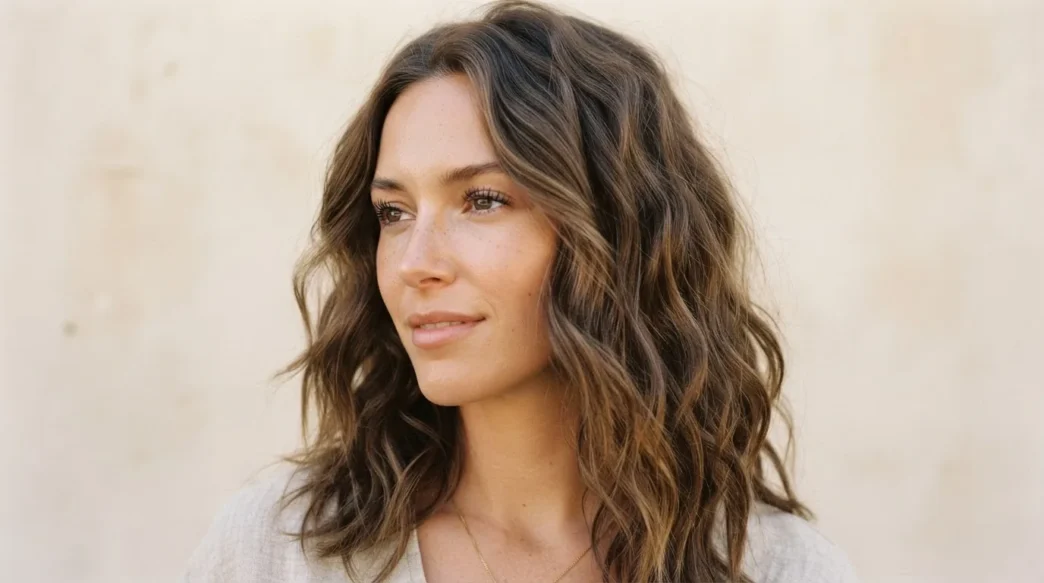
Fine hair is not a flaw. But it is a daily negotiation. I spend probably twenty minutes every morning coaxing lift into hair that, by eleven forty-five, has quietly surrendered back to my scalp like it was never there. I have tried the mousses, the volumizing sprays, the prayers. What I have actually learned — through a lot of trial and many flat afternoons — is that volume on fine hair is mostly a structural problem, not a product problem. The right cut and style choice does more heavy lifting than any foam you can squeeze out of a bottle. So here is the hair inspo that actually holds up.
What’s Inside This Post
- 1. The Blunt Collarbone Cut
- 2. The Root-Lifted Half-Up
- 3. The Textured Lob with Interior Layers
- 4. The Curtain Bang Frame
- 5. The Voluminous Blowout Bun
- 6. The Lived-In Wave Set
- 7. The Micro-Layer Pixie
- 8. The High Pony with a Wrapped Base
- 9. The Side-Part Flip
- 10. The Braided Crown Illusion
- 11. What Actually Does Not Work (Honest Entry)
1. The Blunt Collarbone Cut
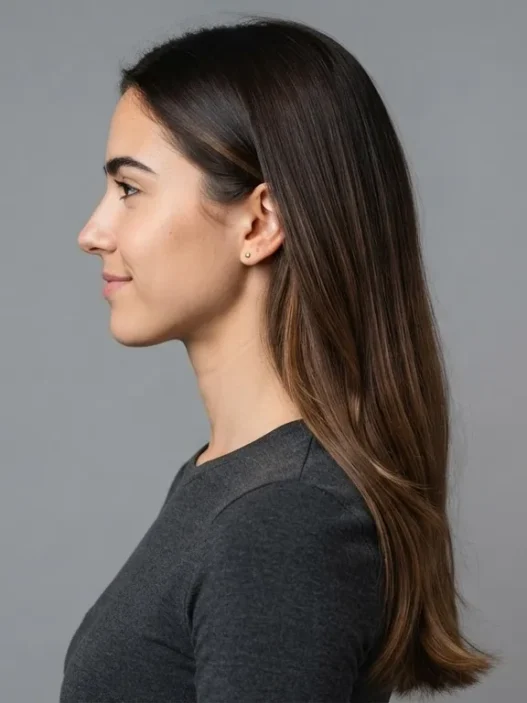
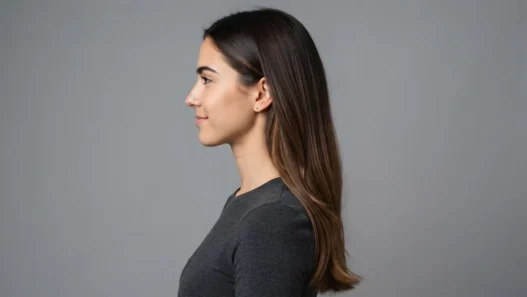
This is the cut I recommend to literally every fine-haired friend who asks me what to do. The blunt collarbone cut — no layers, a clean one-length line landing right at or just below the collarbone — works because of simple optical physics. When all your hair terminates at the same point, the ends appear dense. There is more hair visually concentrated in one band. Your eye reads that as thickness even when each individual strand is as fine as spider silk.
Look at how she’s wearing hers in the photo below — that clean horizontal line where the ends land is doing all the work. Nothing is wispy. Nothing is trailing off into a point.
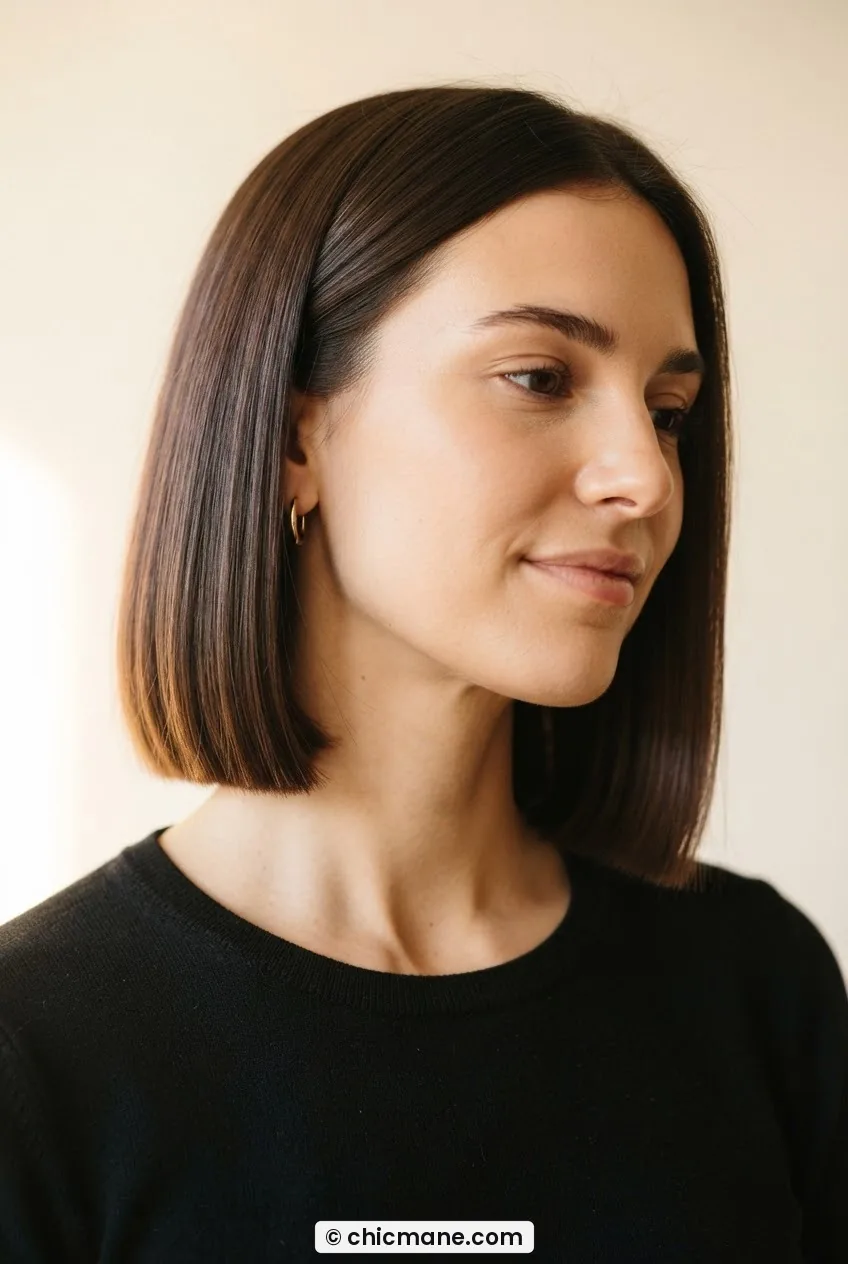
Ask your stylist for a zero-degree cut — parallel to the floor — and resist the urge to add any graduation. Every time I have let someone talk me into “just a little layering at the ends” I have regretted it within a week.
2. The Root-Lifted Half-Up
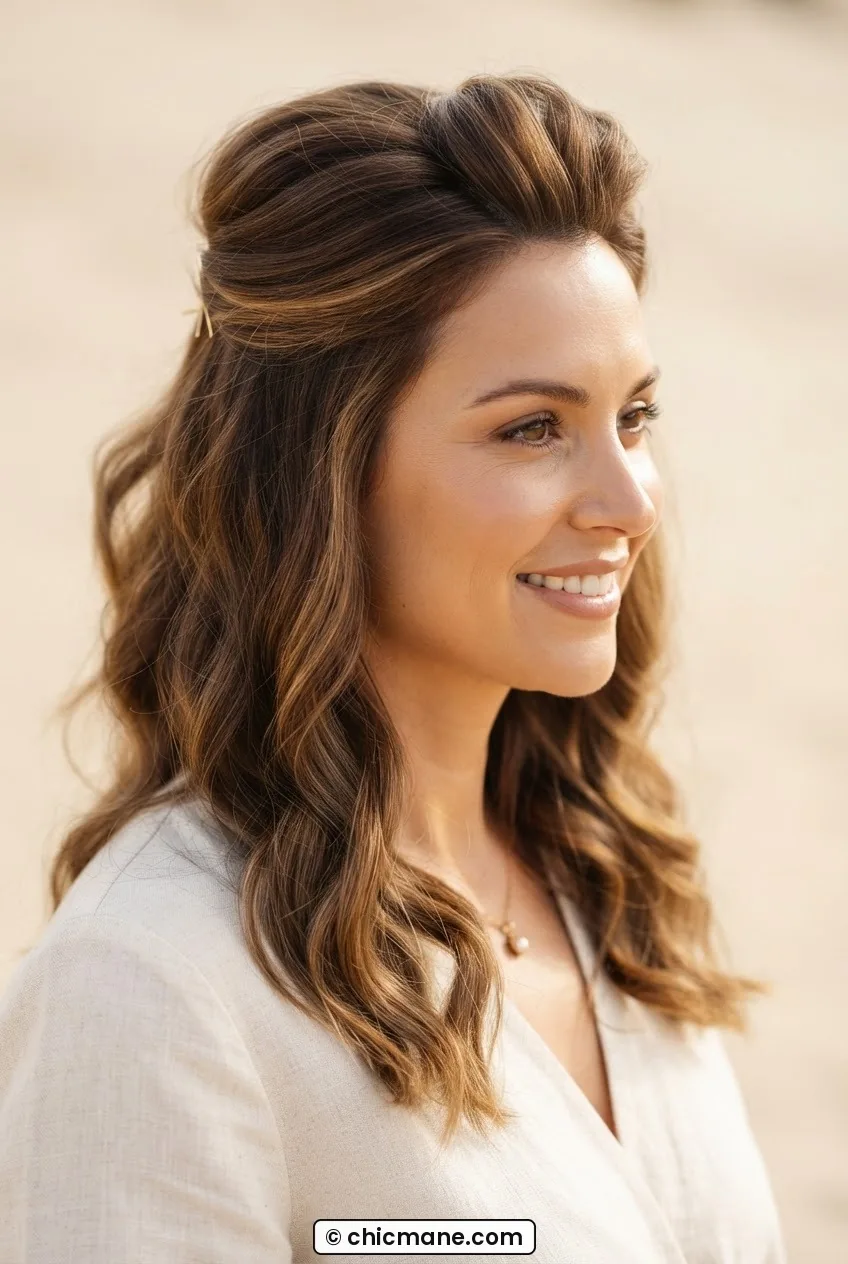
The half-up style is almost cheating for fine hair. You are engineering the illusion of two separate masses of hair — the gathered top section and the loose bottom — which automatically reads as more volume than one flat sheet. But the real trick is the lift at the crown before you secure it.
Blast your roots upward with a diffuser or a round brush, hit the crown with a tiny spritz of dry shampoo or a fine-hair volumizing spray, then gently tent the top section up before you clip or tie it. That little tent of air at the root does not collapse under a gathered section the way it would if you were leaving it down. You’re essentially locking the lift in place.
If you want more options for half-up shapes that work across different lengths, I found some genuinely useful ideas in this guide to five-minute open hairstyles — a few of those work even better for fine hair than you’d expect.
3. The Textured Lob with Interior Layers
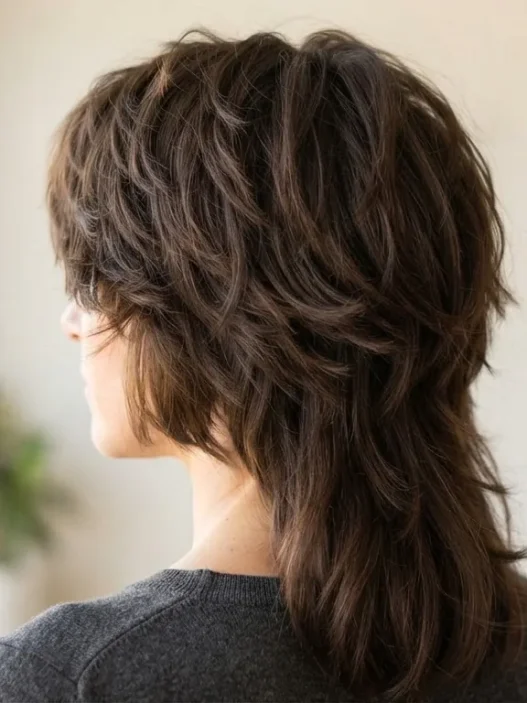
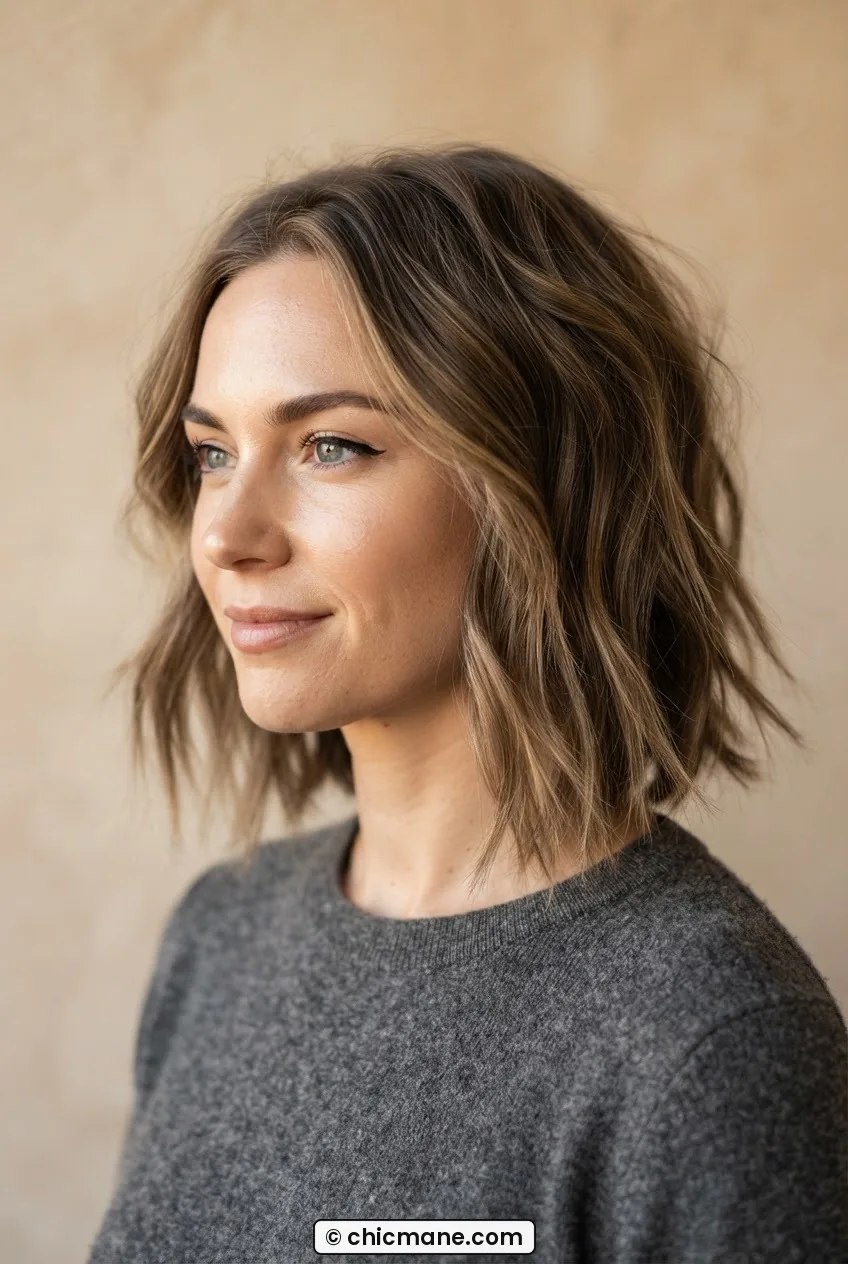
Here’s where I draw a careful distinction. Layers on fine hair: sometimes good, usually risky. Interior layers specifically: genuinely useful. Interior layers are cut underneath, through the mid-shaft of the hair, not at the surface. They remove weight from the inside so the outer shape stays blunt and dense-looking, but the hair now has movement and bend instead of just lying flat.
The lob length — roughly chin to shoulder — is the sweet spot because there is enough length for the layers to create internal texture without the ends becoming too thin and floppy. She’s got a lob with just this kind of cut in the image below and honestly, if I squint, I genuinely cannot tell her hair is fine. That is the goal.
4. The Curtain Bang Frame
Curtain bangs on fine hair might be my favorite visual trick of the decade. Here is why they work structurally: they add a layer of hair over your forehead that sits slightly separated from the rest, creating the perception of density at the front — right where people look first. And because they sweep outward rather than lying flat across the forehead, they create a little lift at the root without any effort.
The key is keeping them relatively thick — fine hair curtain bangs cut too thin will just cling to your forehead by mid-morning. Ask for a section that is slightly wider than you think you need. You can always thin the surface texture slightly with point-cutting, but the base needs mass.

If curtain bangs are on your radar and you have a rounder face, the placement matters more than anything — there’s a solid breakdown of hairstyle ideas from crop to waist length that touches on how face shape interacts with framing cuts, which I found really useful when I was deciding on my own.
5. The Voluminous Blowout Bun
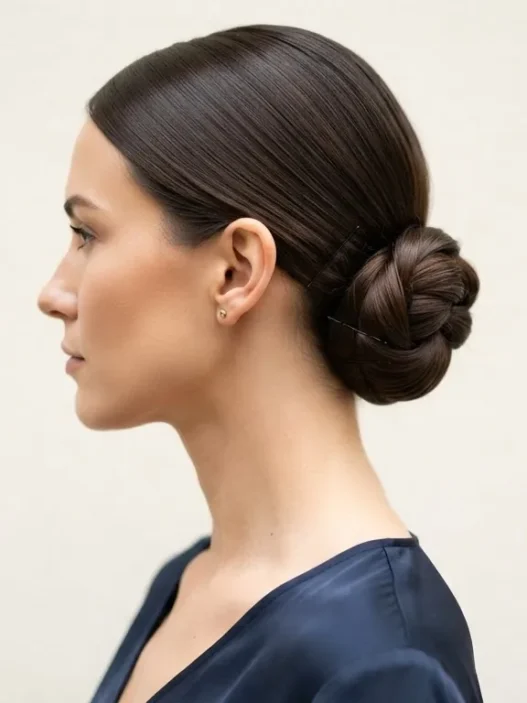
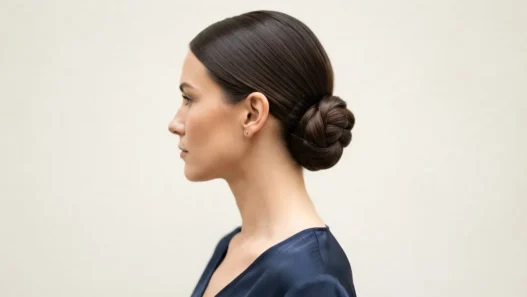
This one is a special occasion weapon. The premise: you blow out for maximum volume first, let the hair cool completely, then build the bun — so you are working with hair that already has body rather than trying to create it after the style is formed. Cooling matters because the shape sets while the hair is still warm; if you pile it up before it cools, the volume relaxes almost immediately.
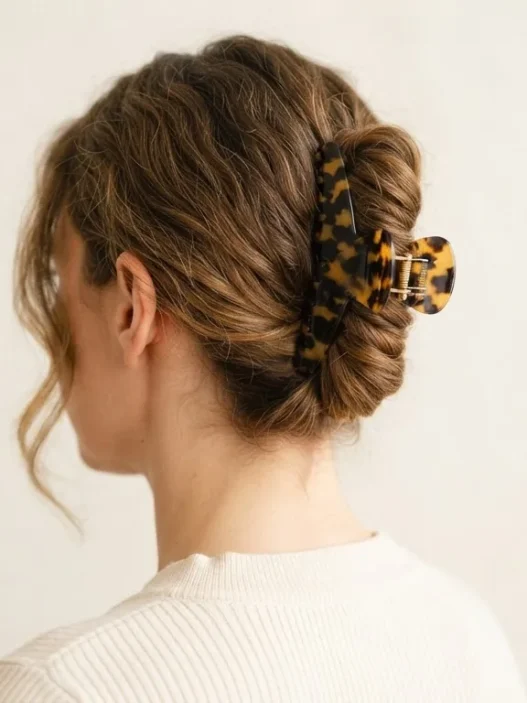
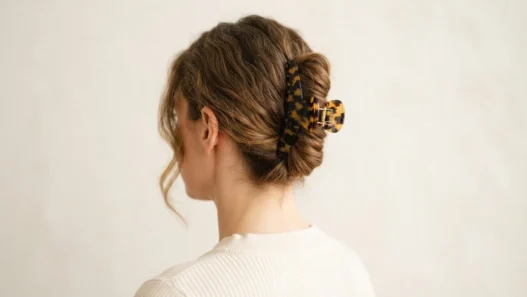
Pin loosely. The looser the bun, the more it appears to have substance. Tight buns compress fine hair into something that looks thin and severe. Use a claw clip or large pins rather than an elastic, and pull a few pieces out at the front to frame the face — this also makes the bun itself look bigger by contrast.
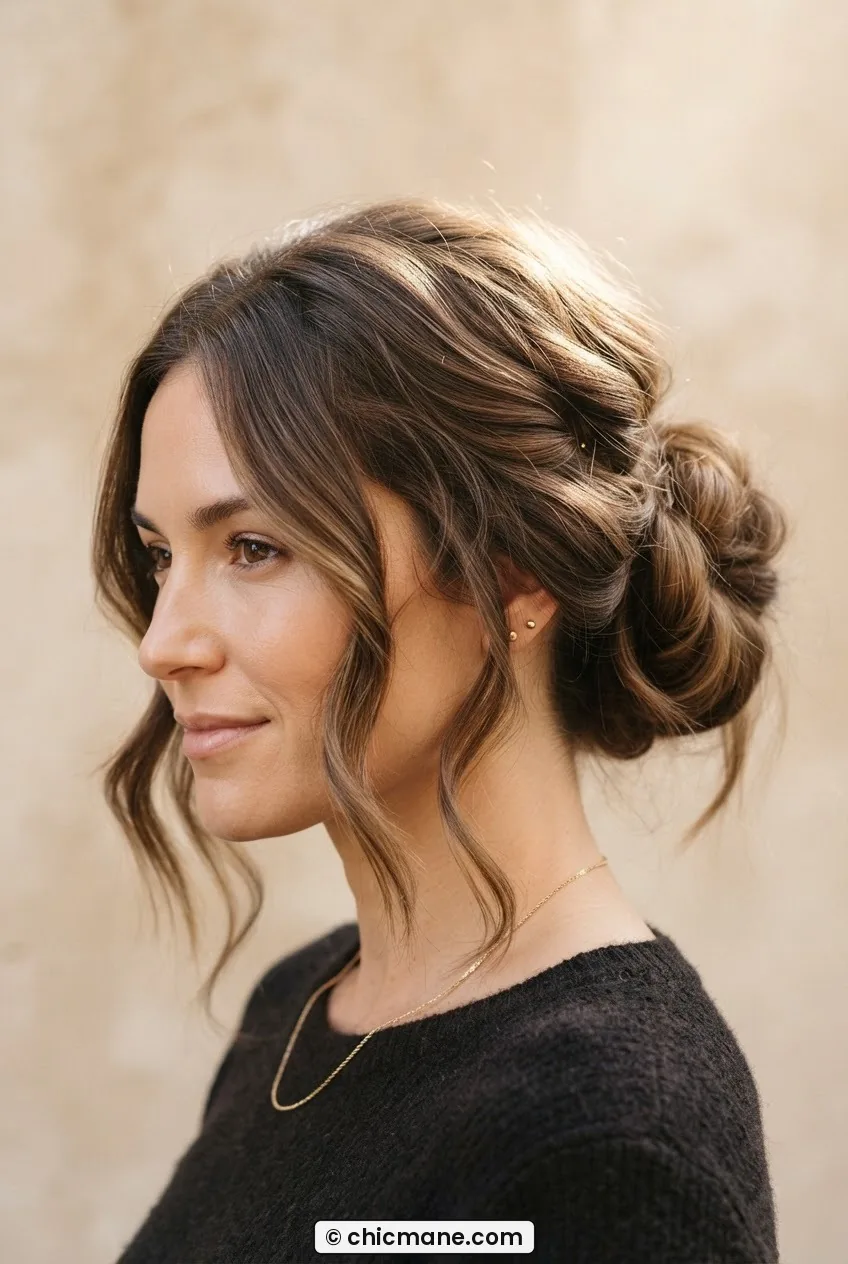
My personal pick for days when my hair has completely given up on me: the blowout bun. I blow dry upside down, let everything cool for a full five minutes (I know, I never want to wait either), then twist and pin loosely. It consistently gives me the most convincing volume of any style I own. It looks effortful in the best possible way — like I tried, but not desperately.
6. The Lived-In Wave Set
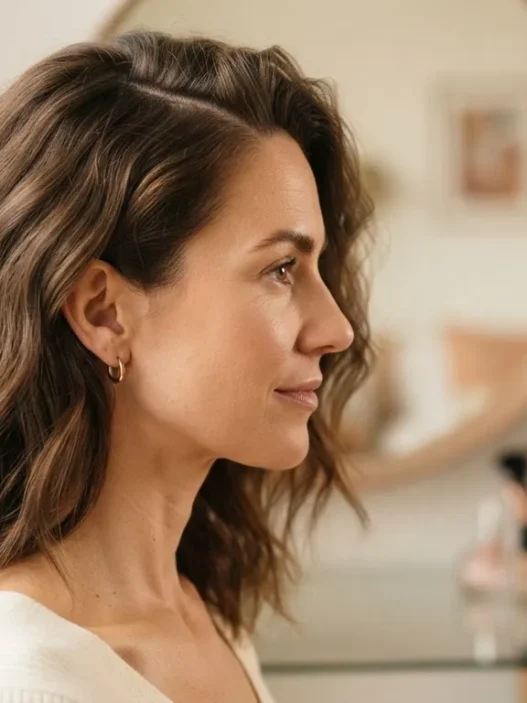
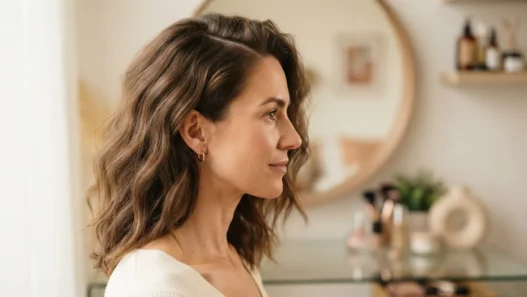
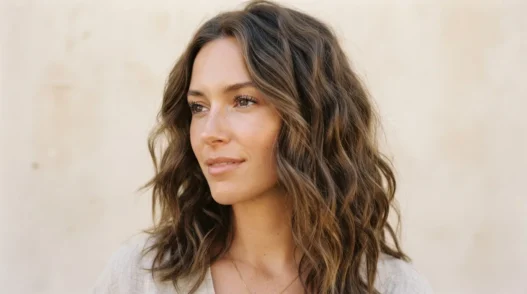
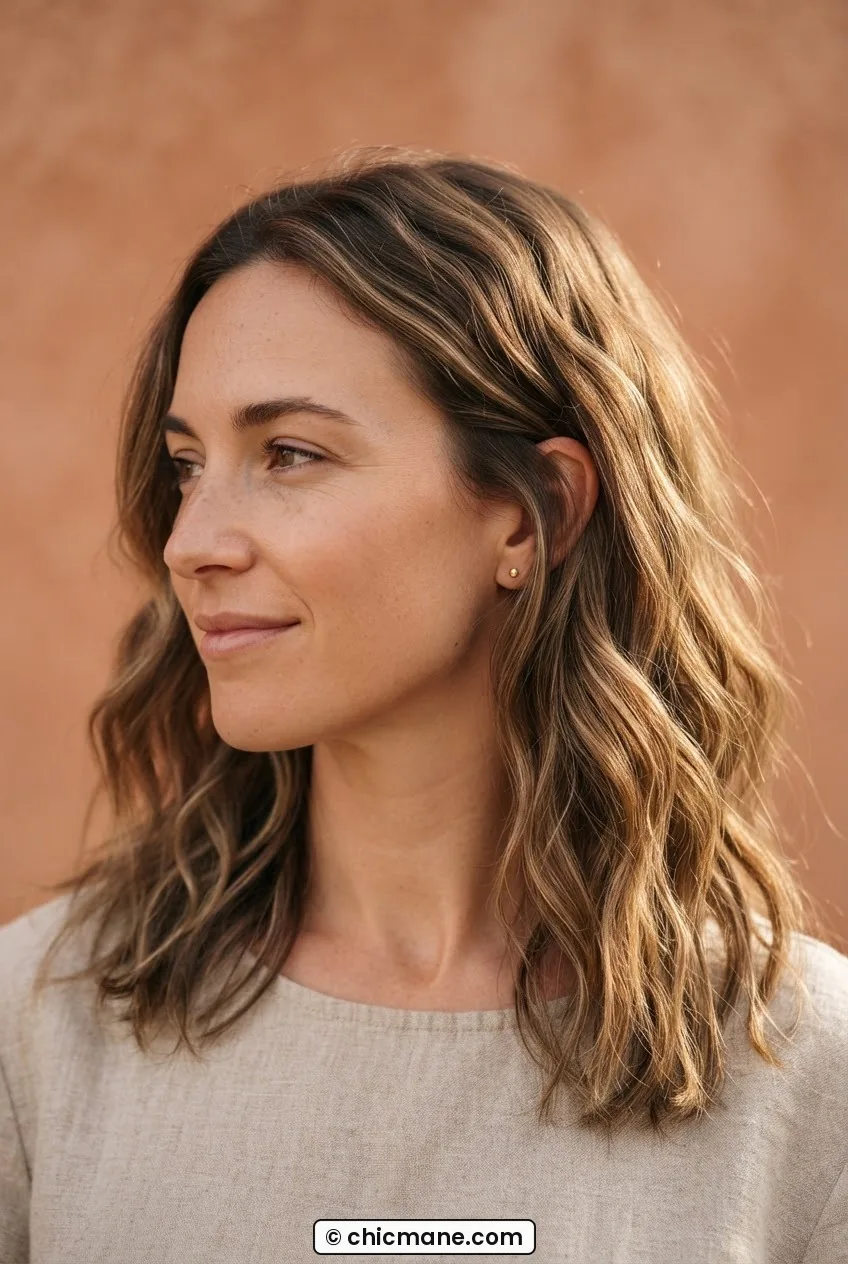
Soft, undone waves are having a moment in 2026 and fine hair can absolutely participate — with a few caveats. The trick is making waves that do not try too hard. Tight curls on fine hair look crunchy and thin out quickly. Loose, lived-in waves created with a large barrel — 1.25 to 1.5 inches — wrapped away from the face and left to cool before brushing out sit differently on the strand. They create bend rather than curl, and bend adds perceived volume without compressing the hair.
See how her waves sit in the photo below — they’re not uniform, not polished, and that is exactly the point. The variation in the wave pattern is what creates the impression of full, textured hair. Uniform waves on fine hair just expose how few strands you’re working with.
For setting waves without heat, you can also explore heatless wave techniques — some of the overnight methods actually hold better than I expected on fine strands.
A Tutorial That Finally Made Waves Work on Fine Hair
7. The Micro-Layer Pixie
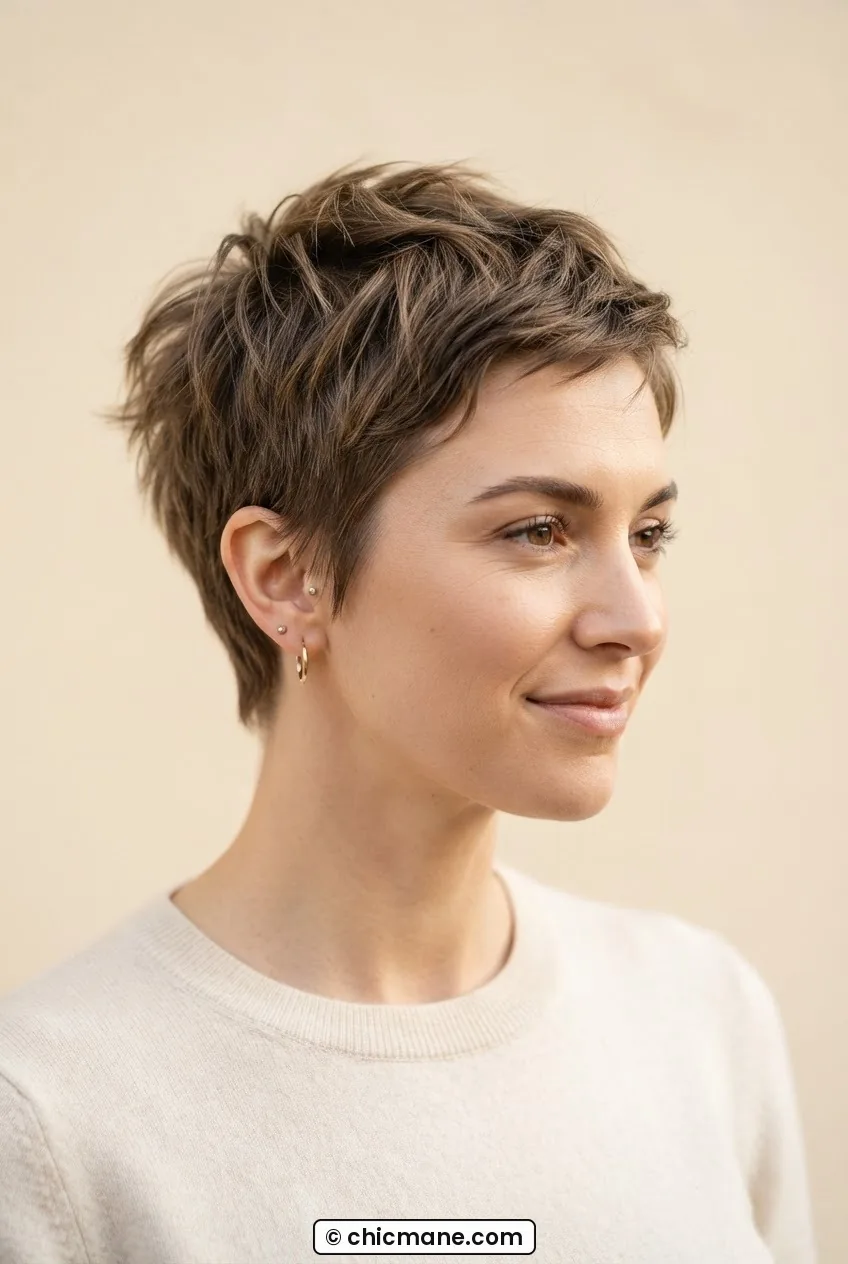
Going short is the most honest solution to fine hair — and I mean that without judgment, because I know not everyone wants to. But when fine-haired people do go short, the results are often genuinely dramatic. A pixie with micro-layers through the top creates texture and dimension that is completely impossible at longer lengths. There is simply less hair to weigh itself down.
The micro-layer part is important. A blunt pixie on fine hair can look a little stark. Tiny point-cut layers through the top section create movement and the impression that there are more strands than there actually are. Ask your stylist to work in texture through the crown specifically.
If you are somewhere in the middle — not ready for a pixie but wanting more structure than long hair offers — the guide to hair styles for medium hair length is genuinely the most practical thing I have read on this. It addresses fine hair specifically in a few sections.
8. The High Pony with a Wrapped Base
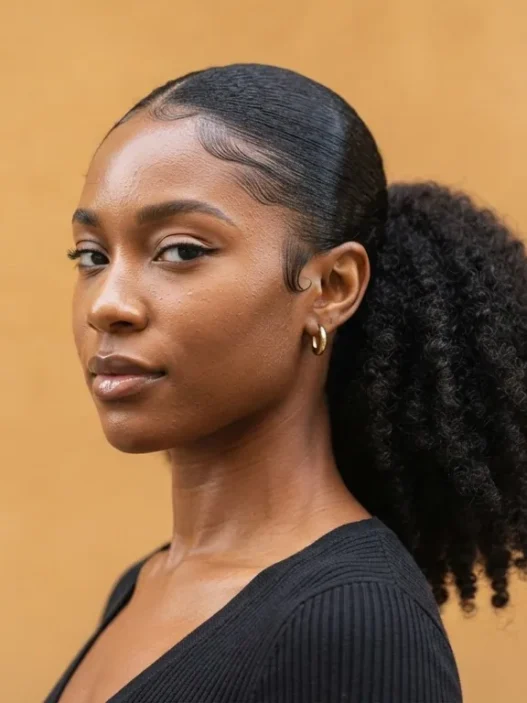
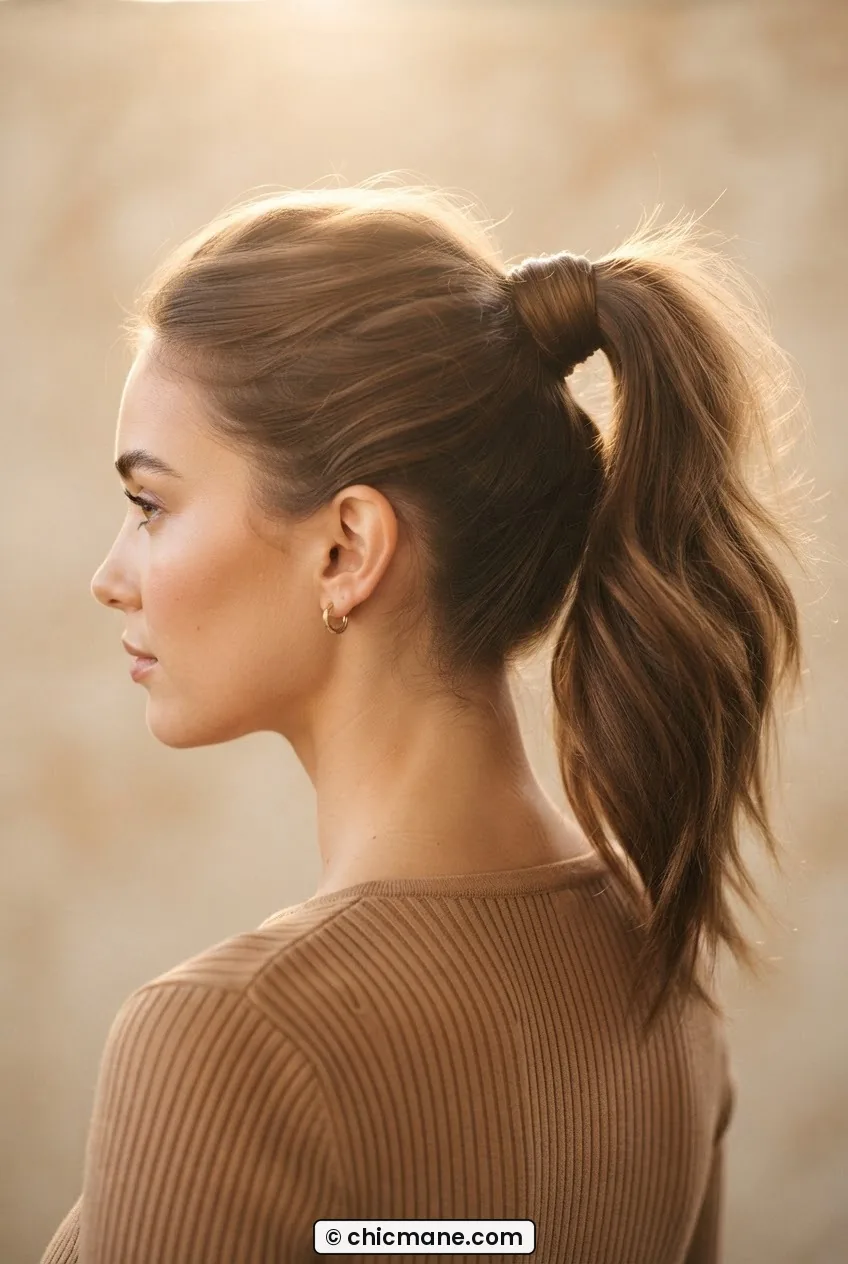
A high ponytail on fine hair can either look chic or look sparse depending entirely on how the base is handled. The wrapped base technique — where you take a thin section of hair, wrap it around the elastic and pin it underneath — is not just decorative. It covers the visual gap at the base that makes fine ponytails look wispy, and it forces the gathered hair to fan out slightly rather than hanging in a narrow rope.
Tease the ponytail itself very lightly from underneath before wrapping the base. Just a little backcombing through the interior adds enough internal structure to make the tail look twice as thick. Finish with a light-hold spray — not anything too stiff or you will lose the softness that makes this look good.
9. The Side-Part Flip
Changing your part location is genuinely one of the fastest things you can do for fine hair volume. A center part drapes hair symmetrically on both sides, flattening it against your head. A deep side part throws more hair to one side and creates a natural lift at the root on the lighter side — the hair has to travel over the part, which creates a small bend.
The “flip” part of this is blowing that heavier side slightly outward and under at the ends, which adds a curve that photographs as density. It is a very 1960s move but it absolutely works in 2026 without looking costume-y. Look at her side part in the image below — that single direction change at the root is doing more work than any product in her routine.
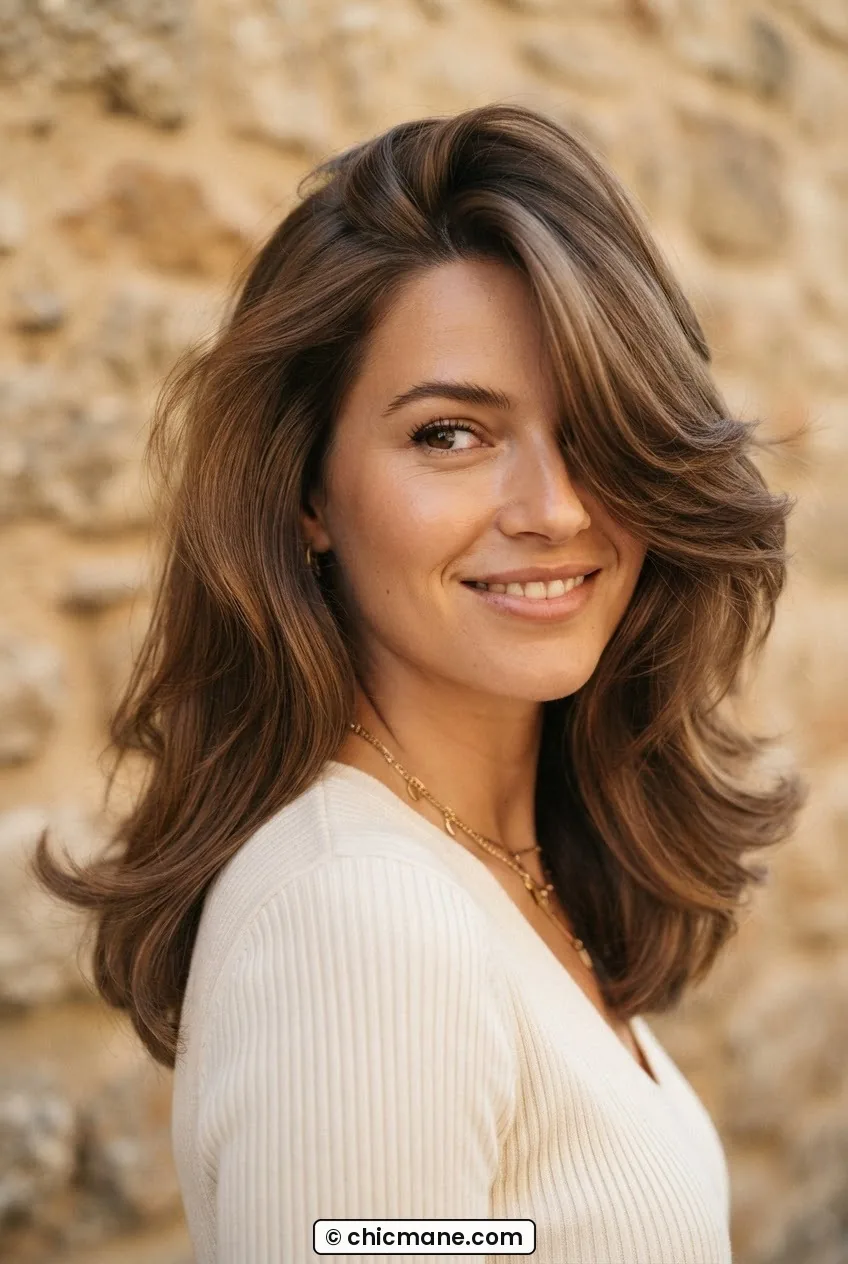
You can read about blow dry techniques for fine hair to get the root-lift part right — the brush angle at the root is where most people lose the volume they built.
10. The Braided Crown Illusion
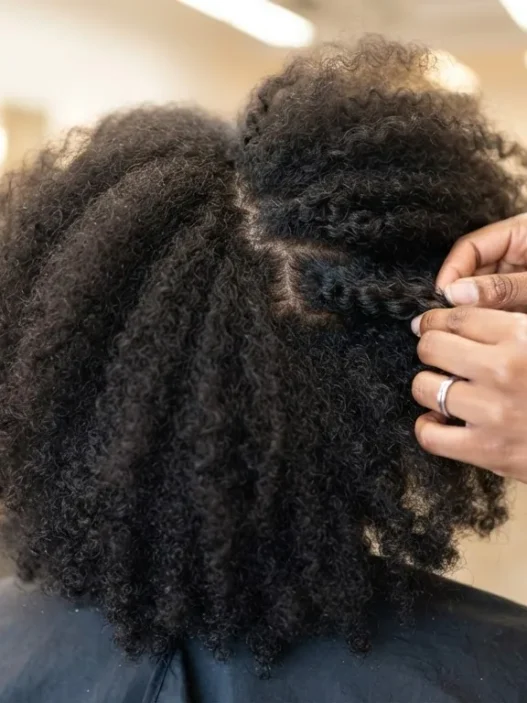
Braids on fine hair create the most reliable volume illusion I know, specifically because the braiding process gathers strands together and then the finished braid is puffed and pulled apart — that manipulation adds artificial bulk that the hair simply did not have on its own. A braided crown takes this further by placing the volume exactly where it matters most: across the top of the head.
The method: braid two sections starting from behind each ear, bring them up and across the crown, pin them. Then take a moment to gently pull each loop of the braid wider with your fingertips. The braid should look loose and slightly messy, not tight and flat. She’s got hers pulled beautifully in the photo — notice how each section of the braid has been stretched slightly so the whole thing reads as plush and full rather than stringy.
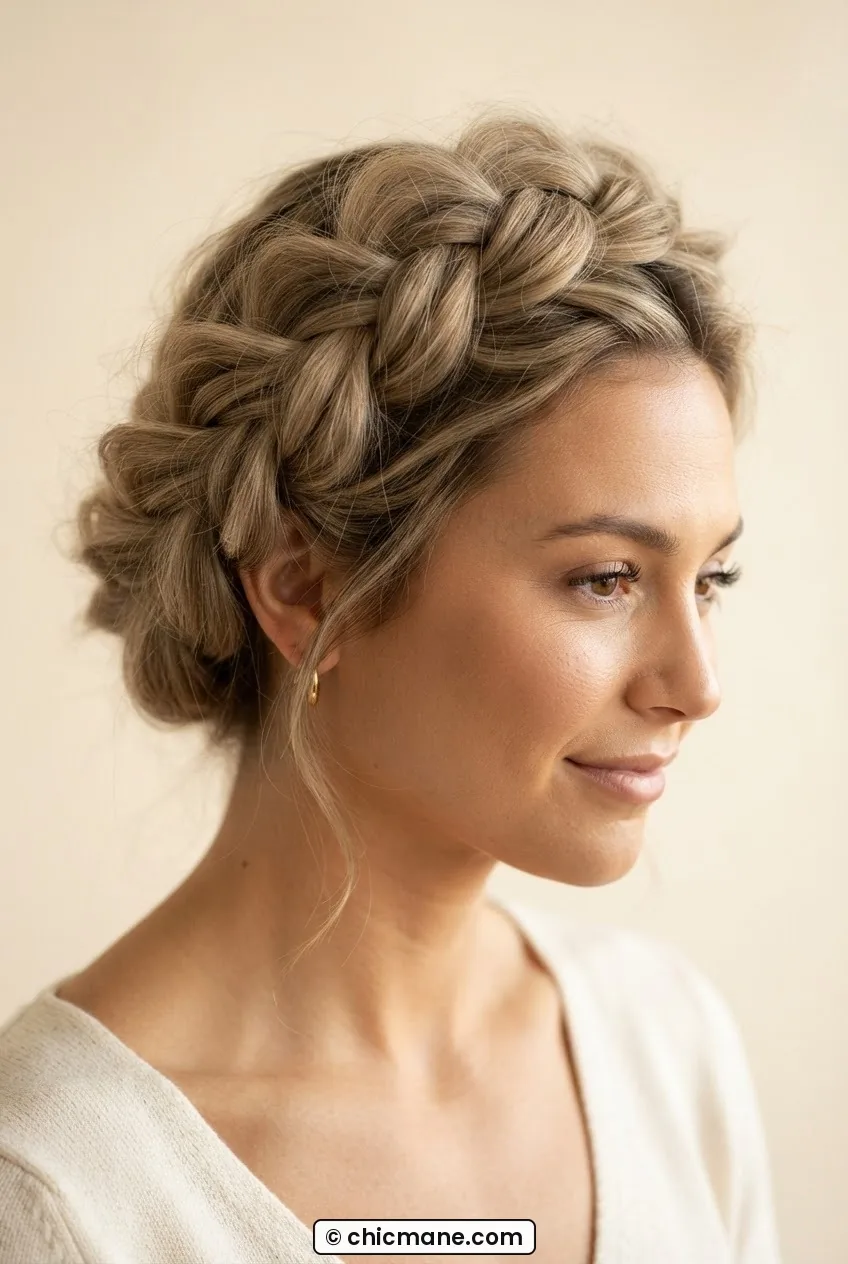
If you want to see how braided styles interact with different curl and texture patterns — because this technique works differently on wavy or fine hair versus coilier textures — the roundup of hair inspiration styles matched to curl pattern is worth a look. It changed how I thought about which styles suit which texture.
11. What Actually Does Not Work (Honest Entry)
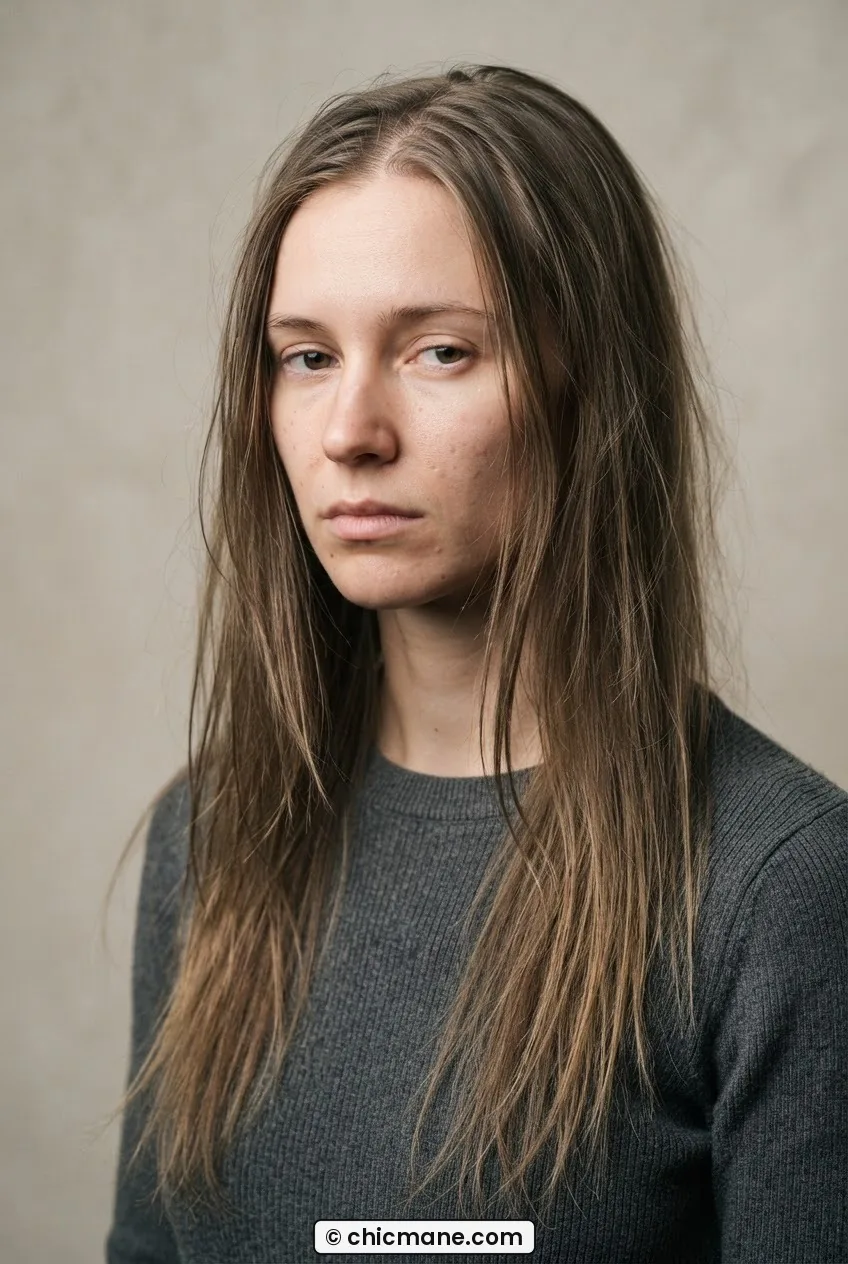
Long, heavily layered hair. I know. This is what so many fine-haired people want because we think more layers equals more movement equals more volume. It does not. Long layers on fine hair just thin the ends to near-transparency. You end up with a style that has bulk in the middle and then tapers into almost nothing at the tips, which actually makes the overall look appear thinner than a blunt cut would.
The physics: layers remove mass. On thick hair, removing mass creates movement without sacrificing visual density because there is plenty of density left. On fine hair, you are starting with a deficit. Every layer you add is a withdrawal from an account that was already running low. Long, heavily layered fine hair often looks like it is growing out of a cut rather than being a cut in its own right.
The honest answer is that fine-haired people who want long hair should go for a long blunt cut — possibly with only the most minimal, contained interior layering — rather than the cascading layer situation that looks incredible on thick-haired women on Pinterest. It is a different physics problem and it needs a different solution. I include this not to be discouraging but because I spent about three years doing the wrong thing before someone told me the truth.
Questions I Get About This
Does fine hair actually need special products or is the cut enough?
Honestly, the cut does about seventy percent of the work. Products help maintain what the cut gives you, but no amount of volumizing mousse will compensate for a cut that is working against your hair. Get the structure right first, then layer in lightweight products — nothing heavy, nothing that coats the strand.
How often should fine hair be trimmed to keep volume?
More often than you probably think — every six to eight weeks for shorter styles, every eight to ten for longer ones. Fine hair gets stringy and wispy at the ends faster than thick hair does, and once the ends thin out, you lose the blunt-edge density that holds the whole illusion together. A trim is cheaper than fighting with flat hair for two months.
Can fine hair pull off the lived-in wave trend in 2026?
Yes, with the right barrel size and a light hand. Use a 1.25 to 1.5 inch barrel, wrap loosely, and always brush out or finger-comb after — you want bend, not curl. A light texturizing spray lightweight texturizing sprays before you style adds grip without weight, which is what makes the waves hold longer on fine strands.
Is the blunt cut really better than layers for everyone with fine hair?
For most people with fine hair who want the appearance of density, yes. The exception is if your fine hair is also very thick in terms of strand count — there are people who have many fine strands, and in that case, some interior layering can actually help reduce the puffiness. But most people who describe their hair as fine are talking about both strand diameter and overall density, and for that combination, blunt almost always wins.
That’s eleven ideas, one honest warning, and a lot of opinions I stand behind. Fine hair is genuinely manageable — it just needs to be worked with rather than styled like it is something it is not. Pick one of these, try it for a month, and see if your noon-hair looks different. I’d bet it does. And if you’re still hunting for more inspiration, the hairstyle ideas guide from crop to waist has a lot more to look through — sometimes you just need to see a range of lengths to know which one is calling your name.