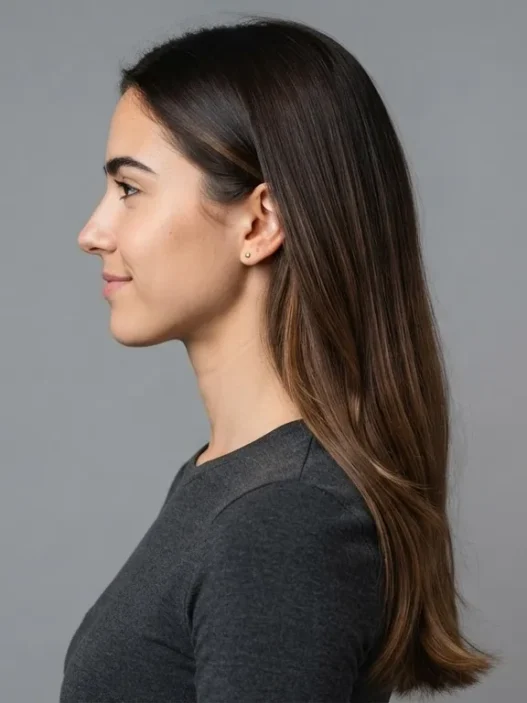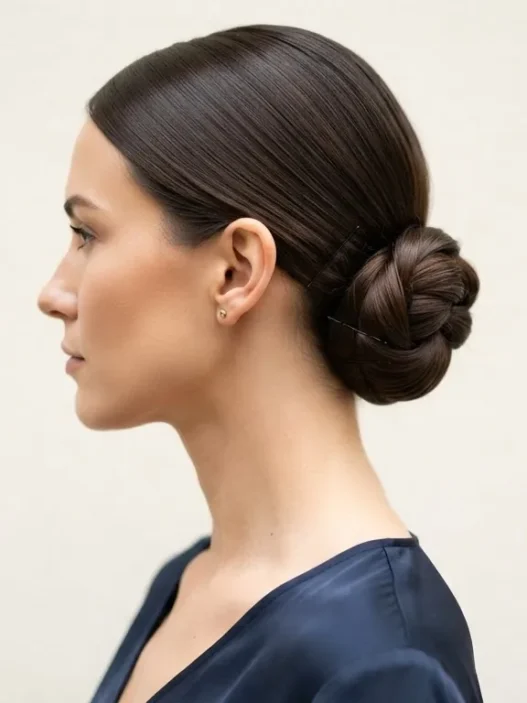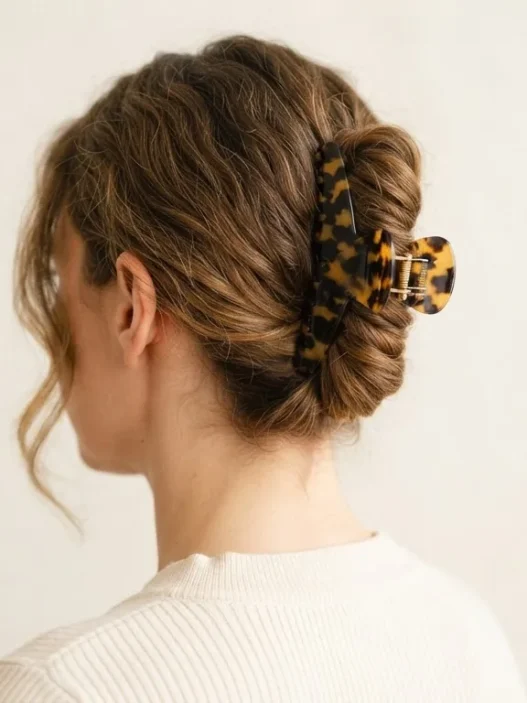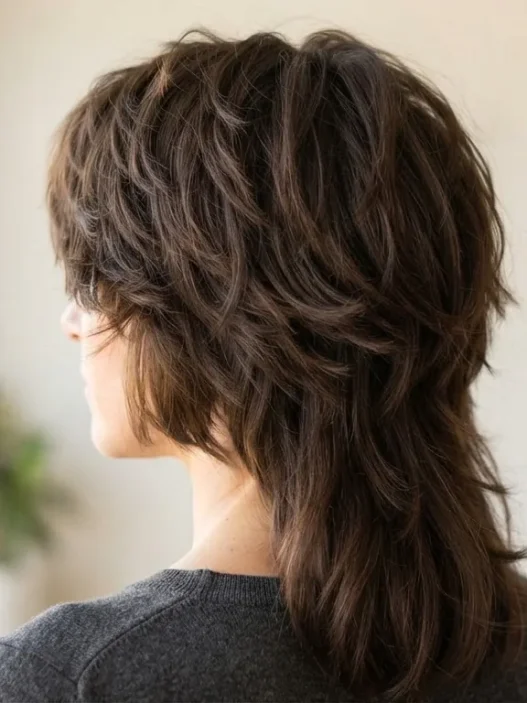










I spent a truly embarrassing amount of time wondering why my half up half down always looked slightly off — like it was sliding to one side, or the crown sat flat in a way no amount of teasing could fix. Turns out I was ignoring the most basic structural decision entirely: where the parting starts. Once I actually paid attention to where my hair wants to fall, everything clicked into place. This guide walks through exactly how I do it now, starting from scratch with the parting itself.
What You’ll Need
Nothing exotic here. Honestly the list is shorter than you’d think.
- A fine-tooth rat-tail comb (the pointed end is key for clean parting)
- A wide-tooth comb or paddle brush for detangling
- Bobby pins — the matte ones that actually grip, not the shiny slippery kind
- A small amount of texturizing spray or dry shampoo
- A light-hold hairspray
- One or two small claw clips for holding sections while you work
- A mirror you can actually see the back of your head in (two mirrors, or your phone propped up)
That’s genuinely it. I used to think I needed the full shelf of products. I don’t. And you probably don’t either. If you want to read more about building up a useful toolkit for styles like this, the guide on hair tutorial sectioning maps covers the comb technique in really practical detail.
Finding Your Natural Fall
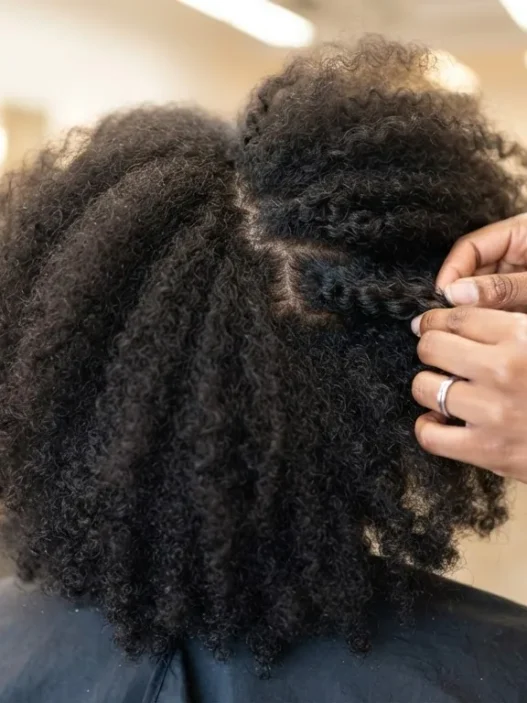
Here’s what I mean by natural fall. Put down your comb. Shake your head gently, then let your hair settle completely. Don’t touch it. Where does the parting land?
That line — wherever it lands — is your hair’s default. It’s where your roots grow with the least resistance. And for a half up style specifically, it matters more than people realise, because that parting becomes a visible structural line once the top section is lifted. If you’re fighting it, the hair around it will look tense. Slightly puffed, or uneven. You’ll spend the whole day pushing it back to where you want it and it will keep sliding home.
My natural fall is slightly left of centre. For years I parted everything dead centre because that’s what I thought a half up should look like — symmetrical, neat, correct. And it never sat right. Slightly off-centre is actually more flattering for most face shapes anyway. There’s a reason so many stylists steer clients away from a hard centre part — it can read as stark, especially if your face is symmetrical already. A flattering parting for your face shape makes an enormous difference to how the finished style frames your features.
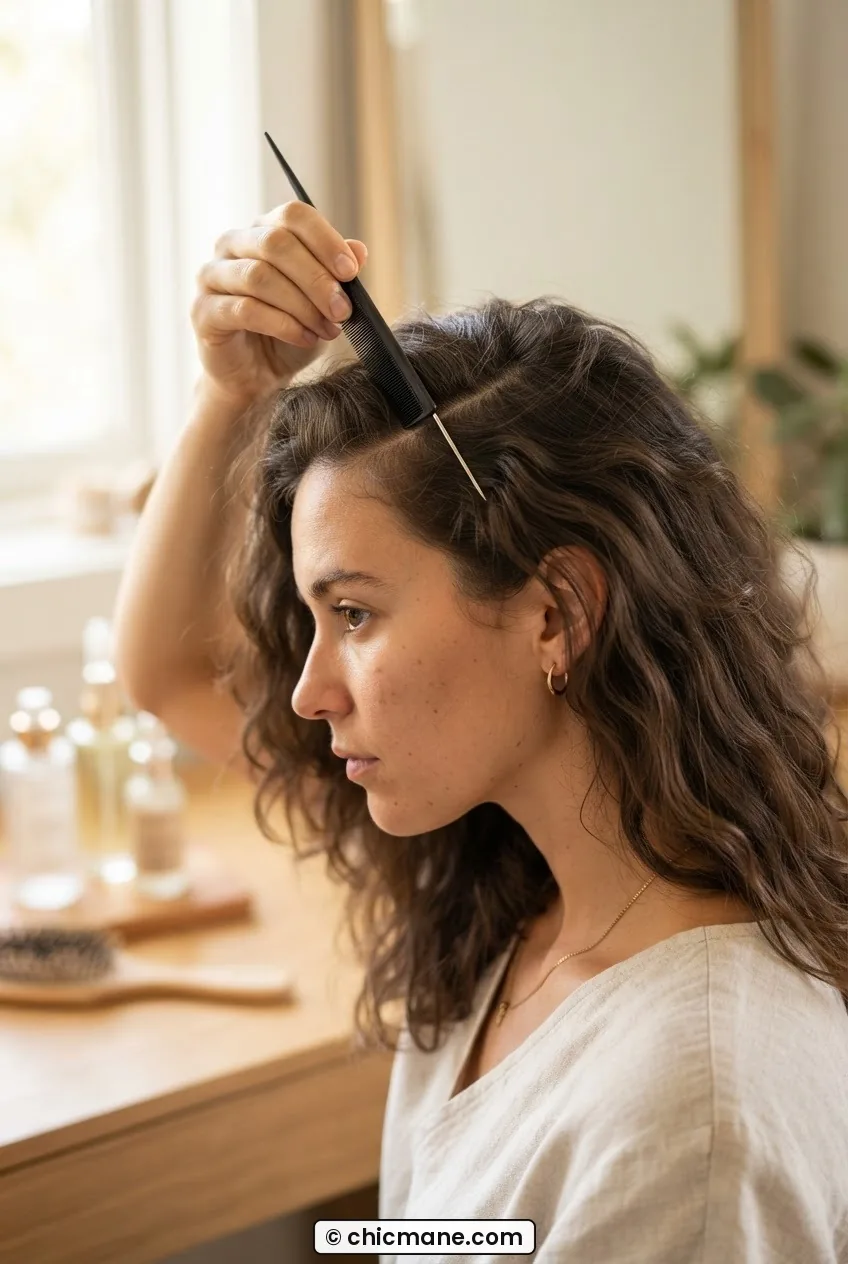
Once you’ve let your hair settle, take your rat-tail comb and trace along the line you can already see. Don’t force it deeper — just follow what’s there. That’s your starting point.
Moving It, and How Long That Takes
So what if you genuinely want a different parting? Maybe you want more volume on one side, or your natural fall is very far to one side and it makes the top section look asymmetric in a way you don’t love. Totally valid. But I want to be honest about what moving a parting involves, because I’ve seen a lot of tutorials that gloss over it.
Moving a parting by a centimetre or two — maybe shifting from slightly left to slightly right — will look reasonably normal within a day or two. Your roots adjust quickly for small shifts, especially if you blow-dry or sleep on it in the new direction. But moving from a deep side part to a centre part, or vice versa? That can take weeks of consistent effort. The roots grow in the old direction. They’ll resist. The hair will look floppy or flat on the side that’s trying to change, and you’ll have a brief awkward middle period where neither parting looks quite settled.
The mistake I made: I tried to force a centre part for a half up style on a day I actually needed to look put-together. I used about four times more product than necessary trying to keep it flat, and the whole thing looked stiff and overdone by lunchtime. If you’re in the middle of transitioning your parting, let the style work with where the hair currently is. Don’t fight it on a day that matters.
My honest recommendation: unless you’re deeply committed to changing your part long-term, work with what you have today. The half up style is remarkably forgiving — it works beautifully with a side part, an off-centre part, even a zigzag part if that’s your thing. The parting is structural, not decorative. It just needs to be decided.
Building From There
Once you know where your parting lives, the half up style builds remarkably logically from it. The parting determines everything: which direction the crown section sweeps, where the volume sits, how the loose lower hair falls to balance it.
With a side part, the top section will naturally want to sweep toward the heavier side. Work with that — sweep it the same direction and the crown looks full and intentional. Fighting it (trying to sweep the opposite way across a side part) creates an awkward tension line right at the front where the parting meets the crown section. I learned this the hard way.
With a centre or near-centre part, the top section can go straight back or be divided into two soft twists or loops — both options look balanced because the parting itself provides symmetry. This is the version I see most often trending across half-up styles right now in 2026, and honestly it’s the most beginner-friendly version too.
Now that the parting is sorted, here’s how I actually build the style from that point.
Step 1: Section the Crown
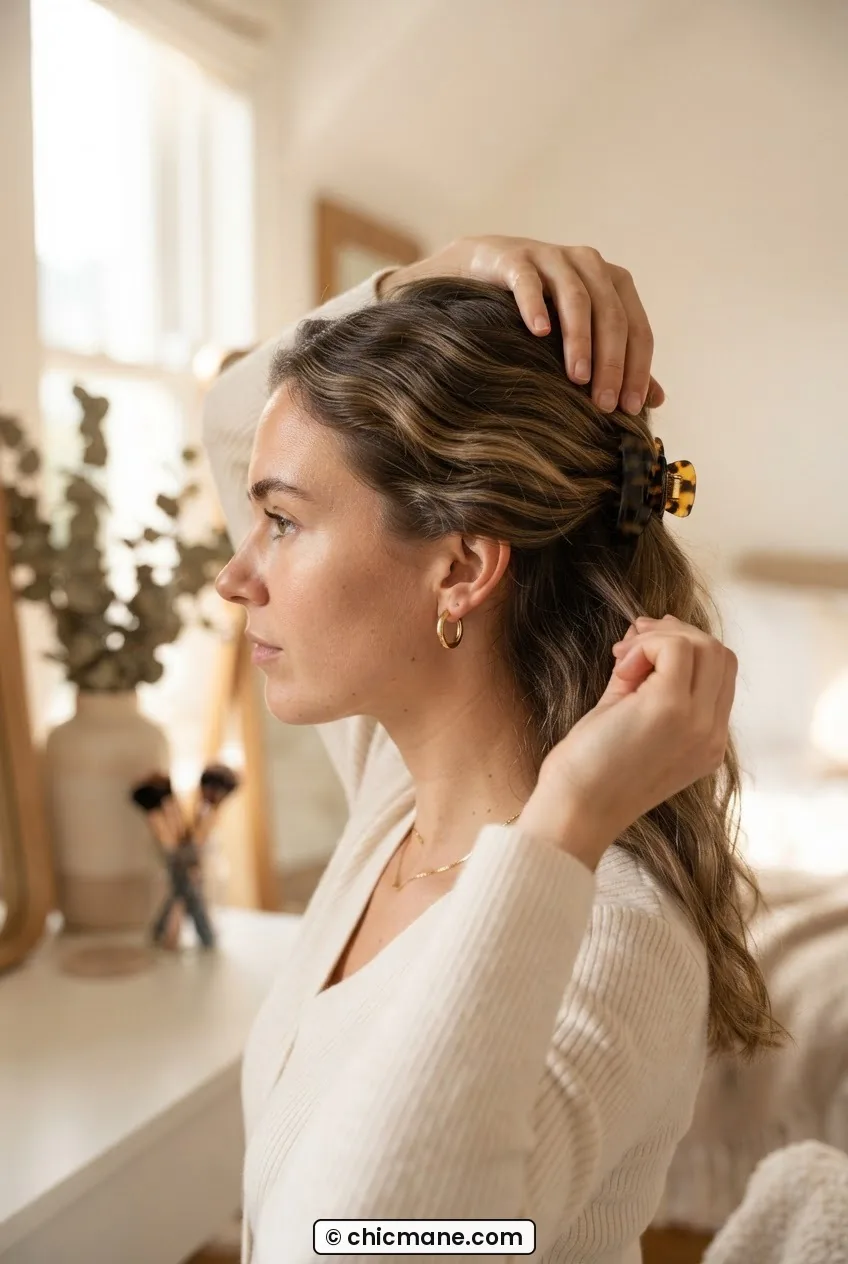
Using the rat-tail comb, draw a horizontal line across the back of your head from one temple to the other. This line marks the division between your top section (which will be pinned up) and your lower section (which stays down). Where exactly this line sits depends on how full you want the top section — higher means more hair pinned up, lower means a more delicate, just-pinned look.
I personally prefer the line to sit roughly level with the top of my ears. It gives enough volume in the pinned section to look substantial without using so much hair that the bottom half looks sparse. Clip the top section up and out of the way with a claw clip so it doesn’t interfere while you work on placement.
If you’ve been reading through the post on open hairstyle options you can do in five minutes, you’ll recognise this sectioning logic — it’s essentially the same foundational move, just with more intention around where the line lands.
Step 2: Add Lift Before You Pin
This is the step that separates a half up style that looks intentional from one that looks like you just grabbed a handful of hair and clipped it. Before you pin anything, you need to add volume at the root of that top section.
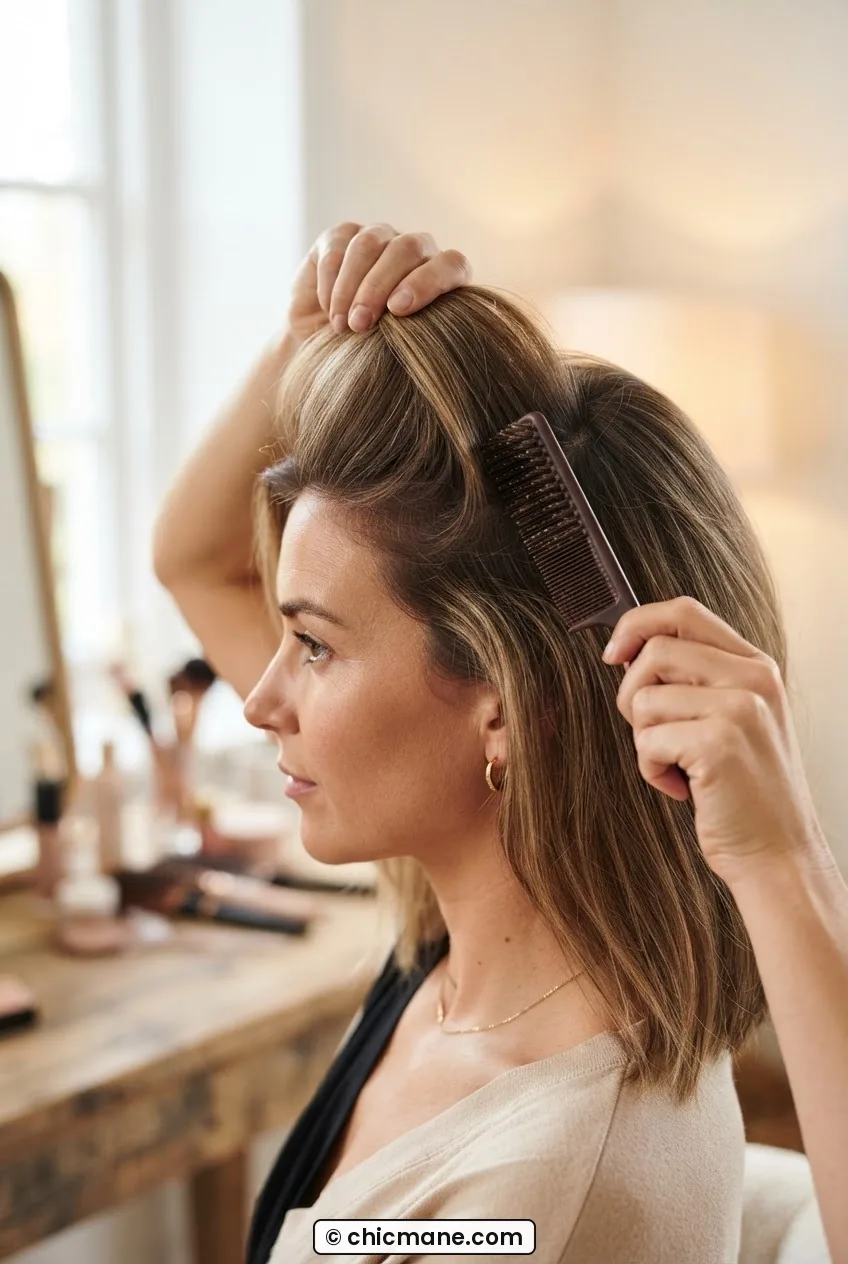
Release the claw clip and hold the top section loosely upward — not straight up, but at about a 45-degree angle from your head. Using your rat-tail comb or a teasing brush, lightly backcomb the underside of this section just at the root, about two or three centimetres back from your parting. You’re not creating an 80s beehive here. You’re just breaking up the root so it has something to sit against when you lower it back down.
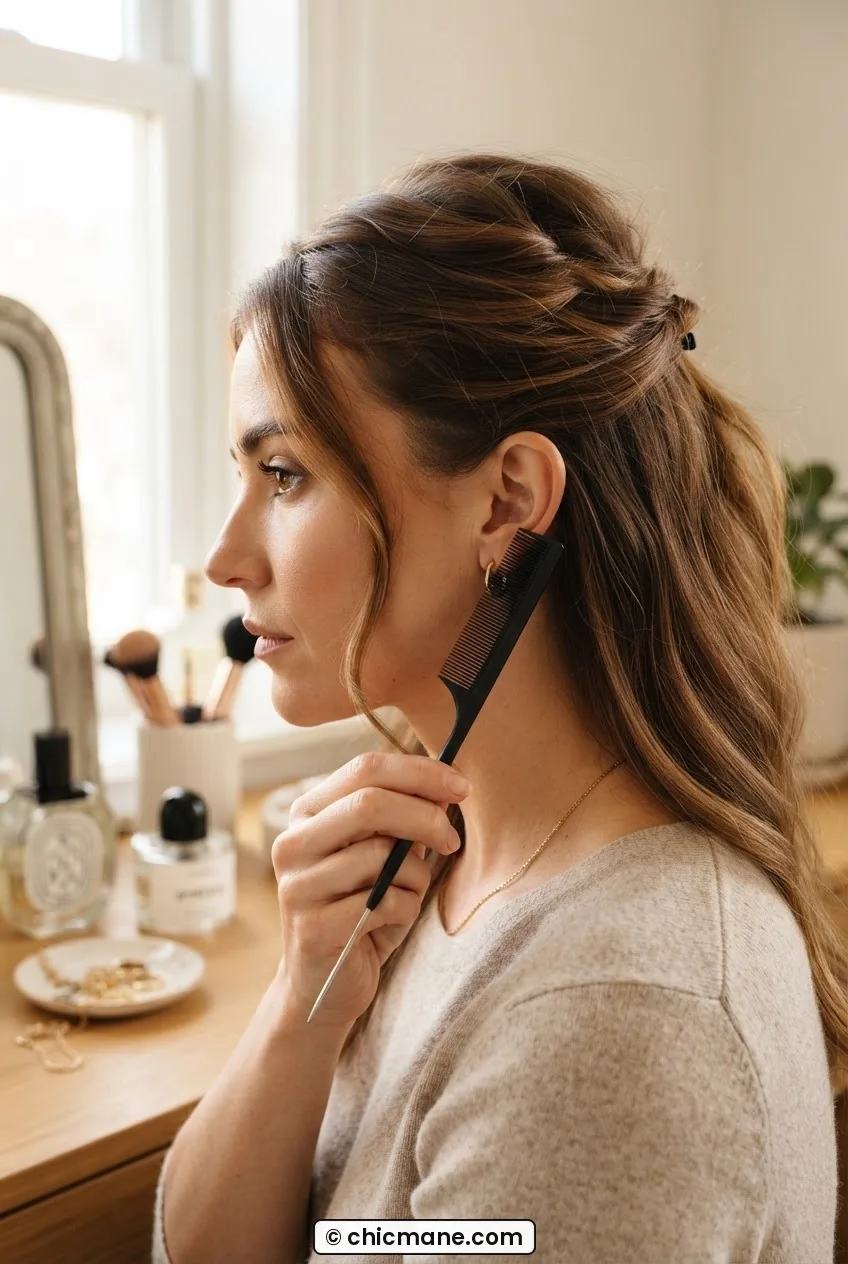
Look at how she’s holding her section in the photo here — that angle is exactly what I mean. The lift is visible but not extreme, and her hands are right at the root, not mid-shaft. That’s where the backcombing needs to happen.
A tiny hit of texturizing spray on the roots before you backcomb helps the volume hold through the day. Don’t soak it — just a quick spritz from about 15cm away, then the light backcomb, then you’re ready to position.
A Technique That Actually Shows the Backcombing
Step 3: Secure Without the Crease
Lower the section back into position — following the direction of your parting, remember, not fighting it — and hold it where you want it with one hand. The volume from the backcombing should give it a slight lift at the crown rather than a flat pancake effect.
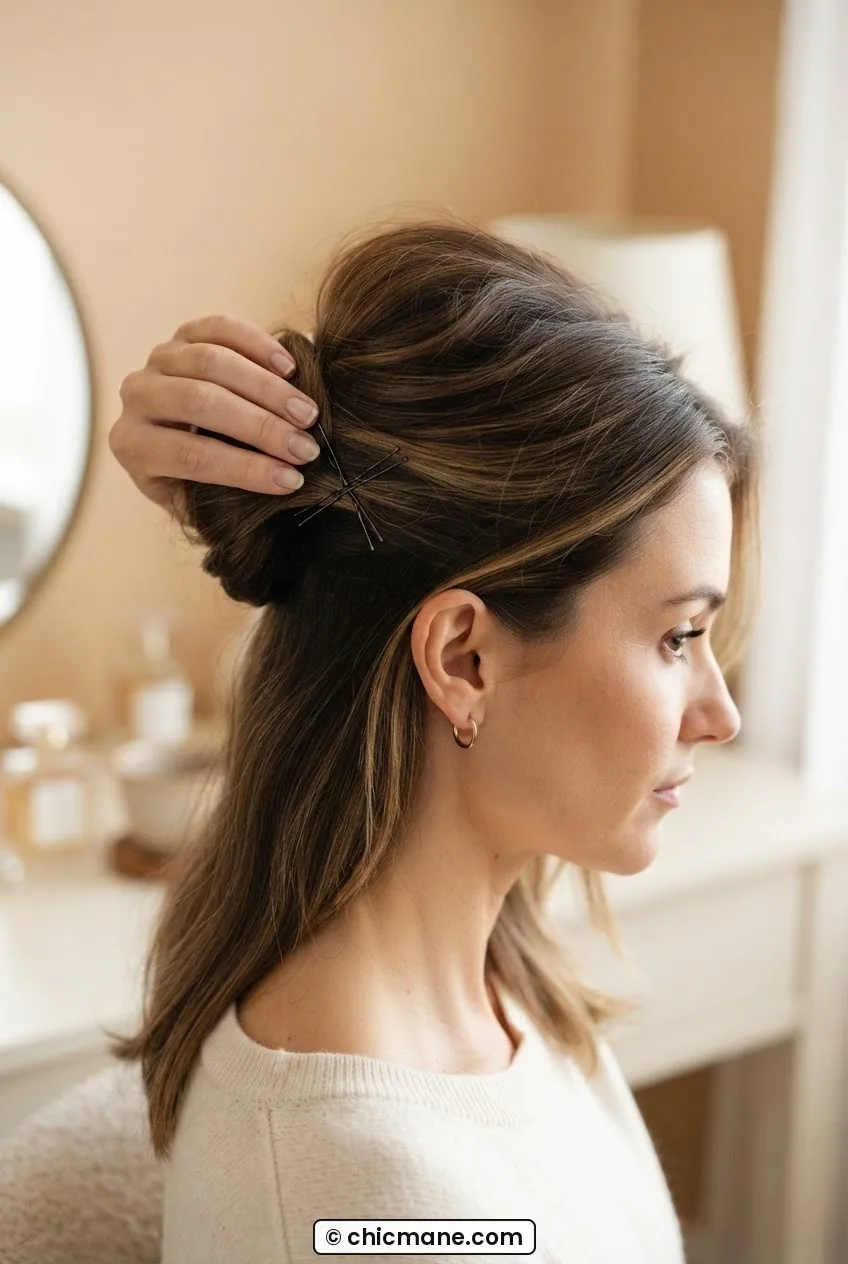
Now pin. I use two bobby pins in an X formation, inserted so the open ends point downward into the hair. This is more secure than a single pin and distributes the grip so you don’t get one concentrated crease line. The pins go as close to the root as possible — if they’re sitting mid-shaft, the section will eventually slide.
If you want a cleaner look, you can tuck the ends of the top section into a small loop and pin the loop itself rather than the loose ends. That’s the version that reads more formal — appropriate if you’re heading somewhere polished. For something more relaxed and textured, just pin the gathered section and let the ends flow naturally into the rest of the hair below.
Step 4: Soften the Edges
Pull a few face-framing pieces free. This is not optional. Without it, the style reads as a bit severe — especially with a side part, where the front section can look like it’s been pulled tight across your forehead. Pulling a strand or two loose on either side of your face softens the whole thing instantly.
Don’t yank them free randomly — use the rat-tail end of your comb to gently tease out a thin piece from just in front of your ears on both sides. If you have curtain bangs, these will already be loose and framing nicely. If you don’t, those two pulled pieces will do the same job.
You can also gently tug the pinned section apart very slightly with two fingers — just to widen it a little at the crown. This prevents the style from looking like a tight knot and gives it that effortless broadness that photographs so well. Loose half-up techniques for fine hair can be a helpful reference here if your hair tends to look flat at the crown.
Step 5: Set It
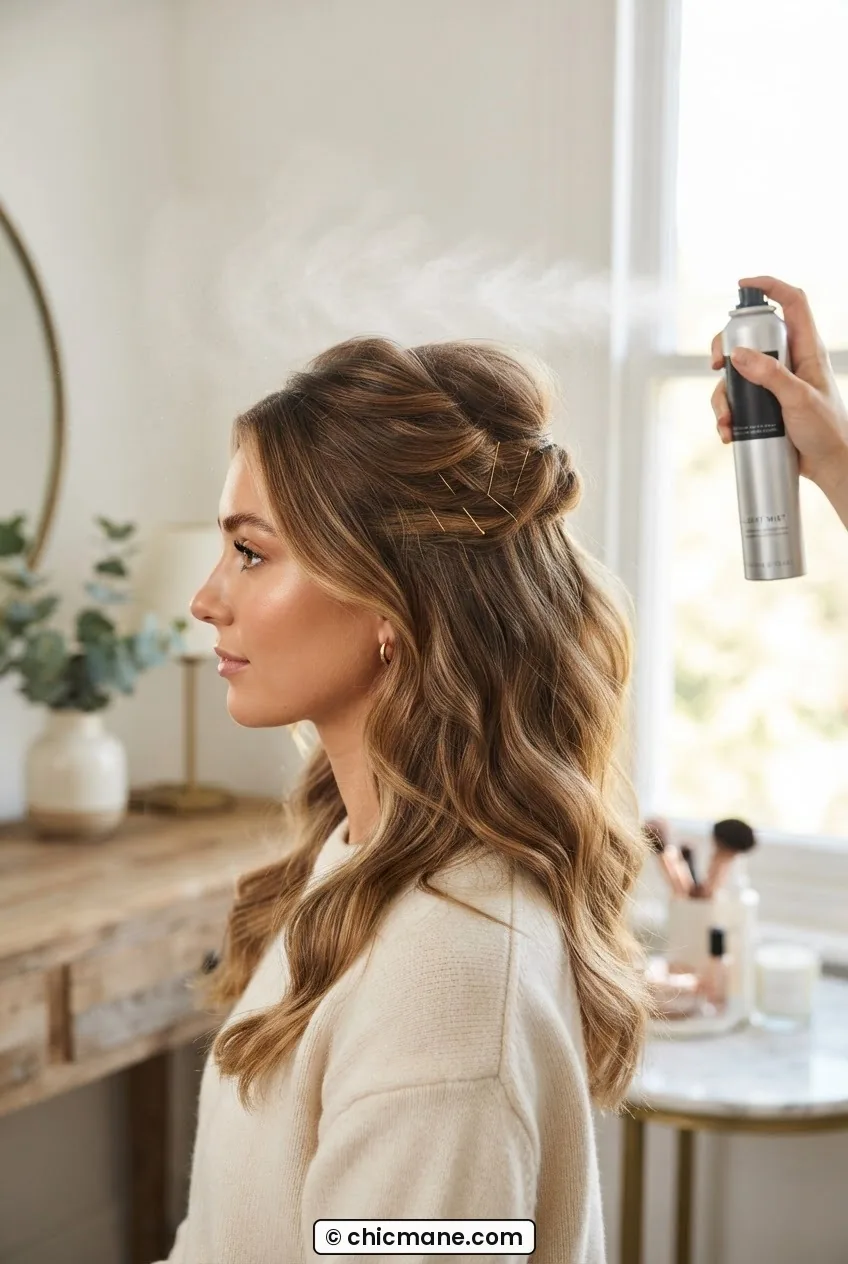
A light-hold hairspray from about 30cm away — that’s it. I do one pass over the crown to lock the volume in place, and one pass over the loose lower section to control flyaways without making it look stiff. Two-second job.
The goal is for this to look like it took you five minutes and stayed there for eight hours. Not crunchy. Not sprayed into a helmet. Just set enough to hold its shape through a normal day.
She’s got great texture in the lower section in this shot — see how the hair below the pin falls with movement rather than sitting flat? That’s what you’re aiming for. The bottom half of the style does most of the visual work, so letting it breathe matters.
If you’re working with longer hair and want to see how this approach adapts across different lengths, the roundup of hairstyle ideas from crop to waist is genuinely worth a look — it shows how the pinned-section proportion shifts with length and it helped me calibrate the line I draw across the back of my head.
Questions I Get About This
Does my half up half down look different depending on where I part my hair?
Completely, yes — and it’s more dramatic than most people expect. A centre part makes the top section sit symmetrically and reads as clean and modern. A side part sweeps the crown toward the heavier side and gives a slightly more romantic, relaxed feel. Try both on a low-stakes day and you’ll see the difference immediately.
My pins always show through the top section. How do I hide them?
Angle the pins so they slide horizontally under the section rather than straight in from above. Matte bobby pins that match your hair colour disappear far better than shiny ones. And if you’ve added a little backcombing first, the texture at the root helps camouflage the pins naturally.
How much hair should go into the top section versus staying down?
A rough guide: the top section should be roughly a third of your total hair volume. More than half and the bottom section looks thin; less than a quarter and the pinned section looks like an afterthought. But honestly, the right amount also depends on your texture — fine hair needs a smaller top section to avoid looking sparse below, while thick hair can handle a larger one without the bottom looking heavy.
Can I do this on second-day hair?
Second-day hair is actually better for this style. The natural oils give the hair something to grip, the texture is already there, and the roots have a little grit that helps the backcombing hold. A touch of dry shampoo at the roots and you’re genuinely good to go — no washing needed.
What I actually got from paying attention to the parting first: a half up style that stays put without a thousand pins, sits evenly across the crown, and — this was the real win — looks like it was meant to look that way. Not like I compromised or settled. Just the right amount of effort for a style that genuinely works with my hair rather than against it. Start with the parting. Everything else follows from there.