








I got bangs on a Tuesday in February and immediately panicked by Wednesday morning. Not because I hated them — I loved them — but because I had absolutely no system for getting them to behave before 7:45 a.m. For weeks I alternated between spending way too long on them and giving up entirely and pinning them back with a clip, which, honestly, defeats the whole point. So I made myself figure out both speeds. The full version, when I have a real morning. And the fast version, when I absolutely do not.
Two Speeds, One Fringe — Jump to Yours
The Trade-Off Nobody Talks About
Here is the honest version of what having bangs actually means: they are the most high-maintenance half-inch of hair on your head. Not because they are fragile, but because they sit right in the middle of your face, where everyone looks first. Every shortcut you take is immediately visible. Every good hair day starts with them cooperating.
But that does not mean you need thirty minutes every single day. It means you need to know what you are trading away when you take the shortcut. Once I understood that, I stopped feeling guilty about the fast version — because sometimes the fast version is genuinely fine. And sometimes it is not, and you need to know which days are which.
This post covers both methods in full, then tells you exactly what separates them. I am not going to pretend one is always enough. But I will tell you which one I use on which mornings, which might actually be the most useful thing here.
What You Will Need
For either version, you want most of these on hand. The thirty-minute version uses all of them. The ten-minute version skips a few — I will flag which.
- A round brush — small barrel, around 1 inch, specifically for fringe
- A flat paddle brush or a boar-bristle brush (ten-minute version mainly)
- A blow-dryer with a concentrator nozzle attachment
- Dry shampoo — the light kind, not the heavy mattifying one
- A light-hold hairspray (not freezing-stiff, just a little grip)
- A fine-tooth comb for parting and smoothing
- One or two small clips for sectioning the rest of your hair away
- A light serum or smoothing cream — just a fingertip’s worth (thirty-minute version)
- Optional: a flat iron with a narrow plate, for the very end of the thirty-minute version
Nothing on that list is expensive or obscure. The round brush is the one tool I really do think matters — a cheap flat brush makes the fast version look flat and dull. If you are only going to invest in one thing for your fringe, make it that.
The Ten-Minute Version
This is the method I use when I have exactly enough time to not look like I gave up, but not enough time to do anything properly. It takes about eight to ten minutes if you have done it a few times. The first few times it might take twelve. That is fine.
Step 1: Assess What You Are Working With
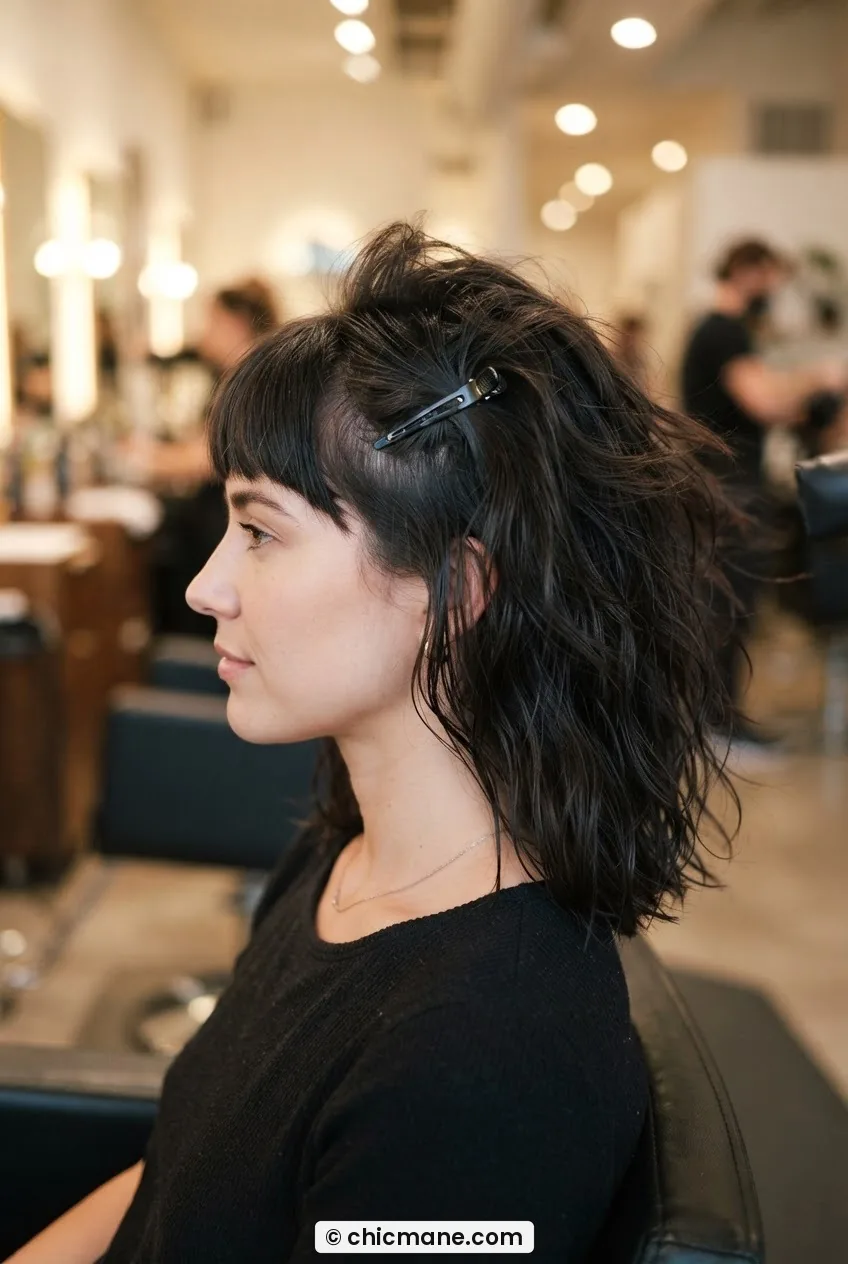
Second-day bangs and freshly-washed bangs behave completely differently. If yours are oily at the root, hit them with dry shampoo first — just a quick pass at the root — and wait thirty seconds before touching them. If they are freshly washed and still a little damp from a shower, you actually have an advantage. Damp is easier to coax than yesterday’s buildup.
If they slept weird — and bangs absolutely do sleep weird — run a damp fingertip along the root line to release the crease before you apply any heat. Blasting heat into a sleep crease just sets it permanently, which I learned the hard way exactly once.
Step 2: Rough-Dry With Your Fingers First
Clip the rest of your hair back and out of the way. Point your dryer at the bangs on medium heat — not high — and use your fingers to push the hair forward and slightly to one side while it dries. You are not styling yet. You are just removing the moisture so the brush has something to work with. About sixty seconds. That is all.
The direction you push during this rough-dry matters more than most people realize. Push them in the opposite direction from where they will ultimately sit. This breaks the root down so it does not fall flat.
Step 3: One Pass With the Round Brush
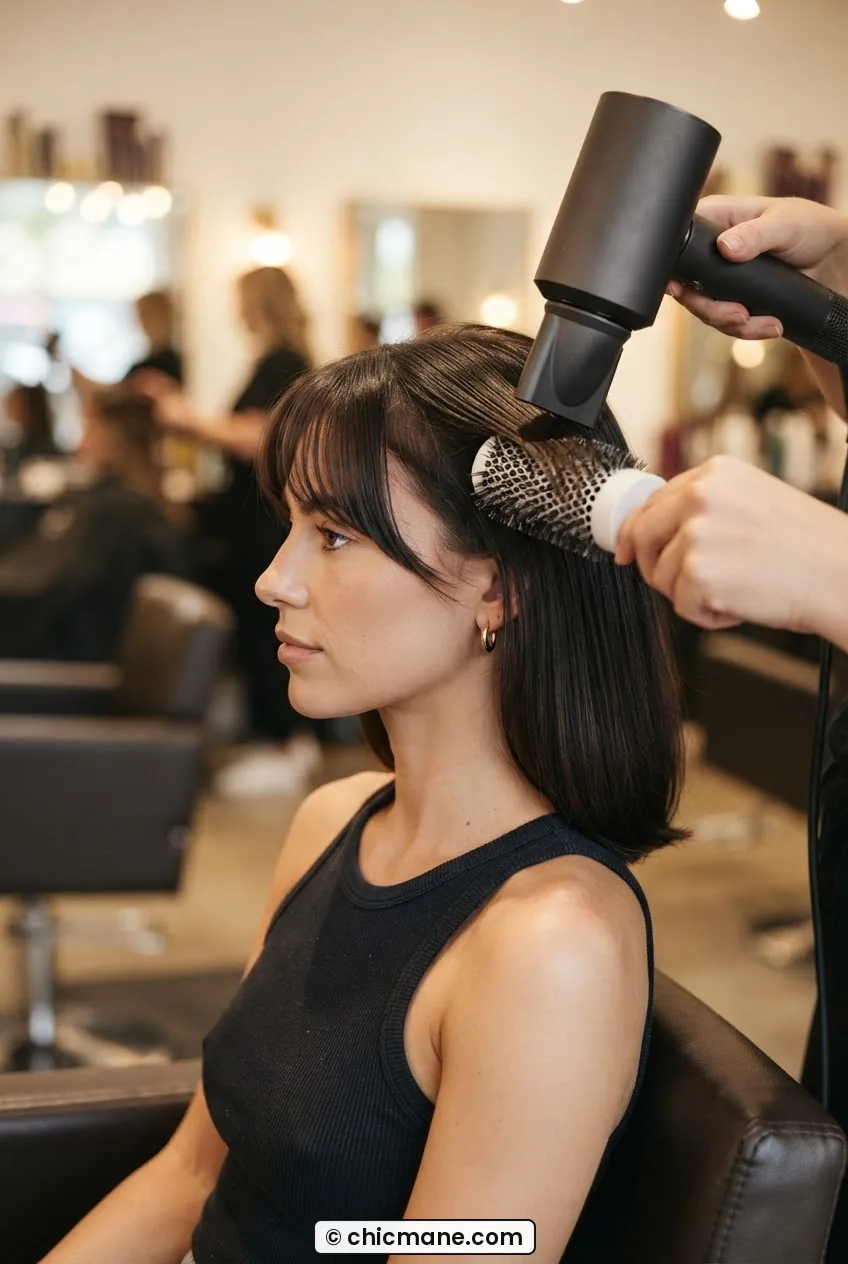
Take your small round brush. Gather the fringe section — just the fringe, nothing else — and roll the brush under the ends while directing the dryer straight down the length of the hair. One smooth pass from root to tip, pulling the brush forward and very slightly curved. Ten seconds of cool air at the end to set it. That is the whole step.
You are not going for perfection here. You are going for direction and volume at the root. One good pass beats five anxious half-passes.
Step 4: Smooth and Set
Use your fine-tooth comb to lay the fringe where you want it — sweep, or straight across, whatever is your cut’s natural direction. A light mist of hairspray held about eight inches away. Gently press with the flat of your hand for two seconds. Done. Unclip the rest of your hair and go.
Mistake I made: I used to hold the hairspray way too close — like four inches from my face — and ended up with crunchy, visible-from-across-the-room fringe every morning. Distance is everything. Arm’s length feels like too far, but it is exactly right.
The Thirty-Minute Version
This is the version for the days when you have somewhere real to be. A meeting, a date, a Sunday where you actually want to look like yourself. It takes longer, but not because it is complicated — it is just slower and more intentional. And the result is noticeably different. Worth knowing how to do.
If you want to understand how sectioning the rest of your hair properly makes this work, the breakdown in this hair tutorial sectioning map is genuinely one of the clearest explanations I have seen — worth reading before you start.
Step 1: Start on Damp, Product-Prepped Hair
The thirty-minute version starts with slightly damp hair — towel-dried, not soaking. Apply a fingertip-sized amount of smoothing serum through the fringe section only, combed through evenly. This is the step that the fast version skips entirely, and it is the one that makes the finish look polished rather than just tamed.
Section off everything that is not your fringe. Clip the sides back. The rest of your hair styling can happen after — the bangs come first when they are the focus.
Step 2: Blow-Dry in Sections, Not All at Once
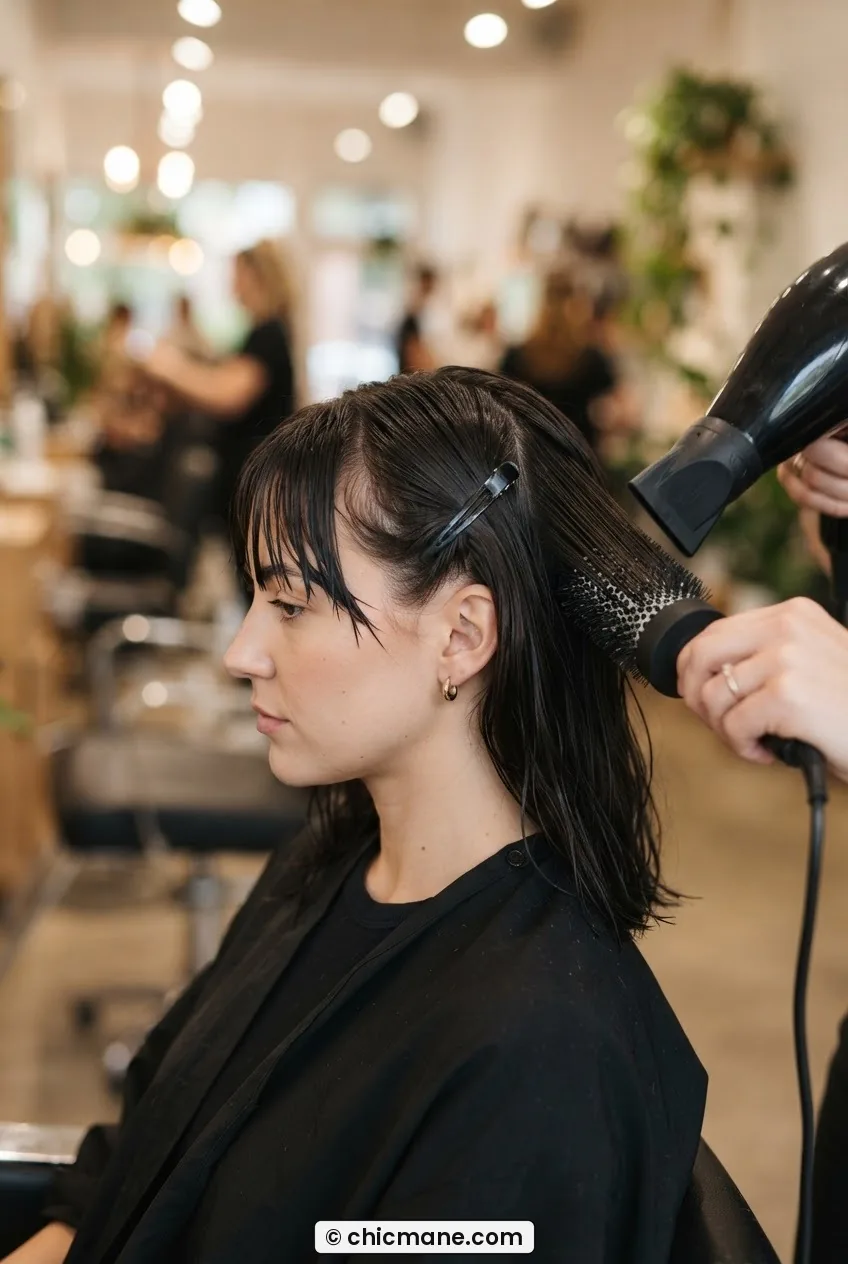
Divide the fringe into three subsections — a center panel and two side panels. Dry them in that order. Center first, using the round brush to roll under and forward, concentrator nozzle pointing straight down. Then each side, curving slightly inward toward center. This is the part that takes time. It is also the part that creates the soft, intentional shape rather than the blown-around look the fast version can sometimes produce.
Use medium-high heat but keep the dryer moving. Sitting heat in one spot for more than a few seconds is how you end up with fringe that looks fried at the tips. You can also explore the round brush technique to sharpen your form on this specific step.
Step 3: Cool Air to Set the Shape
Switch your dryer to cool and hold it on the fringe for a full thirty seconds while keeping the brush in place. This sounds like a small thing. It is not. The cool air is what locks the shape in. Without it, the heat styling you just did relaxes out within an hour, especially if you have finer hair.
Step 4: Optional Flat Iron Pass for Extra Smoothness
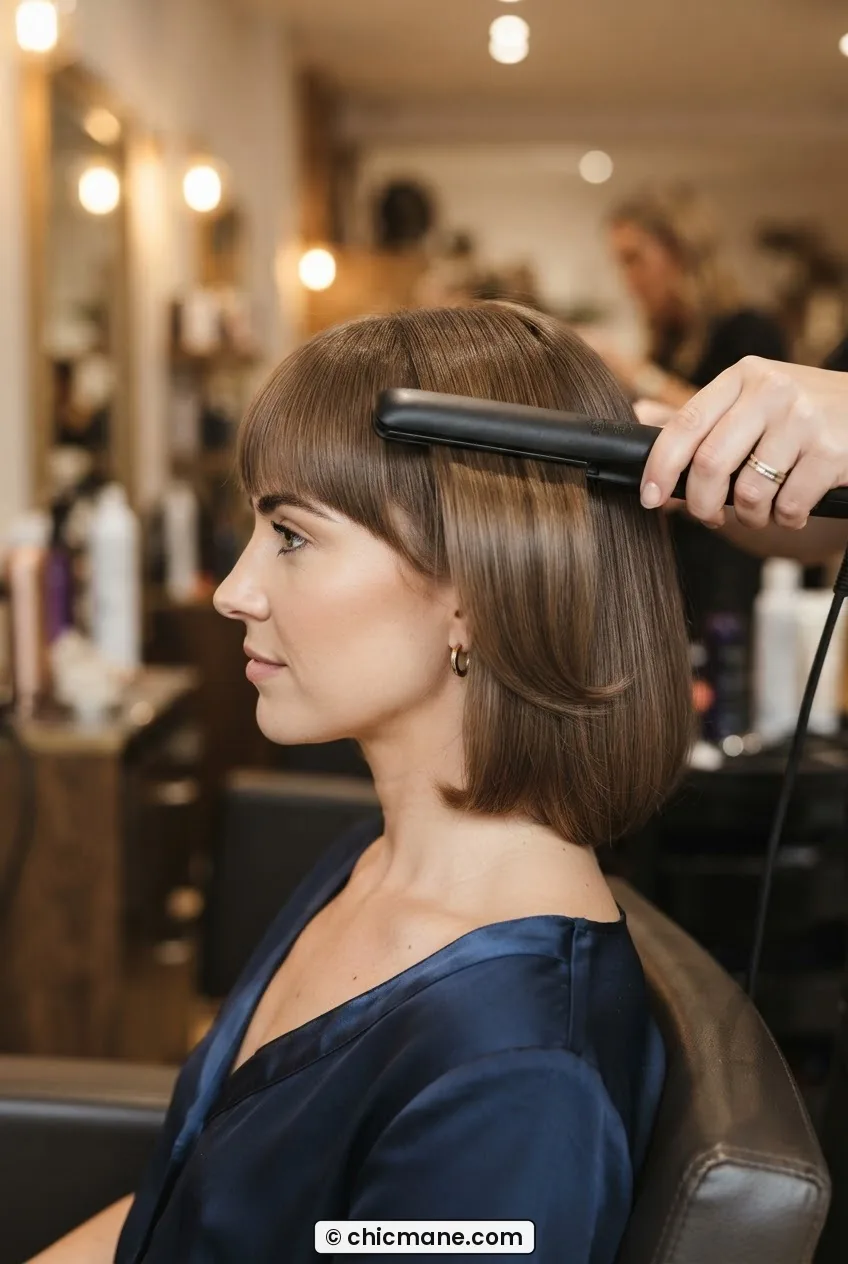
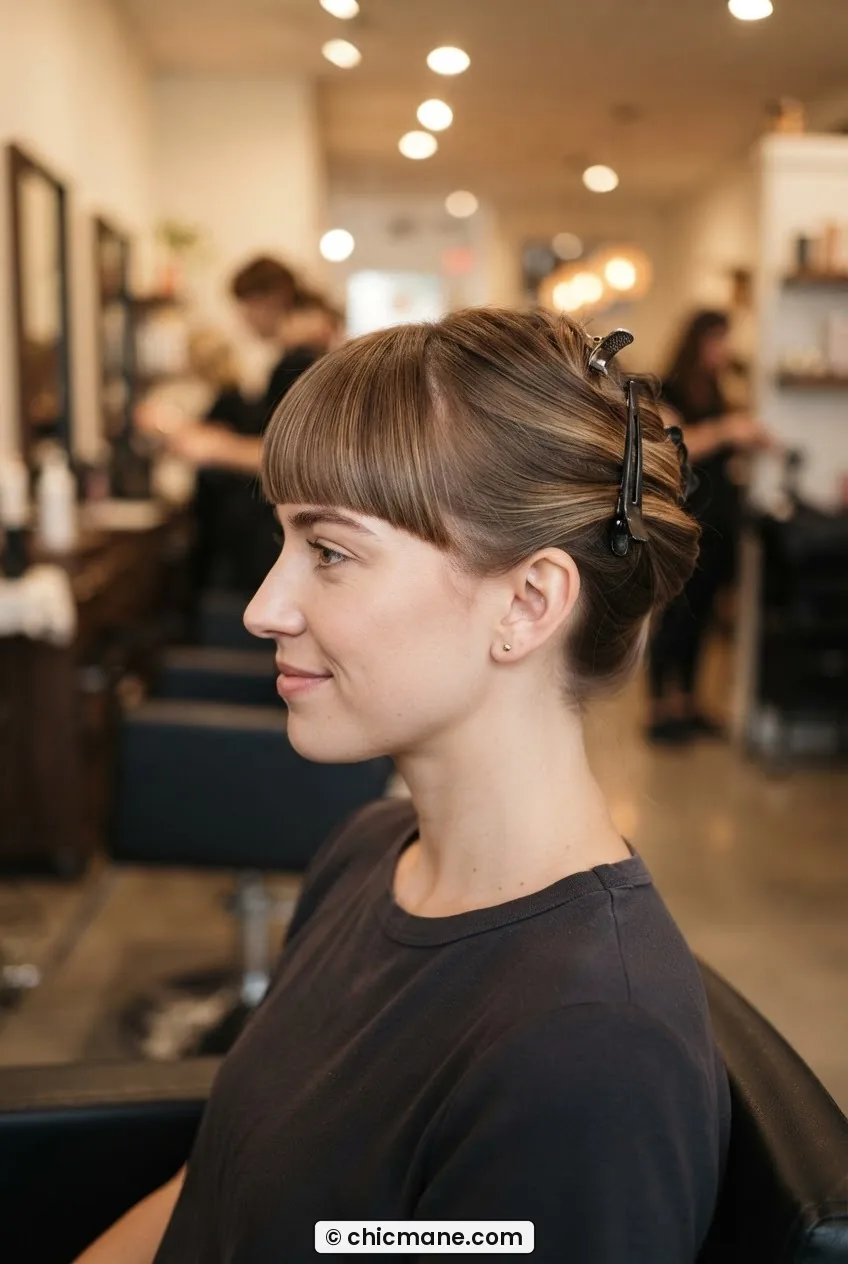
If your fringe is on the thicker side, or if your hair has any wave to it, a single slow pass with a narrow flat iron on low-to-medium heat makes a significant difference. Clamp at the root, pull forward and very slightly curved downward, release. One pass. Do not go over it twice. This step gives the kind of sleek, deliberate finish that reads as actually styled rather than just dried.
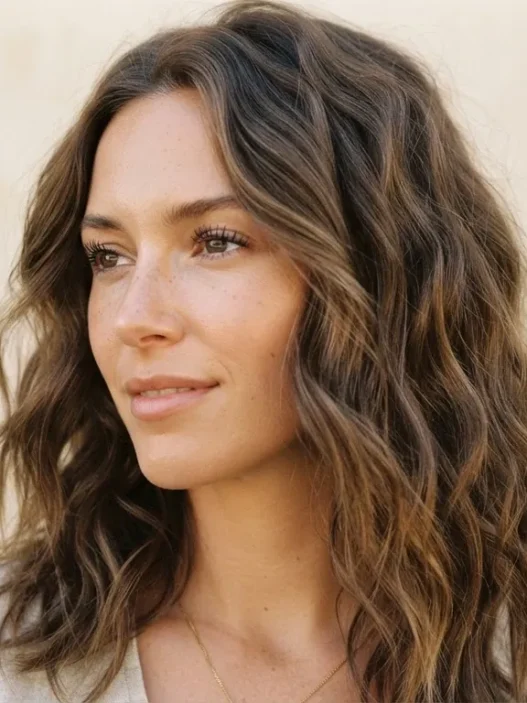
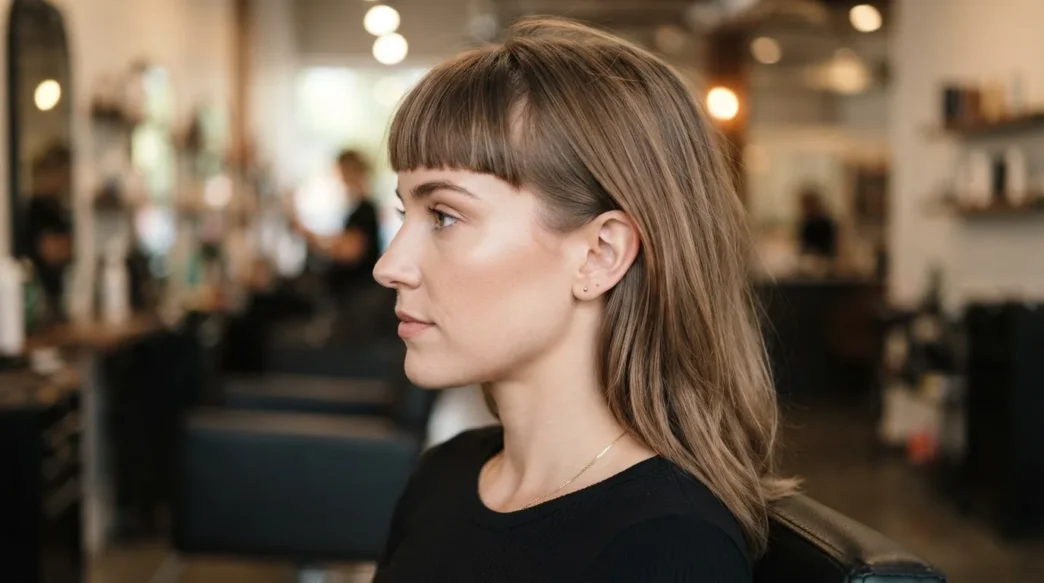
Look at how her fringe sits in this photo — that slight inward curve at the tips is exactly the result you get from this step. It is subtle but it changes the whole frame of the face.
Step 5: Final Comb, Set, and Style the Rest
Comb through once with the fine-tooth comb. Check the part line — this is when you adjust it if it drifted during drying. Light-hold hairspray from a distance. Press lightly with the flat of your palm. Then unclip the rest of your hair and style it however you planned. The fringe is done and will stay done.
If you are going for a half-up look with the rest of your hair, the styles in this half-up styles collection pair beautifully with a clean, styled fringe — the contrast between pulled-back sides and a deliberate bang is one of my favorite combinations.
What You Give Up
This is the section I think actually matters. Because if I just tell you “do the fast version when you are busy” without being honest about what it costs, you will use it on the wrong day and spend all morning annoyed.
The fast version gives up smoothness at the surface. There is a slight texture to the finish — not bad, just not glassy. On certain hair types and certain fringe cuts, that is perfectly fine or even looks intentional. On blunt, heavy fringe? It reads as rushed. Also, the root volume is less controlled. The quick rough-dry lifts the root but does not direct it the way the sectioned blow-dry does, so by midday the fringe may sit slightly flatter than it did at 8 a.m.
The fast version also gives up longevity. The thirty-minute version stays set for most of the day, humidity notwithstanding. The ten-minute version is good for three to five hours before it needs a light refresh with dry shampoo and your fingers. Not a dealbreaker — just something to know.
What the fast version does NOT give up: shape, direction, and the basic intention of the style. If your goal is “looks like I meant to have bangs” rather than “looks like I spent real time on my bangs,” the fast version clears that bar easily.
And if you are still deciding what kind of fringe you even want — or you are about to go in for a cut and are not sure what to ask for — the guide to 12 haircuts for women and exactly what to ask for has a really good breakdown of fringe types that I wish I had read before my appointment.
Which One I Actually Use
Honestly? The ten-minute version about four days out of five. Most of my days do not require the thirty-minute finish, and I have gotten fast enough at the quick method that it genuinely does not look like a shortcut unless you are very close to my face.
The thirty-minute version comes out on Fridays, weekends when I am actually going somewhere, and any day I have a video call where I know I will be on camera for more than an hour. Also honestly — sometimes just when I feel like it, because there is something satisfying about taking the time and having it show.
The thing I would tell my pre-bangs self is this: having a system for both speeds is what makes the cut sustainable. Without the fast version, bangs become a reason to be late. Without the slow version, you forget what they are capable of looking like. You need both. Now you have them. The rest is just practice.
If you are looking for styles to pair with your fringe on the mornings when you genuinely have five minutes for the rest of your hair, the options in this five minutes, 10 open hairstyles post are actually really well matched to bangs-forward looks — I have used several of them. And for more hair inspiration generally, Chicmane is where I keep going back for ideas that feel current without being exhausting to execute.
For understanding how different fringe lengths interact with face shape, the breakdown on choosing the right fringe is a solid reference if you are still in the decision stage.
Quick Answers About Bangs
How often do bangs need to be trimmed?
Every four to six weeks is the real answer, which feels like a lot until you realize how fast they grow and how much even a centimeter changes them. Most salons will do a fringe trim between appointments for free or a very small fee — ask about it. I schedule mine the same day I book my regular cut so I do not forget.
What do I do if my bangs are not cooperating on a humid day?
Humidity is the fringe’s natural enemy, especially with blunt cuts. A tiny amount of anti-humidity serum worked through the ends before you style — not after — makes a real difference. The other move is to style them slightly damp rather than fully dry on very humid days, which sounds counterintuitive but lets the hair dry into a set shape rather than fighting the air.
Can I get good bangs if my hair is wavy or curly?
Yes, but they behave differently and your stylist needs to cut them dry, not wet — wave patterns contract significantly when they dry, and a wet cut on wavy hair almost always results in fringe that ends up shorter than intended. Curtain bangs tend to work better with wave and curl than blunt across-the-forehead cuts, because the shape allows the hair to move with its natural texture rather than against it.
Is it worth getting bangs if I am a low-maintenance hair person?
That depends entirely on which kind of bangs. A heavy blunt fringe on a low-maintenance person is a commitment that can become stressful. But a soft, wispy, or curtain-style fringe is far more forgiving — it looks reasonable even when you have done nothing to it. If you want low effort, go softer on the cut and you will not regret it.