








I live for winter hair. I love how a fresh cut looks peeking out from a wool scarf, and I also know the heartbreak of taking off a beanie and finding pure static. This year I wanted to organize my favorite winter hairstyles by length, so you can actually find your starting point. We are going from super-short crop all the way to waist length, with extra love for that chin-to-collarbone zone where most of us live.
Browse Every Winter Length in This Gallery
- 1. Brushed-Forward Micro Pixie
- 2. Tapered Winter Crop
- 3. Curly-Topped Pixie
- 4. Side-Parted Slicked Crop
- 5. Classic Chin Bob
- 6. Textured French Bob
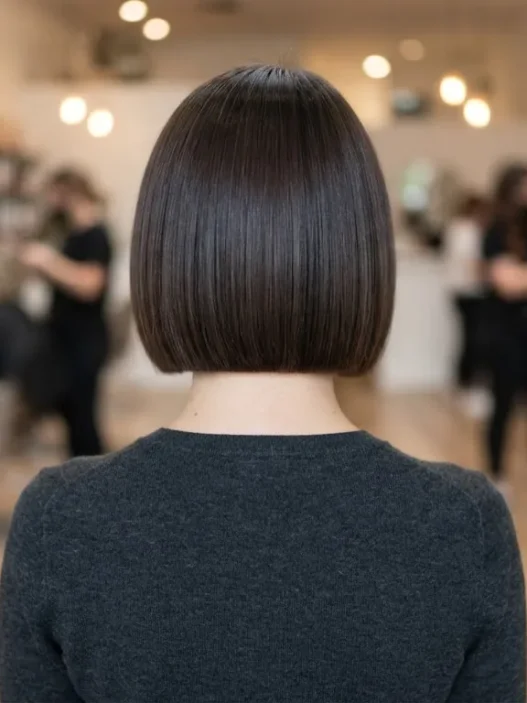
- 7. Jaw-Hugging Sleek Bob
- 8. Soft-Wave Jaw Bob
- 9. Blunt Collarbone Cut
- 10. Airy-Layered Clavi Cut
- 11. Curtain-Bang Collarbone Cut
- 12. Turned-Under Italian Midi
- 13. Long Seamless Layers
- 14. Low Winter Braid
- 15. Polished Low Bun
- 16. Waist-Length Silk Blowout
Pixie and Crop Length
I am starting short because short hair in winter is wildly underrated. No ends getting trapped in your coat zipper, no flat-hat hair halfway down your back. Just wash, add a pea-sized cream, and go. If you wear beanies a lot, this band is your best friend.
1. Brushed-Forward Micro Pixie
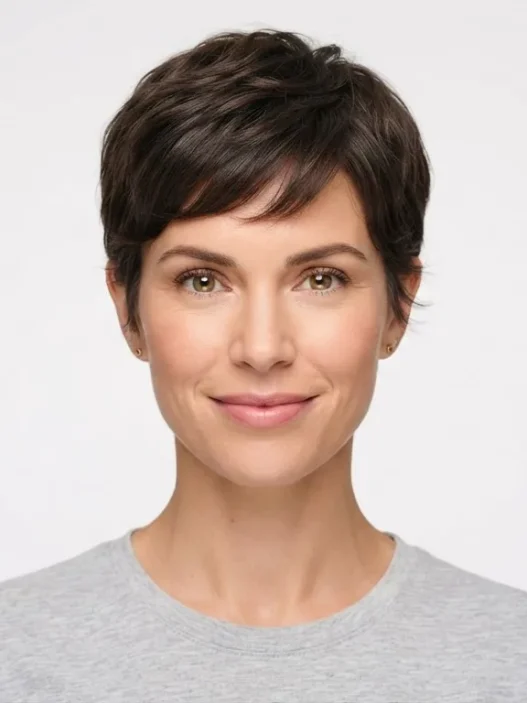
When I tried a brushed-forward pixie two winters ago, I was shocked by how warm it felt. No cold neck draft like a bob gives you, and my satin-lined beanie slid right over it without smashing anything. Look at how she is wearing hers, pushed just slightly forward at the crown with soft texture on the forehead. That little bit of length on top keeps it feminine while the sides stay neat and close.
I ask for a soft-tapered nape, not a harsh buzz, and a top that is long enough to finger-style. In the morning I warm a rice-sized drop of balm between my palms and pinch through the ends. Done in three minutes. If your hair gets fluffy in dry indoor heat, a light oil on the very tips tames it without making the roots greasy. This is such a low-maintenance winter win.
2. Tapered Winter Crop
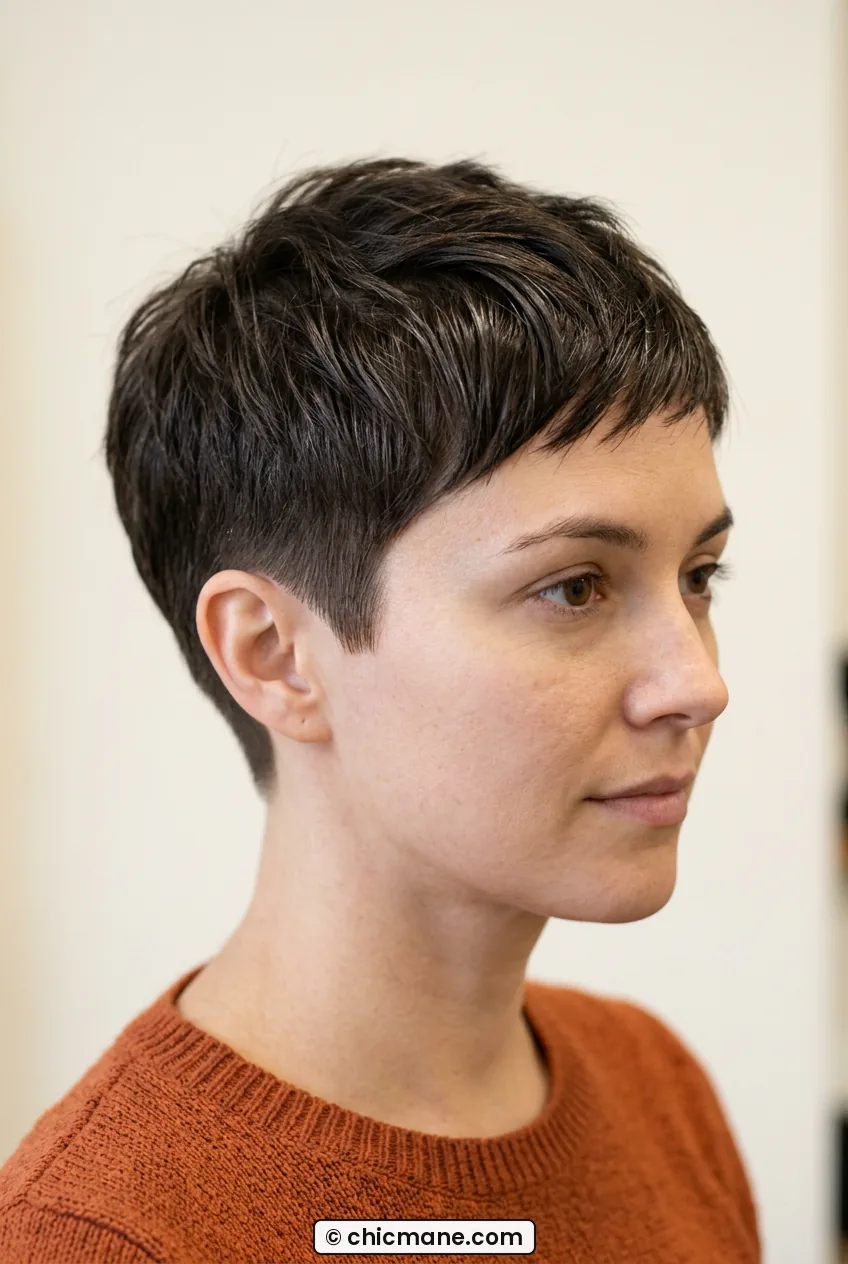
This is the slightly grown-out sister of the pixie, and honestly it might be more wearable. The taper at the sides keeps your silhouette clean under a hood or earmuffs, while the crown has enough weight to lay flat after a hat. She has got that perfect just-above-the-ear line, see how it opens up her cheekbones? I love that on her.
My stylist tapered my neckline with scissors instead of clippers for a softer grow-out, which I appreciated by week four. At home I refresh it with a quick blow-dry forward using a small flat brush. You can read up on short pixie styling tips before your appointment if you worry about styling it daily, because the technique is different from bob styling. And if static hits, I just smooth my hands over a dryer sheet and then over my hair. Old trick, still works.
3. Curly-Topped Pixie
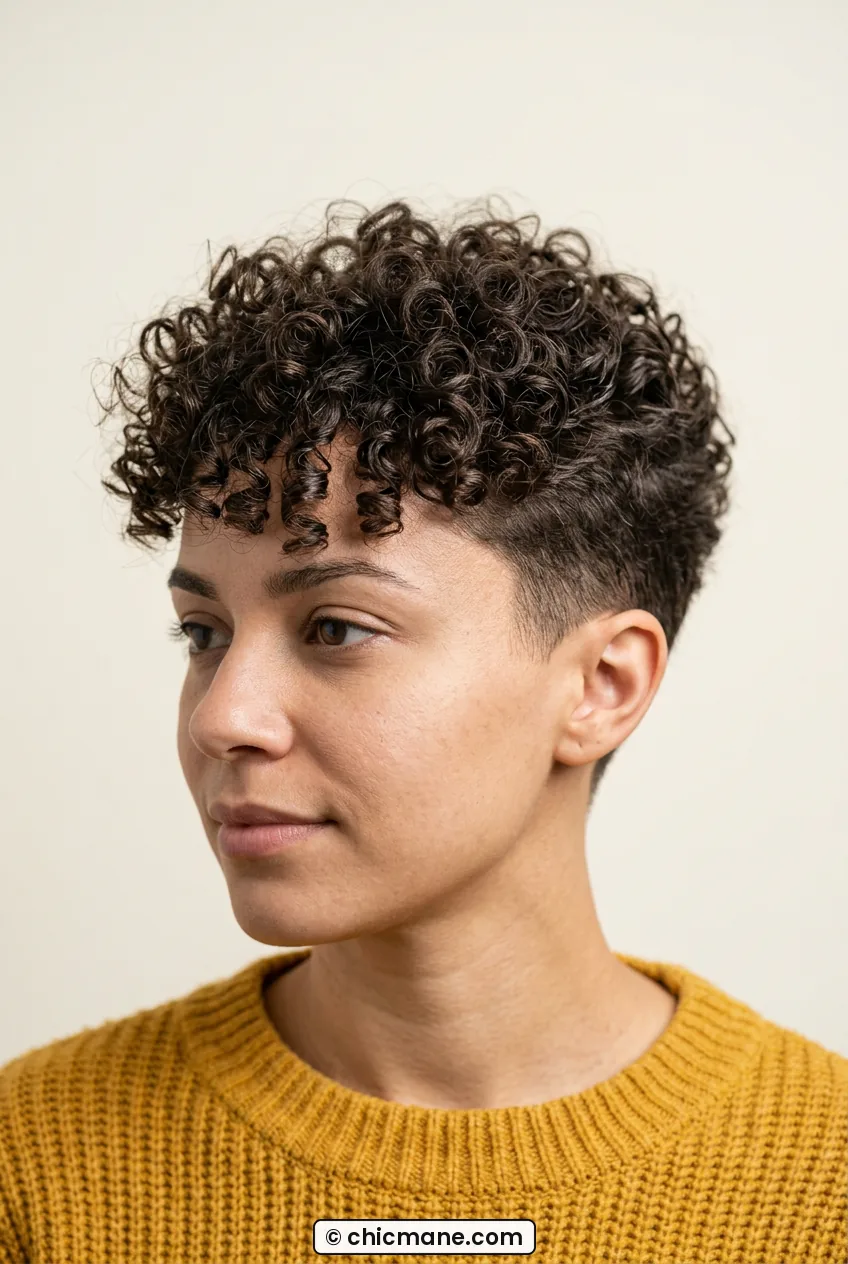
If you have natural curl, please do not straighten it all winter just to fight humidity. Let it do its thing on top. This curly-topped pixie keeps the sides short and lets a well-defined cluster of curls sit high on the head. Look at how she is wearing hers, the volume is right at the crown, not at the sides, so a hat does not flatten the whole shape.
I learned to sleep on a satin pillowcase and refresh with a water and leave-in mix in a spray bottle. The key is a curl-by-curl twist on damp hair, then air-dry while you do makeup. No diffuser needed most days. For winter dryness, I seal with a heavy cream on wash day and then leave it alone. Touching curls too much in heated apartments just creates frizz. Let them be bouncy and a little wild, it suits chunky knitwear so well.
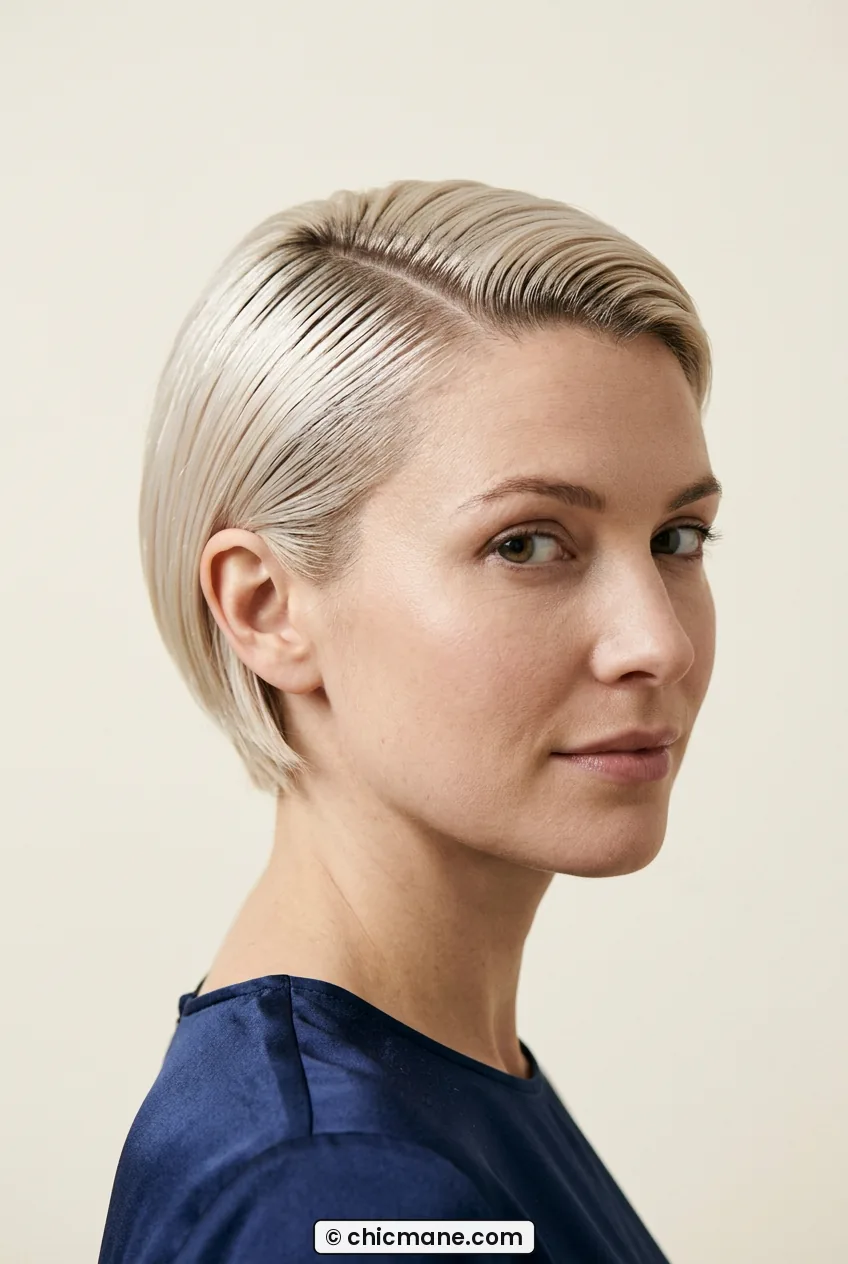
4. Side-Parted Slicked Crop
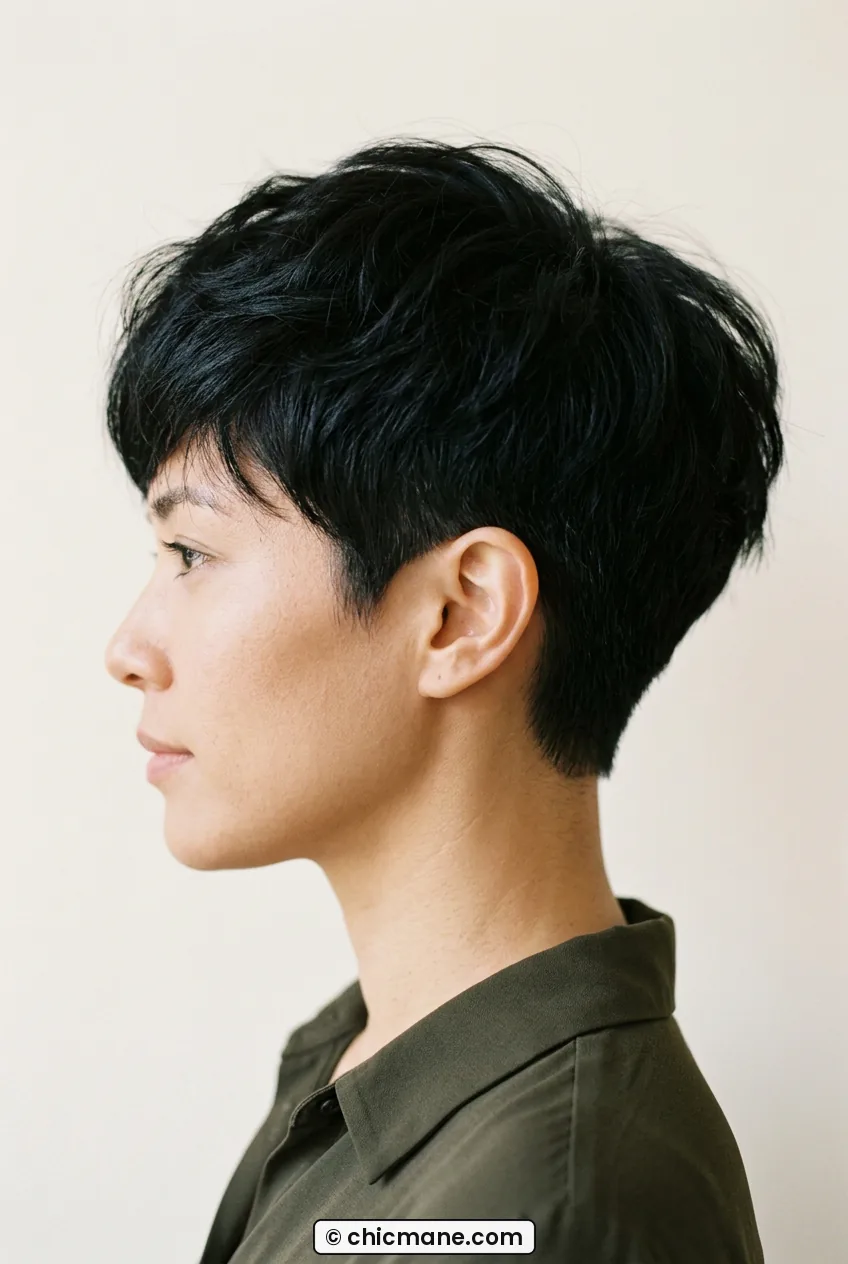
This one feels a little dressy, which I like for December. A deep side part with the top slicked over gives you shine and control, even on windy days. This is the length I am talking about when people ask for a crop that can still tuck behind the ear. See how it hits just at her temple and then sweeps clean? That angle keeps it from looking severe.
I wear this when I want my earrings to show. I part on damp hair, comb flat, then press with the blow-dryer nozzle pointing down for a glass-like finish. A pea-sized gel mixed with shine cream holds it without crunch. It also survives under a loose beret, which is my favorite cold-weather hat because it does not press as hard as a tight beanie. Quick, polished, very French-girl-in-February.
Chin to Jaw
Okay, this is my home base. Chin to jaw is where a haircut starts to frame your face and work with scarves instead of fighting them. I spend the most time here because I think most winter decisions happen at this length. Do you want edge? Softness? Something that tucks? Let us look.
5. Classic Chin Bob
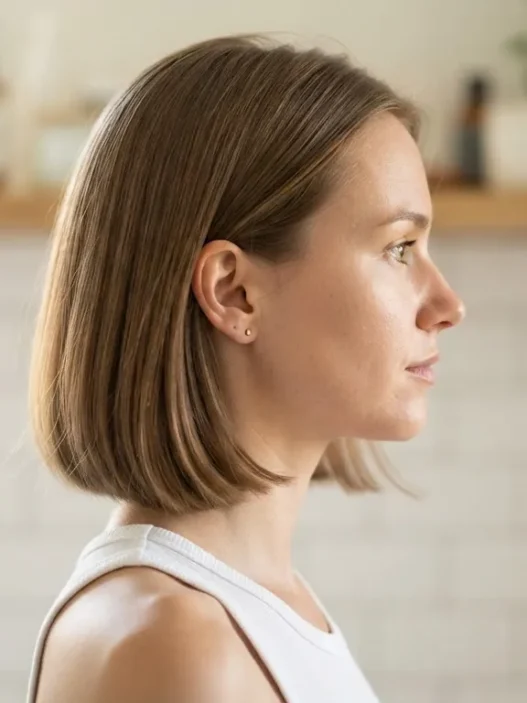
A true chin-length bob with a blunt edge is my cold-weather armor. It looks sharp with a turtleneck and it does not get all tangled in a scarf the way longer hair does. She has a similar face shape to mine, and honestly this cut looks incredible on her because the ends hit right at the chin dimple and flip neither in nor out. Just straight, clean, glossy.
I keep mine freshly trimmed every six weeks in winter because split ends show more when air is dry. I blow-dry with a paddle brush, then run a flat iron once over the very ends for that heavy swing. If you work in an office, you might like my notes on stylist tips for work hairstyles because this length is so office-friendly. One tip I swear by: put your scarf on first, then arrange the bob over it, not under. No more weird kinks.
6. Textured French Bob
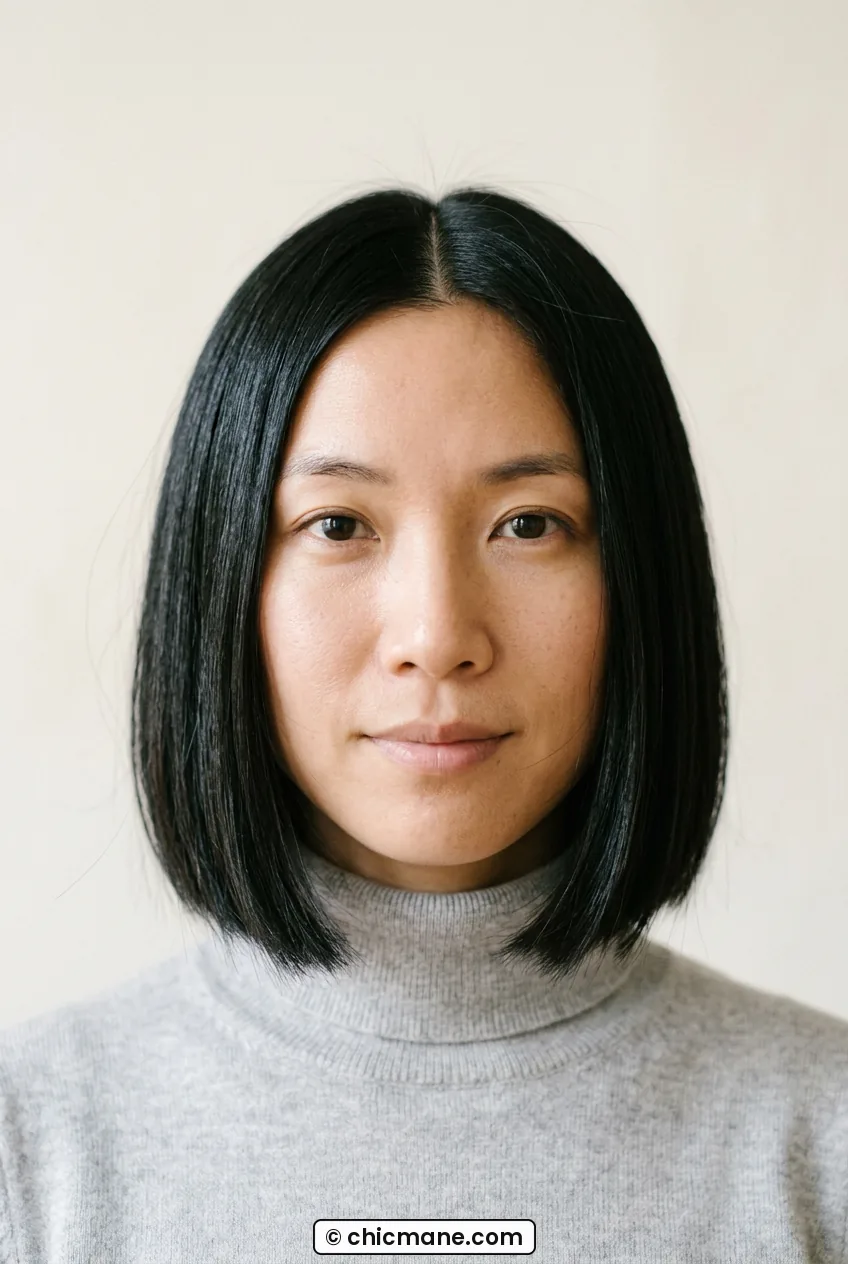
The French bob is shorter at the back, fuller at the cheeks, usually with a soft fringe. In winter I love it because it looks good a little messy. You do not need a perfect blowout. You need texture and confidence. Look at how she is wearing hers, that airy fringe just skims her brows and the sides puff out slightly over her jawline. That is exactly what I mean about jawline framing with a lived-in edge.
When I wore this last January, I let it air-dry with mousse scrunched in, then shook it out with my fingers on the train. No brush. The trick is asking for internal layers, not blunt weight, so it does not turn into a triangle in dry air. A quick steam from the shower revives day-two fringe. And berets? Made for this cut. The volume on top fills out the hat in the prettiest way.

7. Jaw-Hugging Sleek Bob
This is the glass-hair bob that hits right at the jaw hinge. Super straight, center or slightly off-center part, ends curved just a touch under. I love it for holiday parties because it photographs like silk. See how glossy her ends look against that cream background? That high-shine finish is the whole point here, no flyaways allowed.
To get that finish in winter, I have to prep more. I use a heat protectant with silicone, blow-dry in small sections, then flat iron at a lower temp twice rather than once super hot. You can also brush up on glass hair shine techniques if your hair tends to go dull by February like mine does. My mistake the first time was skipping oil because I feared greasiness. A single drop warmed up and pressed over the surface makes all the difference.
8. Soft-Wave Jaw Bob
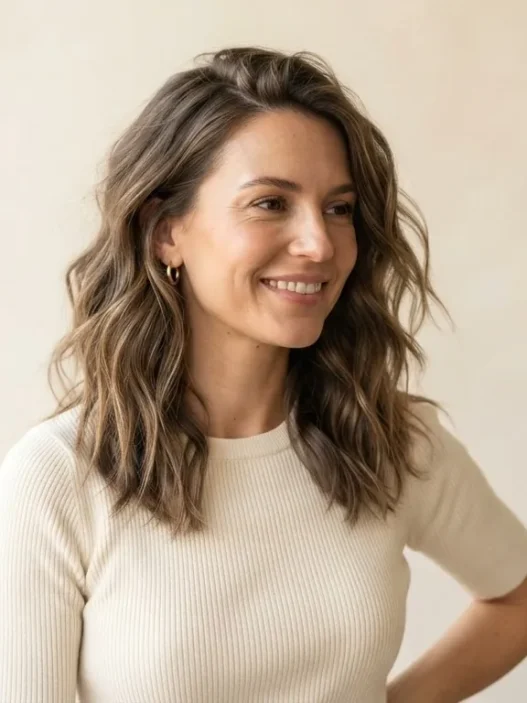
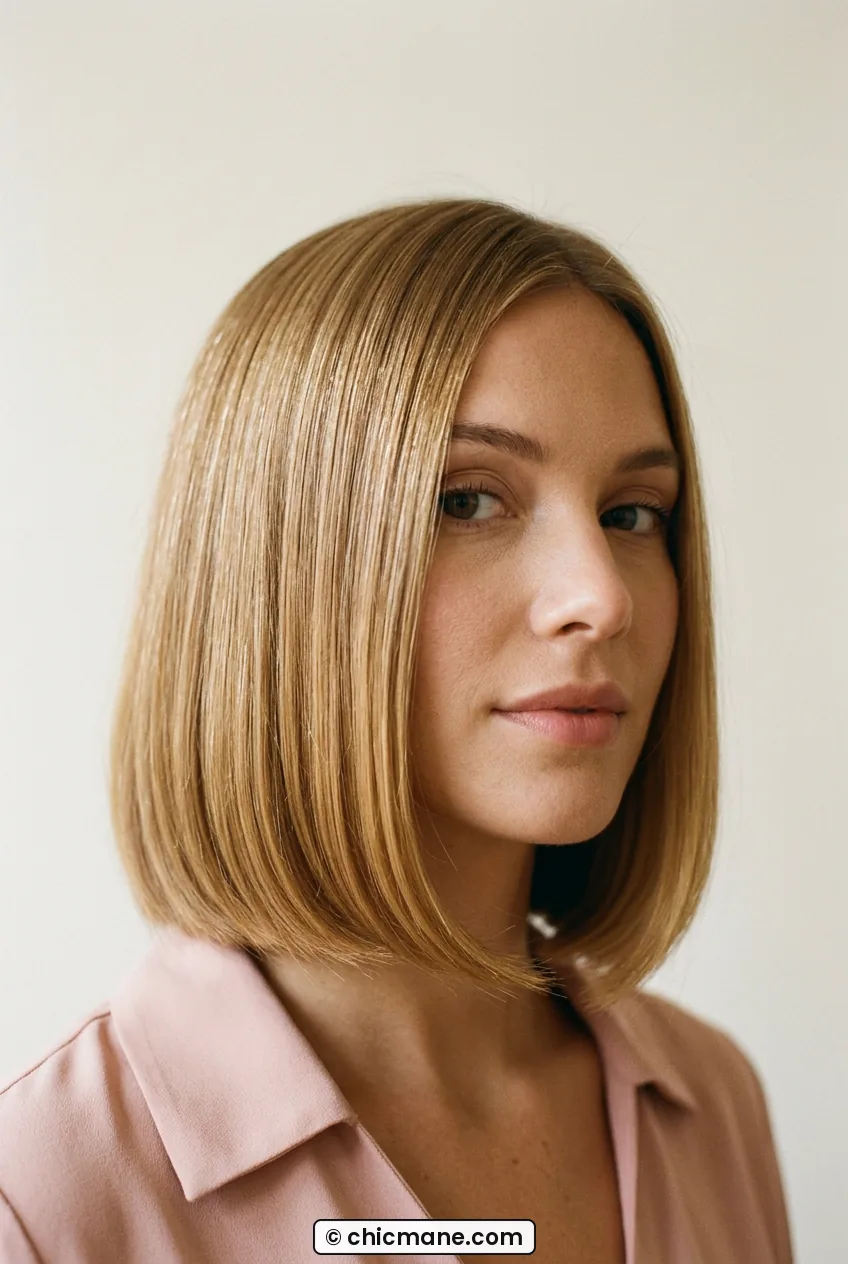
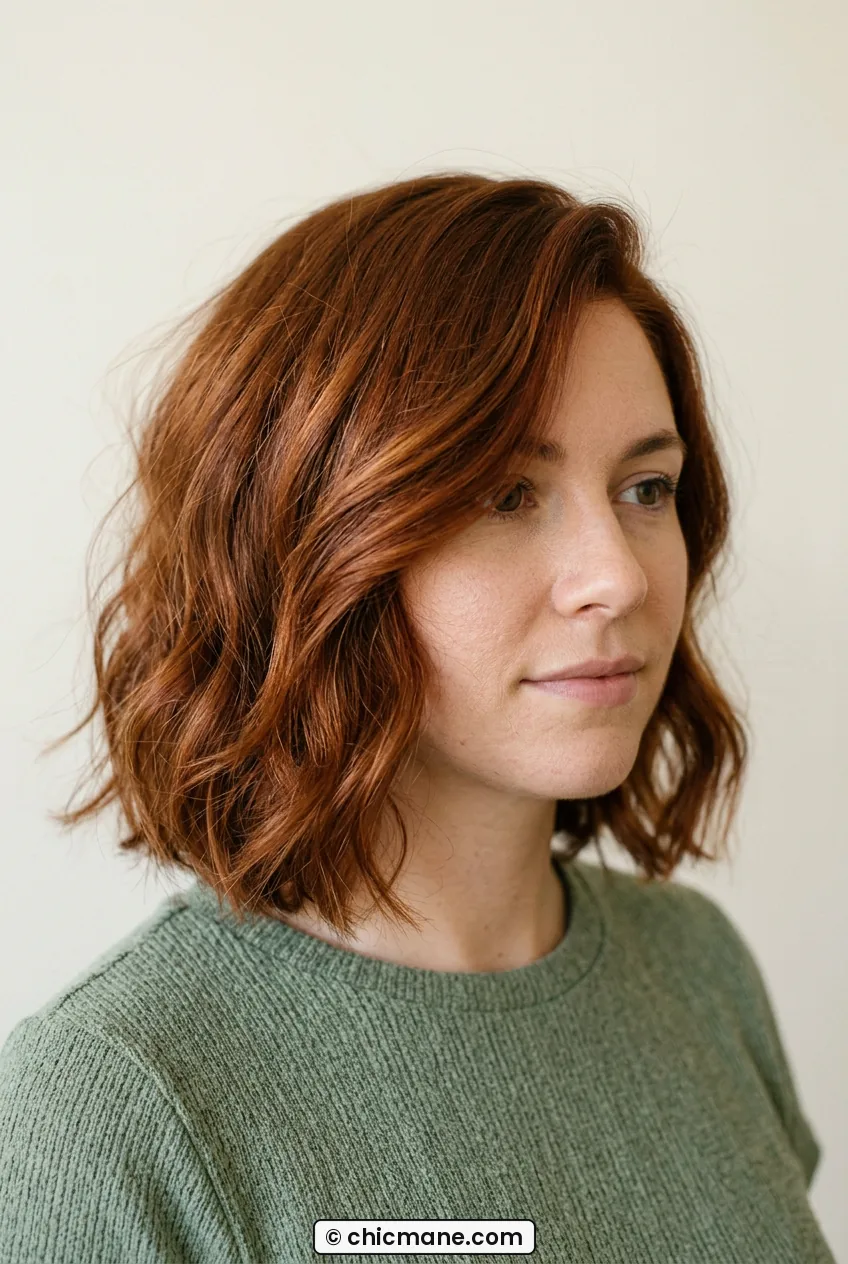
Not everyone wants stick-straight. This soft-wave version keeps the same jaw length but adds a loose bend through the middle, like you twisted it up under a scarf and let it loose. I find this bend hides hat dents better than any other style at this length. If your beanie leaves a line, a wave just swallows it.
I make mine with a one-inch iron, three bends per side, leaving the last inch straight for a modern feel. Then I rake through with a wide-tooth comb. For fine hair, a texture spray at the roots before curling gives grip without stiffness. I wore this to a weekend market in the snow and got three compliments before coffee. It is relaxed but still intentional, which is my favorite winter mood.
My personal pick is the textured French bob at No. 6. I felt the most like myself in it, hats sat perfectly, and day-three hair was actually better than day one.
Collarbone
Collarbone is the sweet spot if you cannot decide between short and long. Long enough to pull back, short enough to dry fast on dark mornings. In winter this length takes a beating from coats and seatbelts, so the cut and the finish matter more than you think. These four are my most-worn suggestions for clients who ask for easy winter hair.
9. Blunt Collarbone Cut
One length, hitting right on the collarbone, no layers. It sounds simple but it looks so expensive in winter, especially with a wool coat. The bluntness gives you that thick-ends illusion when dry air wants to make everything wispy. Look at her ends, see how full and even they sit? That clean line is doing all the work.
I recommend this a lot for straight and slightly wavy hair. Style it straight for work, add a bend for weekends. The only upkeep is trims, because a blunt line grows out visibly. I also love how it shows off what people notice in cute hairstyles people notice, that neat perimeter and shine. Tuck one side behind your ear with a gold hoop and you are done for dinner.

10. Airy-Layered Clavi Cut
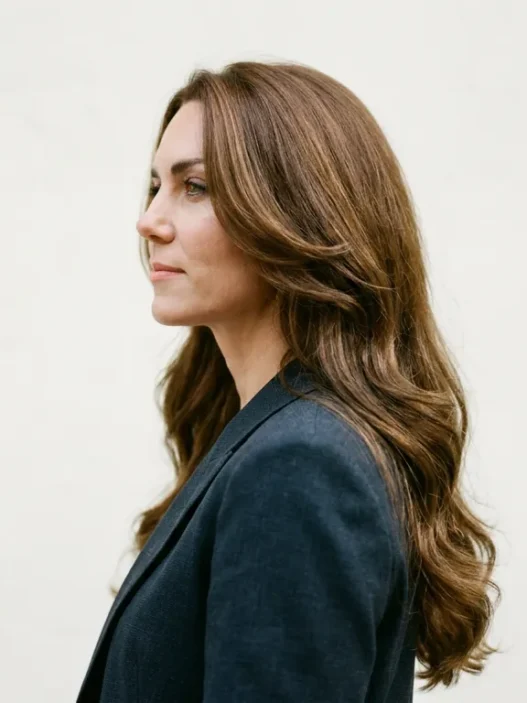
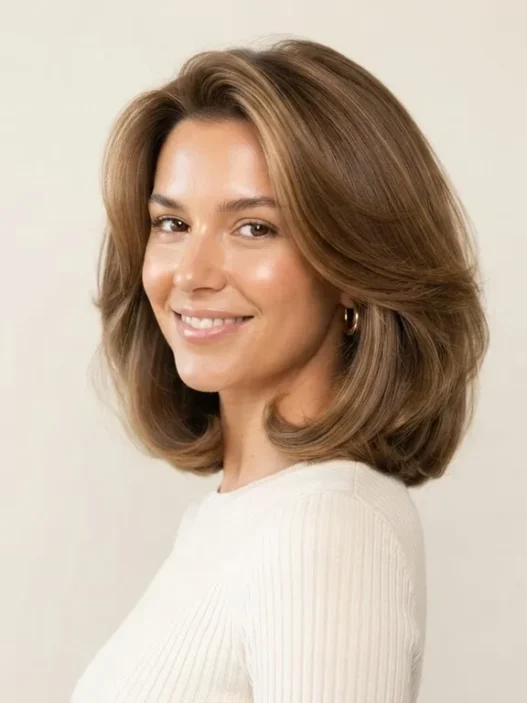
Clavi means collarbone, and this layered version is lighter and more forgiving than the blunt cut. I ask for long, airy layers starting at the chin and a lot of point-cutting through the ends. That way my hair does not puff out sideways when I wear a high collar. Hers has that perfect feathered movement, each piece separate but still connected. That is hard to do well, and her stylist nailed it.
At home I blow-dry with a round brush just at the ends, flipping some pieces out and some under for that undone mix. A heatless overnight braid also works beautifully here if you want to skip hot tools during dry months. If breakage is a concern, protective twists at night really help, and I found a good overview of protective styles for winter that saved my ends last year. Less friction on cotton pillowcases means fewer snaps by March.
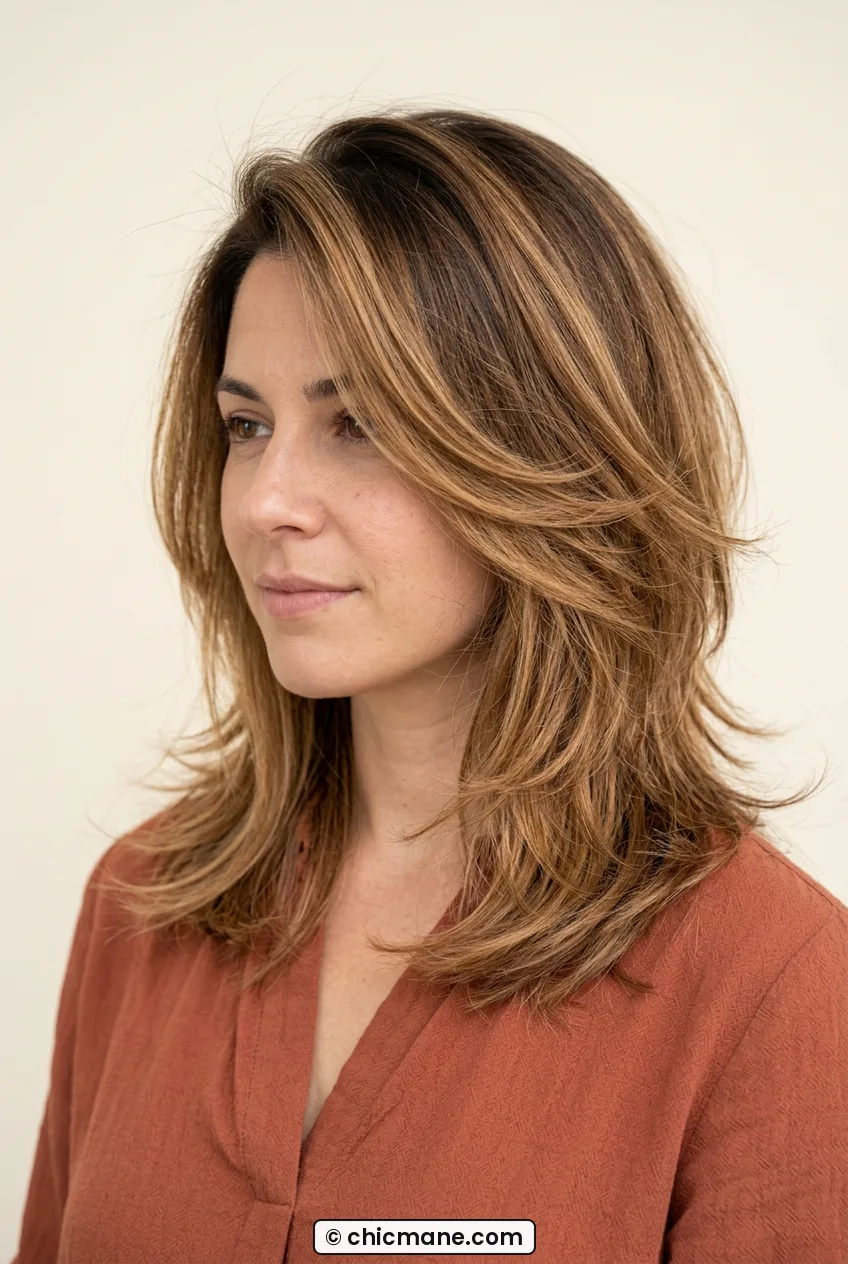
11. Curtain-Bang Collarbone Cut
Curtain bangs plus collarbone length might be my most-requested combo from November to February. The bangs frame your eyes above a scarf, so your face does not disappear in all that knitwear. And they grow out gracefully, which matters when you do not want monthly fringe trims in bad weather. See how hers parts softly in the middle and melts into the sides? No harsh line.
I style the bangs first, always, while they are still damp. Clip them forward, blow-dry with a small round brush, then flick outward. The rest I leave pretty straight. You can learn more about curtain bang blowout tips to get that swoop to stay lifted off the forehead all day, even under a hat. My trick is a velcro roller in each bang while I do makeup. Five minutes, instant lift.

See the Curtain Bang Blowout Live
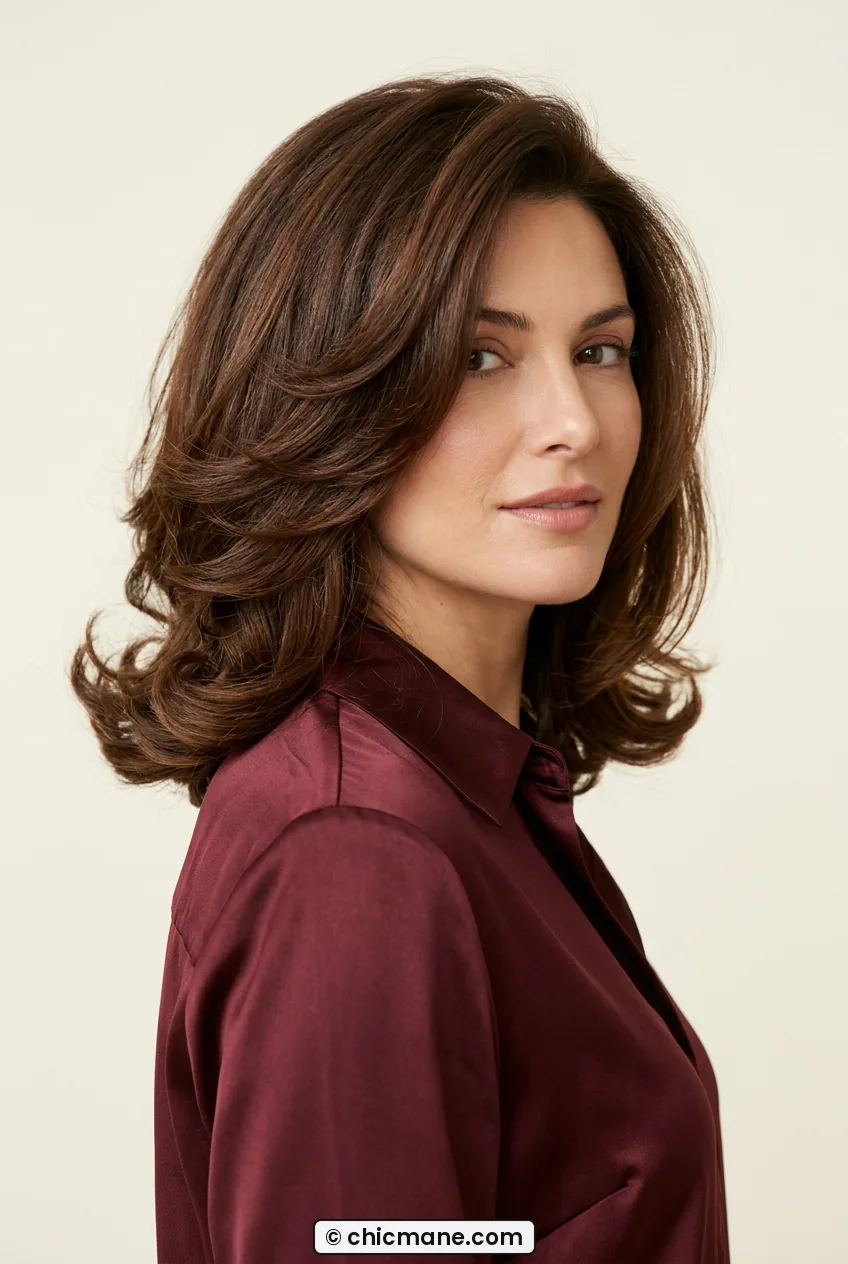
12. Turned-Under Italian Midi
Think old-Hollywood bounce but wearable. This midi is all about ends turned under in one smooth roll, lots of shine, lots of body. I wore this to a winter wedding and my hair did not move in wind for photos, which never happens. Look at that rounded under-curve on her, it cups the collarbone so elegantly. Very polished without looking stiff.
The tool matters here. I use a large round brush and a blow-dryer with a concentrator, rolling under in three sections. Finish with a cool shot to lock it. If you like this polished midi shape, my longer gallery of hairstyle ideas from crop to waist has more variations on the same curve. And do not brush it out too much. One pass with a soft bristle brush, then hands off to keep that plush turn.
Past the Shoulder
Long hair in winter is gorgeous and, I will be honest, a little high-maintenance. Static, tangles from scarves, dry ends from heaters. But if you love length, do not chop just because it is cold. You just need styles that protect the ends and cuts that keep movement without thinning you out. Here are my four long favorites.
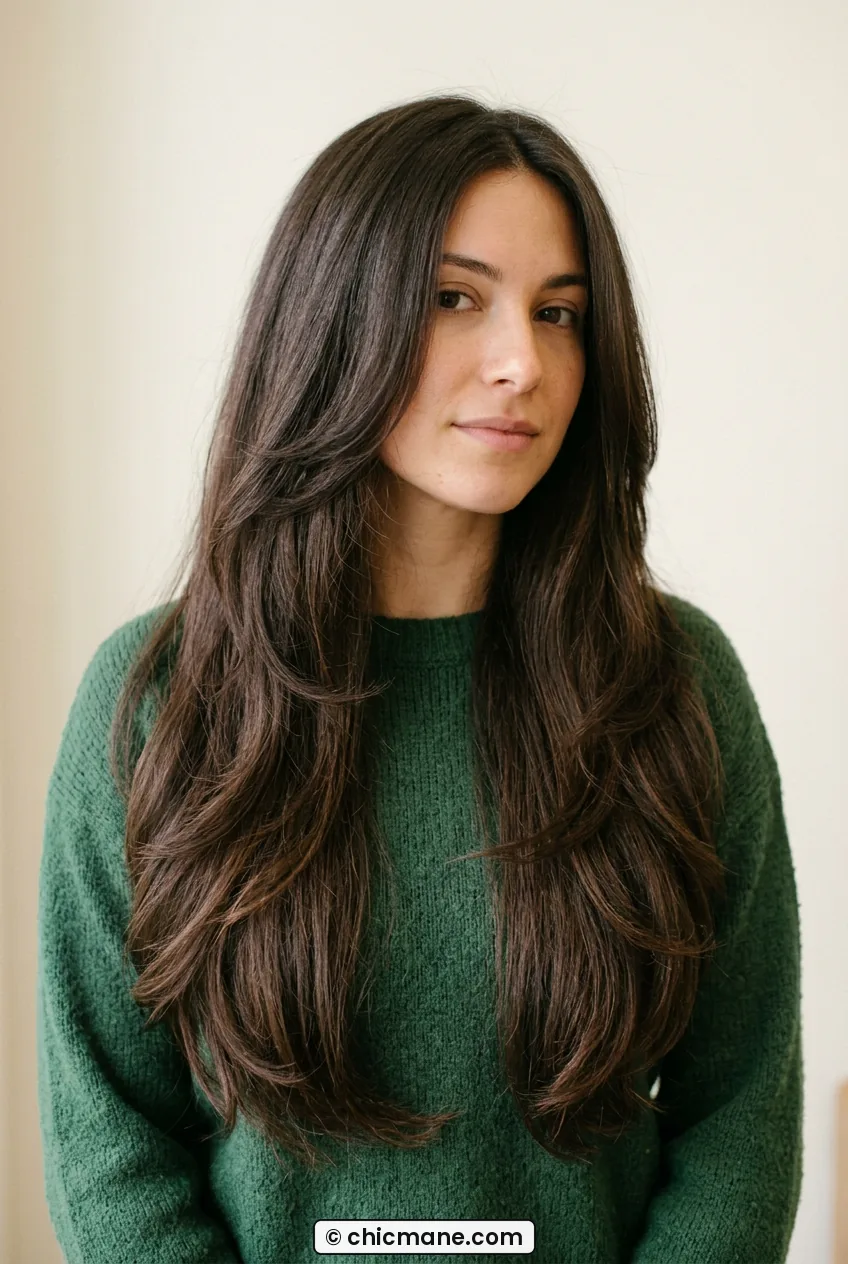
13. Long Seamless Layers
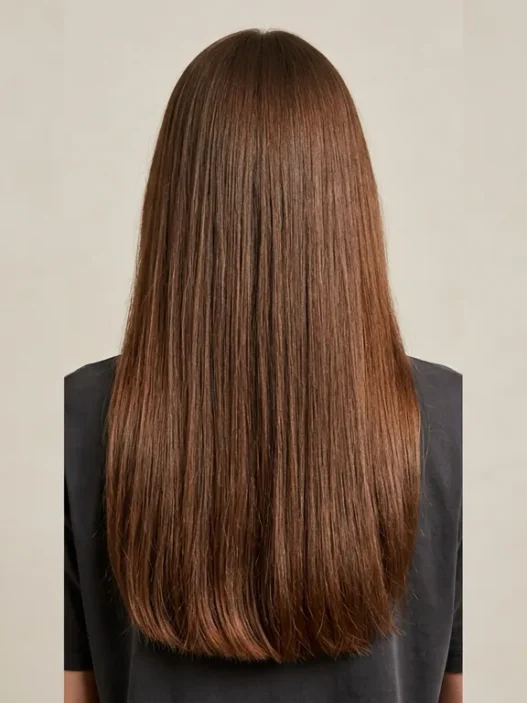
Long seamless layers are cut so you cannot see where one layer starts and the next ends. Just one flowing sheet that moves when you walk. In winter this is ideal because harsh layers get frizzy and separate in dry air, while seamless ones stay together. Her hair falls well past her shoulders in a soft V, see how the light slides down it without any choppy breaks? That is the goal.
I keep the shortest layer at the collarbone so I can still pull the front back if I want. Styling is mostly about moisture. I do a weekly mask, always heat protect, and I sleep in a loose topknot on a silk scrunchie. If you wear heavy coats, bring the hair forward over one shoulder before zipping up. Sounds silly, saves so many broken ends. This cut looks amazing with a center part and almost no styling at all.
14. Low Winter Braid
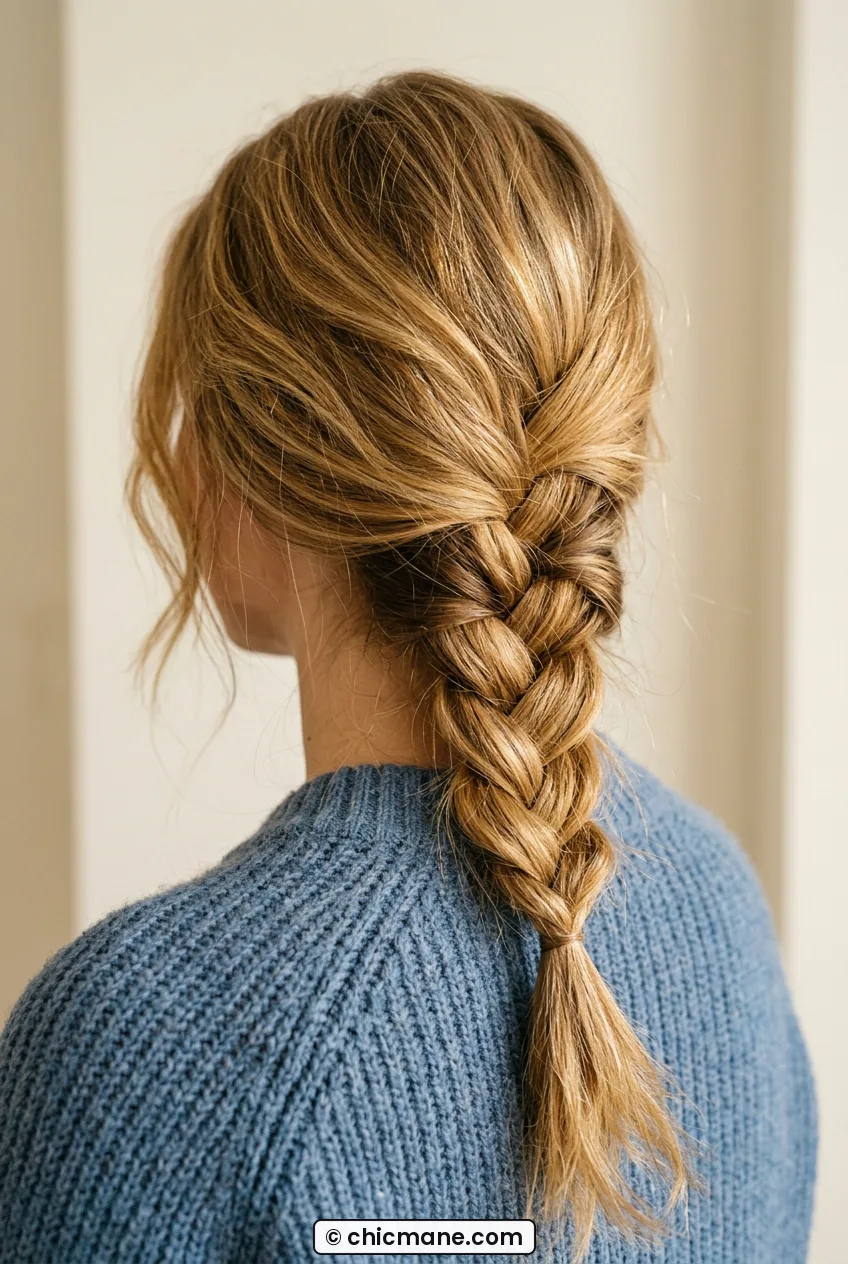
A low, loose braid is my errand-day hero from December through March. It keeps ends tucked away from rough wool and wind, and it looks pretty with a beanie. Hers is a soft three-strand braid sitting low at the nape, slightly pancaked for fullness. I love how relaxed it looks, not tight or schoolgirl, just easy.
I start with dry oil mid-length to ends, braid loosely, tie with a fabric band, then tug gently at the edges. Do not braid wet hair in freezing weather, it stays damp and snaps. Dry first, braid second. For a dressier version, pull out two face-framing wisps and curl them lightly. It takes five minutes and survives a whole day of shopping, commuting, all of it.
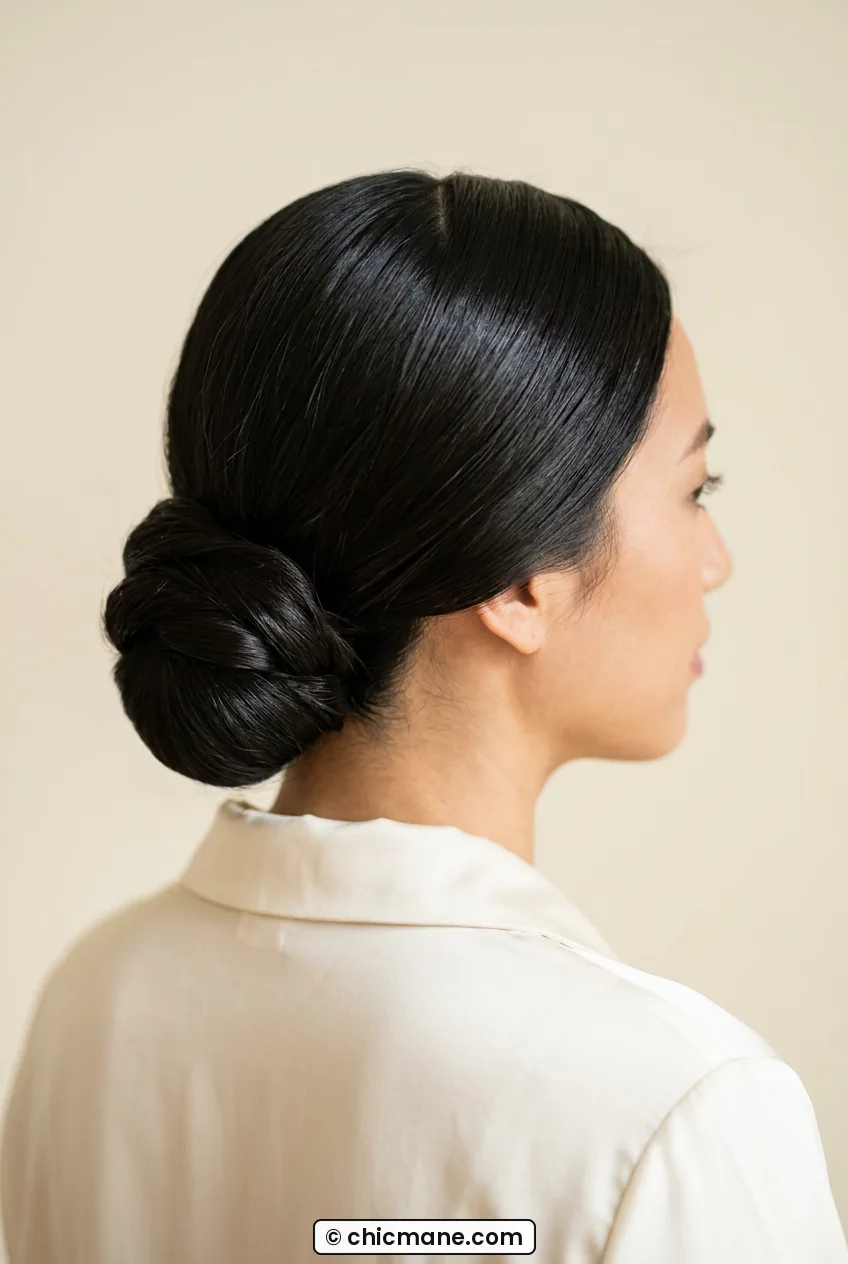
15. Polished Low Bun
When static is winning, I give up and do a low bun. But a polished one, not a topknot. Low at the nape, middle part, smoothed over the ears. It works under hats, it shows off turtlenecks, and it keeps you looking put-together on no-wash days. See how neat her bun sits right at the collarbone line? That placement is flattering on almost everyone.
My method is gel on damp roots, brush back, twist into a figure-eight and pin. A little hairspray on a toothbrush cleans up baby hairs around the part. If buns are your winter uniform too, these ways to wear a bun hairstyle gave me three new ideas when I was bored of my same twist. Add a tortoise claw clip instead of pins for a softer hold that does not dent fine hair.
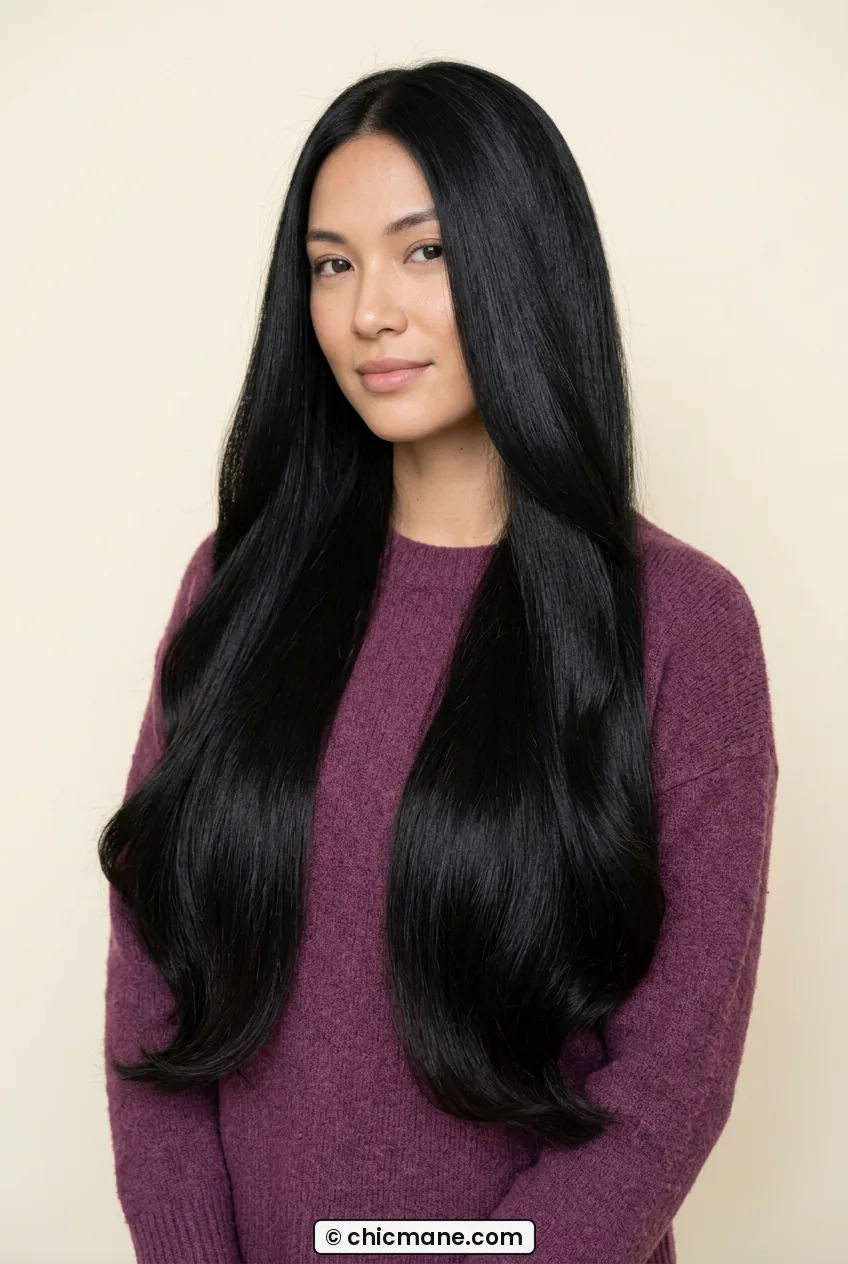
16. Waist-Length Silk Blowout
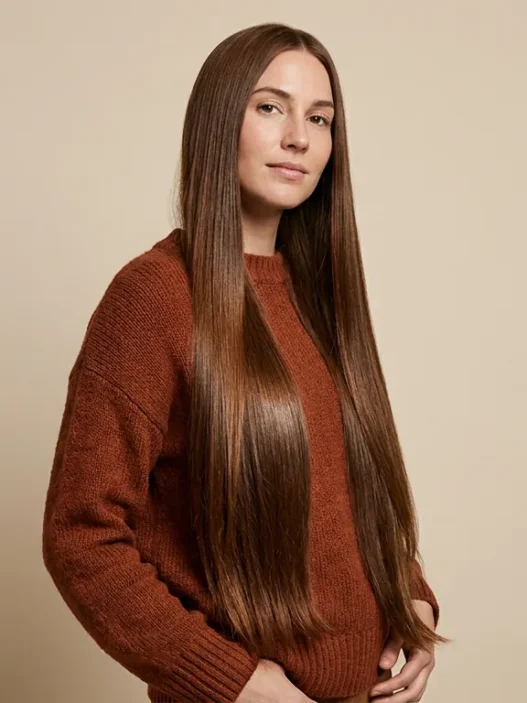
And here we are, full waist length with a silk-press finish. Bouncy, glossy, swinging when you turn. This is the most high-impact winter look in the gallery, and it demands the most care. Hers cascades well past her chest in one smooth curtain with turned-under ends. That even thickness from roots to tips does not happen by accident, it is trims and masks and patience.
I only suggest this if you are ready for the upkeep. Silk pillowcase, weekly deep condition, trim every eight weeks even if you are growing. I blow out in sections with tension and finish with a cool pass plus serum. On snowy days I tuck it inside my coat to protect it, then shake it loose indoors. Is it extra? Absolutely. Do I love it anyway? Every single time. Long hair in a black coat in winter is just a movie moment.
So how do you move between these bands without regret? My rule is one band at a time. Do not jump from waist length to pixie in one appointment unless you are sure. Go waist to collarbone first, live there for six weeks, then go chin if you still want shorter. And growing out? Same idea in reverse. Use the low braid and the polished bun through the awkward stages, get micro-trims to keep the shape clean, and let your stylist reshape the perimeter instead of taking length. Hair grows about half an inch a month, winter dryness can make it feel slower, but a healthy plan beats an impulsive chop every time. Tell me which band you are in right now, I am nosy and I want to know.